A Quick look at the New Fringing and Aberration Removal in Lightroom 4.1
![]() Adobe yesterday released the release candidate of the first point upgrade to Lightroom 4, and it ads two impressive new features to the software. First off, I have to say kudos to Adobe for continuing to roll out major features in a point release, especially so soon after the initial release of Lightroom 4. The improved image processing in Lightroom 4 was already pretty great, but the new fringing removal is really impressive.
Adobe yesterday released the release candidate of the first point upgrade to Lightroom 4, and it ads two impressive new features to the software. First off, I have to say kudos to Adobe for continuing to roll out major features in a point release, especially so soon after the initial release of Lightroom 4. The improved image processing in Lightroom 4 was already pretty great, but the new fringing removal is really impressive.
The other new feature, which may sound like a minor one, but is actually a big deal also, is 32bit floating point image support. What this means in a nutshell, is that you can import HDR images straight into Lightroom. This is a pretty big deal. Not only does it mean that you can import HDR images from applications like Photomatix, HDR data intact, but you can also theoretically convert a RAW file to a 32bit tiff and maintain as much data as possible. Because a 32bit floating point image can contain values above 100% you can still maintain recoverable highlights. This might work well in the future to bake a RAW file into a RGB file for formats that aren't supported by Lightroom. It's something I'll be exploring in the future and I'll write about it when I learn a bit more. But for now, onto the main event.
When you hear the term "purple fringing" many people think of poor performing lenses on cheap compact cameras. The truth is though, that this phenomenon is current on a lot of high end professional glass too. The technical term for this kind of optical artifact is called axial chromatic aberration. This is different from the normal type of chromatic aberration which often exhibits as red-green and blue-yellow fringing. (This is technically Lateral Chromatic Aberration and is caused by shifting of light colours laterally. This is easily fixed and most software includes tools for fixing it.) Axial CA is much more difficult to fix in software and usually involves manually painting out the problem. While Axial CA does typically plague cheap lenses, you also see it on fast glass, regardless of the price. It's usually evident on lenses between f/1.2 (or faster) and f/2.8. Usually you need to step down a few stops to eliminate it, which kind of defeats the purpose of buying that nice f1.4 lens in the first place. Some times you can ignore it, but other times it's visible even when you aren't viewing at 100%.
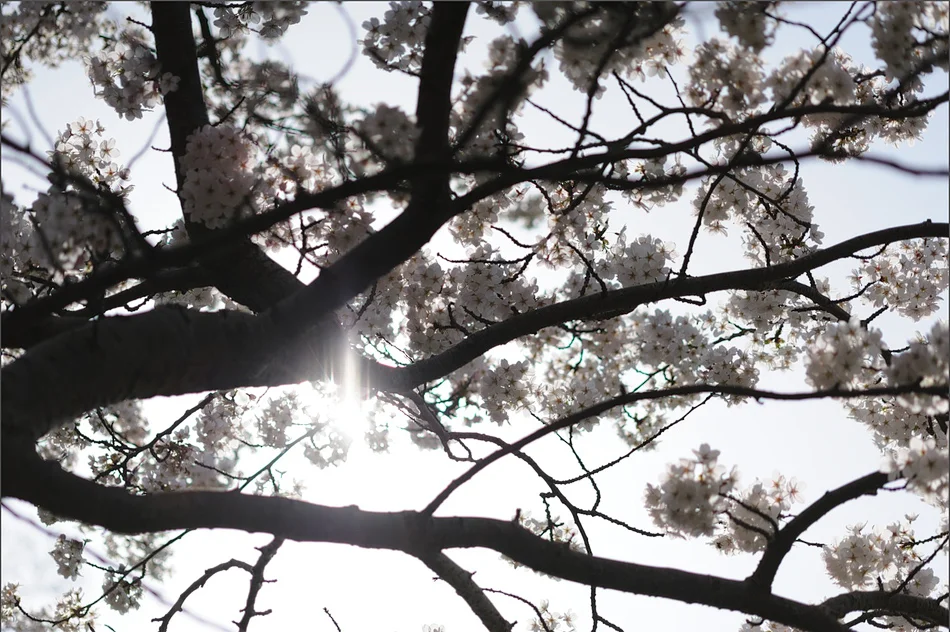
Here's an example from my own library. This is taken with my otherwise excellent Nikon macro lens (click to view large):

Even zoomed out you can see the fringing. Here it is at 100%. As you can see it's pretty bad. And this is not a cheap or bad lens (click to view large).

The new tools in Lightroom 4 allow you to completely remove this fringing. There's some manual work involved, but it only takes a couple of seconds.

I have to say, I'm blown away by this. I've wanted this feature for ages, but I wasn't sure it was even technically possible (although apparently there is other RAW software that can do it)
Anyway, I'll be looking at this some more, and hopefully it might allow me to take another look at images I'd previously written off.
Adobe has a good post about it on their Lightroom Journal and they have a good lay person's explanation as well as some really good examples. As I said at the beginning I'm really impressed with Adobe for continuing to add major features in point updates. I hope this trend continues throughout the Lightroom 4 product cycle.