An Improved Import and Calibration Preset for Sony A6000 Images in Lightroom
A while ago I wrote a blog post about my issues with A6000 images in Lightroom not being calibrated particularly well. I included some calibration settings in the form of a pair of Lightroom presets. Since then, I've been doing some more work on trying to get a starting point that I'm happy with. With that in mind, here is my latest version of my Sony A6000 calibration preset that I'm ow using on my A6000 images in Lightroom.
Issues and Methodology
To better explain how I've come to these settings, let me start by pointing out what I found wrong with Lightroom's defaults to begin with. first of all, I'm using the standard colour profile in my camera, and so I'm basing this on the standard profile in Lightroom too. Even with aa matching colour profile, I've never been happy with the way Lightroom handles A6000 images. They've always seemed too flat and dull, and ever so slightly "off". When comparing the Raw files in Lightroom, to the corresponding Jpegs in Photos (as an example) you can really see a big difference. Even if you apply the standard profile in Lightroom, A6000 images, in my opinion, still have the following issues:
- Contrast is way too low
- Black levels are too high
- Reds are very over-saturated
- Images are brighter (sometimes, but bot always)
In my attempts to solve this, I gathered some images in Lightroom, and I got the corresponding Jpeg files and loaded them into Photos on the mac. That way I can command tab between them for easy comparisons as I tweak the settings in the develop module. After a lot of trial and error, I think I now have a set of settings that should give you very similar results to what you're getting out of the camera.
Here's what I've tweaked, in no particular order:
- Contrast: +5
- Blacks: -10
- Clarity: +4
- Vibrance: +4
- Curve: Custom curve based on medium contrast
- Sharpening: Amount +34 (I feel the files can take a bit of sharpening)
- Luminance Noise Reduction: +10 (to deal with the slight noise in Raw files)
- Lens Correction and Chromatic Aberration: Automatic
- Profile: Camera Standard
- Red Primary - Hue: -5
- Red Primary - Saturation: -24
- Blue Primary - Saturation: +9
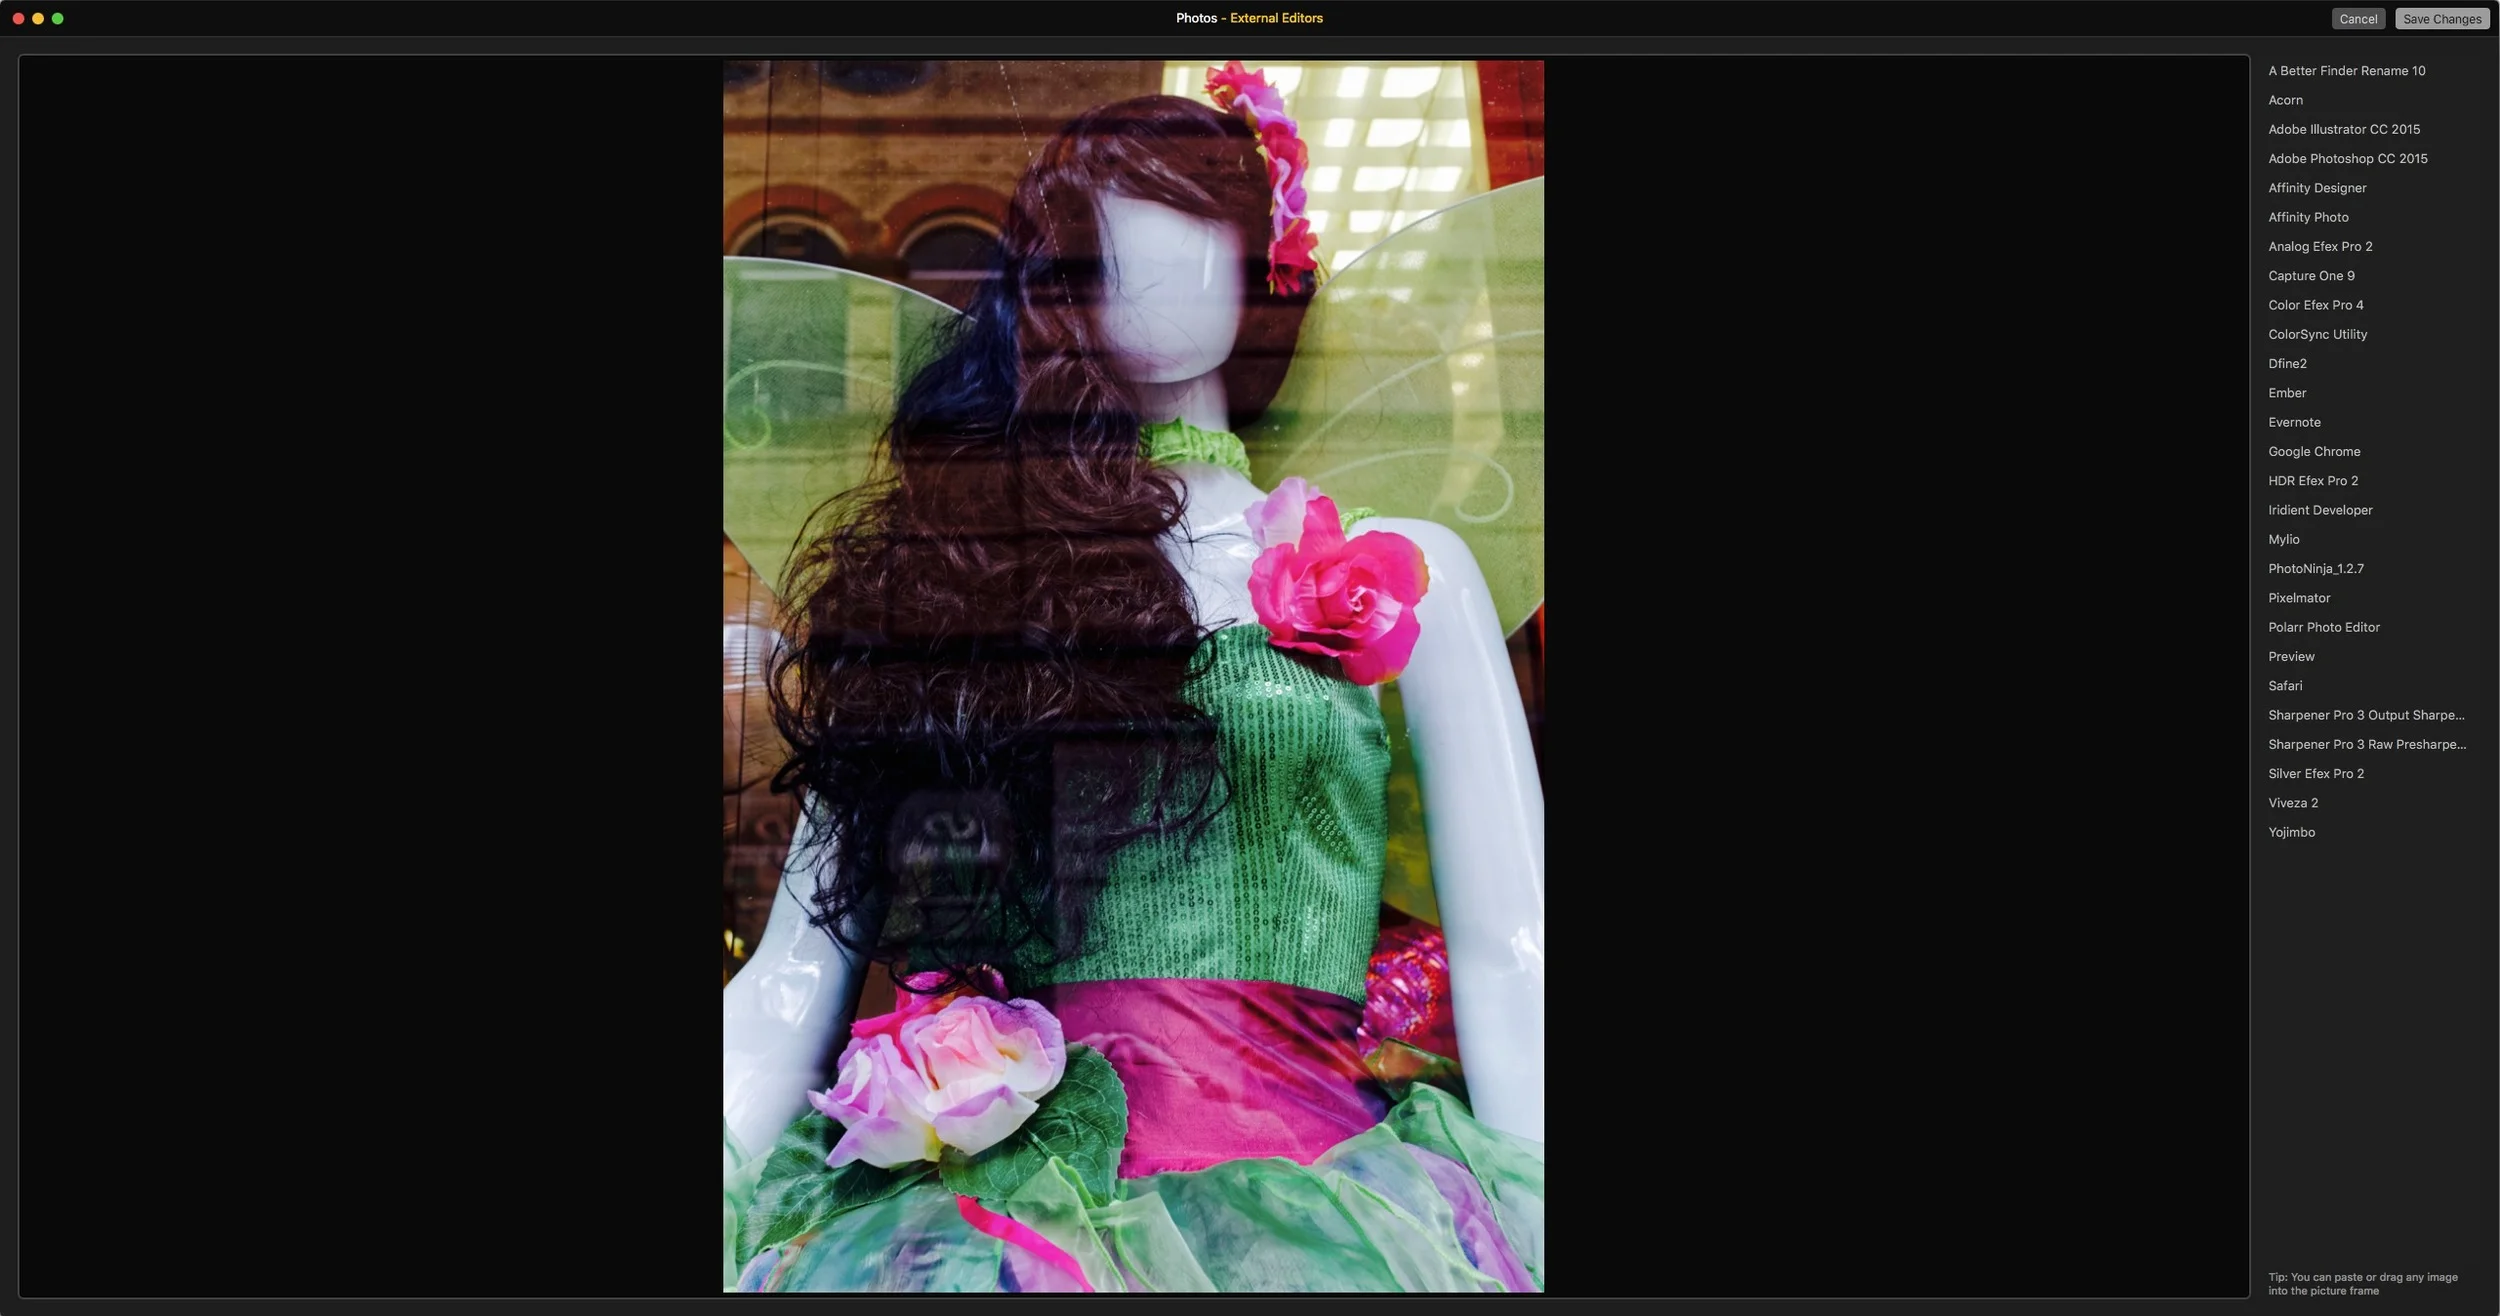
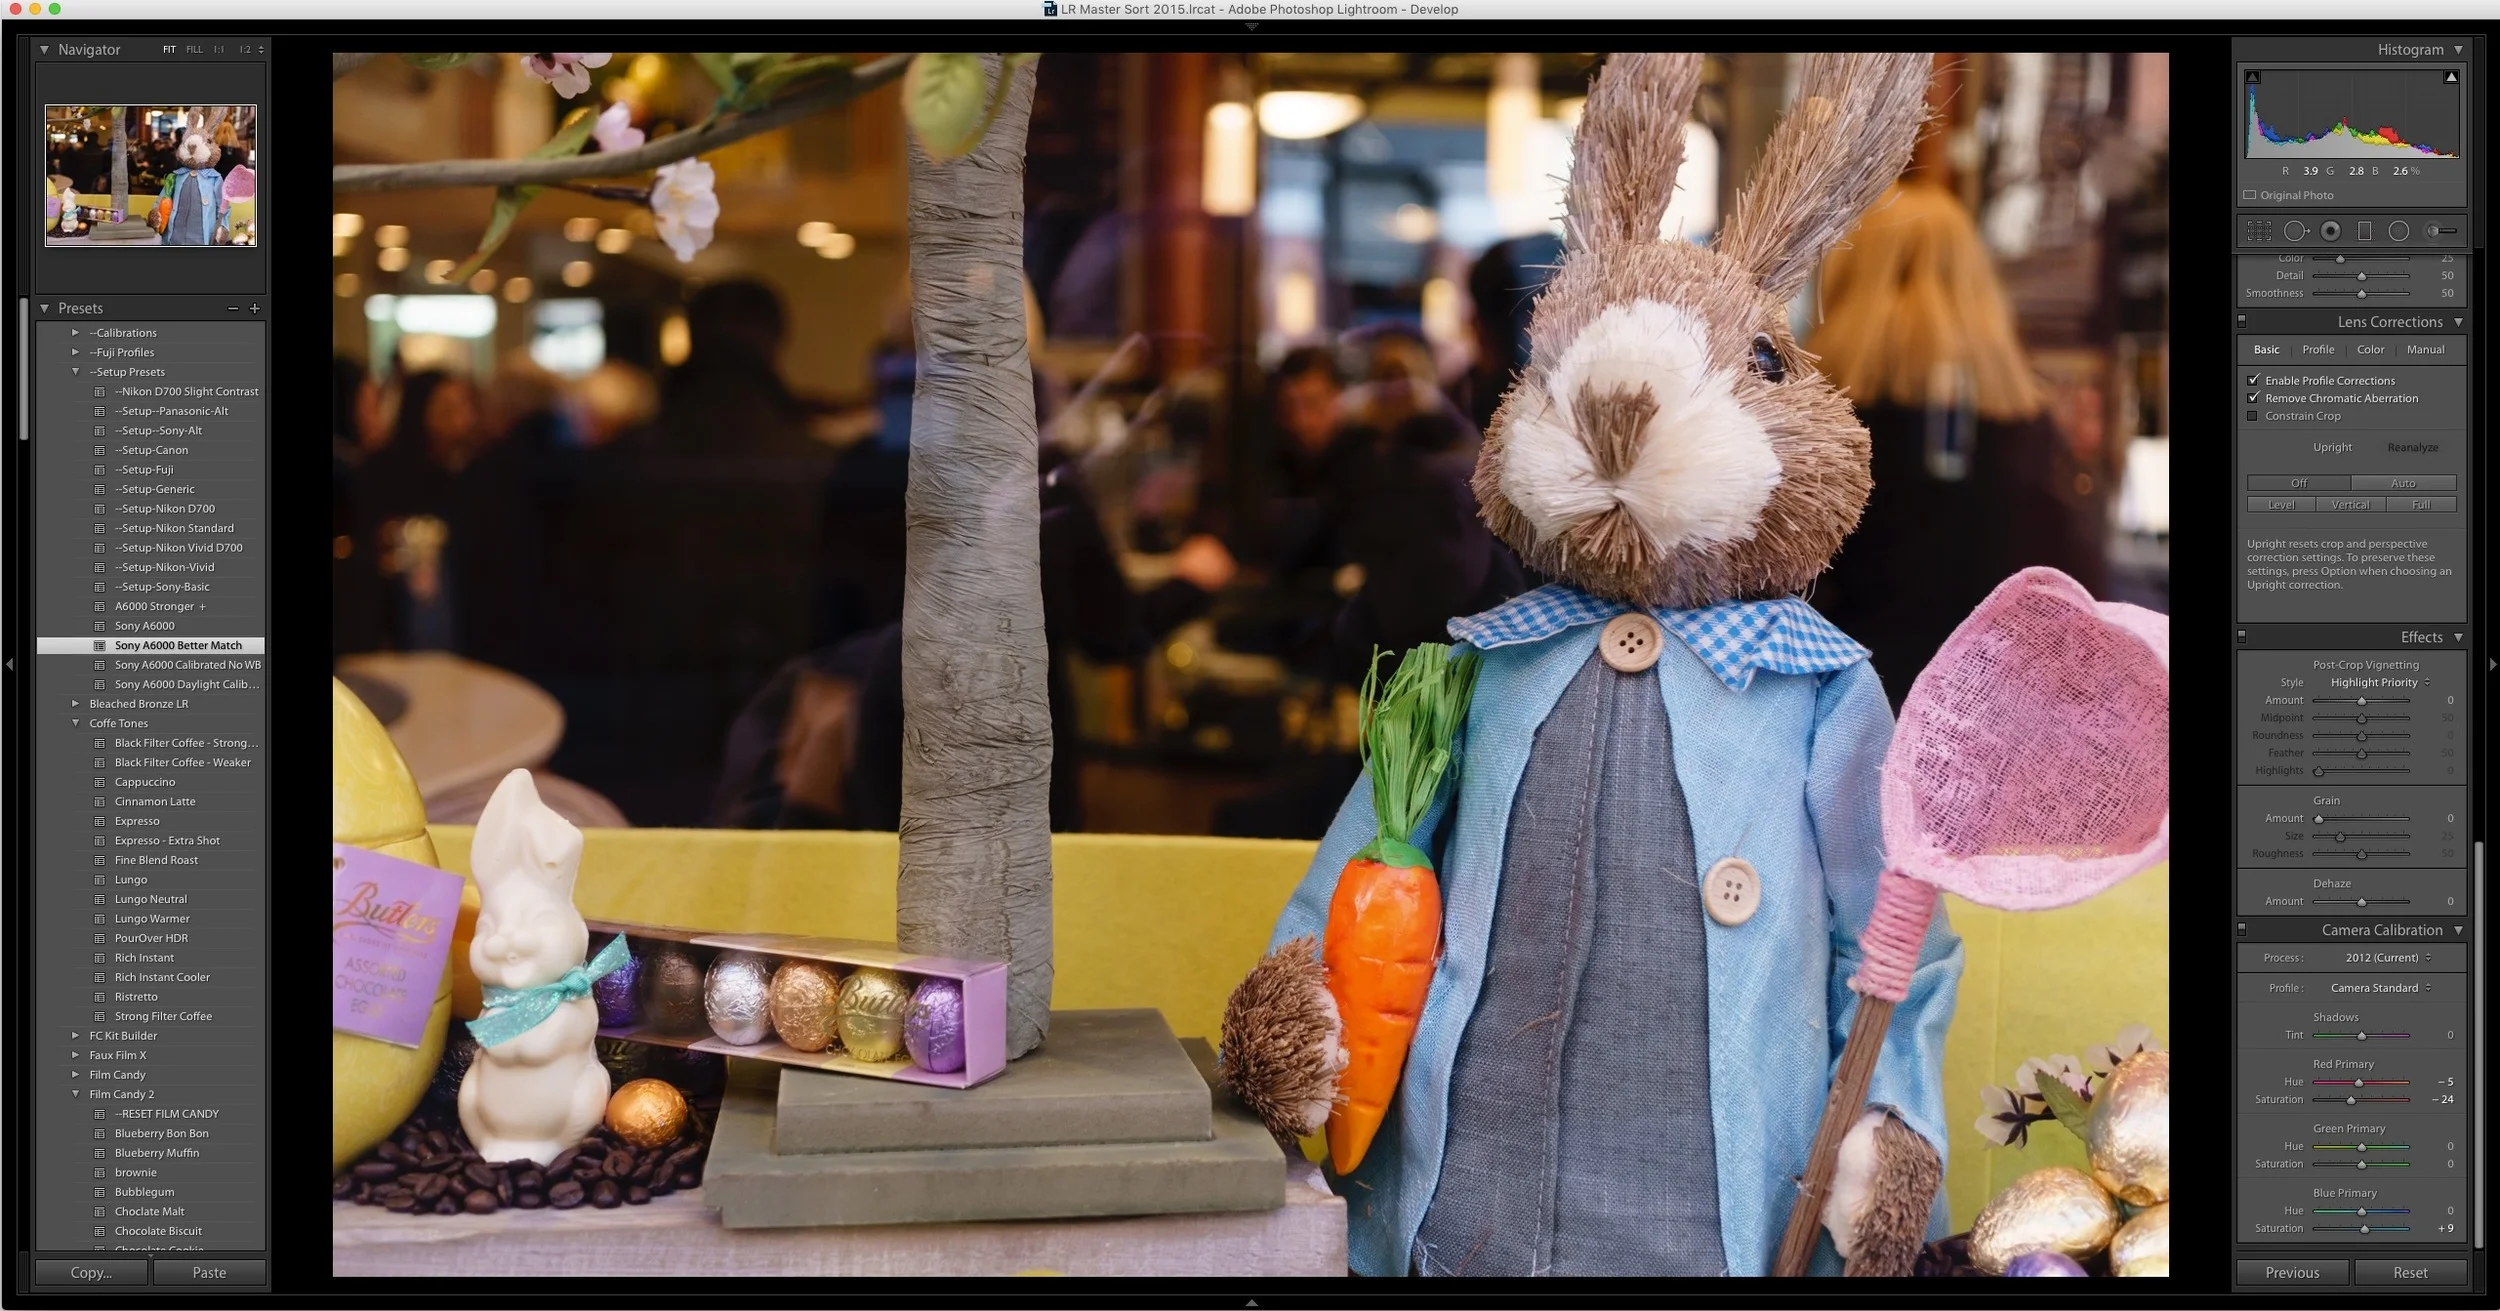
Jpeg on the Left and Raw in Lightroom on the Right. Uncalibrated, just the "Camera Standard" picture profile applied. Notice the blacks in the poster, and the reds on the jumper.
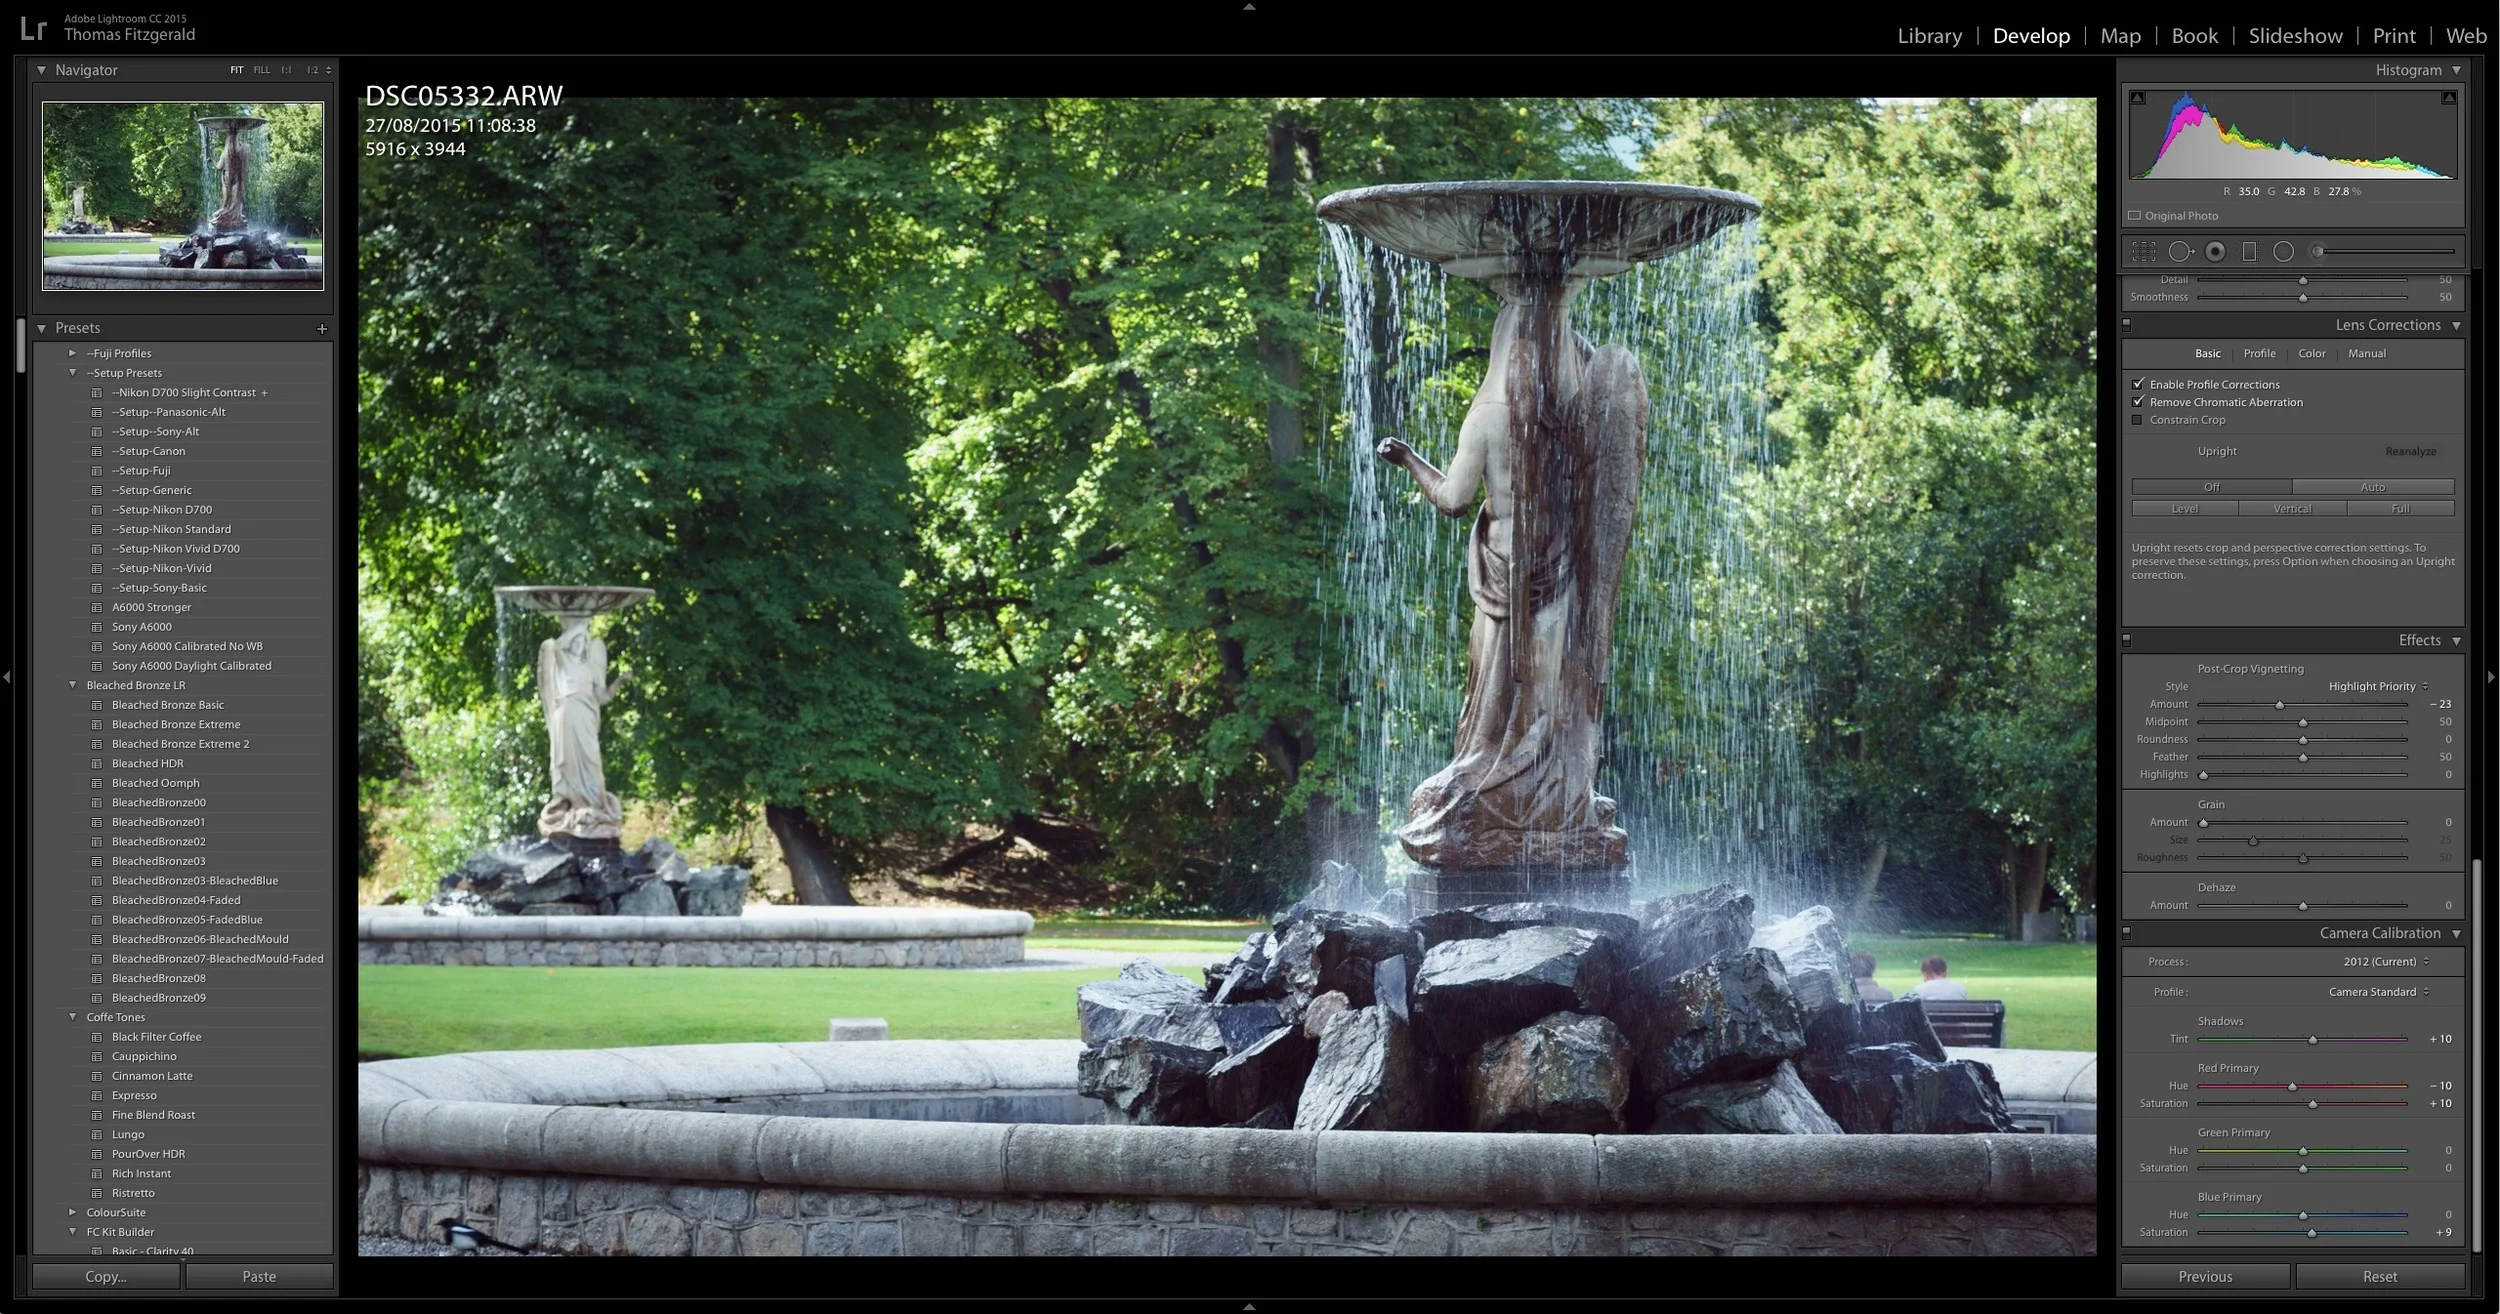
Same image with these calibration settings applied in Lightroom
There you have it. It's still not perfect, but I'm much happier with using these settings as a starting point. I think the blues are still a little off. I'm going to keep at it, and if Ic an improve it further, I'll have another version out in a while! I generally apply these on import by using the "Apply During Import" section of the import dialog box.
I've put these together into a preset that you can download. Just click on the button below.
One of the other things that I've noticed is that raw files sometimes seem to be brighter than the out of the camera Jpegs too. At first I thought it was my own fault for over exposing everything, but I'v e noticed that there can be a clear difference between the raws and jpegs in terms of brightness sometimes. It's not all the time, and I'm having trouble trying to identify any correlation between the type of image and when this occurs. So, I'm not sure why this is the case, but it's something to be aware of.
I hope these settings will be of help to you if you're an A6000 user. I'll be curious to see if the same issues are present when Adobe adds Lightroom support for the A6300 too. If I can get my hands on one, I'll check the settings and give a set-up preset for that too.
As I've been using the A6000 a lot over the past year, I've come across a lot of little things that can be important to note when post processing raw files from the Sony. I am considering putting together a guide for post-processing A6000 / A6300 files in Lightroom, along similar lines to the guides I've done for Fuji X-Trans raw files. If this is something you'd like to see, please leave a comment, or contact me directly. If there's enough demand for it, I'll publish one.
UPDATE
My A6000 guide (as mentioned above) is now available. The new guide e-book for post processing Sony A6000 Raw files in Lightroom covers the calibration discussed above and lots more. It's available now for €5 from my digital download store. Head on over to find out more, and for a sample chapter.