Recent Adventures in Film: Part 1
As I mentioned in a recent post, I’ve recently been shooting more film. It’s been somewhat of a therapeutic exercise, although, the length of time it’s taken me to scan the film has been somewhat frustrating, but more on that in a minute. It’s also been a bit of a learning experience, both shooting and post-processing the film. For this part, I’m going to look at some of my recent attempts at shooting colour negative. I have some black and films white left in with the lab for processing, and I’ll talk about that in part 2.
Shooting
I have a couple of old cameras that I still use now and again when I want to shoot film. My favourite of which is my old Canon Eos 5, the film precursor to the much loved Eos 5D. The Eos 5 was a great camera, but mine had a stuck mode dial, which also doubles as the power switch, so I haven’t been able to use it. However, I was determined to get it going again, and after much poking and prodding, I managed to un-stick it. I think I broke it completely in the process, because the spring is now a little wonky, but at least it was working again!
For the film, I had two rolls of Kodak Portra 160 which I had bought a few months ago, but had never gotten round to using. It’s been a long time since I’ve shot film seriously. It’s a different discipline than shooting digitally, and to be perfectly honest, I am quite rusty.
When I used to shoot film all the time, I would mostly shoot slide film, and I rarely shot with colour negative, so, as well as being out of practice, it’s not something I did a lot anyway. Slide film is more like digital, in that you need to try and protect the highlights. Colour negative has a great deal of lattitude, so even if you don’t get the exposure right, you’ll still get an image. However, unlike digital which doesn’t like over-exposure, negative is unforgiving of under-exposure. As I said, you’ll still get an image, but blacks will be muddier, and the grain will be much more pronounced.
If you get your images printed, or scanned in the lab, it’s often not immediately obvious if they’re under or over exposed (unless they’re really over-exposed), as the lab will compensate, especially if it’s being done in a local lab. They basically do the equivalent of an auto-levels on your images, so you get them back and think, hey, my exposures are all great. But when you look closer you can see the difference.
When I was shooting these rolls, I just shot, relying on my camera’s meter for getting the exposure right. I didn’t rate the film differently, or do any other such tricks. I just wanted to shoot to re-familiarise myself with the medium, and I know this was the wrong way to go about it. While many of the images are fine, there were some under-exposed ones, and you can really see it in the grain, and the general quality of the shots. I had started by bracketing exposures, but I stopped after I realised I would go through both rolls in a matter of minutes If I kept it up.
Processing and Post Processing
My workflow for working with film is straightforward. I get them processed in the lab, but I don’t bother getting prints. Instead I get them scanned, which doesn’t cost that much extra. The lab scans are ok, but not great. They’re done on “auto” and I assume by looking at the results that they have a degree of grain reduction and sharpening applied to them, which results in a mottled look. It’s almost the effect you get with a smartphone camera. Still, they’re fine as a working copy, and they’re fine for posting to social media, Instagram and so on.
I’ll bring the lab scans into Photos and use this as a reference to see the photos (and for posting to Instagram). Then, whatever ones that I want to have proper versions of I’ll scan myself on my own film scanner.
I’ve talked about my film scanner in a previous post, but to recap: I have a very old Canon film scanner, that amazingly still works. It has a few downsides though. The original software stopped working a long time ago, as it was never updated past Mac OS 9. Now, I have to use VueScan, which works great, and lets me still use the scanner, but it has a lot of drawbacks. The biggest of which is that the colour and exposure tends to be all over the place, because the controls are a bit buggy, and as you try to adjust it the results are unpredictable.
It’s also very slow. Scanning a single image takes about 3-4 minutes. Scanning with this scanner is pretty hard, but it’s worth it in the end as it does produce high quality images, but it takes a good bit of work. What you get out of the scanner requires some post production too. It shouldn’t really, as you should be able to do all the corrections in the scanner software, but as I said, it’s a bit buggy because it doesn’t work so well with my old scanner. So instead, I try to maximise the scan to get all the data into the image (i.e. no clipping) and then fix it in Photoshop. I’ll scan as 48bit Tiffs so as to maintain the most mount of information for further processing.
Photoshop has come a long ay since I used to do this regularly. I do most of my corrections using the camera-raw filter. This makes it easy to correct for a lot of the scanners limitations. I will generally duplicate the layer first so that I have a clean version to refer back to, and then do all my adjusting on the top layer. I generally try to get the images looking “right” in Photoshop before saving them. The scans are very malleable, when you scan at 16bits per channel. You can push and pull quite a bit without any break-up.
Just as a side note: on my last post about scanning film, someone commented that they wish there was a raw equivalent for film, but to be honest it’s not needed. There’s a common misconception that RAW stores more information, but it doesn’t. It just stores information differently. A 16bit scan will actually have more information than a 12 bit or 14 bit raw file. Because it’s coming form an analogue source, there’s no “steps” in the data, so if you scan at 16bit’s per channel, you’ll get the full 16 bits of information.
Once I’ve finished scanning and adjusting in Photoshop, I’ll import the files into Lightroom, where I’ll do any creative adjustments that I want to make. This way, I still have the originals, and also, I can keep them for use in my various publishing services etc. Finally, for exporting to post on the web, I use Lightroom’s export, because it has output sharpening built in, and it also lets me add a signature with relative ease.
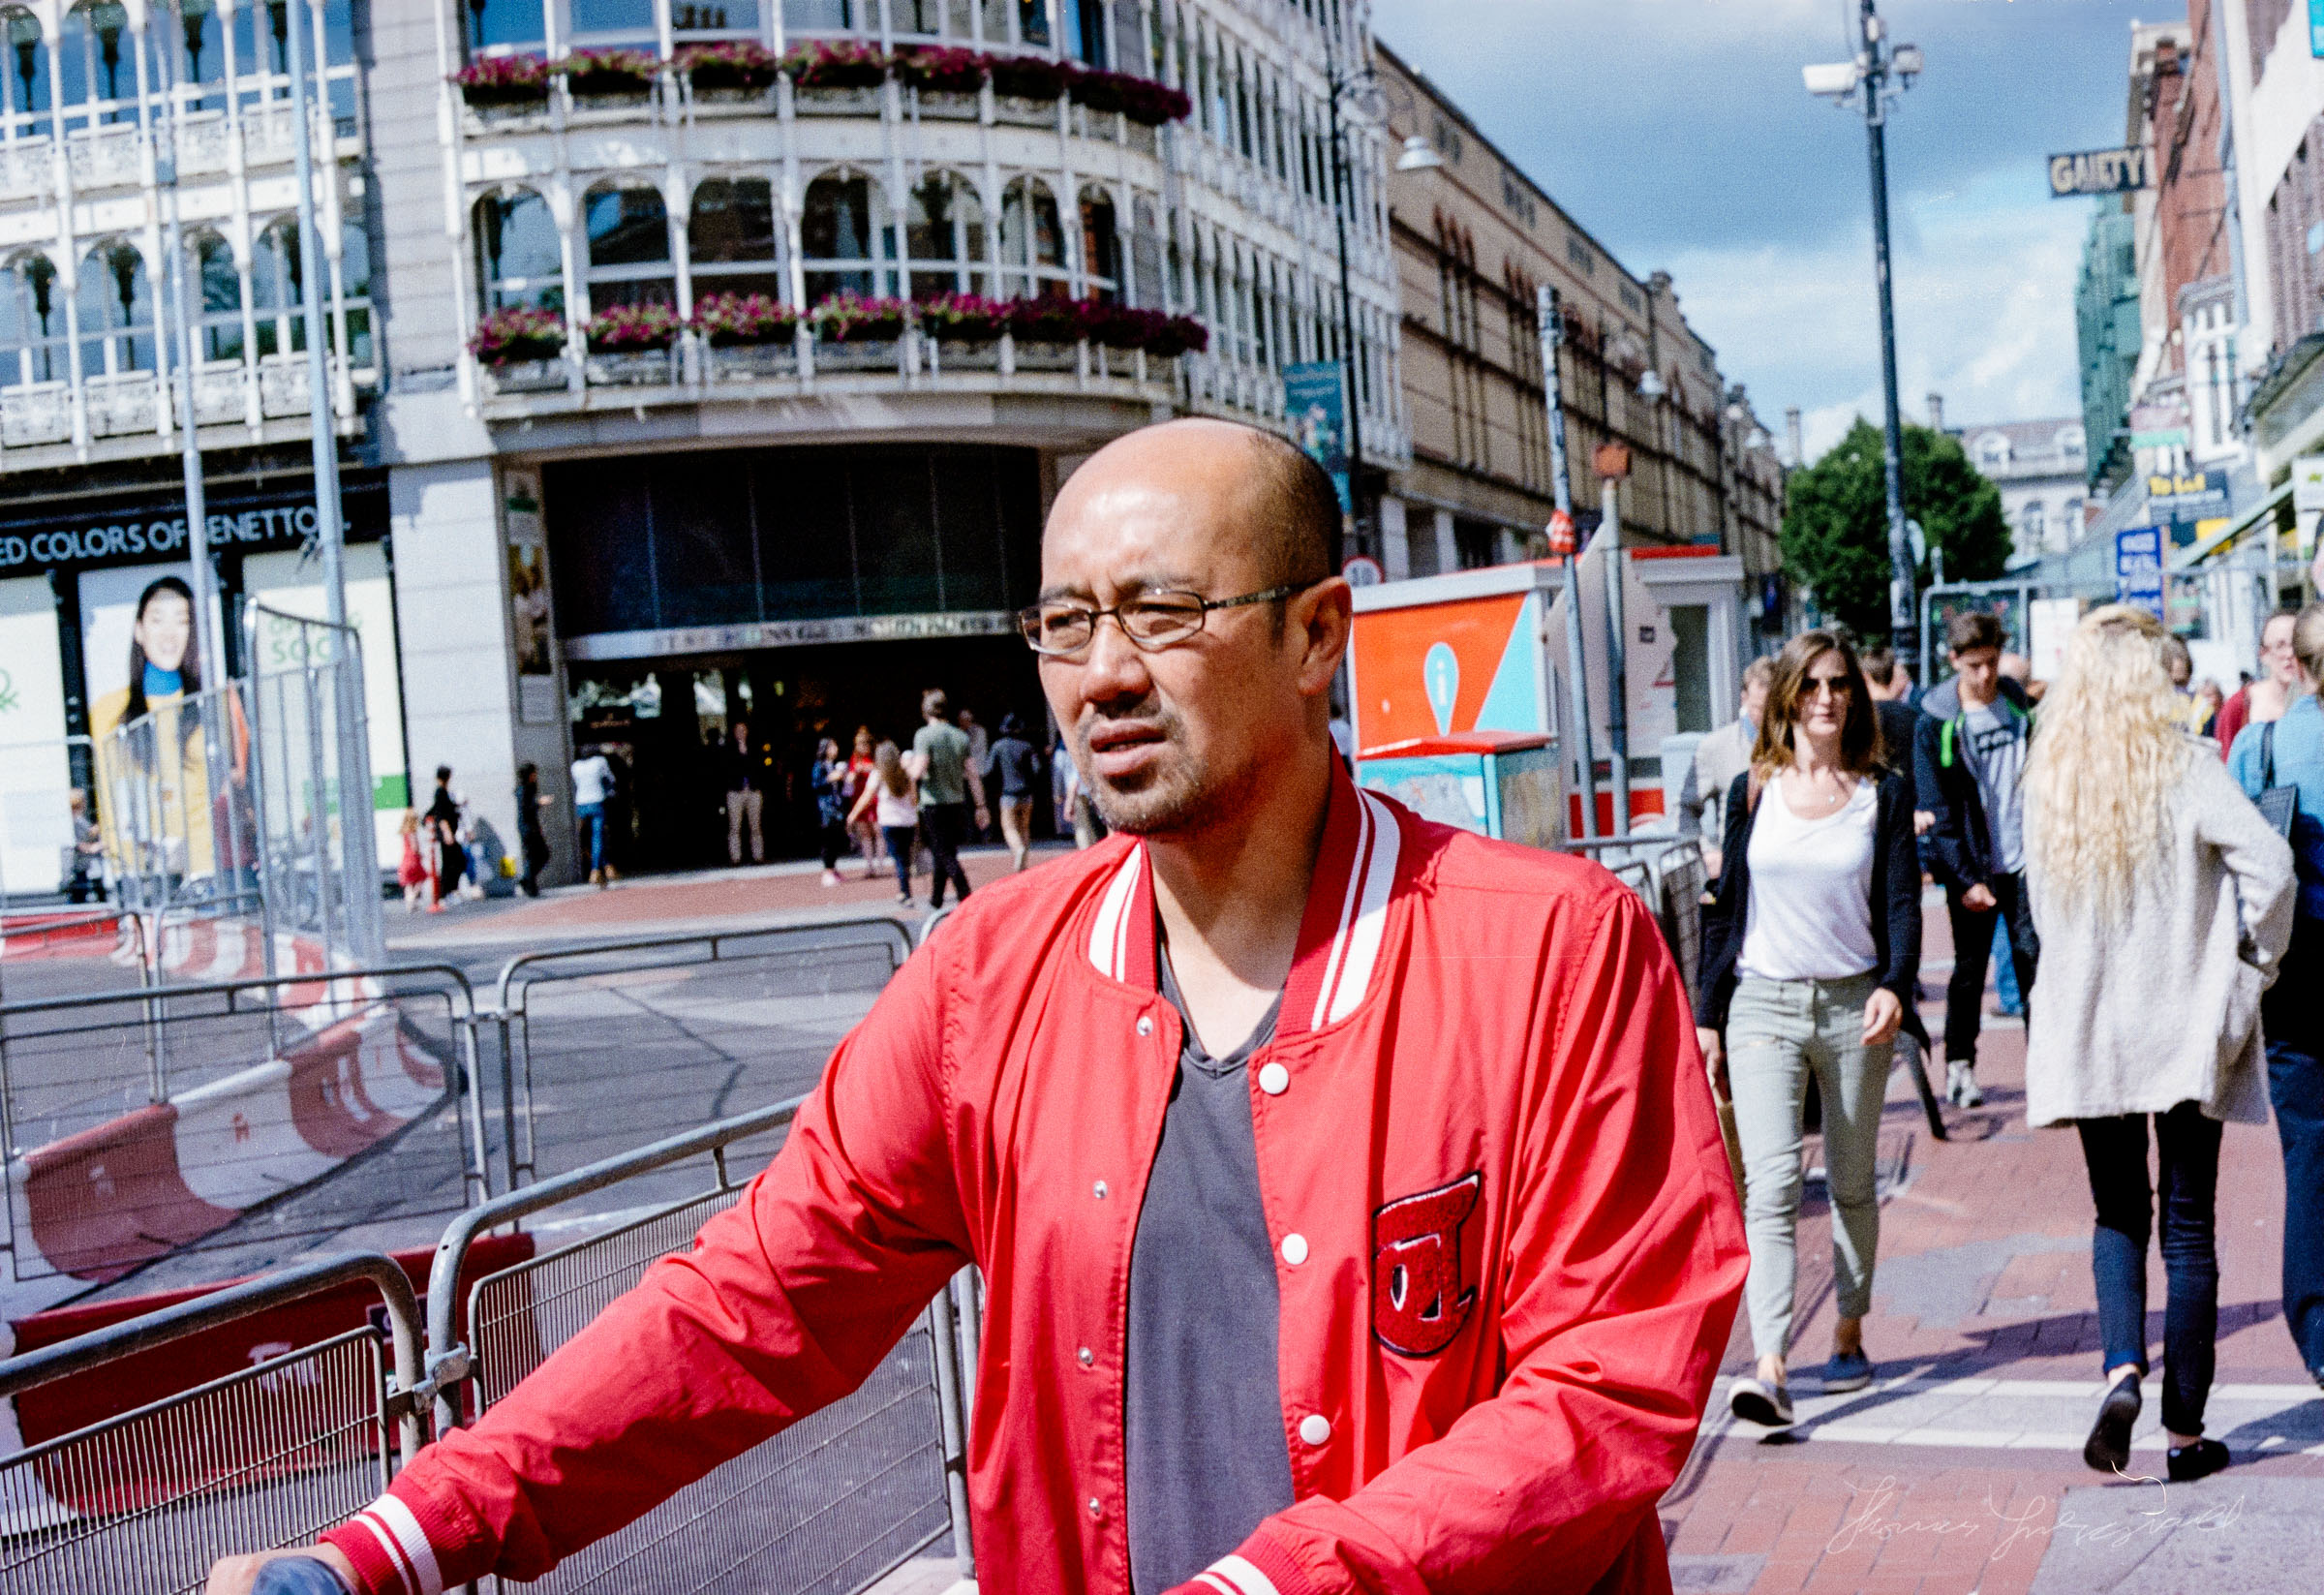
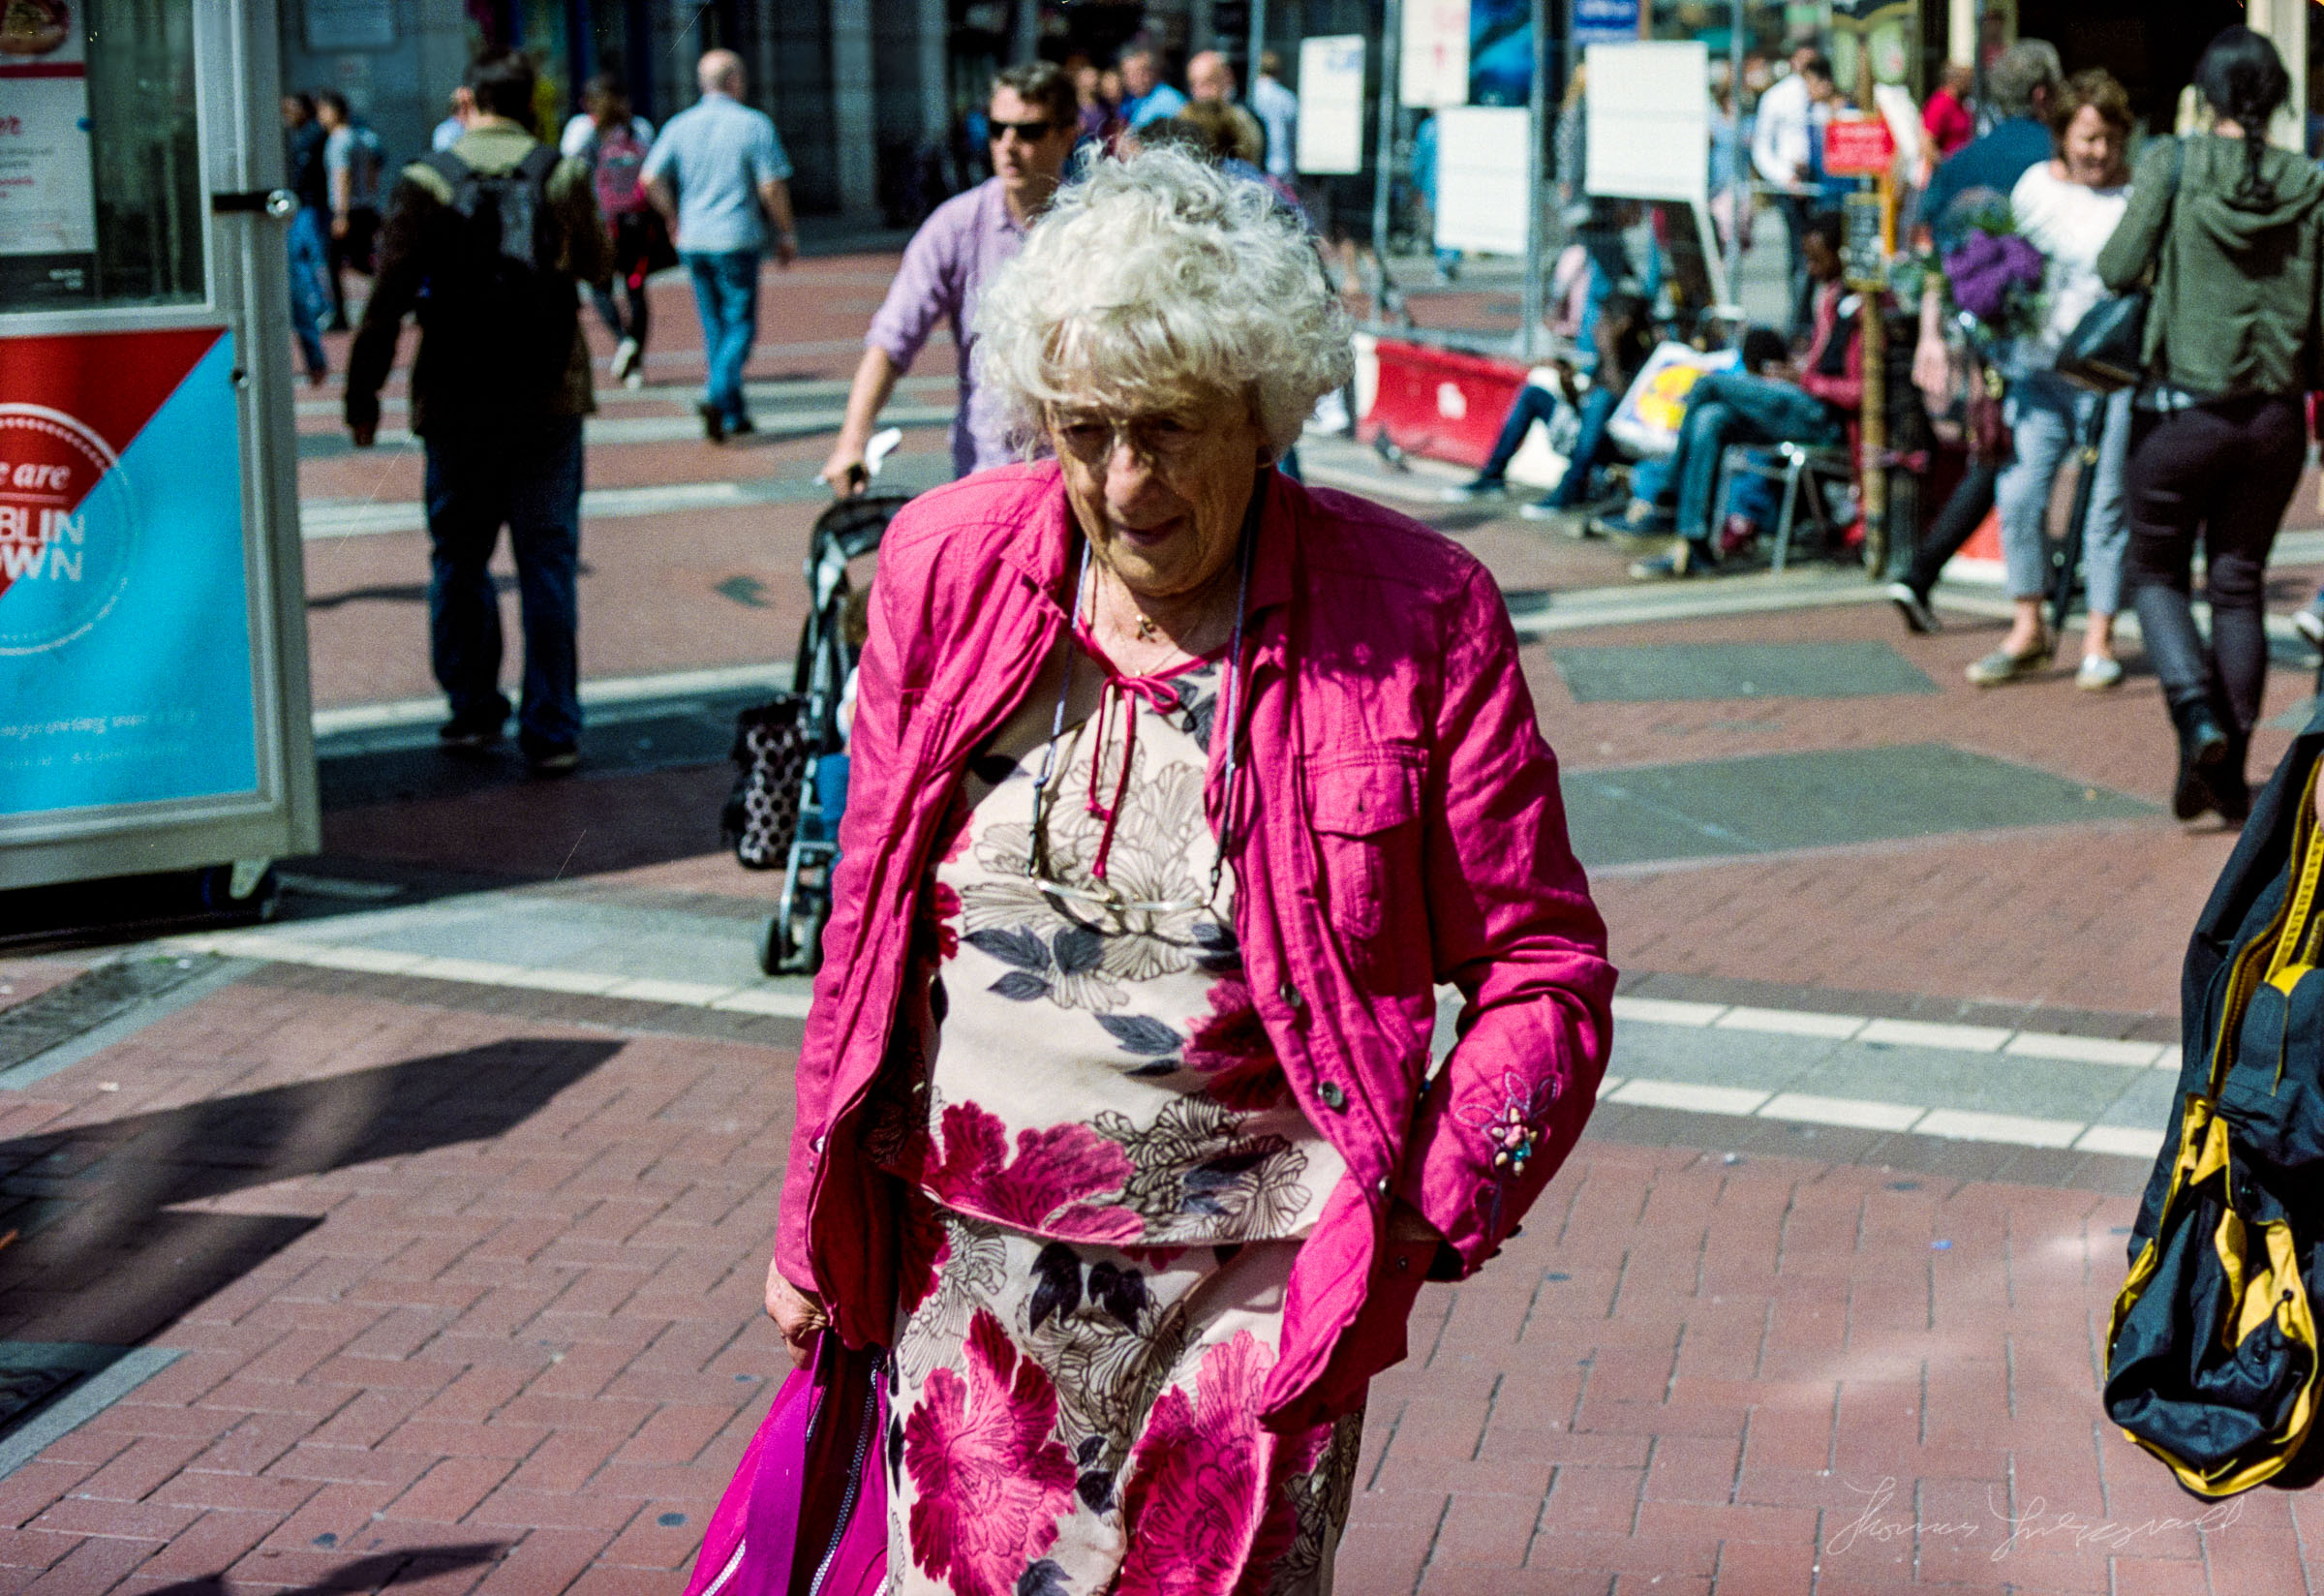
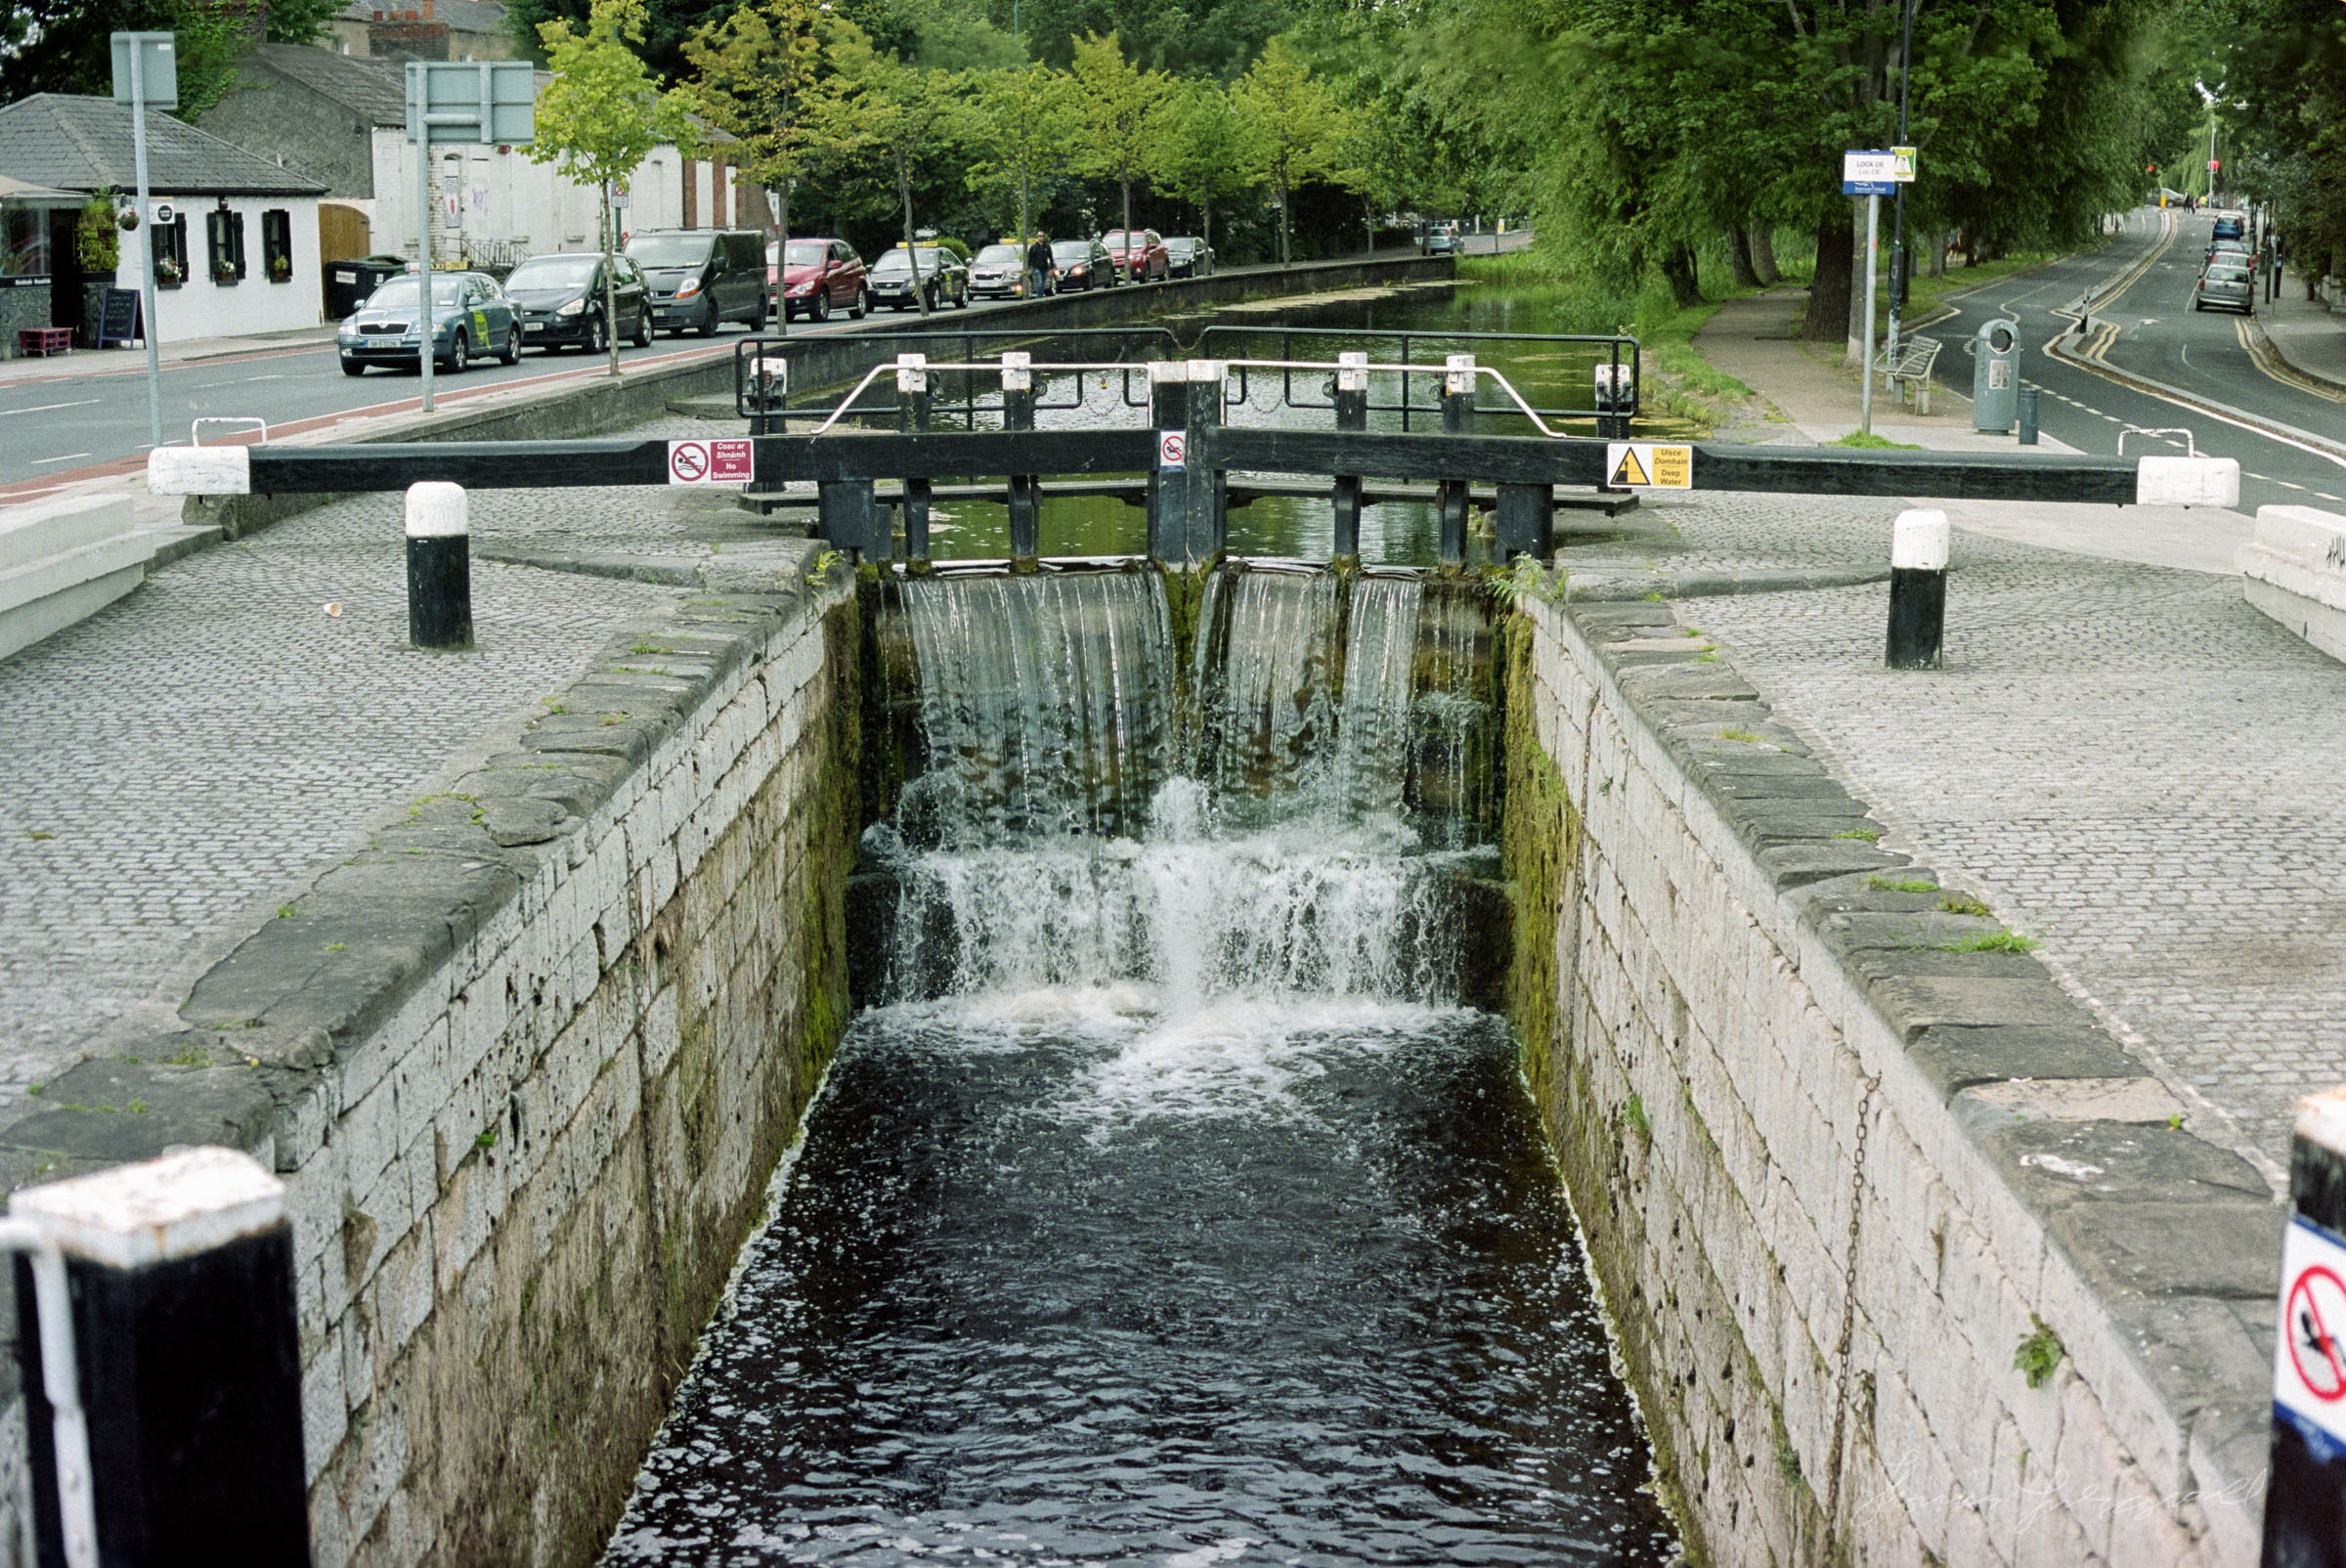
And so, here are the results. These aren’t great, I know, and I made quite a ew mistakes with the shooting. I also had some difficulties getting the colours right when scanning due to the software. I have pushed them a bt in Lightroom too, tweaking and enhancing some of the shots. I know for some film shooters, this is probably heresy, but anyway. The whole thing has been an interesting experience, and I want to shoot more to try and get it right. The next time I will try rating the film differently, and being more careful with my exposures. I also want to shoot some slide film again, although it’s hard to get that processed her in Ireland, and it’s expensive.
Help Support the Blog
All of the work I do here, and the information on this blog is done entirely free of charge and takes up quite a bit of work. I want to spend more and more time on this blog, and offer more and more of this kind of information, tips and so on, so If you like what I'm doing here and want to show support, then you can do so by buying something from my Digital Download Store. I have Lightroom Presets, and e-books all available for download.
If you're a Fuji X-Trans shooter and Lightroom user, check out my guide to post processing X-Trans files in Lightroom. I also have a guides for processing X-Trans files in Capture One and Iridient Developer.
If you want to get regular updates, and notices of occasional special offers, and discounts from my store, then please sign up for the Newsletter.


