
Datacolor Spyder X Rolling Review - Part 1
Having worked in both the print, photography and video industries for a long time, I’ve always appreciated the importance of having a properly calibrated display. It can actually make a huge difference, especially if you’re collaborating with others or having you work printed or so on. Over the years I’ve used a variety of calibration tools, and I’ve recently been trying out a new calibration system for my computer, the Datacolor Spyder X.
I have previously used both Pantone and X-Rite calibration tools. Originally I bought the Pantone Huey (when I first started working freelance) but Pantone stopped supporting it, and the software ceased working with newer versions of macOS. More recently I’ve been using a Colormunki Display from X-rite. This worked reasonably well to calibrate my display, but I fond the software a bit confusing, and it was difficult to get it exactly the way I wanted it. I had recently installed a new operating system on my computer, and I hadn’t gotten around to reinstalling the calibration software, so it was fortuitous timing when Datacolor contacted me and wanted to know if I would be interested in reviewing the Spyder X.
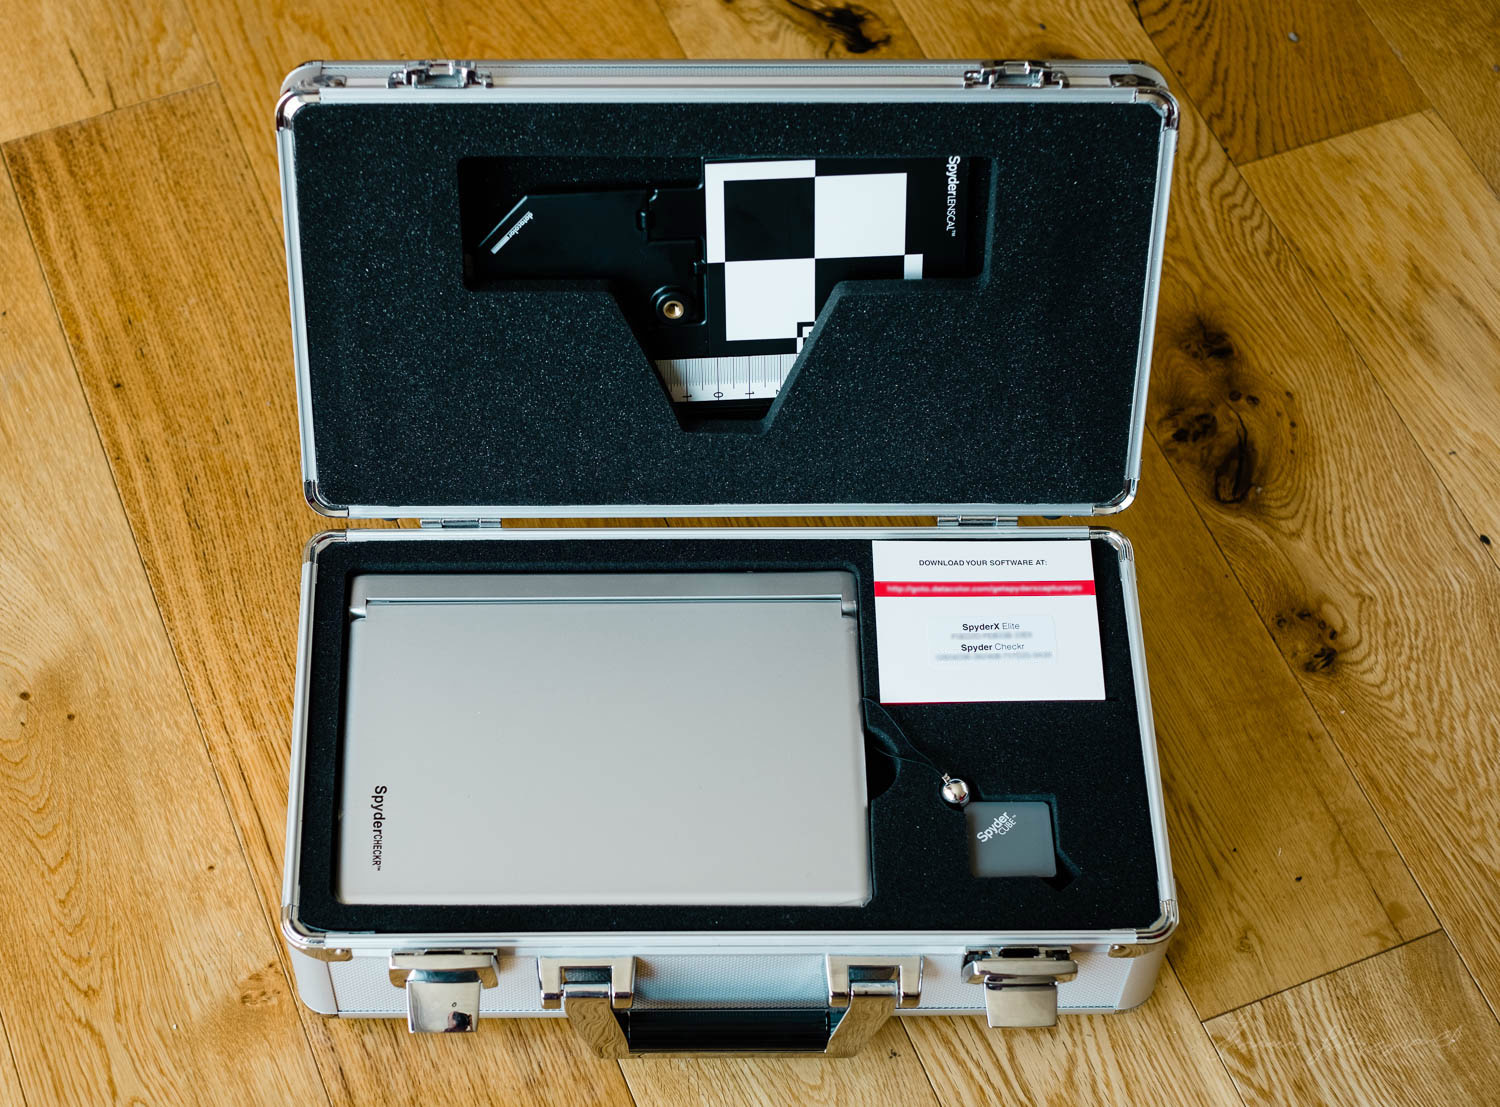
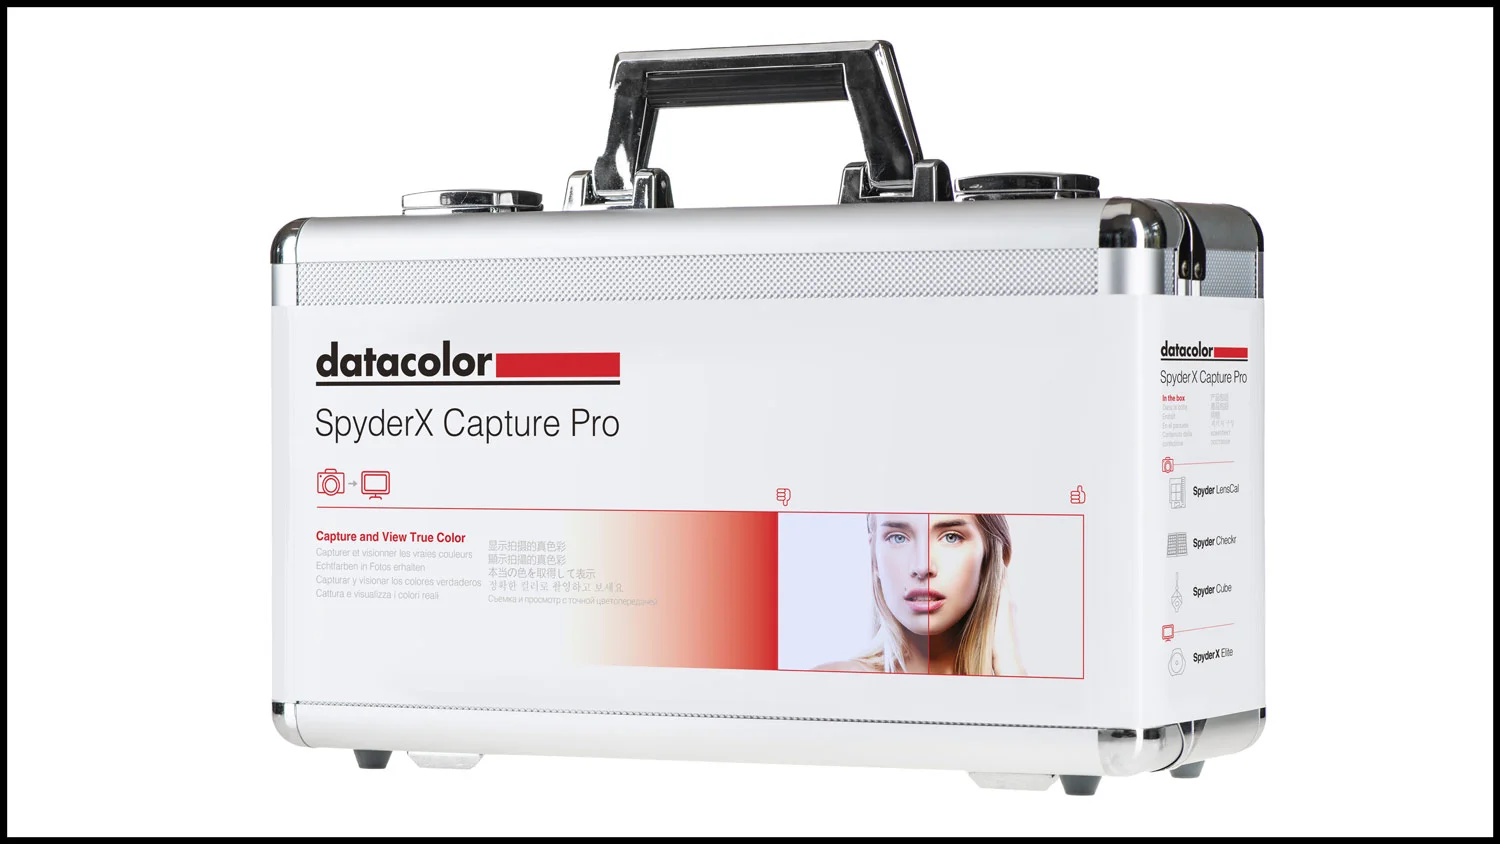
The company sent me the full Spyder X Capture Pro package, which consists of the hardware calibrator, a colour checker, and a lens calibration tool. This all comes in a nice hard case for transportation.
In this first part, I’m just going to look at the calibration hardware and software, and I will get to the colour checker and lens calibration tools in another blog.
If you’ve never used a hardware calibrator before, the principle is pretty simple. A device connects to your computer which you place on your screen, and the software runs your display through a series of colours and the device measures the colour. It can then use the amount measured for each colour and then create a profile that is applied to your display to correct it from the measured values to pare-determined “correct” value. Many calibrators also measure the ambient light and adjust the brightness of the display so that it is in the correct range.
That’s the simple version. But it's a little more complicated because there are several different variables, such as the type of backlight, the range of colour that you display is capable of showing and so on.
The hardware itself is pretty well made. It’s a hard plastic on the outside, and on the underside, when yo separate it from the holder is the lens. It feels heavy, and it doesn’t feel cheap. The other ones I’ve used were all light plastic with a much cheaper feel, but this is quite substantial.
The Datacolor software is pretty straightforward to use. There is a default mode which walks you through the process, a mode for matching displays if you have more than one monitor, and an expert mode that lets you set various options. Following the steps is pretty straight forward.
The first thing it does is measure the ambient light in the room and tells you what brightness level it suggests for the monitor. Then you place it on the screen and follow the onscreen instructions. It’s pretty straight forward. Once it’s finished you can see the before and after calibrations and save the colour profile.
The first time I did it, I wasn’t completely happy with the results. The monitor looked to have too much of a green tint to me. As I said at the start, I’m pretty used to calibrated displays, and I know what they should look like. I think I may not have had it sitting properly on the screen, so I ran it again, and got a different result, but it was still a little green for my tastes. Then I realised that my screen was a little dirty, so I cleaned it and did it again. The third time it was very close, but I still felt it had a slight green tint.
The software has a way to rectify this if you're not 100% happy. Called “Spyder Tune” it lets you offset the calibrated colour giving you simple controls. I added a tiny bit of magenta and quickly resolved the green tint. One of the features that I like is you can select the target colour space. This is useful to me as I work in both photography and video, and you can calibrate your display for common video colour spaces, including REC709, Pal, NTSC and so on. You can create profiles for each and then switch between them when you need to. Once you’ve finished calibrating your displays, the software keeps a menu bar its where you can access various functions, including recalibration, and also remeasure the ambient light of your room.
You should periodically recalibrate your display, and the software will remind you when you need to do so. It also gives you the option to check the current calibration to see if it has drifted.
There are other features of the software that I haven’t fully tested yet, including the ability to match multiple displays, and the ability to soft proof for printers, and interestingly enough tablet displays as well. You can also set the software to perform a diagnostic analysis of your display, and measure things like Gamut, tone Response and so on. I will cover these features in a future post, as I'm curious to see how far my monitors drift over time.
So what are my initial views? So far I’m impressed. Datacolor has a solid reputation. I know a few post-production facilities that use them to calibrate all their professional monitors and I can see why. The software is fast and seems mostly accurate. The tuning options are really valuable to have, and the expert options are pretty useful too. It’s certainly more advanced than the ColourMunki I was using.
More to come…
If you’re interested in this, the “Spyder X Capture Pro” package I’m testing here is available for around $399 and you can get it from BH Photo or Amazon. It’s also available a few different bundles, including just the calibrator on its own.
Help Support the Blog
This blog is pretty much my day job now and I work to bring you my own take on photography, both tutorials and tips, as well as inspiration from my own art. I support this work, and my YouTube channel entirely either via sales of my eBooks and Lightroom presets, or the kind support of my readers. (I also have one affiliate ad). Running all this isn’t cheap, and so If you like what you see and you want to help keep this all going, there are a number of ways you can do so:
You can support me on Patreon. If you like what I do here and find the information useful, then you can help by subscribing to me on Patreon. As well as helping keep this blog going with even more useful news, tips, tutorials and more, members also get special Patreon only feed, which gives you behind the scenes content, as well as monthly downloads (for the top tier), for only €2 or €5 a month Stop by and check it out.
Buy me a coffee / Tip Jar. If you want to support the blog but don't want to sign up for Patreon, you can buy me a coffee via PayPal with a one off donation to my PayPal tip jar.
You can also show support by buying something from my from my Digital Download Store where I have Lightroom Presets, and e-books available for download. If you're a Fuji X-Trans shooter and Lightroom user, check out my series of Fuji Guides. For Sony Alpha shooters I have a guide with tips on how to get the best from processing your A6000 Images in Lightroom.
If you like this post then you can see more of my work on Instagram, Twitter and Facebook. I also have a YouTube channel that you might like. You should also check out my other Photography Project: The Streets of Dublin. If you want to get regular updates, and notices of occasional special offers, and discounts from my store, then please sign up for the Newsletter.


