

Lightroom Classic 12: Major Upgrade - New AI Masking Tools & More - First Look at the New Features
Yesterday Adobe released Lightroom Classic version 12 along with the corresponding versions of Lightroom Desktop, and Photoshop Camera Raw. All of these feature some significant improvements to masking and other new features. For the purposes of this post, though, I’m only going to talk about Lightroom Classic.
I have actually been using this for a little while, and I wanted to get a video and post out in time for the embargo lift yesterday, but I got swamped with client work. Let me just say, though, that this may not seem like a huge deal at first, but after some time using it, it changes the way you use Lightroom. Once you adapt your workflow, you’ll wonder how you lived without these new tools. But more on that in a minute.
Lightroom Classic version 12 has several key new features, but the big one is the addition of AI masking tools. Before I get to that, let me first talk about two of the other additions.
Switching the Panels in the Develop Module
The first is something that I know some people were asking for, although it’s not something that I particularly need. Adobe has added the ability to swap the left and right panels, either in the whole software, or just in the develop module.
The option is a tiny checkbox in the preferences, so if you want to do this, here’s what to do:

Swap left and Right Panel Option in Lightroom Classic 12 Preferences Window
Go to the Preferences window in Lightroom Classic, and then go to the Interface tab. Here you’ll see two options:
- “Swap Left and Right Panel Groups” - This will swap the left and right panels across the entire interface of Lightroom, including both the Develop and Library modules.
- “Swap Only Develop Left and Right Panel Groups” - this just swaps the left and right panels in the Develop module only.
Note that you need to restart Lightroom for these changes to take effect. (Why, Adobe, why????)
Content Aware Fill in Lightroom
With the release of version 12, Adobe has finally added content aware fill to Lightroom. This behaves similar to how it would in Photoshop, but you only get a brush tool to select objects to erase, so there’s no lasso or patch tool.
To use the tool, in the develop module, go to the healing section. Note that the interface has changes lightly, and you now have a series of tools within the develop module. You’ll find these across the top of the adjustments panels, just under the histogram. When you switch to any of these now, you can get back to the standard adjustment sliders and tools by clicking on the first of these icons (or by pressing escape)


When you choose the healing toolset now, you’ll get three options. The first is the new content aware erase, and the second and third tools are the normal heal and clone.
Just as with Photoshop, your mileage on this will vary depending on what you’re trying to erase. It has problems with items near the edge, but otherwise it works well. It’s great to have one less thing to need to jump over to photoshop for.
Masking Updates
The big change with this release is the improvements to the masking tools. You now get several more AI-based selection tools in addition to the sky and subject selection of the previous version.
These include:
- Objects: You can now select objects in your scene, by either drawing over them with a rough mask, or using a rectangular lasso.
- Background: This is basically the same as selecting a subject and inverting it.
- People: Lightroom will now scan an image for any people and give you the ability to select any people in the image it finds. Not only that, but when you select a person to mask, it gives you further options to just select various features, such as face, hair, eyes etc.
This is a huge deal for portrait work, and takes a lot of the pain out of selecting and masking parts of a scene. It’s really useful in other kinds of photography too.
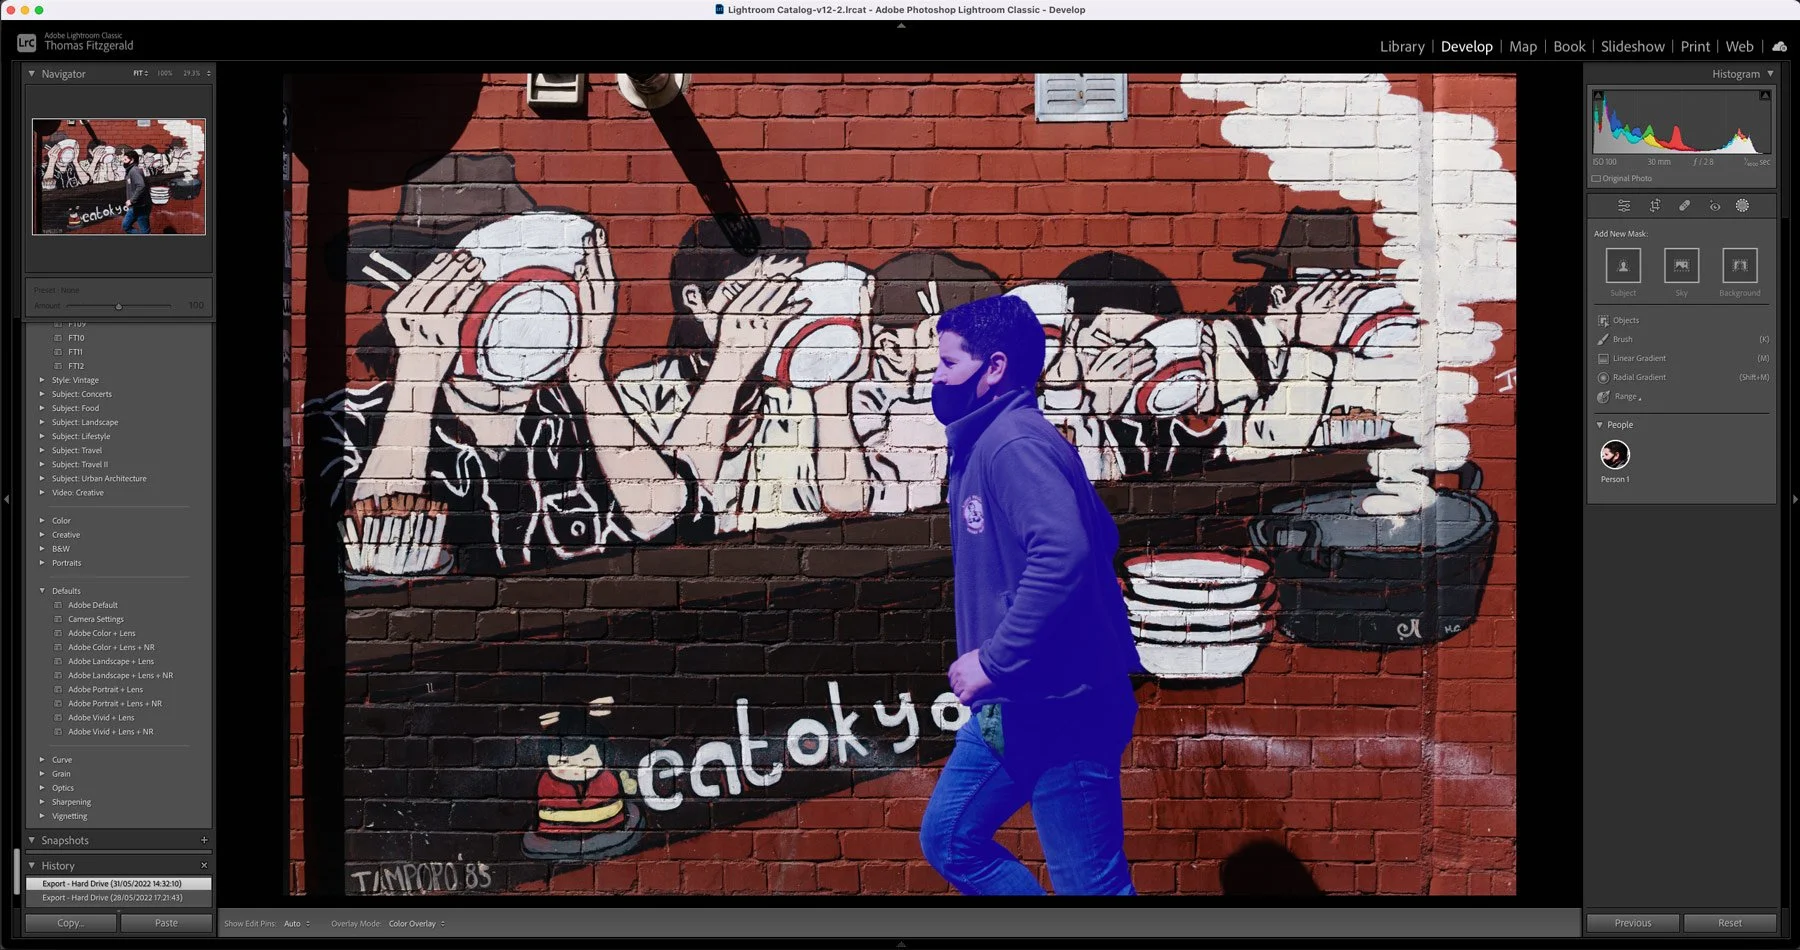
Masking people in Lightroom Classic 12
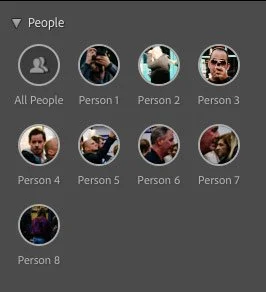
Select from people in the scene
To give you an example, here’s a real-world situation that I came across recently, where the new tools made a big difference.
I had been out shooting some street photography, and the light was very harsh, and the contrast in the scene was very high. I rounded the corner and there was a tourist in front of me who had a really interesting looking outfit, and so I took the shot. However, he was in shadow and there was a dynamic lighting situation happening behind him. I wanted to maintain the contrast of the scene behind him, but I also wanted to bring him up. Using just shadow and highlight would have totally flattened the scene, and so the only way was masking. You could, of course, have done this manually, but with the new tools, all I had to do was select the people masking option, and then select the person from the selector.
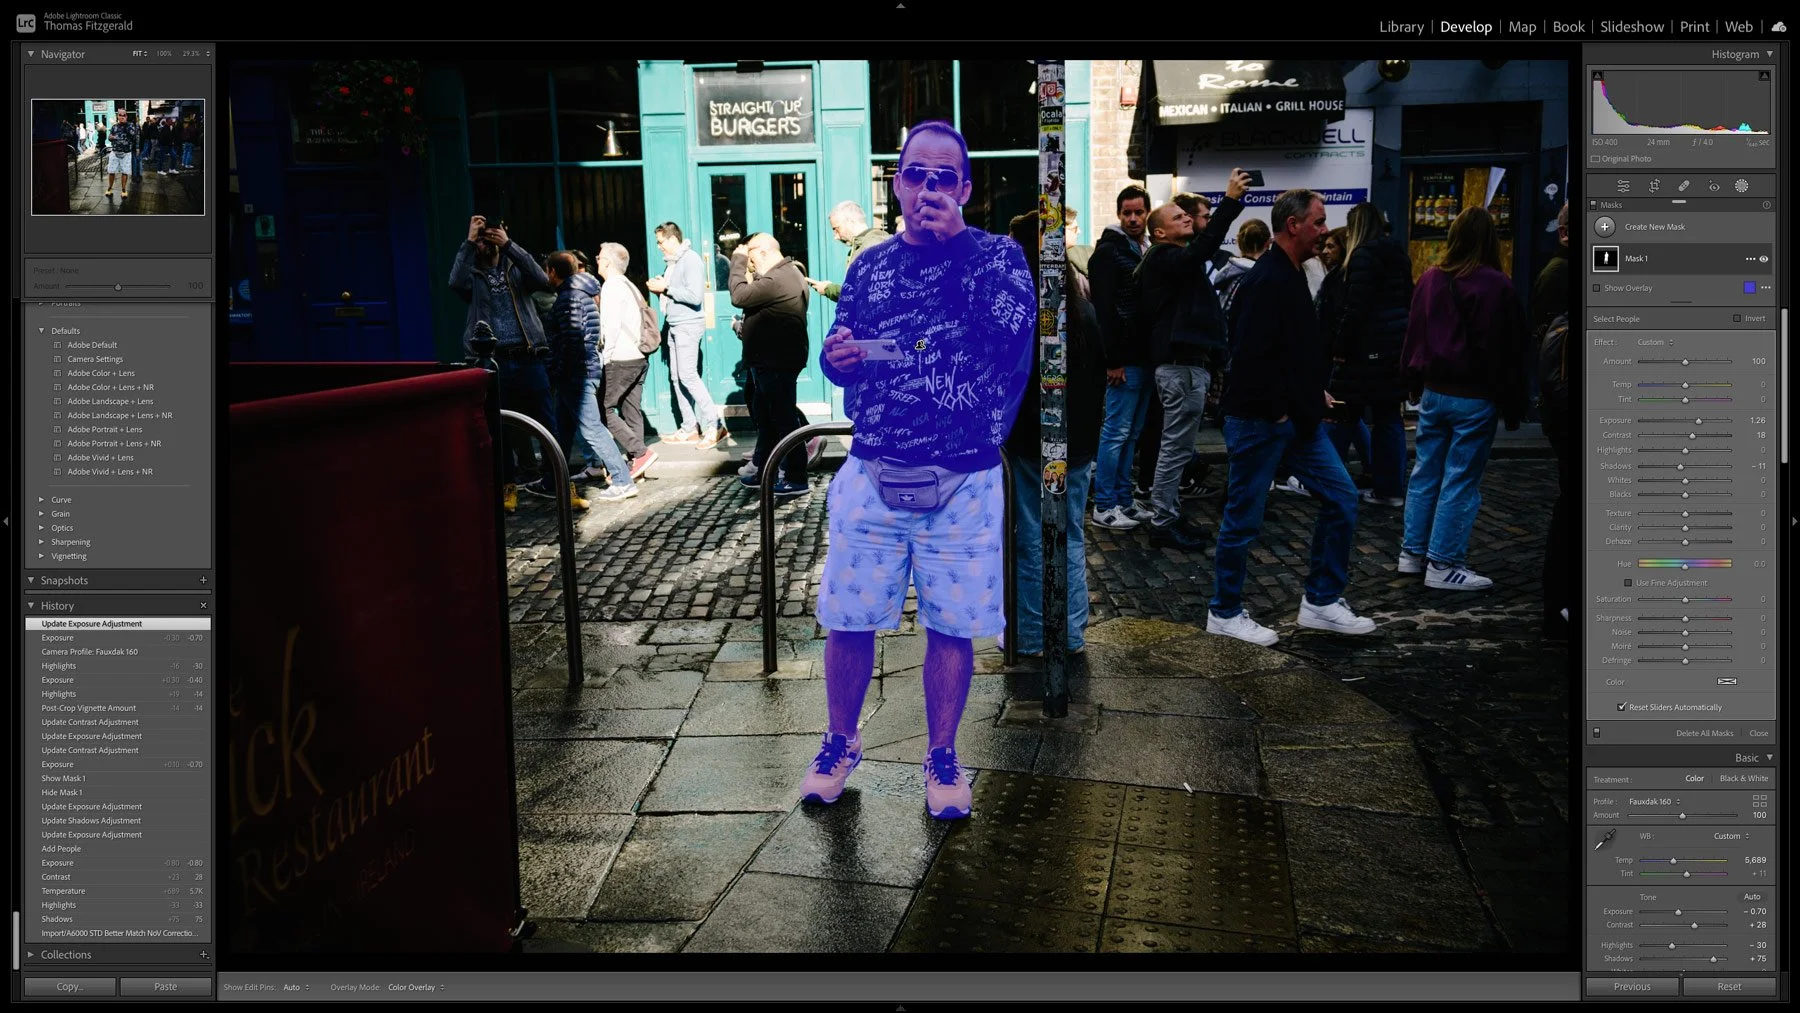
Selecting the person to adjust for the subject being in shadow without affecting the background lighting
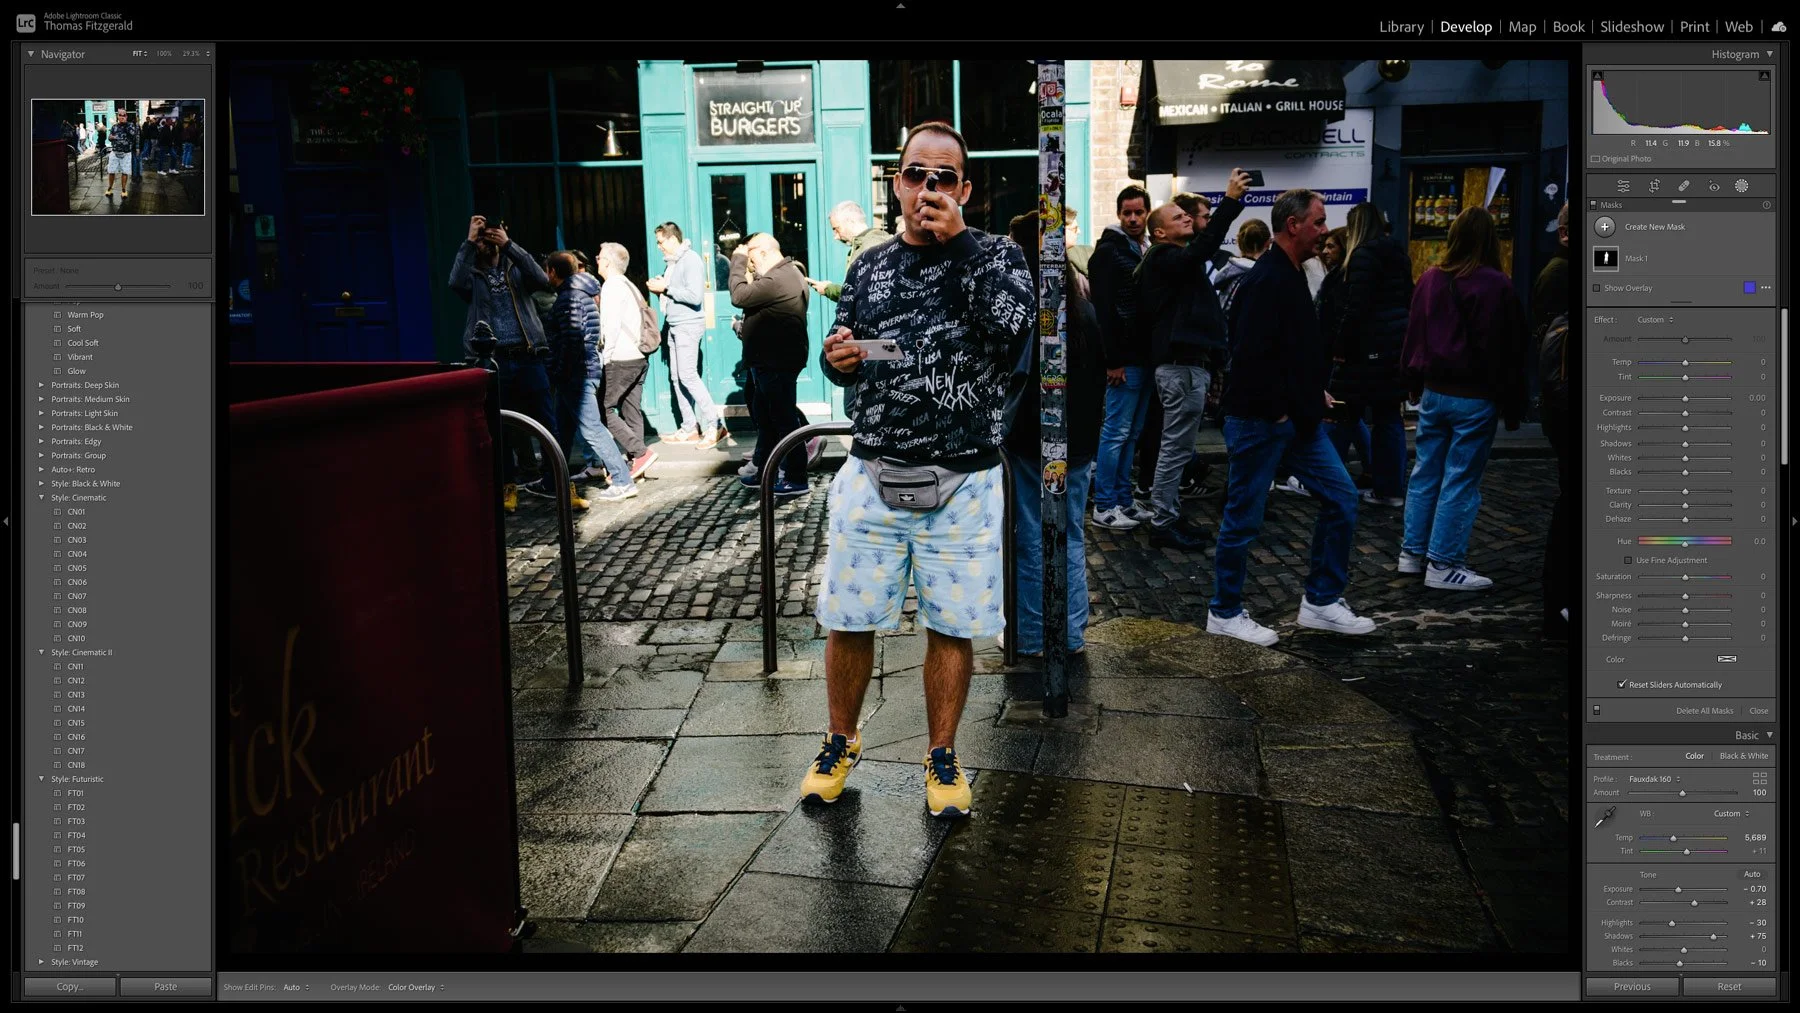
The Result!
What would have taken a while to manually mask took seconds, and the whole scene was easily corrected to the way I wanted it in hardly any time at all. Once you do this a few times, you start to see your shots differently, and approach editing differently, as it’s so easy to create masks and mask out people now.
And I haven’t even touched on using this for portrait work yet.
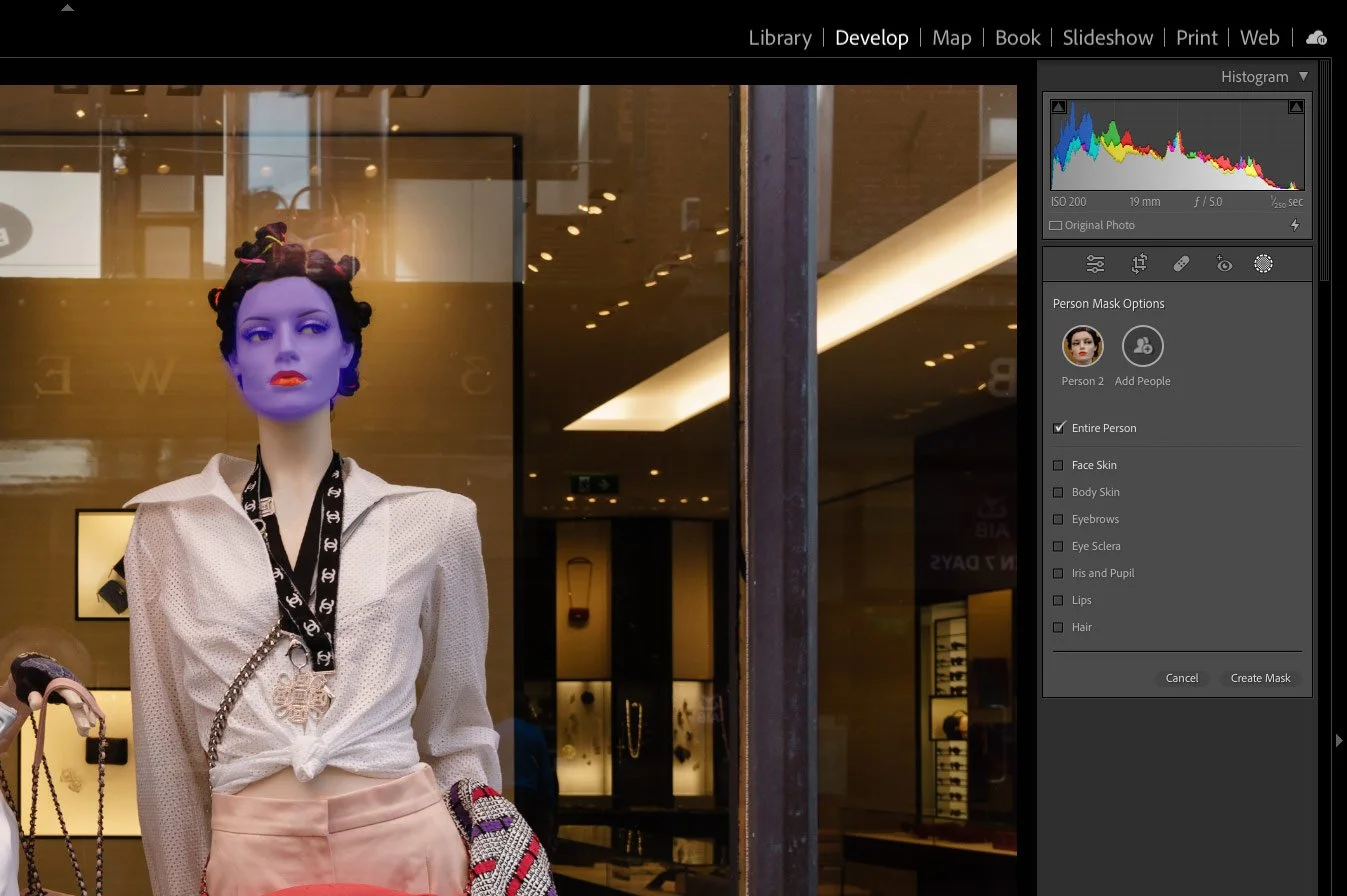
Selecting just a face!
Conclusion
That’s just a brief overview of some of the new features in Lightroom Classic. There are also new advptive presets, new under the hood improvements and more. Lightroom cloud gains these new features tool and there is a whole load of new functions in Photoshop 2023 as well. I’ve really just touched the surface of this, and I’ll try to get a video out on the new masks and other features soon.
Help Support the Blog
Buy from our affiliates
If you want to help support our blog, you can do so if you buy anything from our affiliate partners:
- Nik Collection from DXO Labs
- DXO Photo Lab
- DXO Pure Raw
- My Amazon Photo Recommendations
- If you don’t already have Lightroom, Photoshop or Adobe Creative Cloud, you can sign up here.
If you buy through the above links, we get a small commission, which helps run this site.
Check out my Capture One Style Packs, Lightroom Presets and eBooks
If you’re looking for some Film Effect, or black and White style packs for Capture One, Presets for Lightroom or Photography related eBooks, check out my Gum Road Store.
Buy me a coffee!
If you want to say thanks or help, then you can feed my caffeine habit and buy me a coffee via PayPal with a one off donation to my PayPal tip jar. (Please note that PayPal doesn’t make it easy to respond to these so just know you are thanked in advance)
Join our Facebook Group
If you want to discuss anything you’ve read here on my website, or saw on my youtube channel, or if you want to share images you’ve created using any of my techniques or presets, then I’ve started a new Facebook Group just for that.
Note that this post contains paid affiliate links. We get a small commission for purchases made through these links, which helps run this site.


