I was recently visiting a somewhat famous waterfall not too far from where I live and of course I took some photos while I was there. We went primarily to enjoy the fresh air and scenery, so it wasn’t a specific photo shoot, but even so I got some interesting images. One worked out particularly well, and I thought my process for editing it would make an interesting video, so here it is!
All tagged Photoshop
New Video: Generative Fill is the Best Way to Remove Reflections from Photos
A little while ago I was going through some photos and I came across a cool shot I had taken in New York of a dog in front of a large window. Unfortunately it was ruined by the reflection of yours truly. Normally removing something like this would be quite time consuming, so I thought, why not try Generative Fill. Not only did it work, but it worked perfectly at removing the reflections and keeping the other detail. So I made a video to show you the process…
Now that Adobe’s Generative Fill is Out of Beta, Here are Some things you should know
Unless you’ve been living under a rock, you’ve undoubtedly heard of Adobe’s “generative fill” for photoshop. The feature, which uses Adobe’s firefly AI engine to add AI-generated imagery to your photos or artwork directly in photoshop. Now that it is no longer test software, I wanted to share my experience, and address a couple of big issues with generative fill.
Using “Enhance” in Lightroom for Fuji Users – Answers to the most common questions
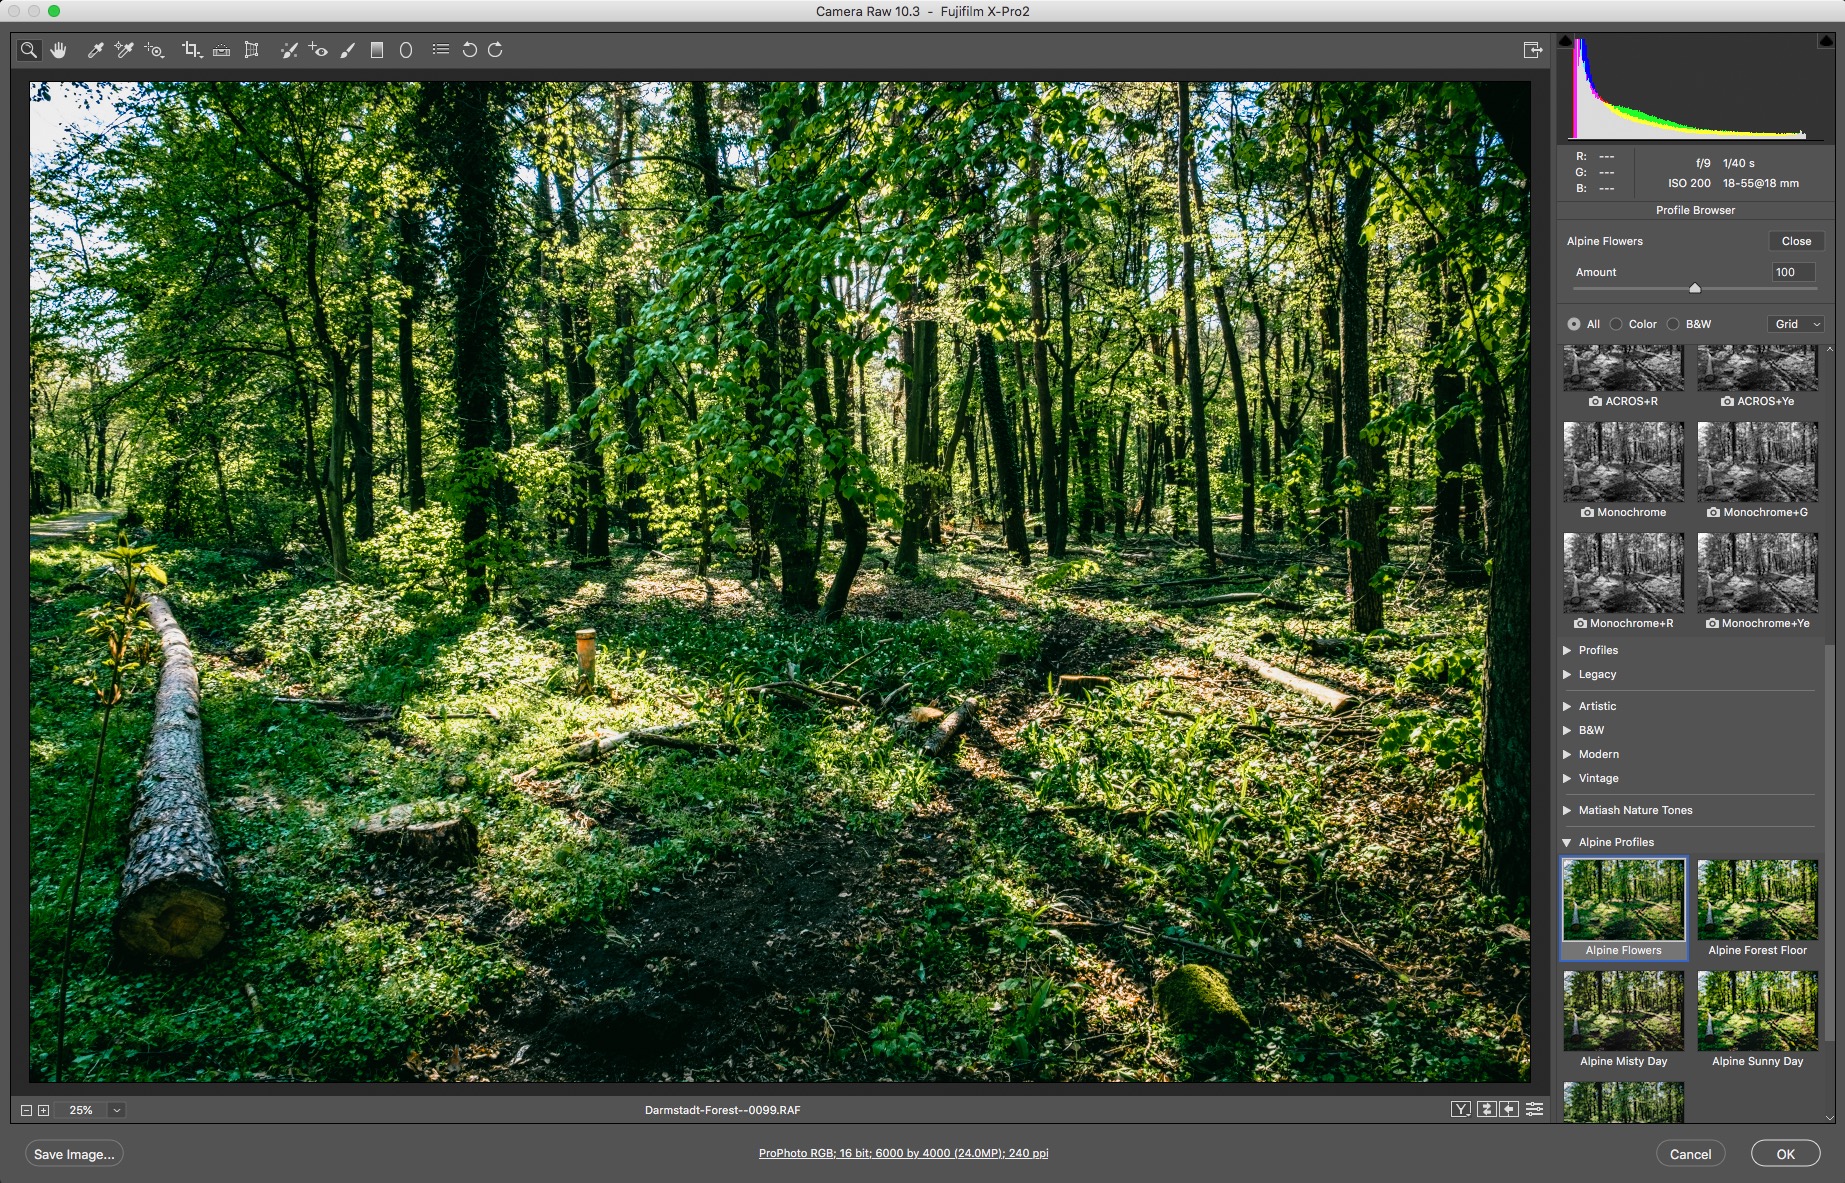
The Enhance function in Lightroom has been around for a while now. It was originally called “Enhance Details” but changed its name to just “Enhance” when the super resolution feature was added. For Fuji shooters, Enhance offers a way to get improved demosiacing inside of Lightroom without having to use third-party software. Using it on Fuji RAF files can provide significantly better rendering of detail in Fuji files, but it does come with some downsides.
How to use Super Resolution with Capture One
I’ve had a few readers ask me about using Adobe’s “Super Resolution” with Capture One. I had thought that this would be a relatively straight forward process, but unfortunately it seems to be a bit more involved that I first assumed. I had speculated that you could just open a DNG file created with Super Resolution in Capture One, but for whatever reason this doesn’t seem to work properly (more on this below). So, while you can’t use the DNG files directly, you can still use a Tiff or PSD. The workflow is a little more convoluted than perhaps it needs to be, but in this post, I’ll outline my suggested way of working with Super Resolution and Capture One.
Adobe’s new “Super Resolution” in Camera RAW- What it is, what it is not, and tips for use
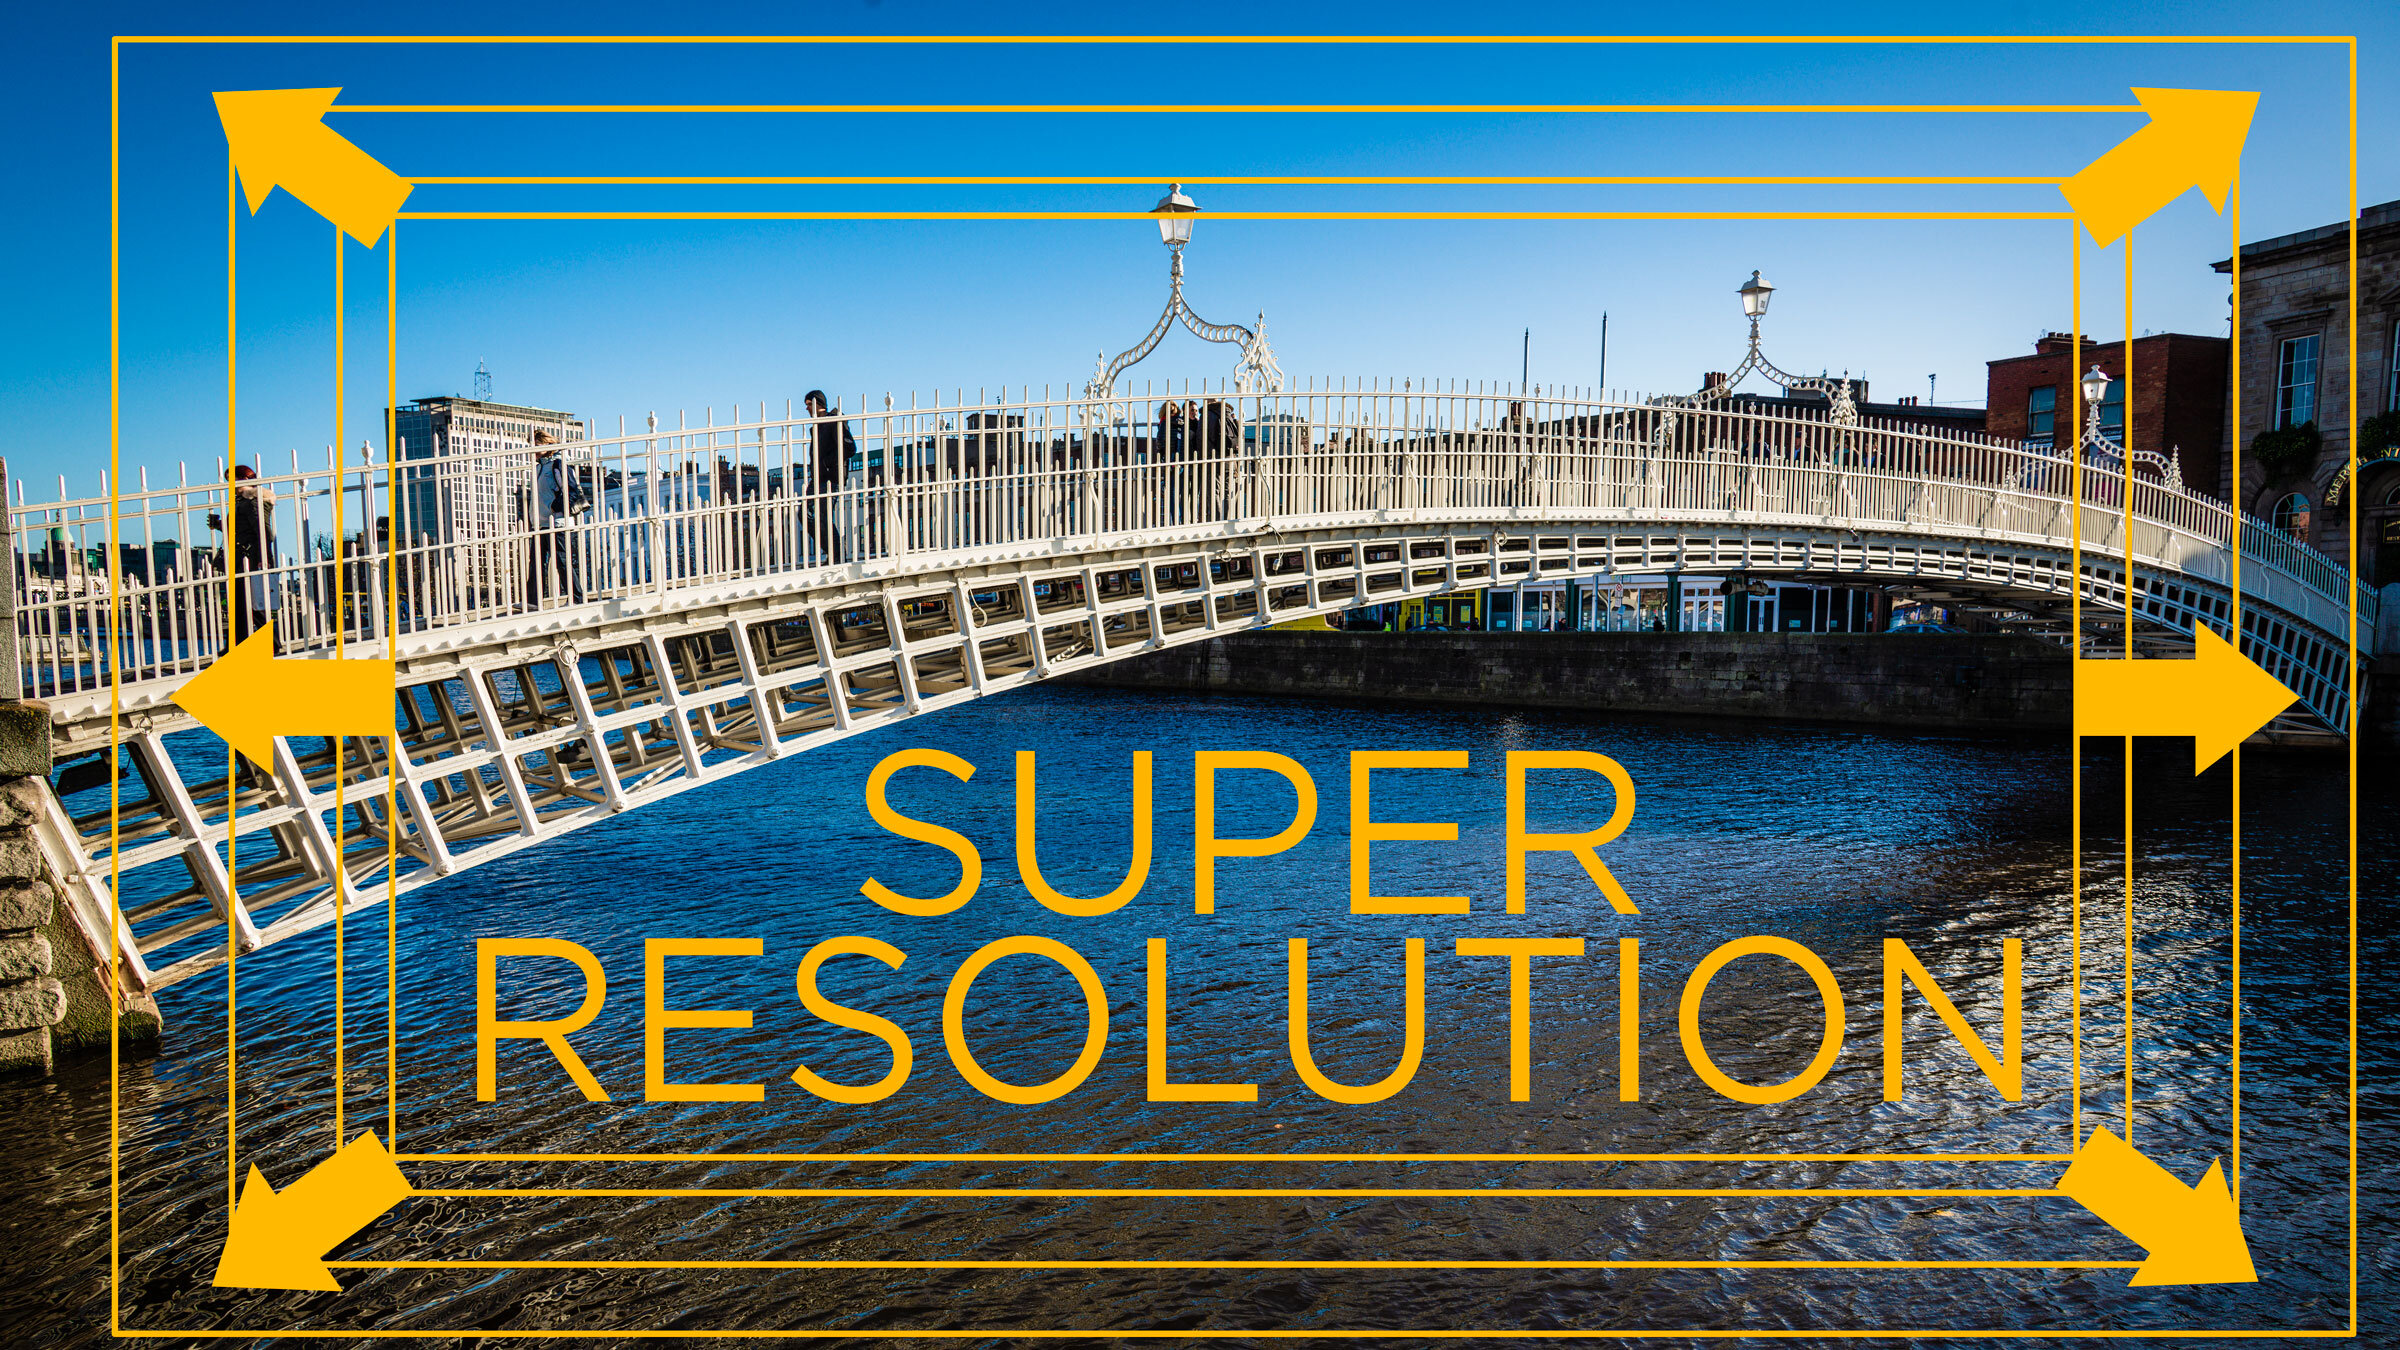
Ever since the most recent update (at the time of writing) to Photoshop included the new “super resolution” feature in Camera Raw there has been a lot of discussion, and an equal amount of misinformation about this feature. In case you missed it, “Super Resolution” is Adobe’s new method of upscaling a file using artificial intelligence to give a superior result to previous methods. There have been some wild claims about this online, including some claims that it doubles the resolution of your camera, and that you no longer need to buy a high megapixel system, as this is just as good. In this article, we will take a look at “Super Resolution”, discuss its actual usage case, and talk about some tips on how to use it.
Photo Software News for March
Here’s a quick round up of some of the recent happenings in the world of photography software. Capture One announced that Sony A1 Lossless compressed RAW support will be coming soon to Capture One, DXO software is having a sale on NIK plugins, and Photoshop and Lightroom received some recent updates.
Photoshop 2021 Sky Replacement Tool - Use Sky Replacement to Fix a Burnt Out Sky
One of the tools recently added to Photoshop was a new AI-based sky replacement feature. Similar to the headline feature in Luminar, it allows you to replace a sky without complex masking. While sky replacement has gotten something of a bad name recently, it can actually be useful for quickly fixing an otherwise problematic image. In this case, I use it to replace an overexposed sky with a similar one and salvage a photo with a minimal amount of work.
Lightroom and Photoshop to get Colour Grading
A recent technology demonstration from Adobe showed off a new feature coming to Camera RAW and Lightroom: Colour Grading. The applications will get a three-way colour corrector similar to video editing applications, and a feature that has been present for some time in Capture One.
Adobe Camera RAW gets a much needed makeover
I almost missed this from the announcements yesterday, but Camera RAW in Photoshop has gotten a big makeover. It now behaves and looks a lot more like Lightroom. Some of the old frustrating behaviours are gone and it now supports high resolution displays properly.
DXO Nik Collection 3 Just Released
DXO has just released a major update for its Nik collection of software tools. The new version which is available now contains numerous upgrades, as well as an all new tool: Perspective EFX.
Photoshop Live Editing Session - Adding Foreground Interest to a Landscape Photo
In this video, I use Photoshop to add some foreground interest to a Landscape image and correct an unbalanced composition. Part of my “Live Editing” session series normally for Patreon Members, I’m making this episode available to everyone on YouTube.
The best way to use Luminar Flex with Lightroom
If you are using Luminar flex as a plug-in for Lightroom, then there are lots of different ways to activate it. However, personally I use a bit of a roundabout method, by sending the image to Photoshop first. In this post I’ll explain why, and what the steps are that you should use if you want to work this way too.
A Super Quick Photoshop Camera RAW Hidden Feature Tip
If you ever need to open a RAW file in Photoshop using Camera RAW I recently saw a demo featuring a feature that is sort of hidden, but is really useful. This is possibly a little bit technical, but the tip basically allows you to open a RAW file as a smart object without explicitly choosing the option to open as a smart object.
Adobe Finally Improves Fuji X-Trans RAW conversion in Lightroom with "Enhance Details".
Ever since Fuji released its first X-Trans camera, and Adobe added support, many of us who have shot Fuji over the years have been unhappy with how Lightroom handles Fuji files. There are issues with the way it handles fine details, certain repeating textures and so called “worm artifacts”. People have been hoping that Adobe would eventually fix the problem, and turned to other solutions, such as Iridient X-Transformer. Others have switched away from Lightroom together to something like Capture One. Today, Adobe has released a new version of Lightroom which finally addresses the X-Trans issue. Well, sort of, as it’s probably not the solution that many were expecting.
Alternative Workflows: Working with Your Camera’s Own Software
While there’s no doubt that working with photo workflow software such as Lightroom or Capture One has changed the way most people work with photos, there are still people who prefer the old fashioned way of doing most of their processing in Photoshop. For some, the Bridge/Photoshop workflow is still their preferred method of work. Another method that is sometimes used is to work with the software supplied with your camera as a starting point, and then finish in Photoshop. For those used to working in Lightroom, this approach may appear clunky, but it does have some advantages. Lately I’ve been giving this workflow a try, and here are my thoughts.
My New Creative Profiles Pack for Lightroom and Photoshop
I’m happy to announce that my newest product is now available. It is a set of creative profiles for use with Lightroom (version 7.3 or later) and Photoshop Camera RAW. “Creative Profile Pack One” is a set of 45 creative profiles for Lightroom and Photoshop.
How to Create Creative Profiles for Lightroom and Photoshop
One of the key new features of Lightroom 7.3 and the corresponding Photoshop release, was the addition of creative profiles. If you’re not familiar with these, they are sort of a cross between presets and LUTS, and can be applied to both RAW and JPEG images (and of course tiff, and psd etc). You may be wondering how to create these new profiles. Well, it’s actually pretty easy, but you need to use photoshop. What follows is a basic guide. I will do a more in-depth version in a future post which goes into the more technical details.


