In the foothills of the Wicklow Mountains, just outside of Dublin, is a beautiful old 18th century estate and gardens, called Powerscourt. The estate features a restored mansion and some pretty impressive stately gardens that are kept in perfect condition. The house and gardens have been used in several movies, most notably the Count of Monte Cristo. Images taken with X-Pro 2 and 18-55mm f/2.8-4 Lens.
Dusting off my old Film Scanner
After being without it for a while, I finally managed to get my trusty old film scanner back out of storage recently. I had been thinking about shooting more film lately, but I had been kind of disappointed with the results that I was getting. I had put my film scanner in storage some years ago when I had moved house, so I was relying on scans from the Lab. Lab scans done at the time of processing are very poor, especially compared to a dedicated film scanner. So, before I gave up on the project, I wanted to remind myself of what a good quality scan could be like, so I retrieved my old film scanner and I think the results will speak for themselves.
Quick Tip: Understanding the Colour Adjustments in Apple Photos
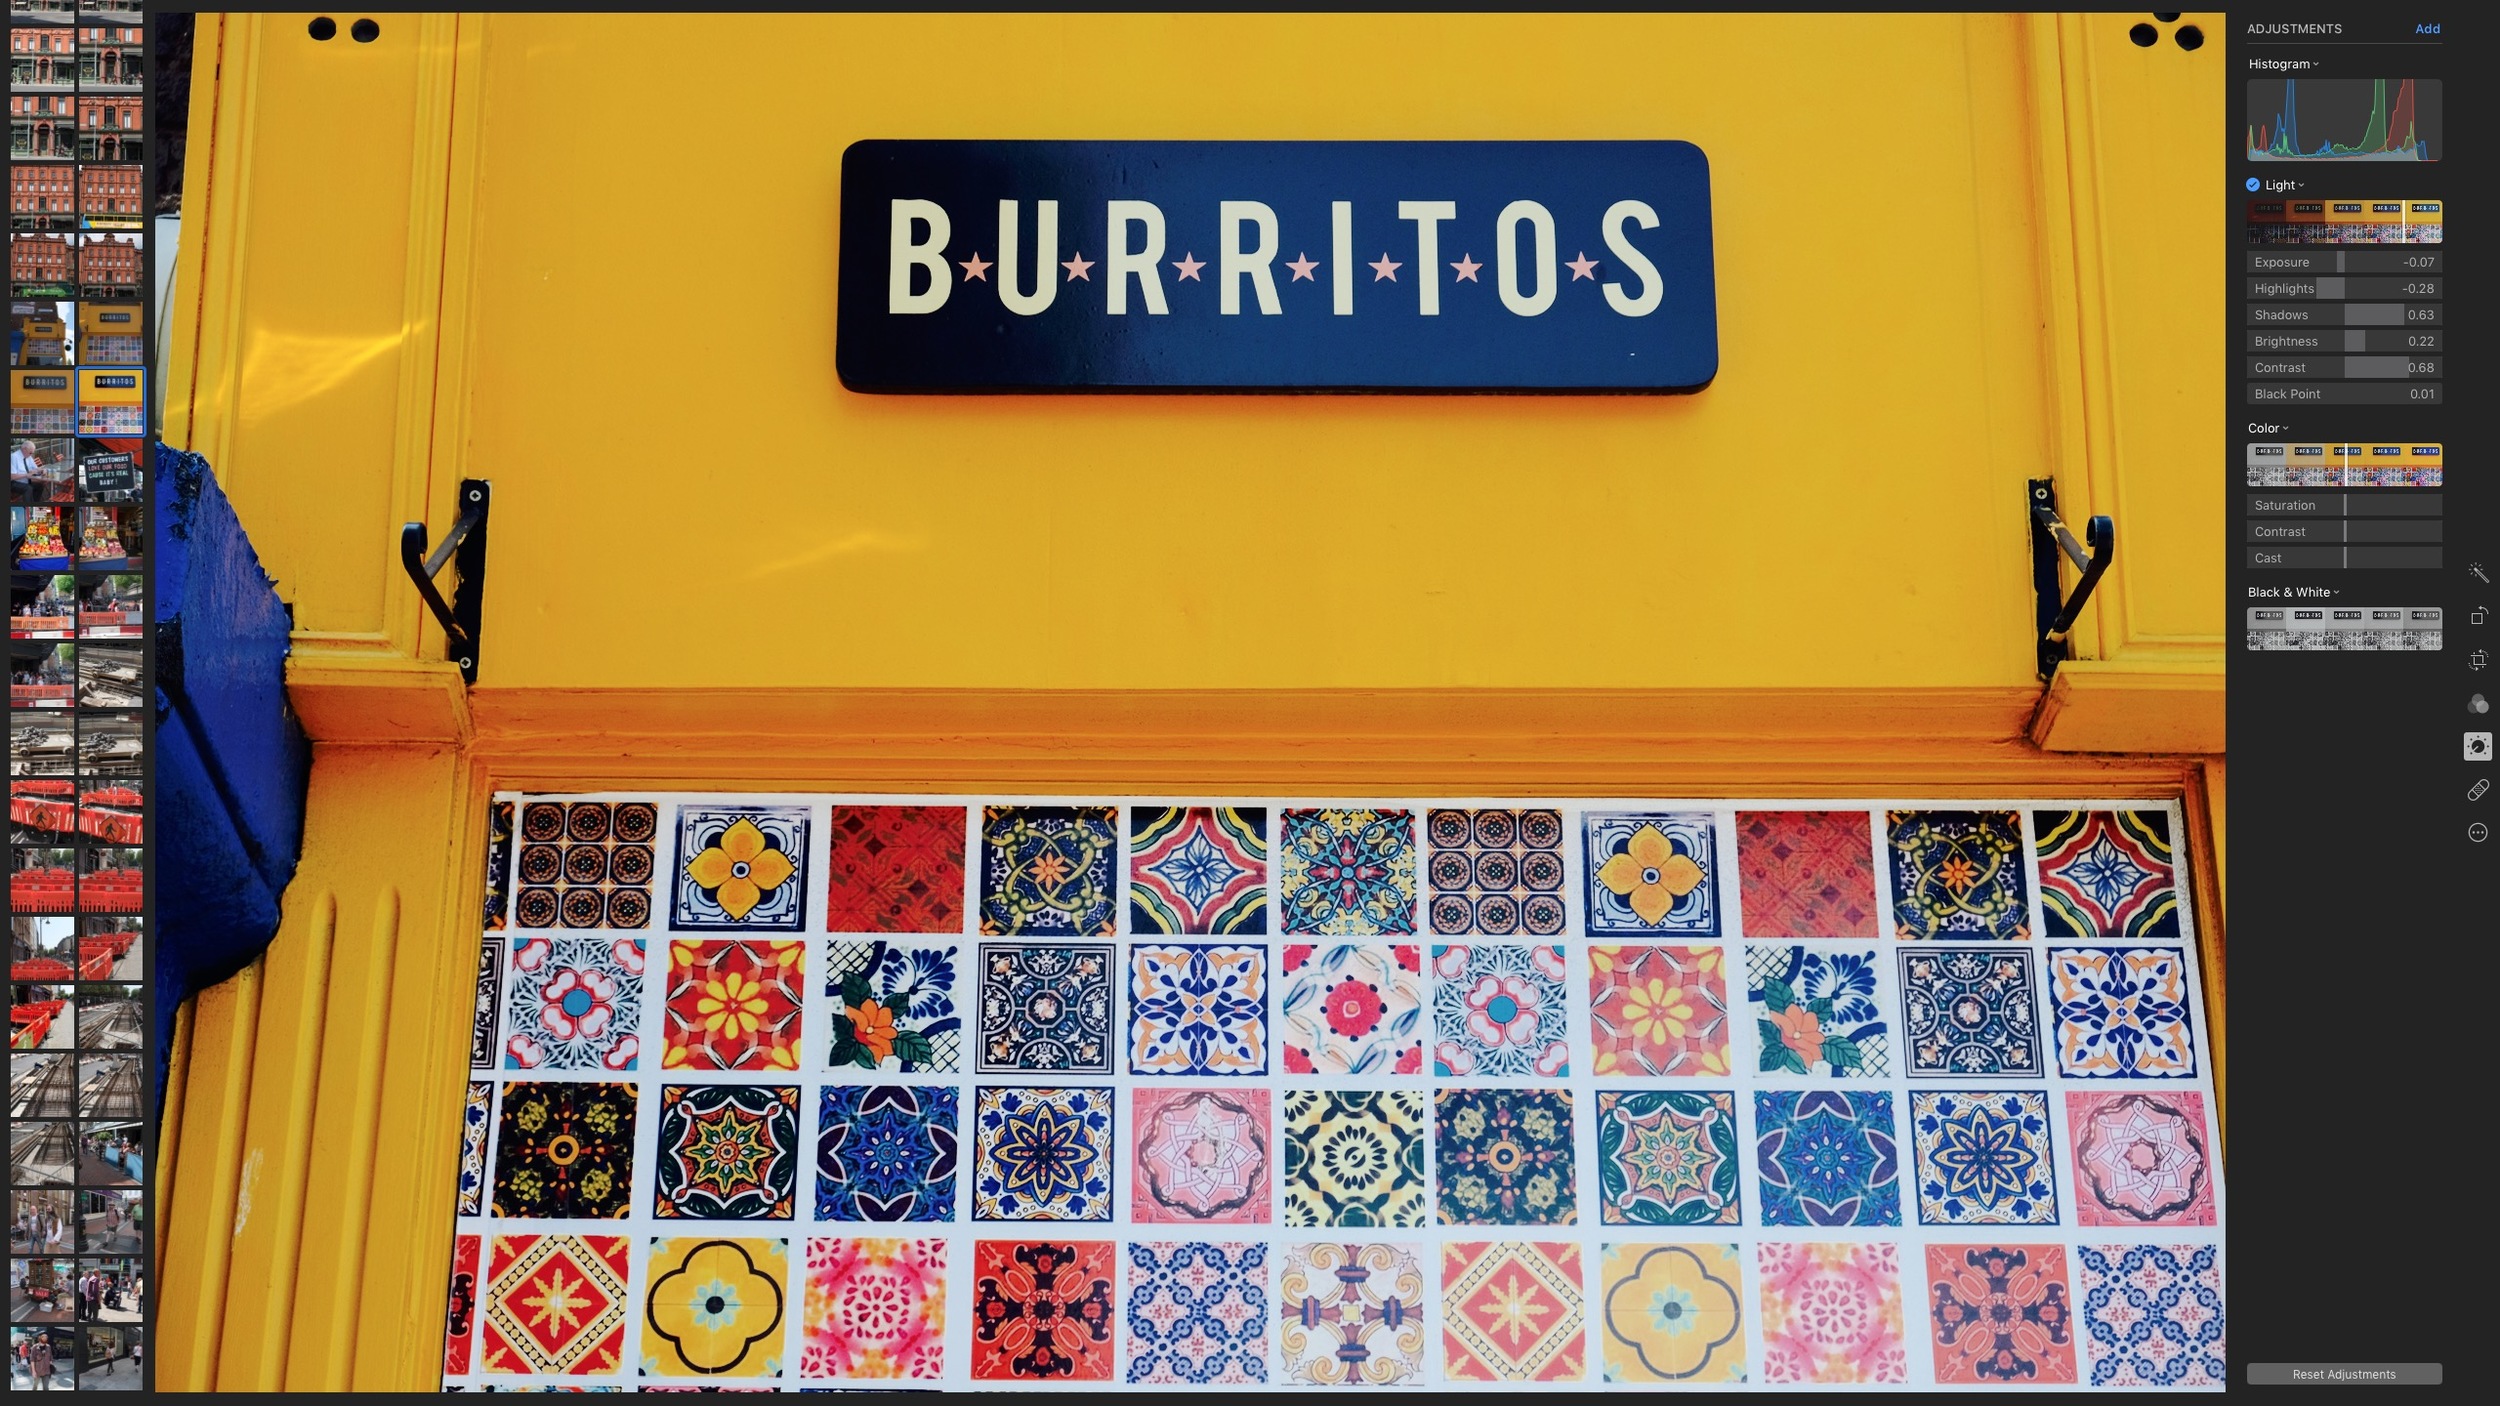
Apple's Photos App on the Mac (and iOS) has some interesting and unorthodox tools for adjusting your images. The Light and Colour sliders are interesting ways to alter your photos, and even on their own, the smart algorithms which adjust the individual parameters of a collection of adjustments, can often lead to interesting results. If you want more control however, you can tweak the individual parameters in the Light and Colour section separately. In this short post we're going to take a look at the controls in the Colour adjustment group.
Adobe Updates Photoshop CC (And other CC Apps)
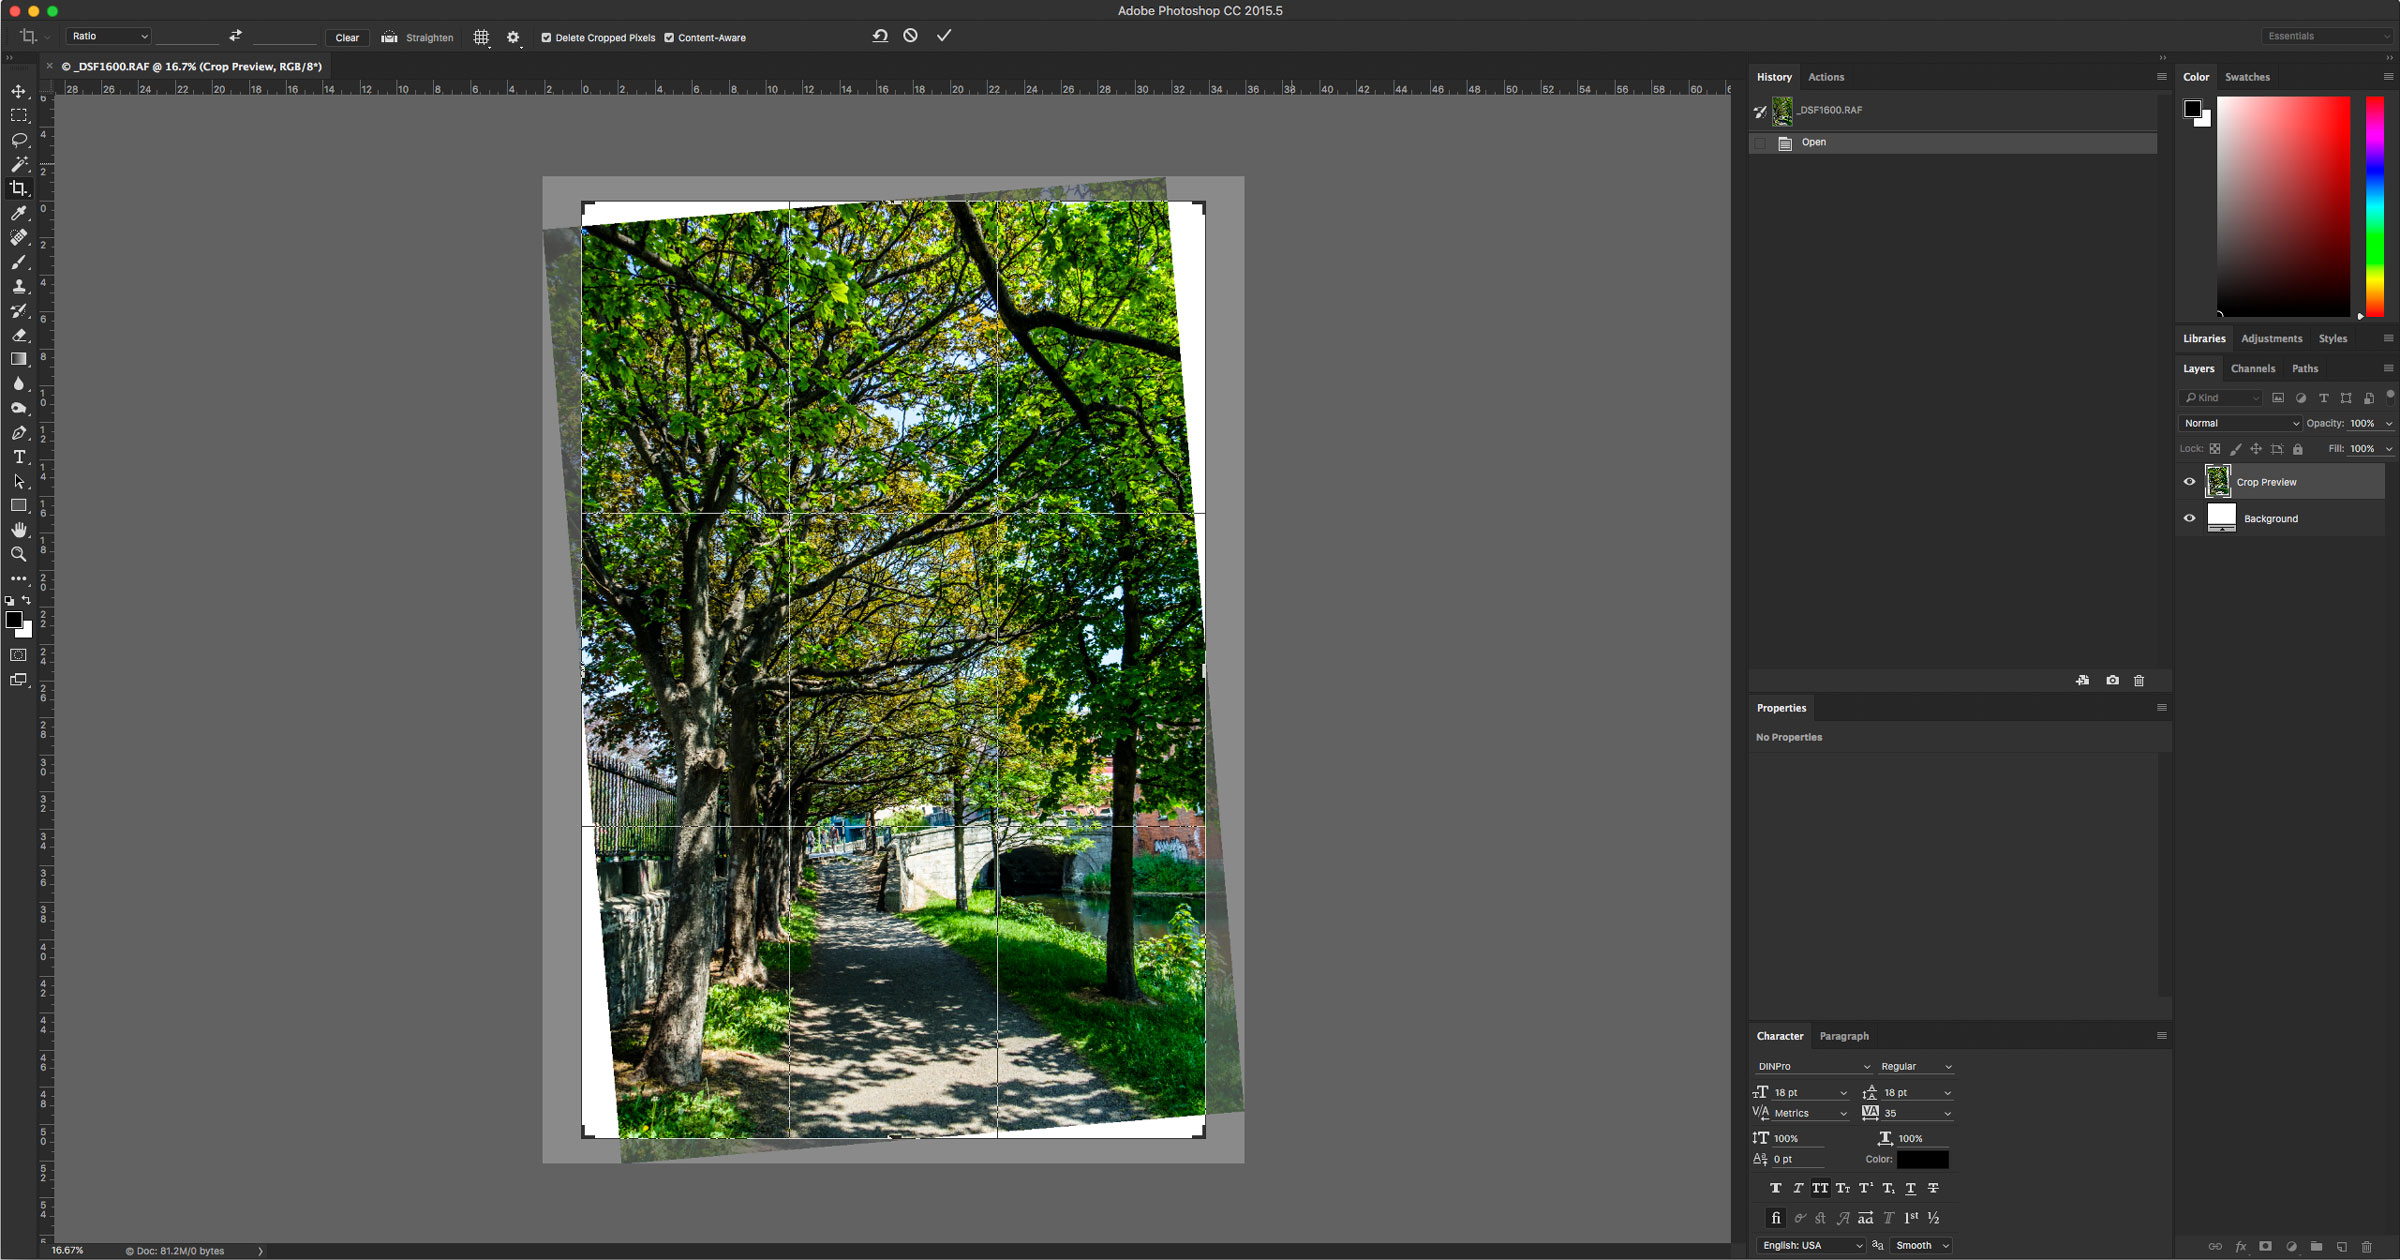
Yesterday Adobe released a major update to many of its Creative Cloud Apps, including Photoshop. The updates include a number of new features, and further integration of Creative Cloud Libraries and Adobe Stock. Photoshop in particular includes some interesting new features.
Quick Tip: Copy and Paste Adjustments in Apple Photos
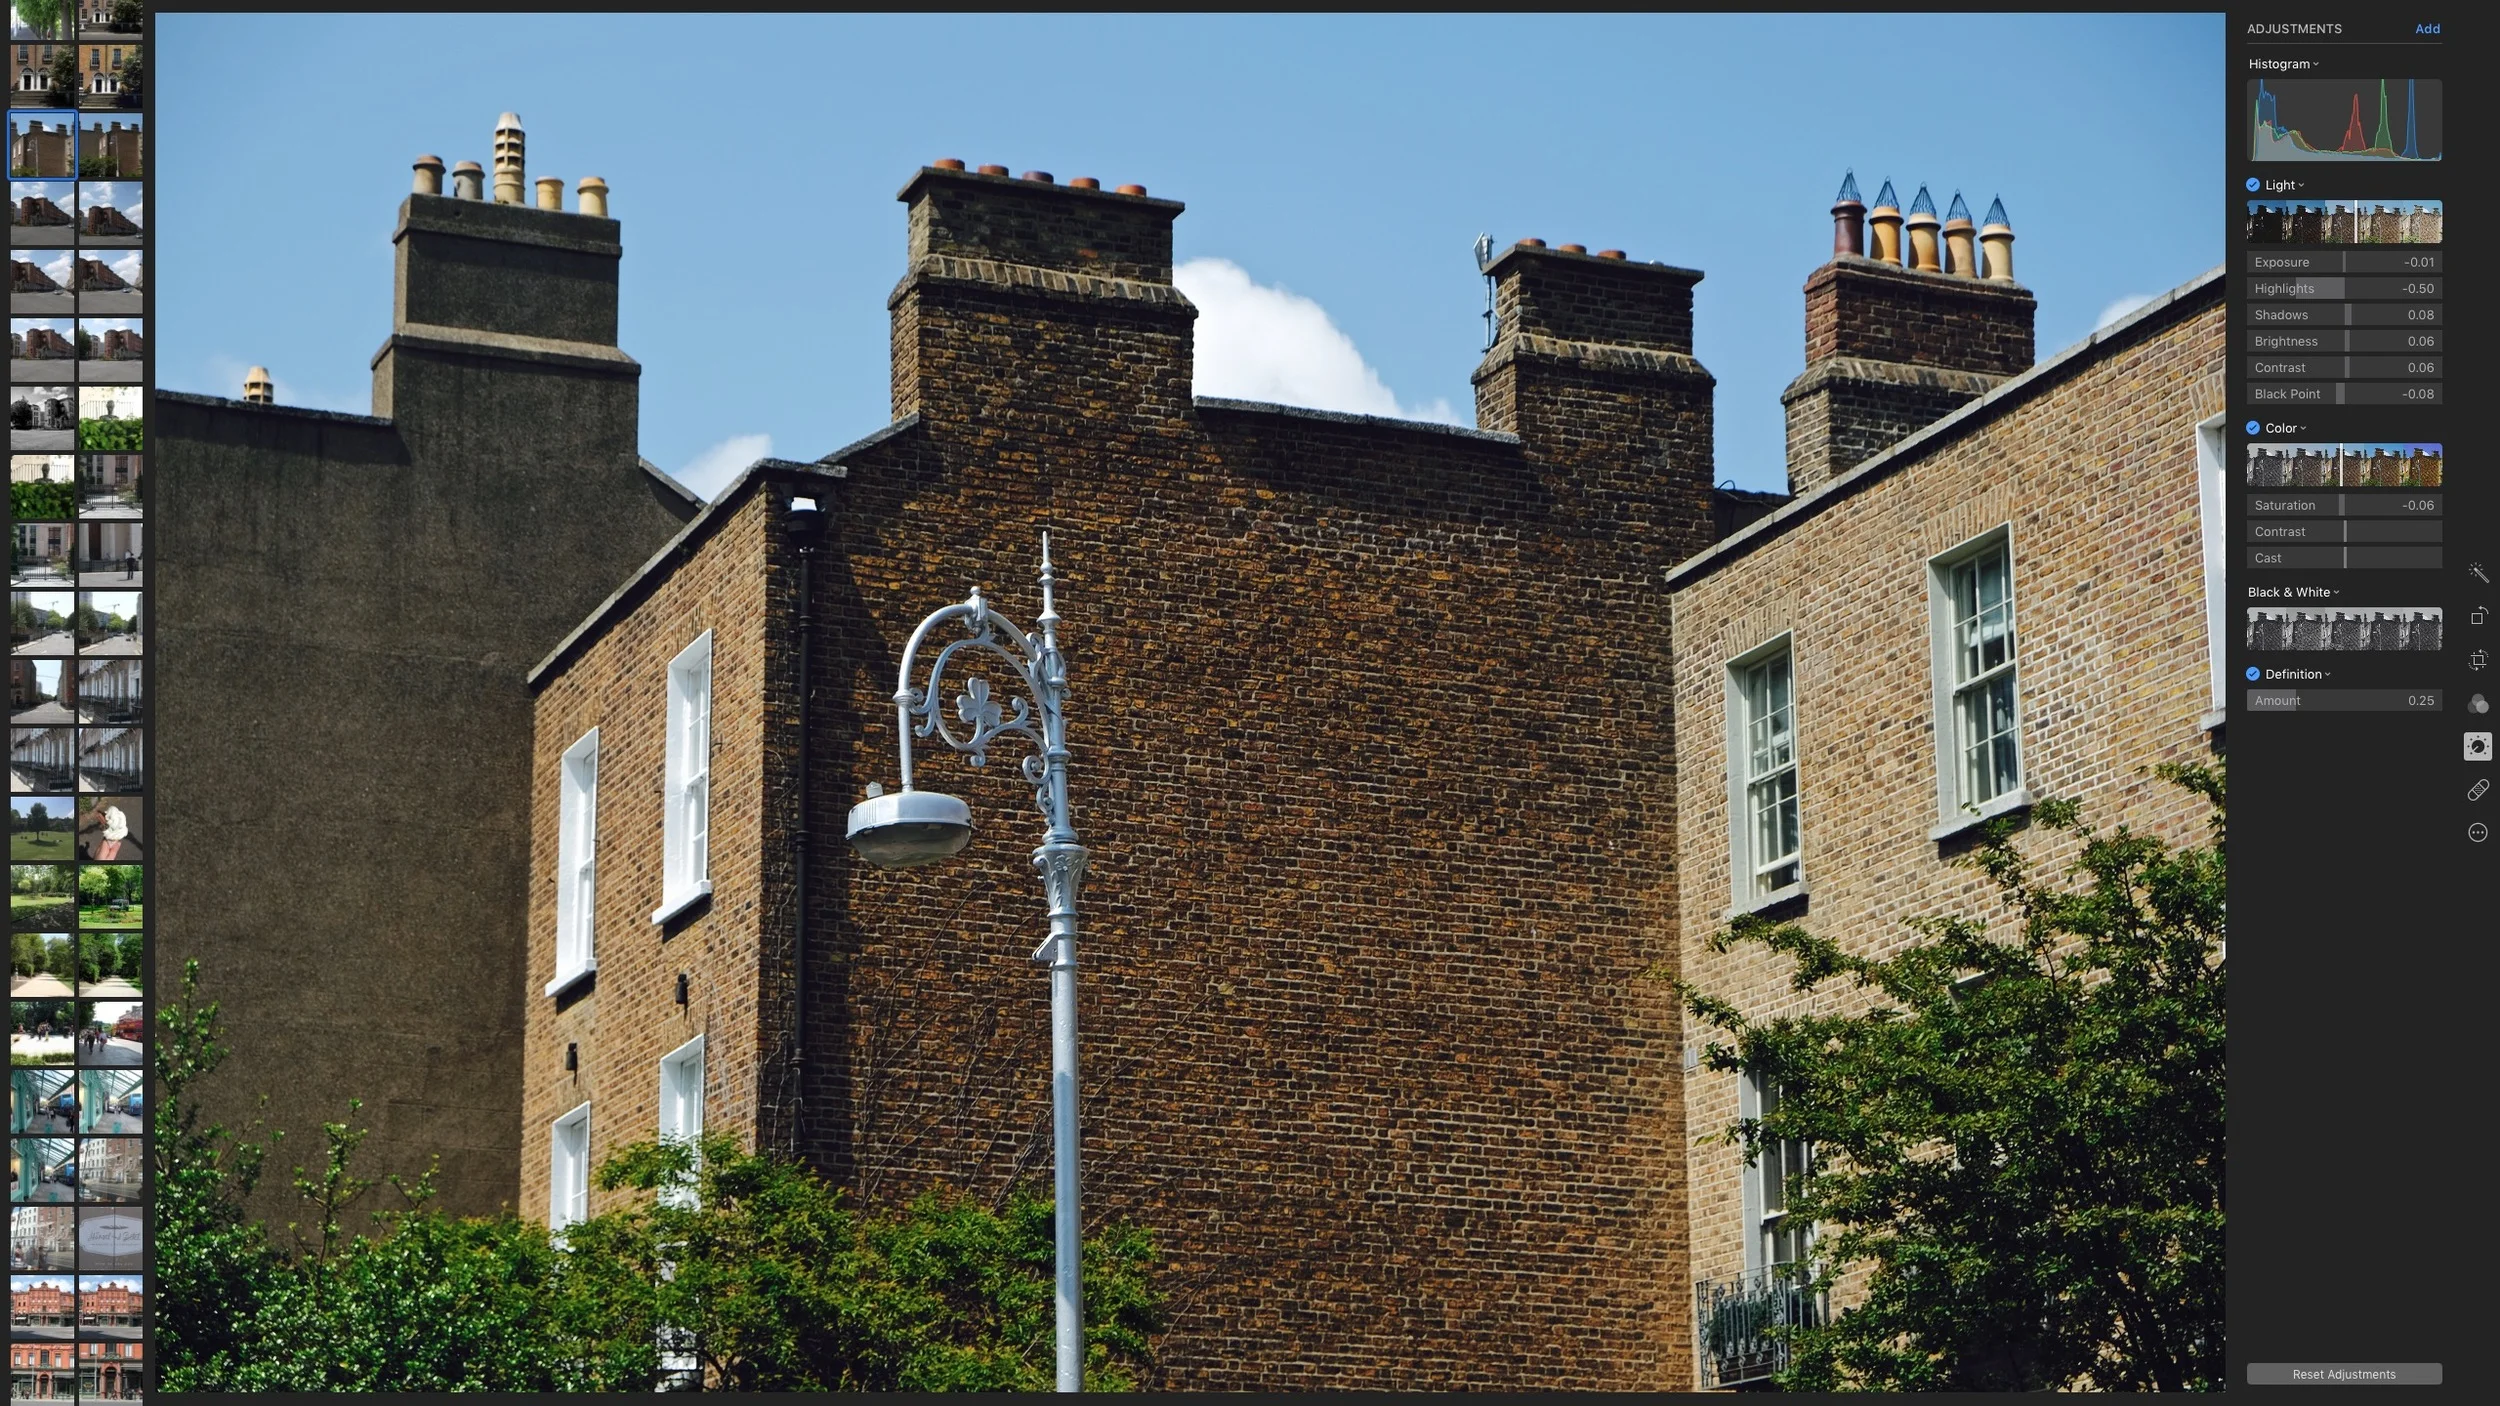
Apple's Photos app for the mac has some nice adjustment tools, and while it may not be the most robust or professional level application, you can achieve some nice results in it. Unfortunately, if you go through the process of creating a nice look on your images, there's limited ability to save that look independent of the image. There's no way (currently) to save presets, and there's no equivalent of Lightroom's previous button.
Coming in iOS 10 and macOS Sierra For Photographers
Apple teased some interesting developments at last week's WWDC that will have a particular impact on photographers. It showed off some impressive scene and face recognition technology running on iOS as well as some new ways to organise your photos. Perhaps the biggest new feature though was one that wasn't really unveiled during the keynote. It snuck into the background of a slide, which got keen observers excited, and was later confirmed to be true. IOS is getting the ability to capture RAW photos, directly from your device’s camera.
Medieval
Last week I was travelling in Germany and I got to spend some time in the beautiful town of Heppenheim. Heppenheim is a little town about 40 minutes outside of Frankfurt and is filled with some really pretty medieval buildings. I had been there last year too and I had gotten some nice shots, but this time I was trying to do things a little differently, and so I was focussed more on the details. Images were taken with the Fuji X-Pro 2.
Lightroom Quick Tip: Drag and Drop Behaviour
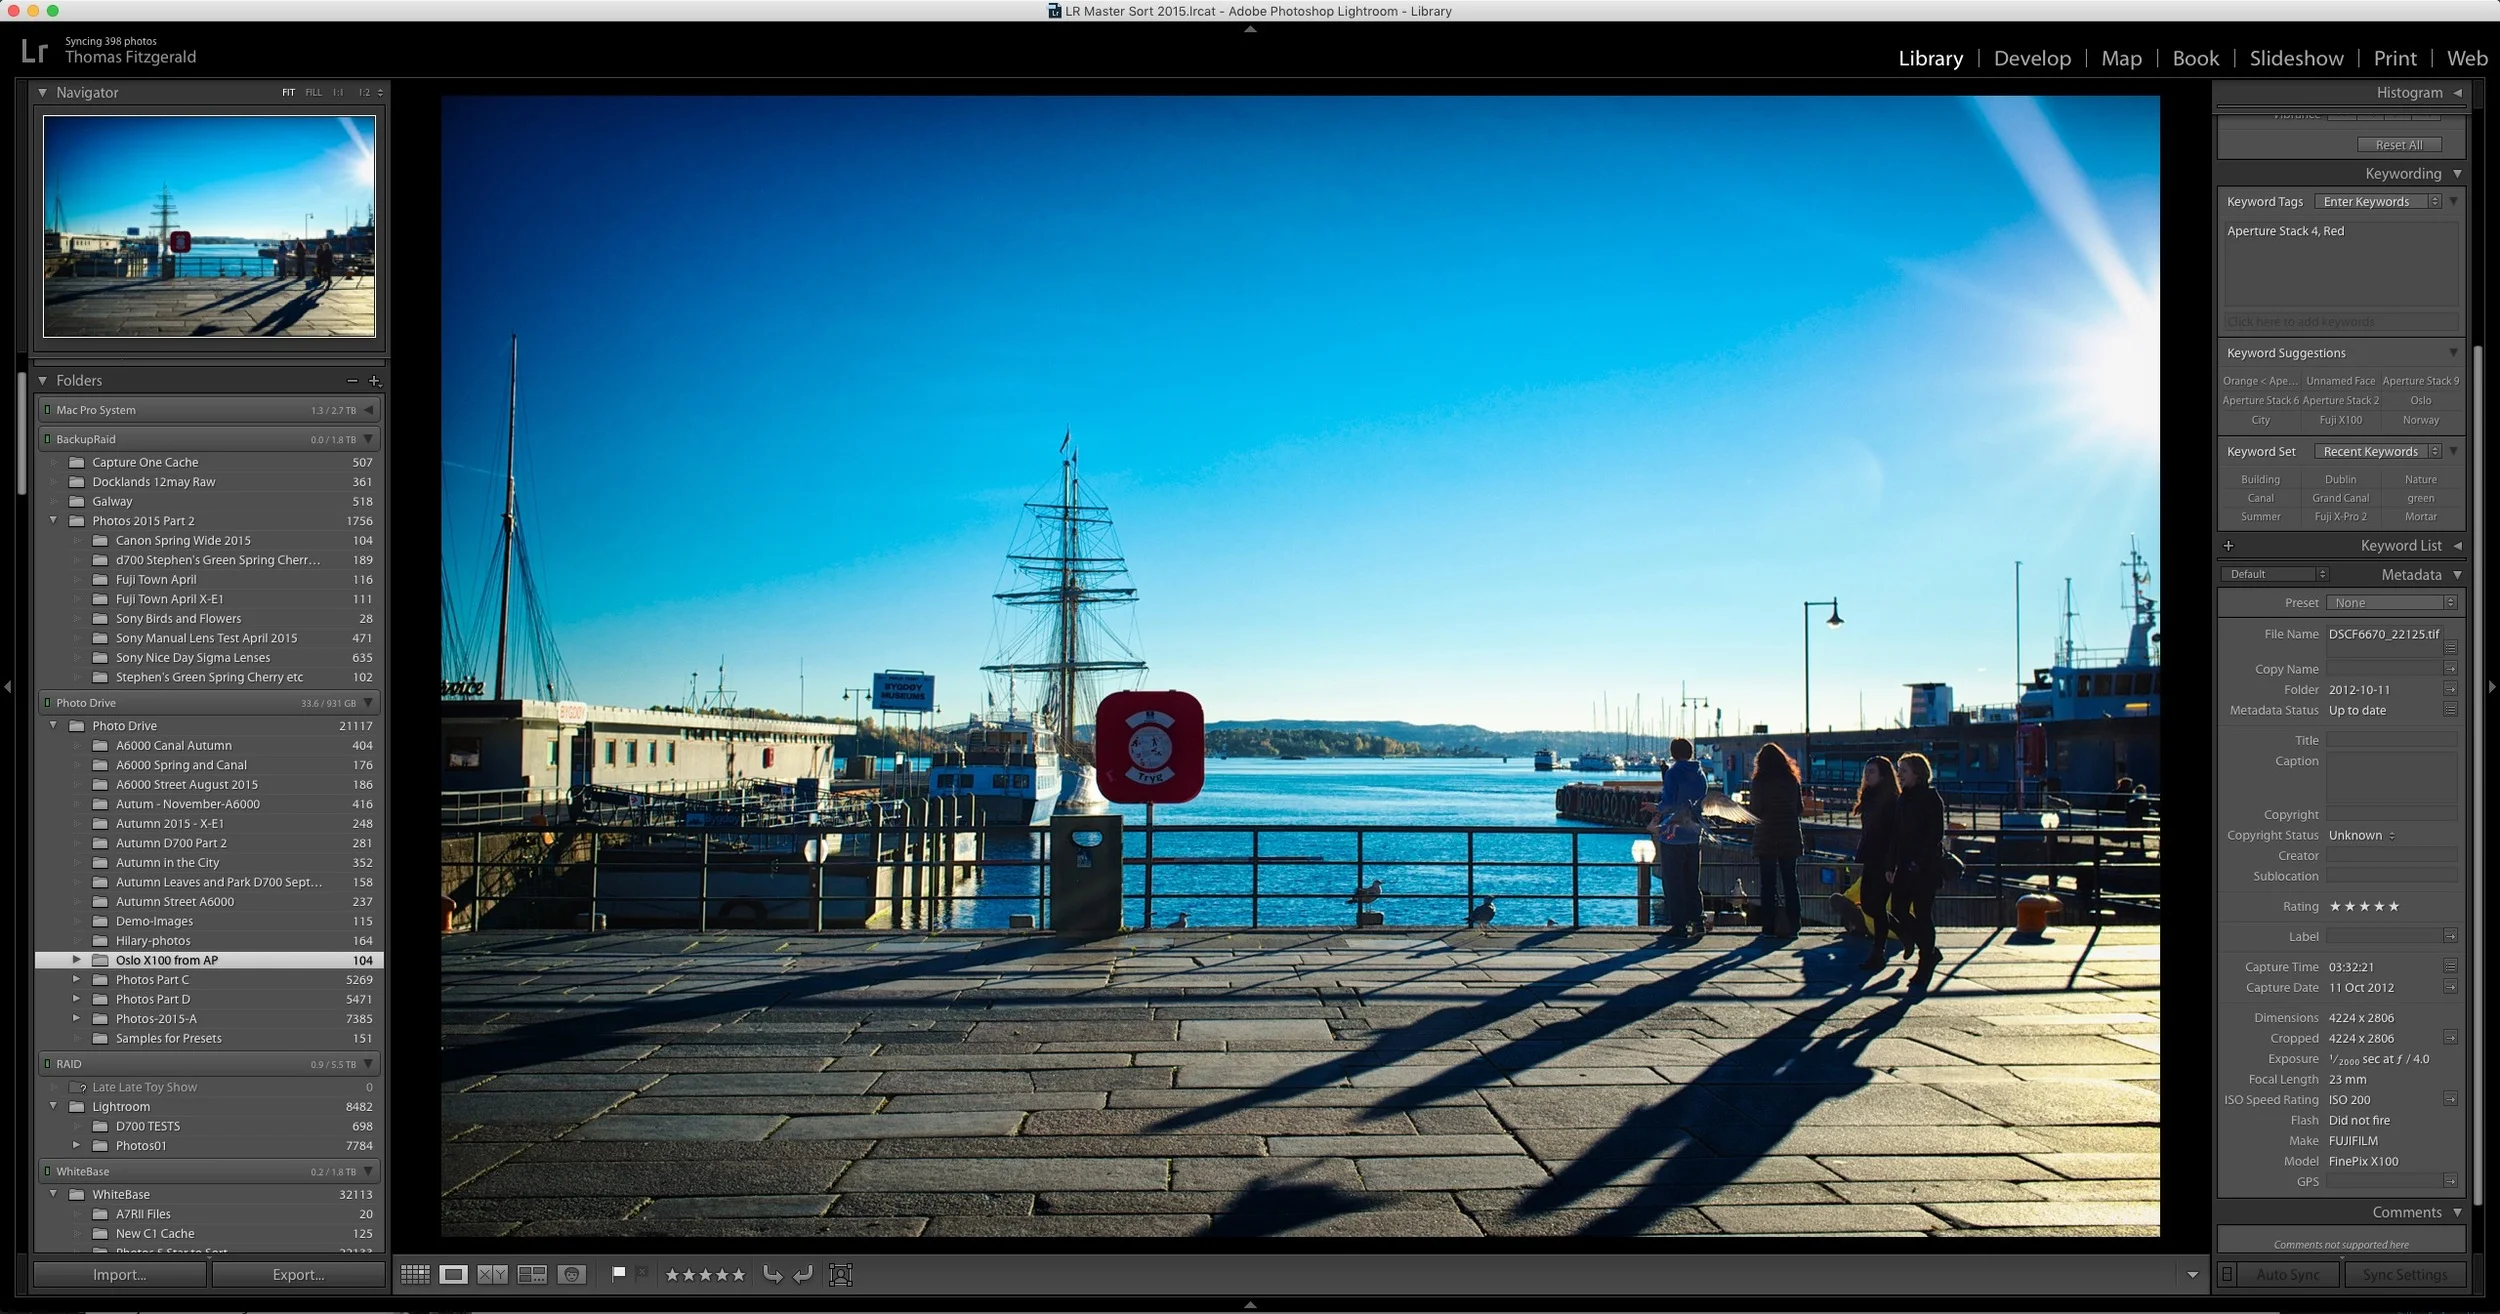
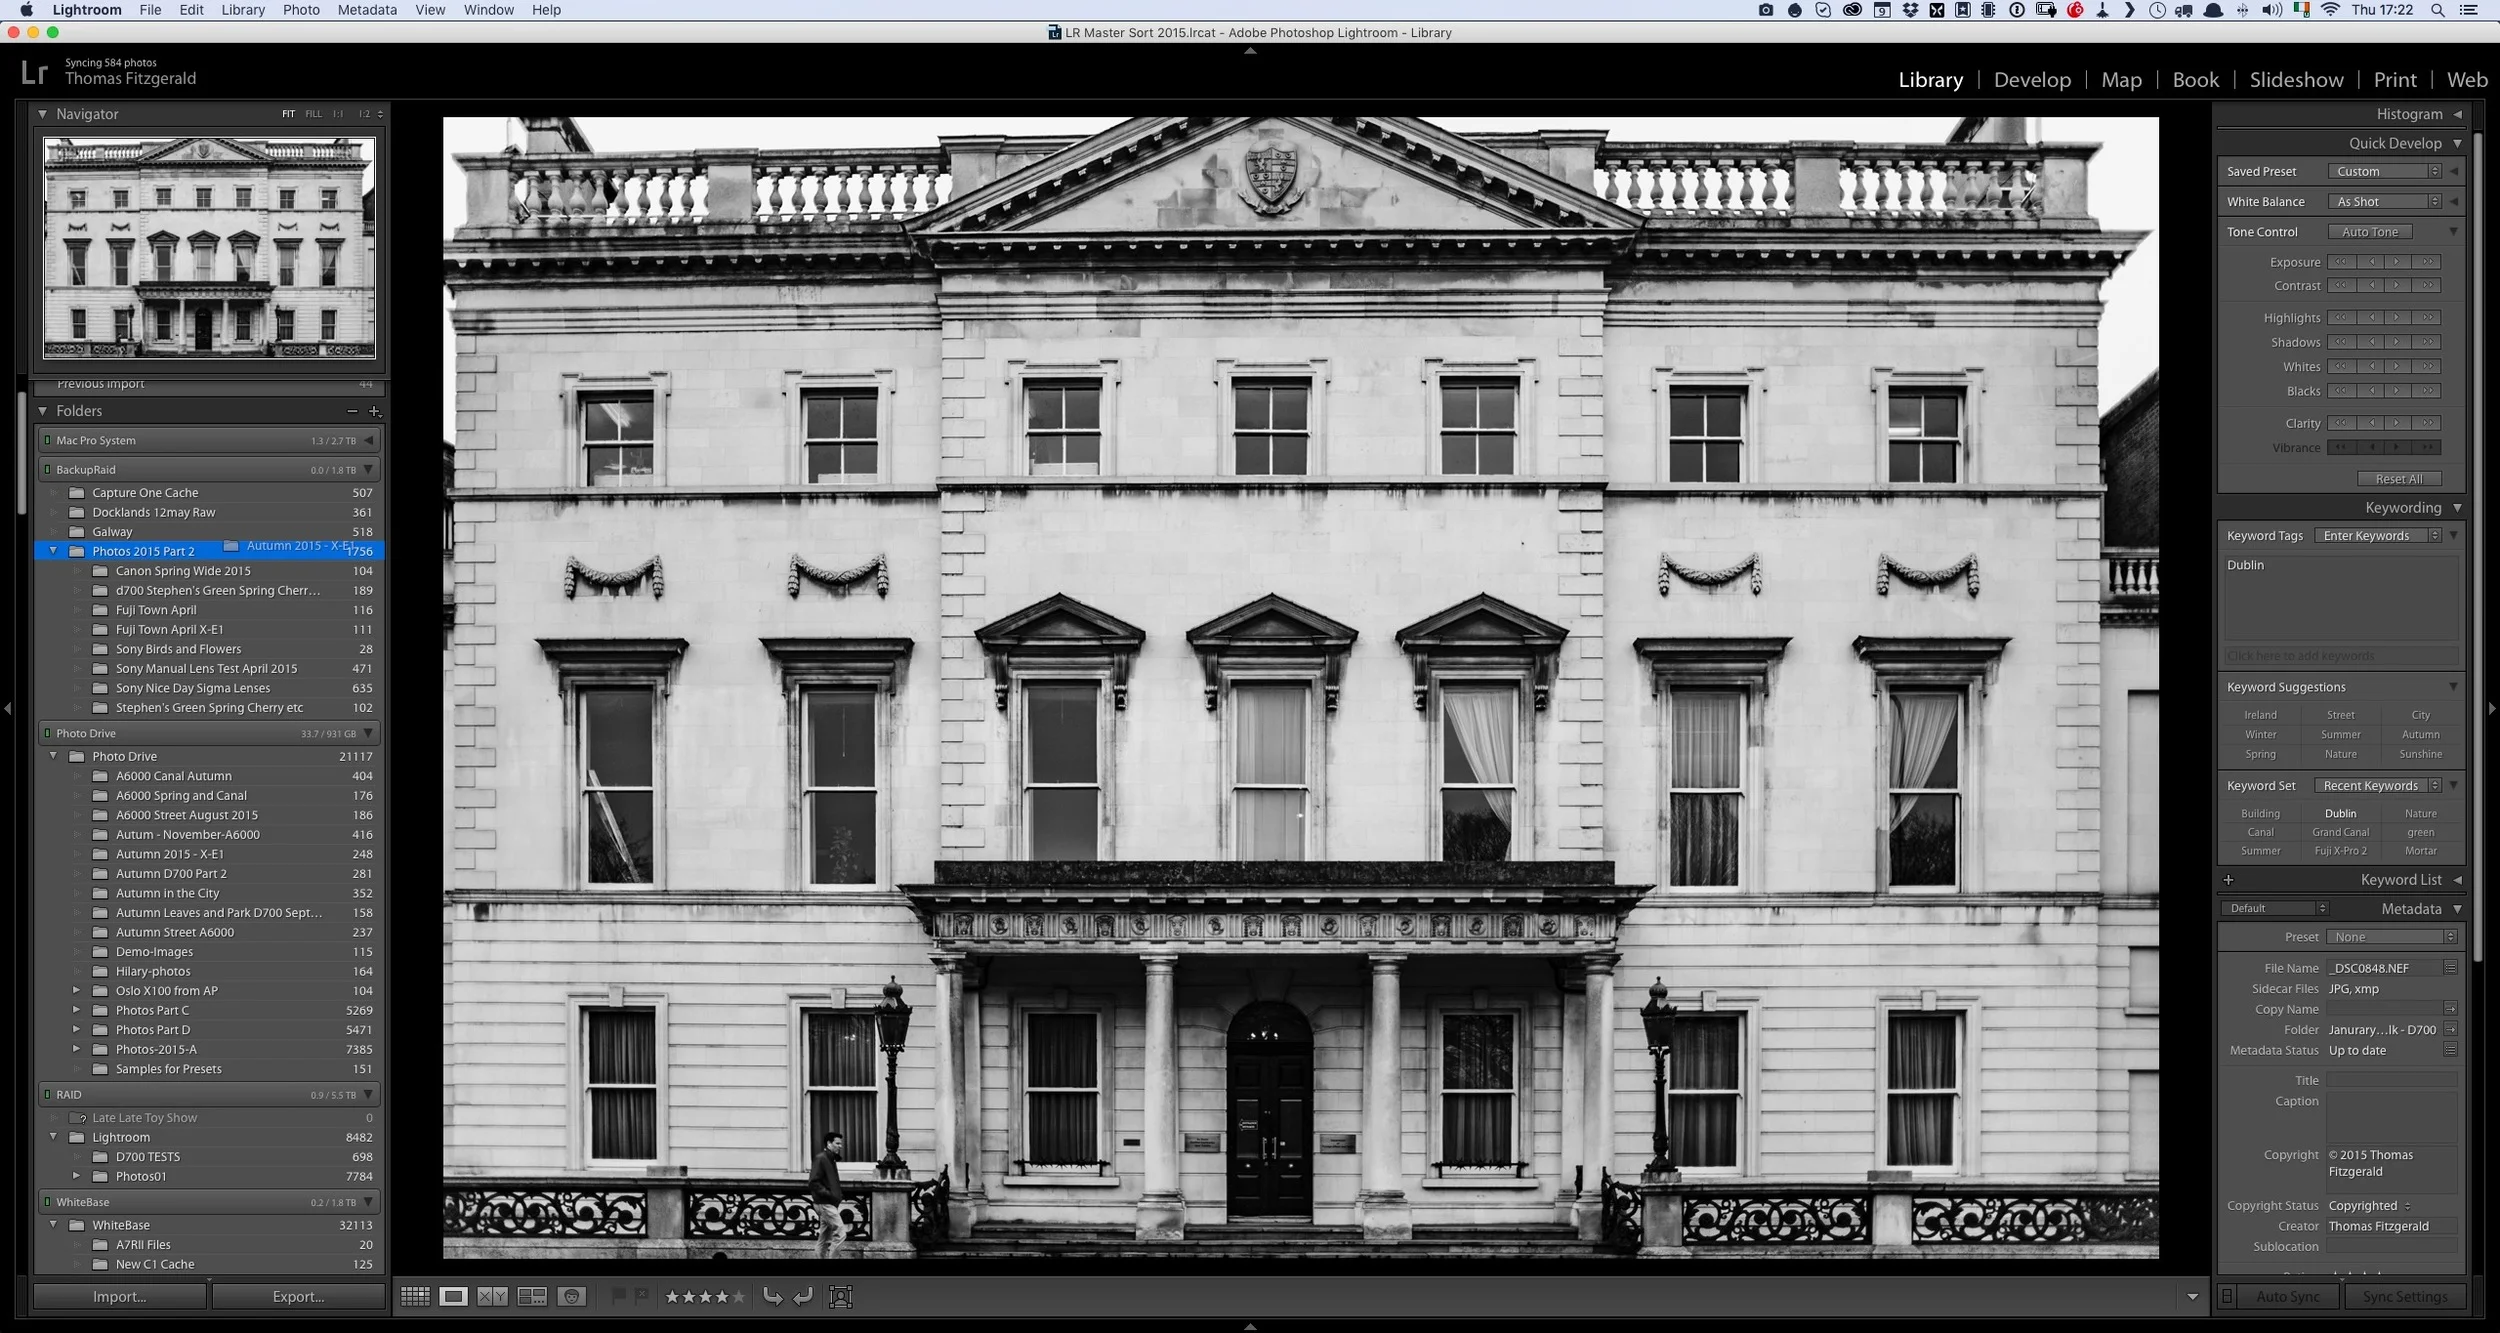
There are lots of ways to get images into and out of Lightroom. For importing, you can import from the import dialog box, or by setting up the auto import., or by synchronising an existing folder. For outputting, you can export via a variety of settings, or use one of the publishing plugins in the Library module. But what happens when you drag and drop images into or out of Lightroom?
Camera Porn: Soviet Fed 2 Rangefinder
I received a very generous and cool present from a good friend of mine for my birthday last year. It's a Russian Fed 2 range finder camera. My friend is a collector and I've always loved these old Russian cameras, so I was chuffed to get my hands on one.
X-Pro 2 Diary: Some of My Favourite Shots So Far
I'm travelling at the moment, so I haven't had a chance to do any updates on my X-Pro 2 diary series. I am actually shooting with the camera while I'm away, so I will have some more reports when I get back and have a chance to properly process my images. In the mean time, before I left, I put together a collection of my favourite shots that I've taken withe the X-Pro 2 so far.
Corner Pinning in Affinity Photo
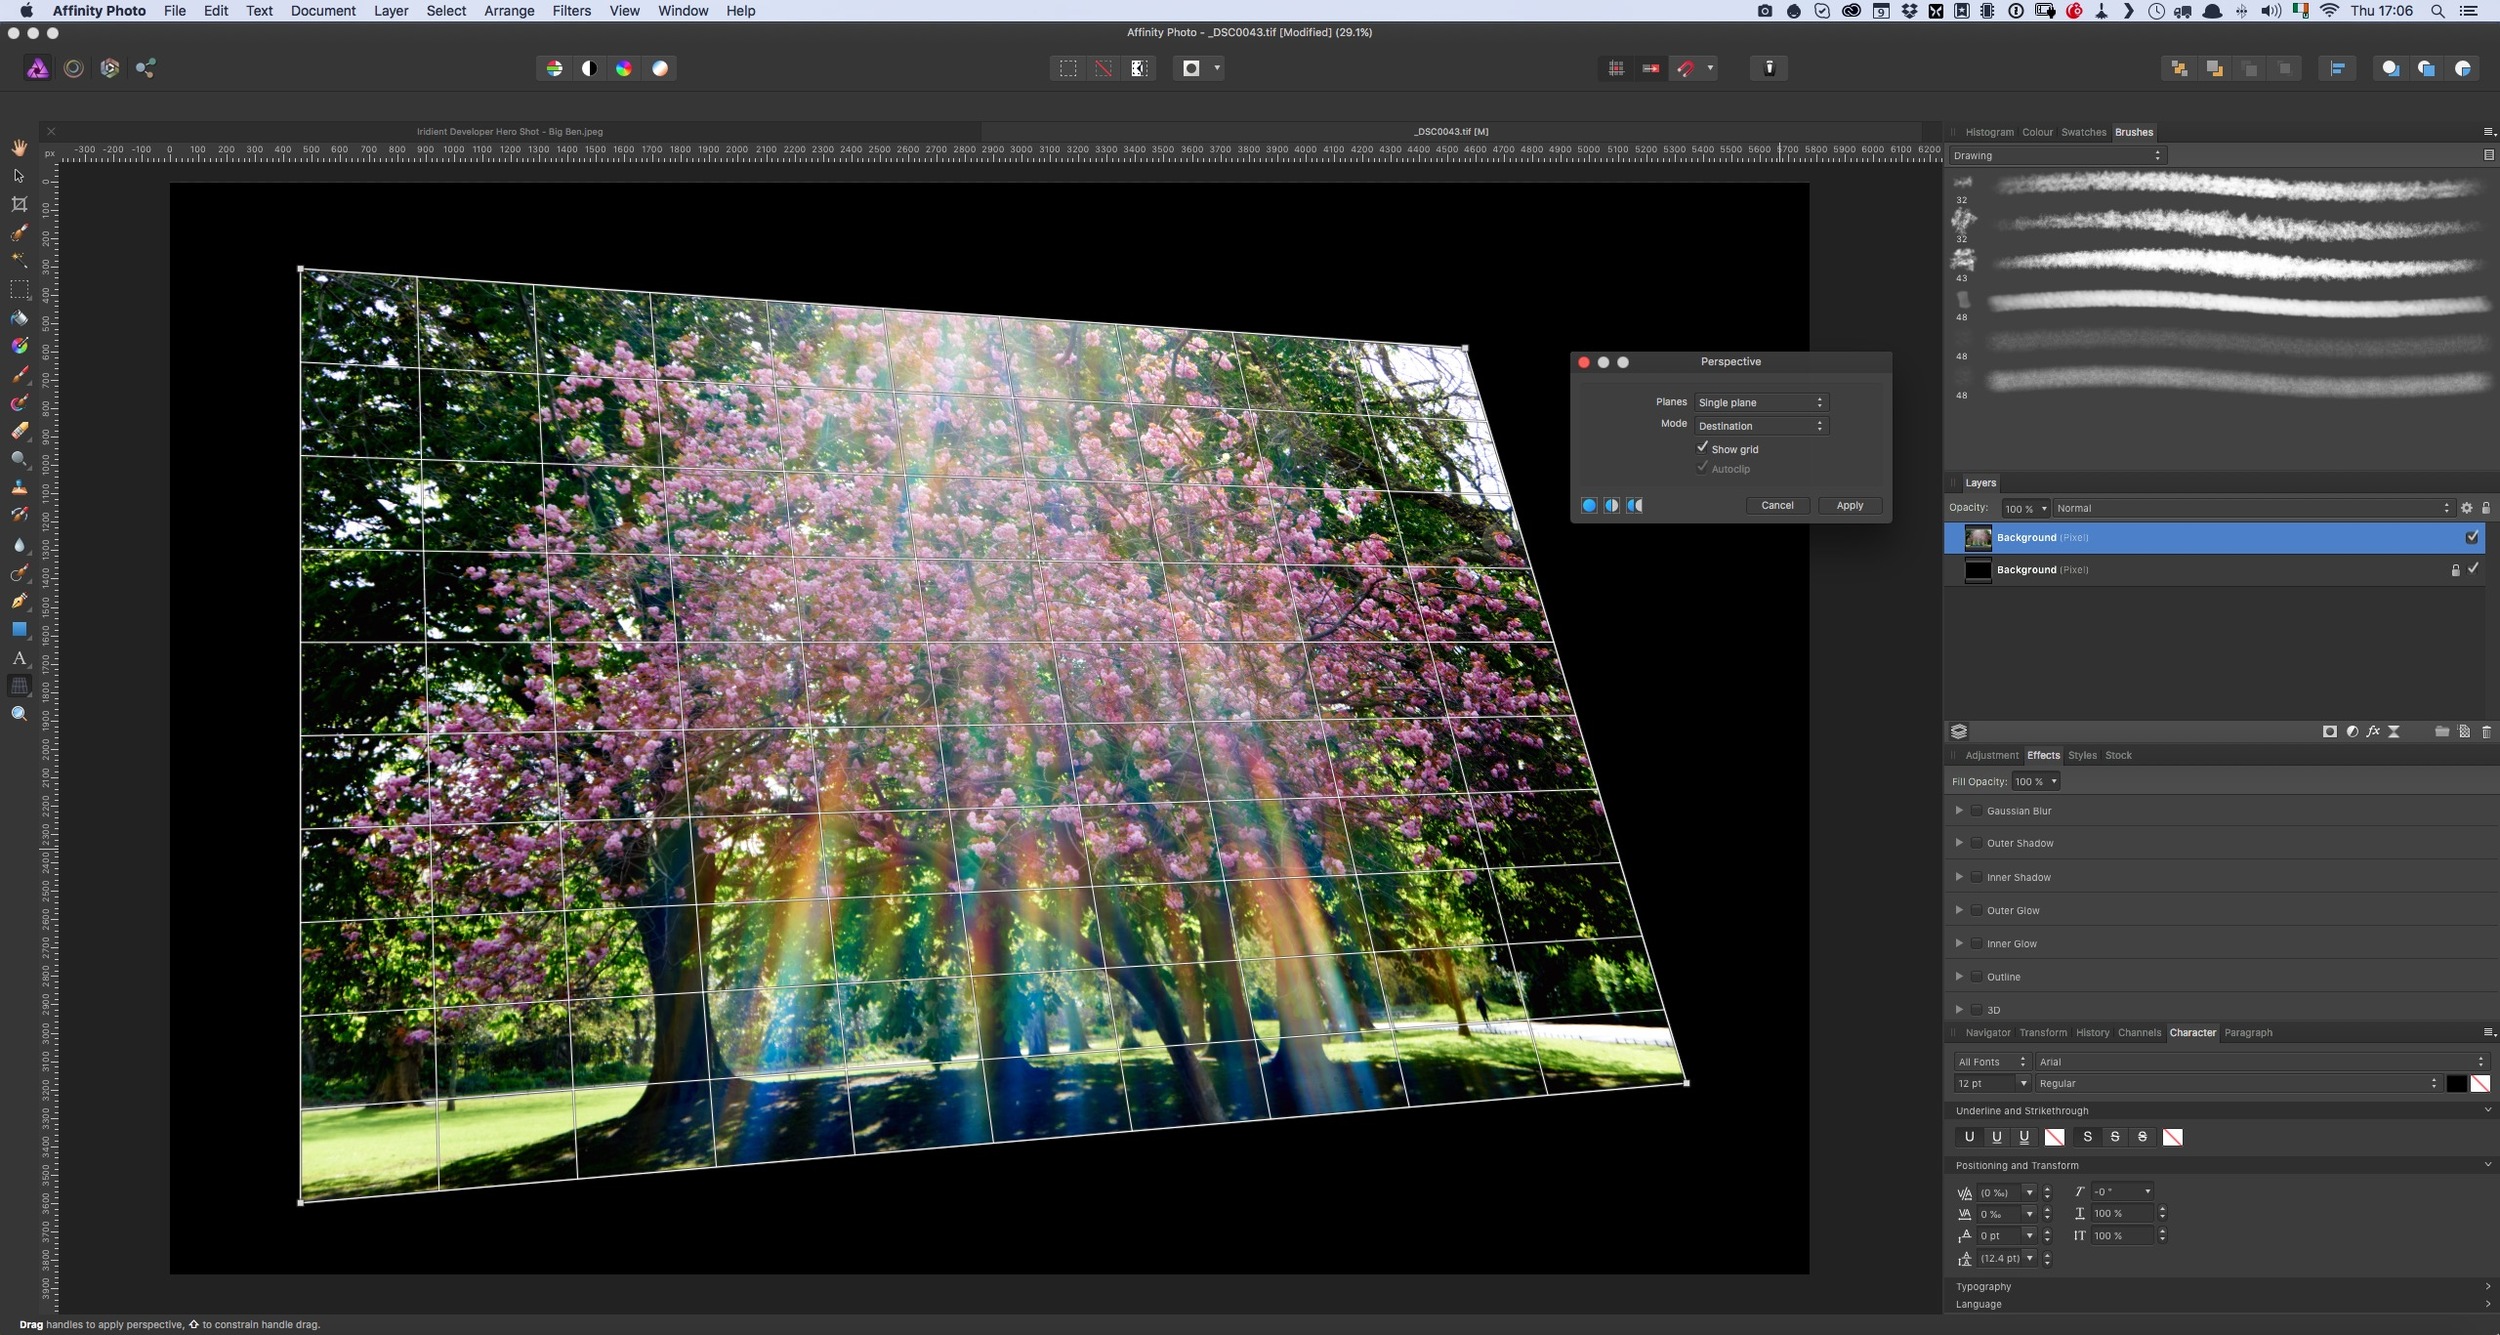
Here's a quick tip for Affinity Photo users. If you're used to photoshop, then you've probably used the warp functions in the transform tool. This goes by many names. Coming from the video world, we often referred to it as "corner pinning" but you may also know it as perspective distorting, or tapering or something like that. Anyway, in Photoshop it is part of the free transform tool, however in Affinity Photo there is a different way to access this functionality.
The Lightroom Diary is Back
A while ago I was publishing another blog for Lightroom, called "The Lightroom Diary" and at the time it had become too much trouble for me to post to both that and this, my regular blog. So I shut it down and consolidated all the Lightroom posts here. I said at the time that I might start it back up again, and so now I have.
Why you probably shouldn't Sync your Lightroom Catalogue via Dropbox
An interesting topic came up for discussion recently between some colleagues. We were talking about how nice it would be if Lightroom let you sync projects between a laptop and a desktop, and someone suggested that you could just put your catalogue on dropbox and sync it that way. If you google this there are lots of tutorials for various ways to set this up, but in my opinion, while that might sound like a good idea or a simple solution, it's something that I personally would avoid doing, and here's why.
Quick tip: See Previous Metadata Entries in Lightroom
There are a lot of hidden and not so obvious features littered throughout Lightroom. I've previously expressed my dislike of the interface for dealing with metadata in the software, but it does have a few tricks up its sleeve. For example, if you start typing in any of the fields, it will auto fill in the entries based on previous results.
PhotoBlogging: The importance of regular posting
There's lots of advice out there about blogging, and how to grow your traffic. Much of it often seems very academic or even has the feeling that, if you follow it, it would look like you're trying to spam your readership. Even so, if you're running a blog there are things that are important to do to maintain and grow your readership. As someone who has been blogging for a long time now, I thought I'd share my personal experience of one of the most important things you can do, and that's to keep posting regularly.
Squarespace tip: Increase the space between images in a stacked gallery
Here’s a quick tip for fellow Squarespace users. If you use the stacked gallery block often, one of the things that you may find frustrating about it is the fact that there are no options for increasing the space between images in the gallery. That, and the fact that there’s no Lightbox option. I’ve covered a workaround for the second issue before, but there’s actually a relatively easy way to increase the space between items in a stacked gallery.
The Proper Way to Move Photos in Lightroom
If you're a Lightroom user and you have a lot of images, the chances are that there will come a time when you need to move some of your photos. Whether it's to another location on the same drive, to an entirely different drive, there is a right way and a wrong way to go about moving your files.
Lightroom's Guided Upright - Video
The headline feature in the latest version of Lightroom CC is the new guided upright feature. This new tool lets you set guidelines when using the "Upright" automatic correction feature. Rather than spend a long time talking about it, I made a quick video to show you the feature in action.


