If you’ve switched from Lightroom to Capture One, one of the things that you may have noticed is different, is the way that Shadows and Highlights work. In Lightroom, you can drag the sliders either way for a positive or negative adjustment. In Capture One, they only go one way. Does this mean there is no way to negatively adjust shadows? No, there is actually a few different ways. Read on for how to do it …
All in Capture One
Capture One Terminology Basics for Lightroom Switchers
One of the things I most often hear from people switching from Lightroom to Capture One, is that they find the interface confusing or that there is a steep learning curve. The interface in Capture One is different to Lightroom, of that there is no doubt, but once you get the hang of it you will realise it’s actually not massively different. In this post, I’m going to discuss some of the Capture One terminology and where relevant, how it compares to its Lightroom counterparts.
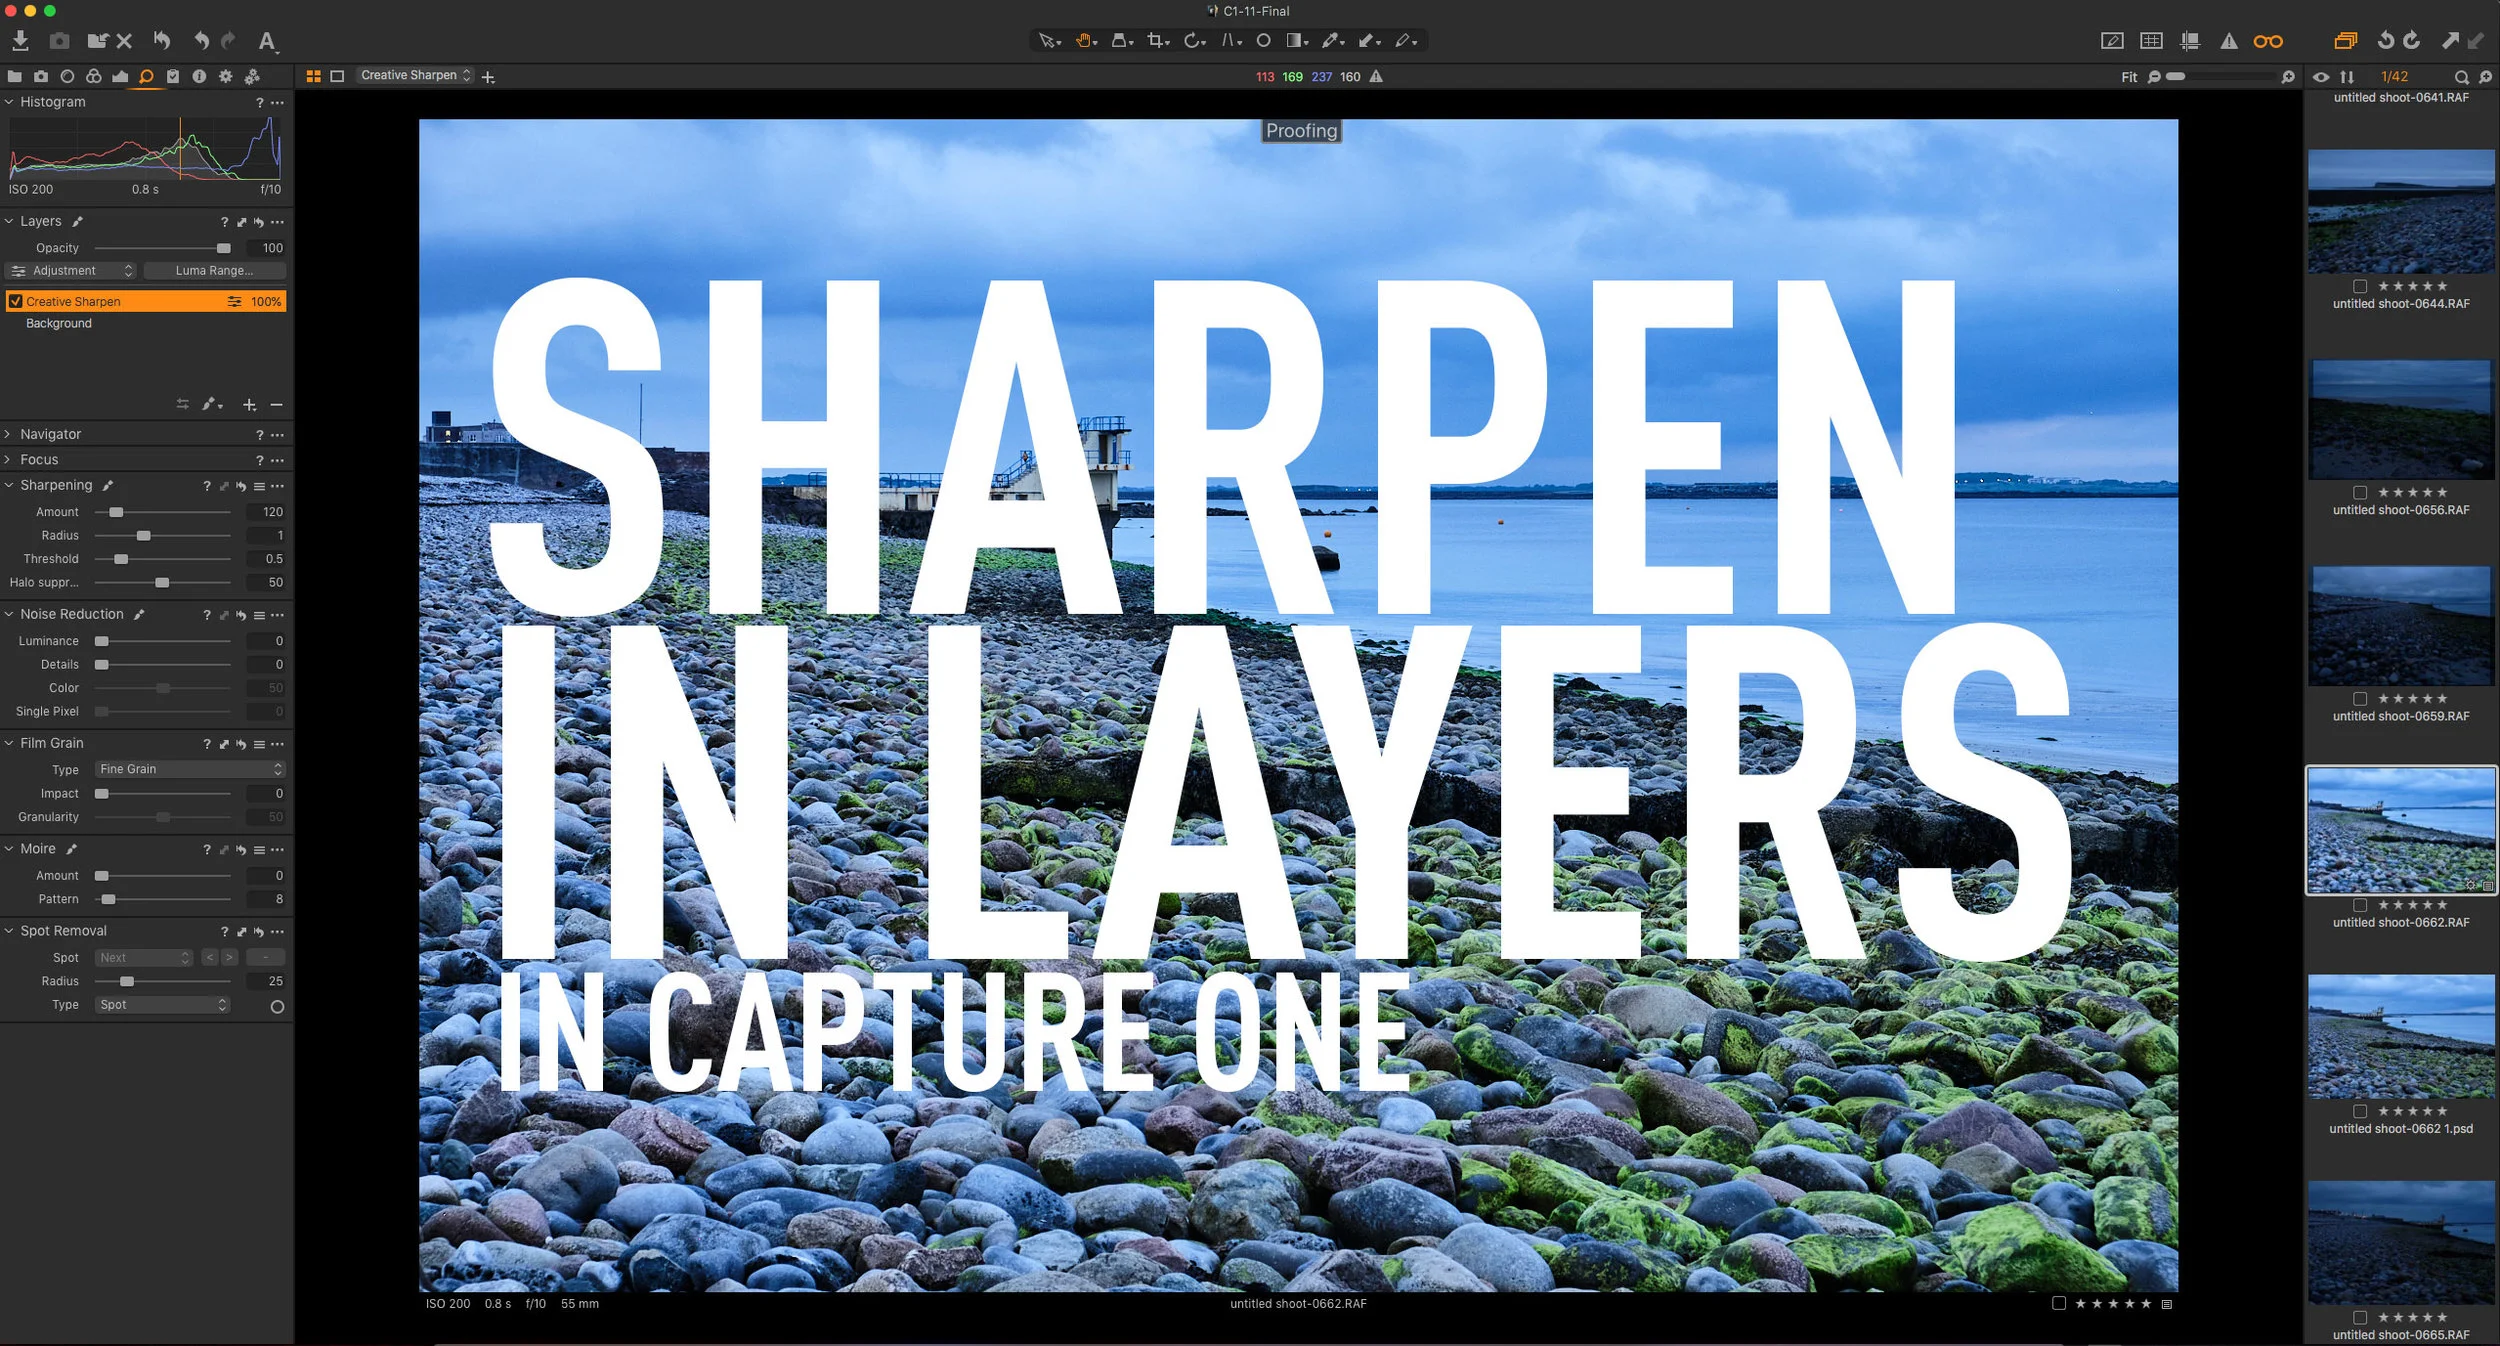
Use Layers to Separate Sharpening Workflows in Capture One
When you are working with RAW files in any software, an important part of the conversion process is sharpening. Sharpening must be done to compensate for the inherent softness that is a part of the raw conversion process. I’ve discussed this before, but there are times when you need to do additional sharpening on top of the RAW level sharpening. While some software separates the RAW sharpening pass, most just have the one set of overall sharpening controls. In Capture One, you can use layers to split your workflow when you need to do more creative sharpening.
Capture One for Sony Shooters - It’s worth considering for one reason…
I’ve written a good bit about Capture One for Fuji shooters, including a whole book about it, but I think it’s something you should consider if you shoot Sony too. While the advantages aren’t as clear cut as they are for Fuji shooters, given the problems that Lightroom has with details and Fuji RAW files, there is one big benefit for Sony Shooters - the colour is better.
My New Capture One Fuji Guide is now available
I’m happy to announce that I’ve finally finished my new Capture One guide for Fuji shooters. Called “Processing RAW files in Capture One 12” - snappy title, I know! - It is written to provide Fuji shooters with enough knowledge to get the best results when working with Fuji RAW files in Capture One. It’s not a complete manual for Capture One, and while you don’t need to be an advanced user, you need to know the basics.
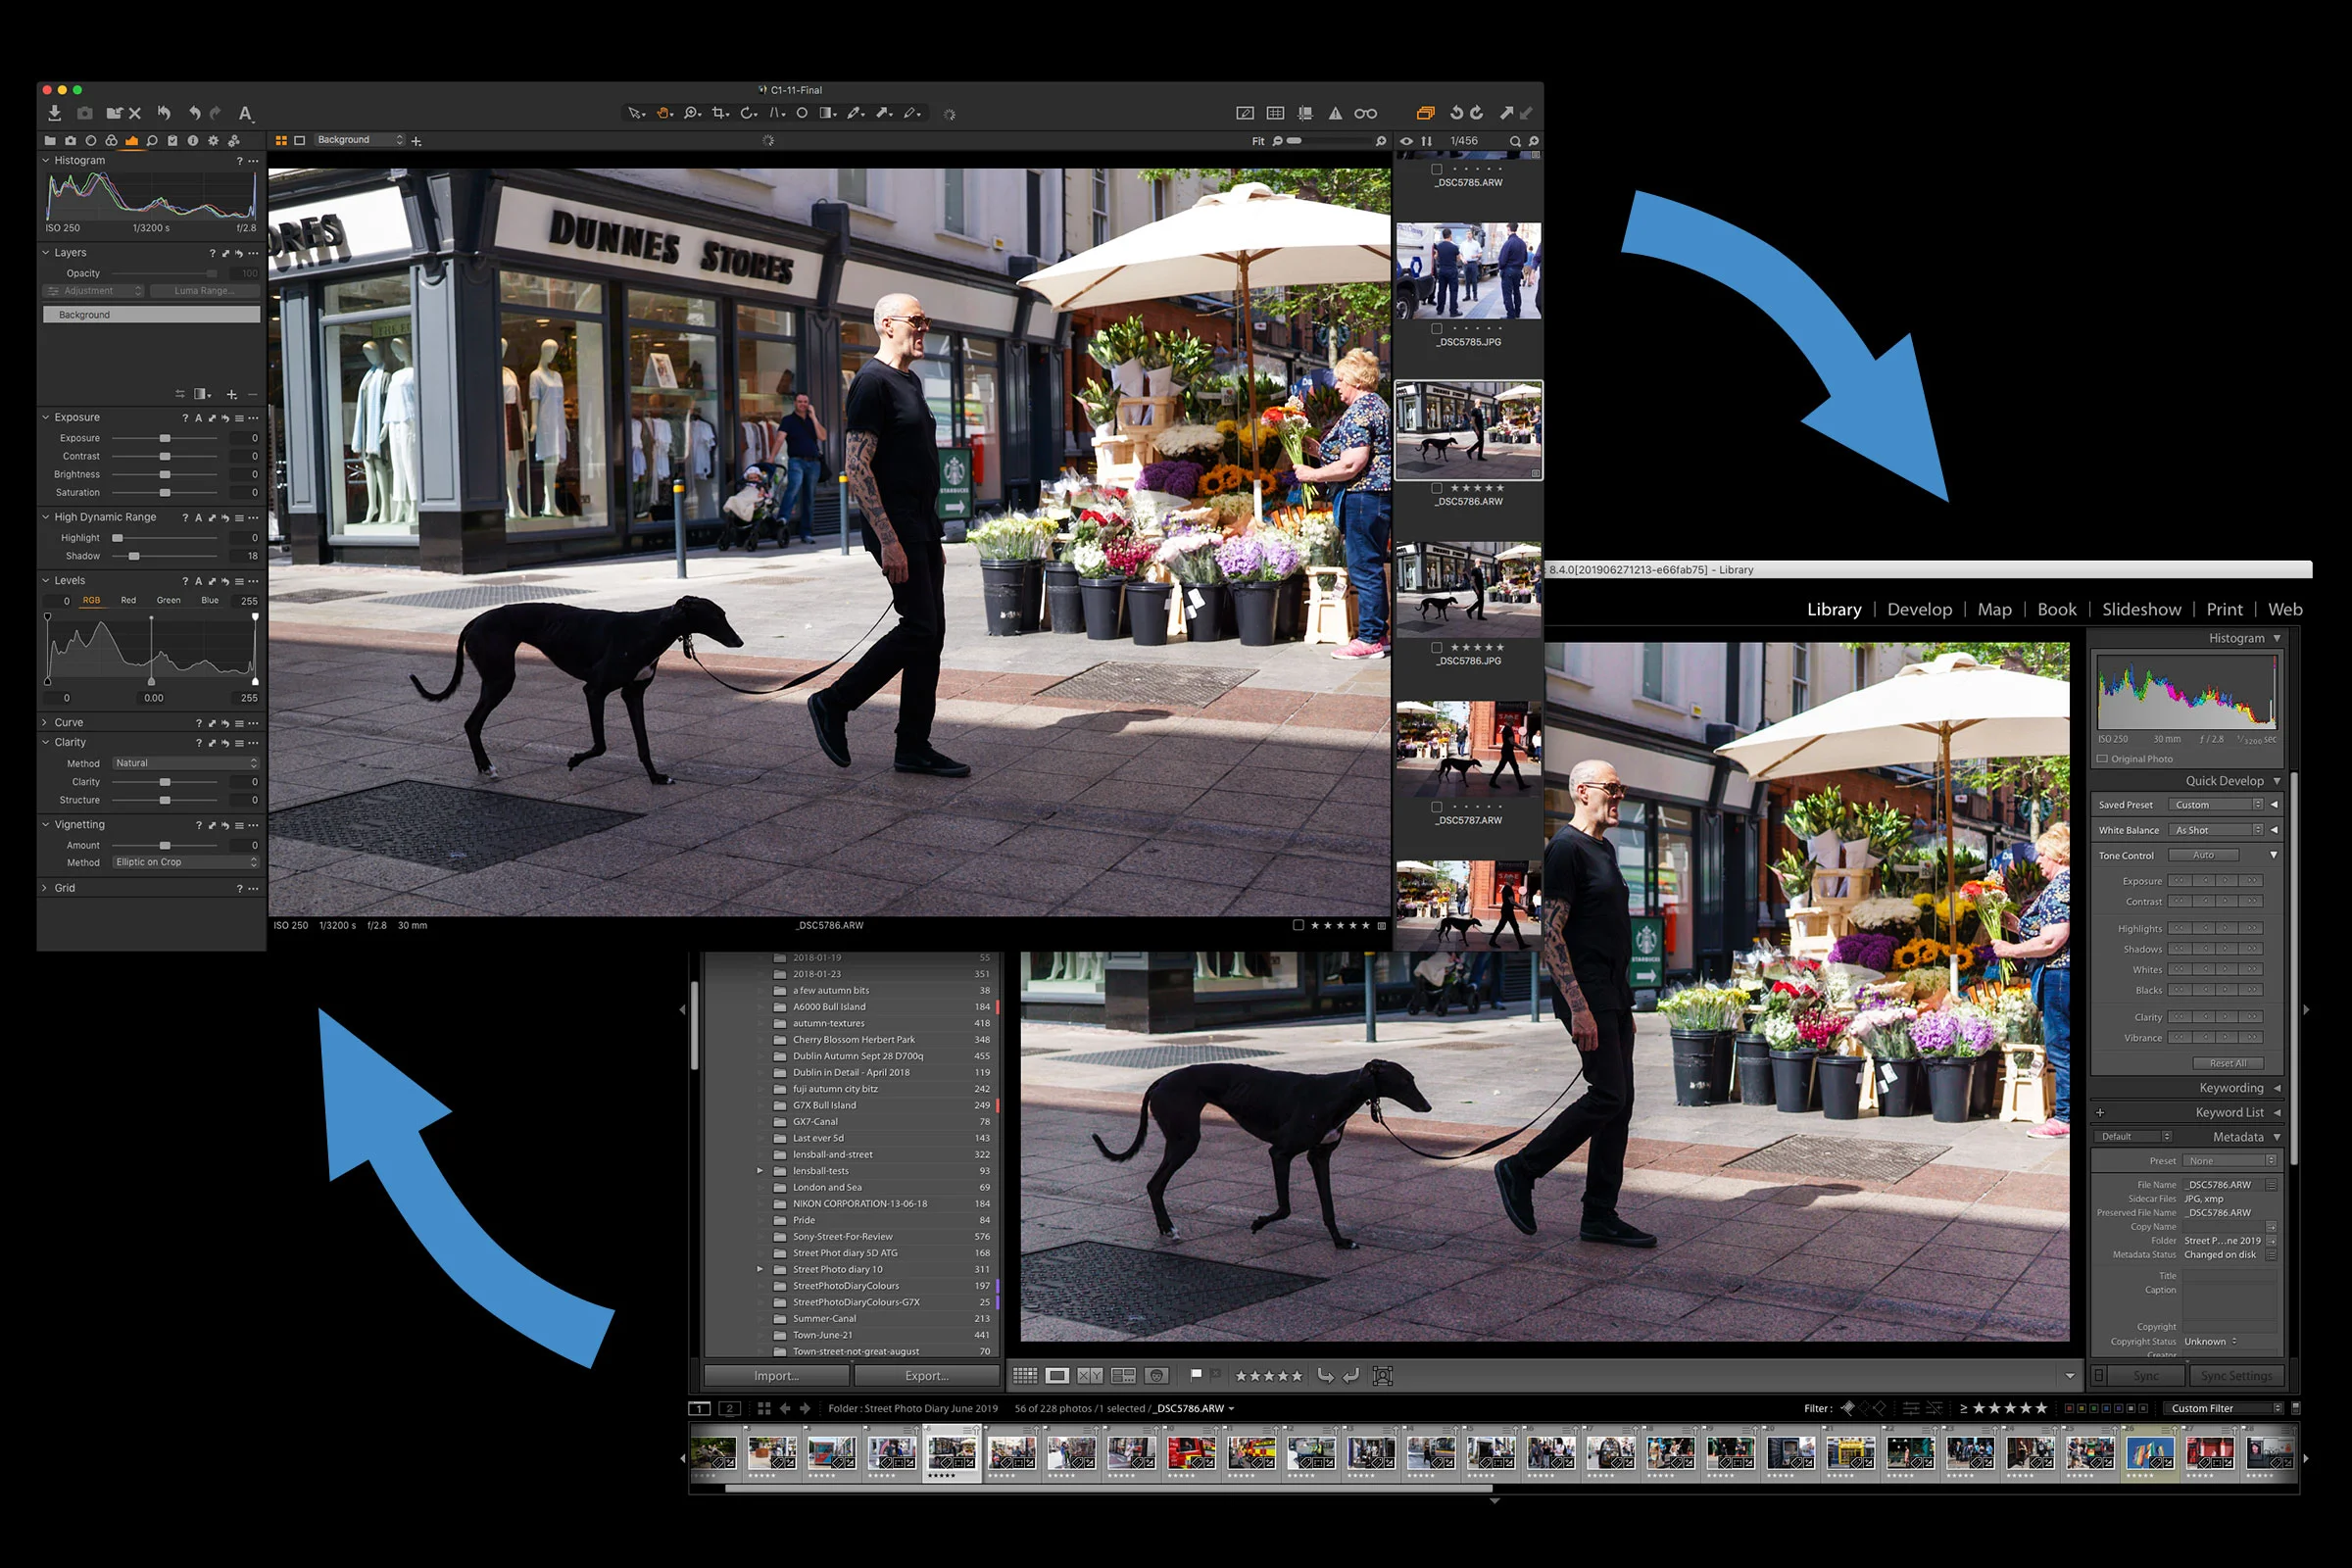
Share Folders of Images between Lightroom and Capture One and Keep Metadata Intact
If you are using both Lightroom and Capture One, there may be occasions when you want to try processing your images in both applications. This could be because you are still in the process of transitioning to Capture One, or you may just like using both applications. Whatever the reason, there are ways you can simplify the workflow of working with both applications, and in this post I’ll show you what to do.
New Capture One Styles from Phase One
Last week Phase One launched another set of their own first party Style Packs. They are called “‘Pacific’ & ‘Infinite Peaks’ Latitude Style packs” and are designed by acclaimed commercial photographer John Schell and Fujifilm X- Photographer Bryan Minear respectively.
Video: How to simulate Lightroom’s “texture” effect in Capture One
Ever since Adobe introduced the new “Texture” slider in Lightroom, and Capture One, I was curious to see if I could do something similar in Capture One. After a little experimentation, I was able to create a similar effect. In this video I show you how!
Improved Fuji X-Trans Rendering in Capture One 12.1
One of the features mentioned in the release notes for the latest version of Capture One is the improved rendering of X-Trans files. I briefly touched on this when I posted about the update last week, but as I was away, I didn’t have access to my main computer to properly show you the changes. So in this post I will go into it in a little more detail.
Partner Offer: 15% Off Capture One for the next Week
Phase One are having a limited time deal for their affiliate partners and their readers. They are offering 15% off select versions of Capture One. You simply follow this link and enter your email address to get a discount code.
Video: 5 Capture One Tips for Lightroom Users
One of the more consistent themes that I constantly hear about Capture One from Lightroom users is that they find it hard to use, and that there is a steep learning curve. It took me a while to be fully comfortable with the software, so I can understand where a lot of people are coming from. With that in mind I wanted to start a new set of videos to help users who are coming from Lightroom get to grips with Capture One.
Video: How to Fix a Burnt out Sky in Capture One
In this video I look at how to fix a burnt out sky, that you can’t recover with the highlights recovery or by adjusting exposure, in Capture One. Sometimes if your image is slightly overexposed, or if you’re photographing a high contrast scene you may come across a situation where the highlights are clipped and you can’t recover them. There is still a fairly easy way to fix the problem though, and in this video I show you how.
PSA: Capture One Fuji & Sony Versions Sale Extended
This is just a super quick public service announcement and I almost missed this, but Phase One decided to extend the 50% sale of Capture One for the Fuji and Sony specific version until the end of April. It was supposed to end in March but they said it was so successful tat they were extending it to the end of April.
Video: How to do “Dehaze” in Capture One
In the post I wrote yesterday about Capture One, I listed some of the things that it doesn’t have that are features of Lightroom. One of the things that I didn’t mention was Dehaze, and a reader Kindly pointed this out. The thing is though, you can achieve a similar effect to Lightroom’s Dehaze in Capture One, but it’s just a little bit more work to set up. In order to show you how to do this, I created a little video..
Thinking of Switching to Capture One from Lightroom? Here’s what you need to know.
I’ve been covering Capture One for a while here on the blog, and it seems that there is more and more interest of late. However, often when I do cover it, I get comments or mail from people who complain that it doesn’t have this feature or that feature, and some are upset with me for not pointing this out. So I thought I would try and do as comprehensive as possible, a comparison between Lightroom ad Capture one, listing the pros and cons of each, as well as why I like it so much.
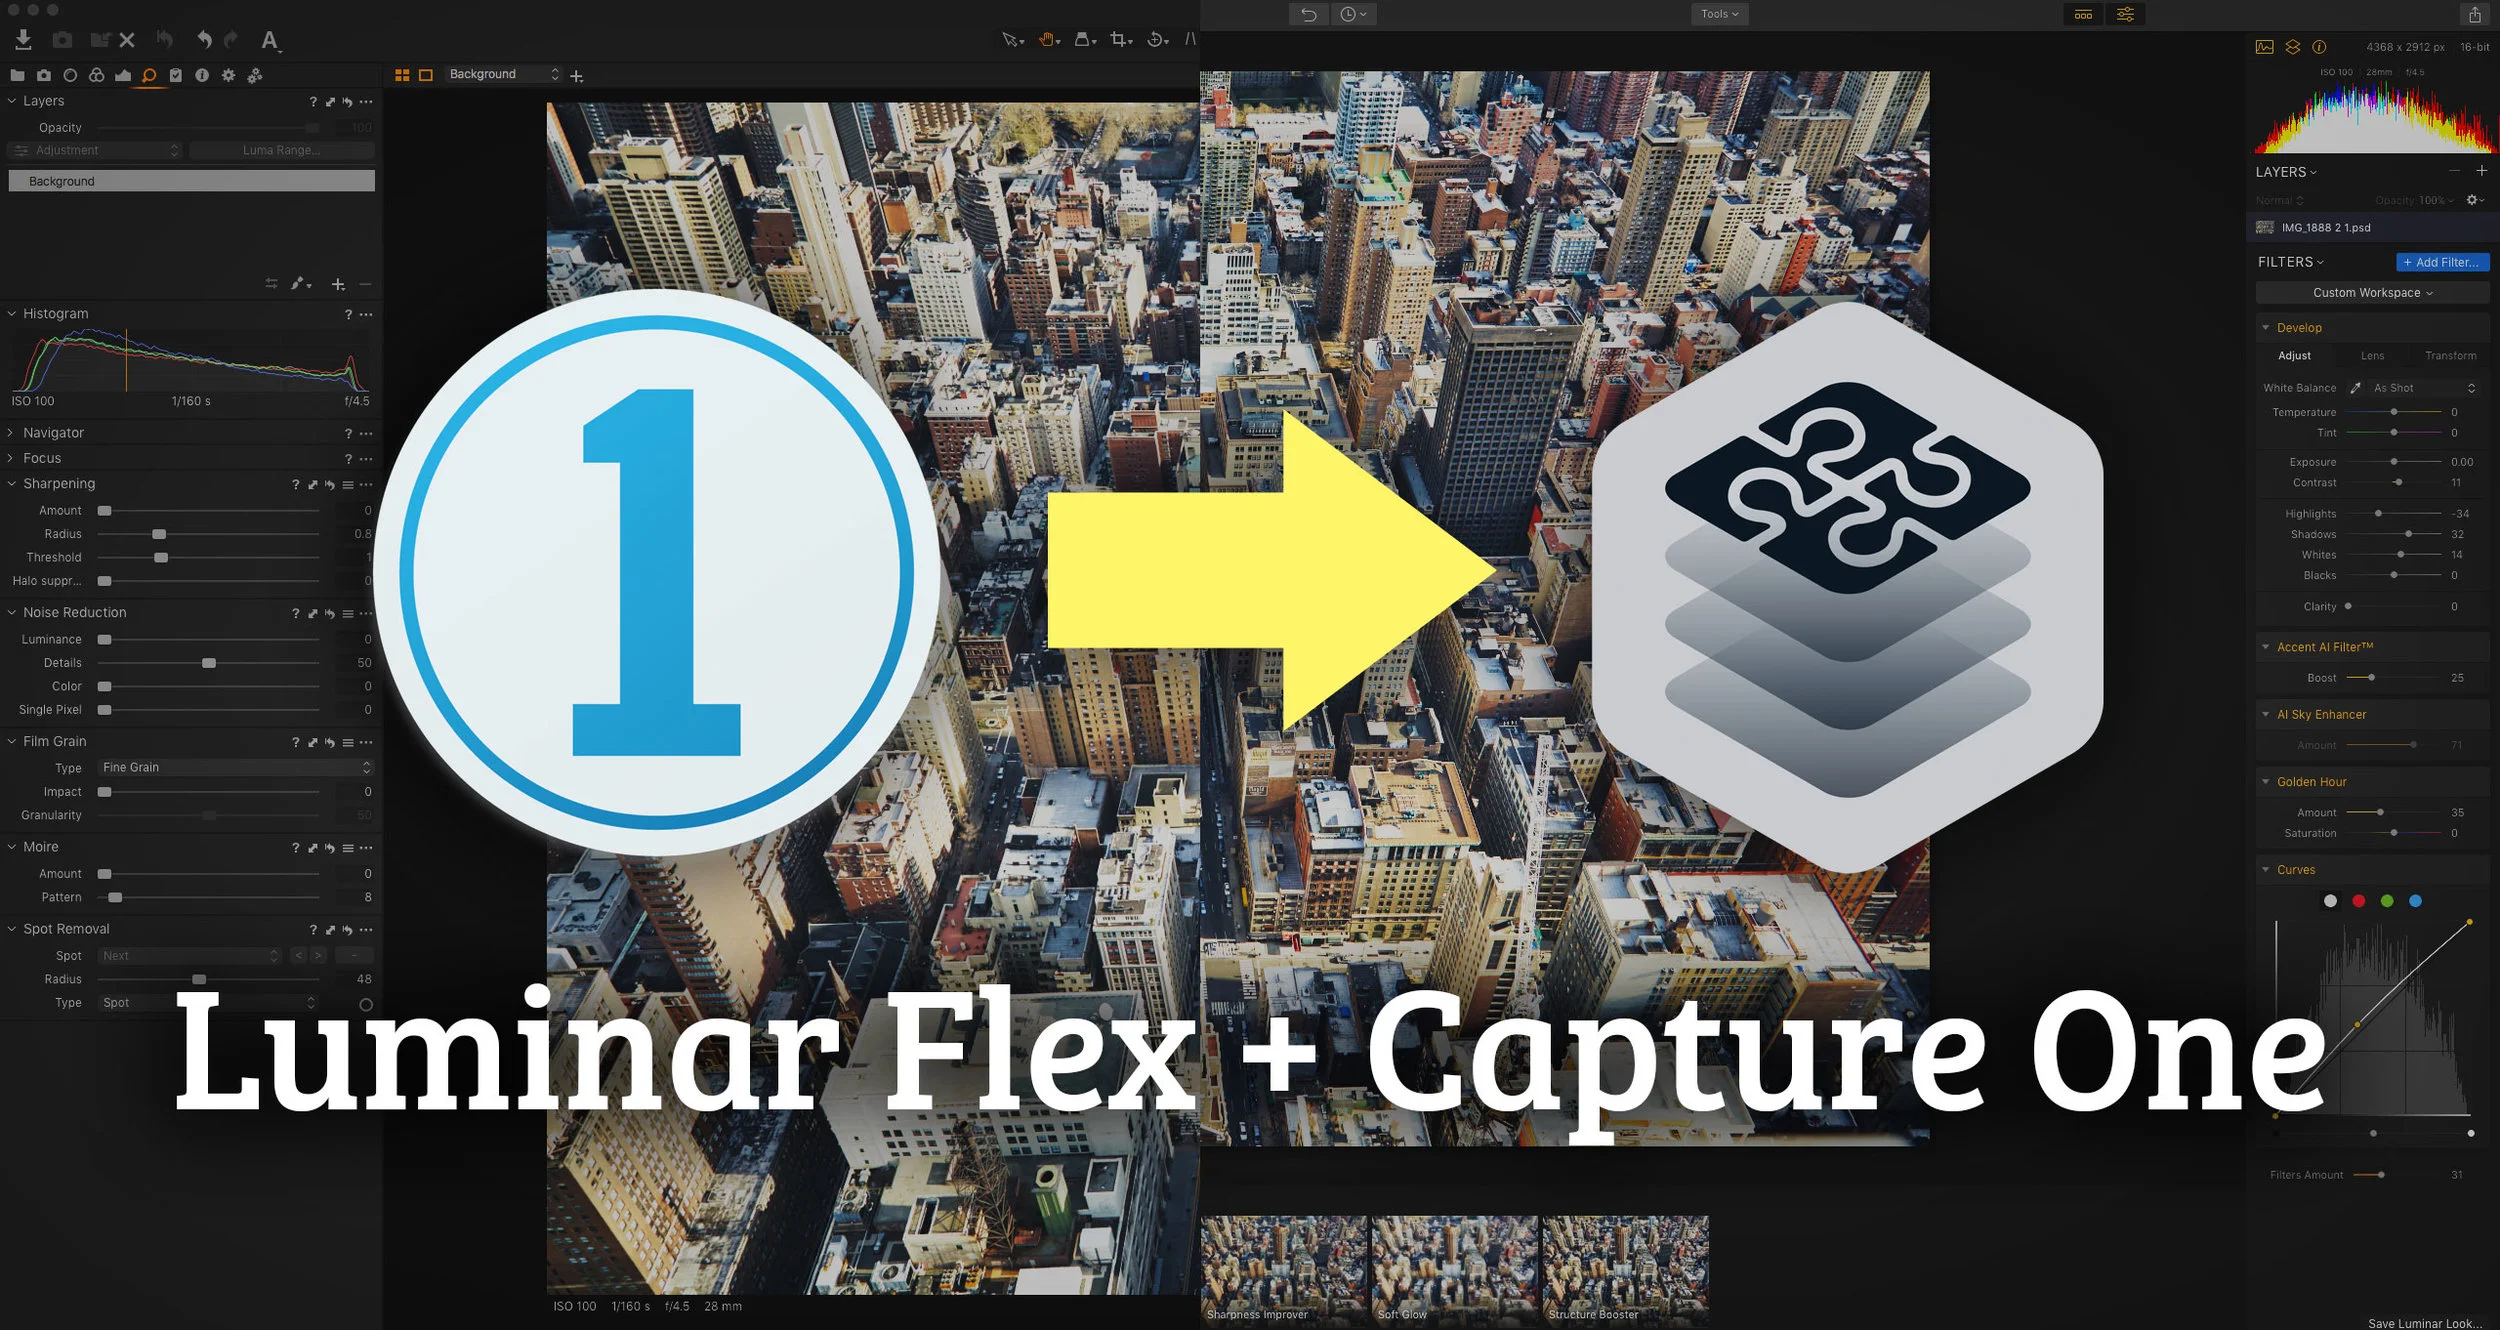
Video: How to use Luminar Flex in Capture One
While it’s not directly supported, its relatively easy to get Luminar Flex to work in Capture One. There are two main ways to do it and in this video I show you both methods and the pros and cons of each.
Mastin Labs announces Support for Capture One with new Style Pack
Mastin Labs, which is a popular creator of Lightroom Presets has announced a new style pack for Capture One bringing their Kodak film emulation presets to Phase One’s software.
T-NEG for Capture One Now Available
I’m happy to announce that my latest set of styles for Capture One is now available. T-Neg for Capture One is designed to create a film like grade to your image. The pack consists of 10 virtual “films” of my own creation, and each film has 5 variations.


