How I make Lightroom Presets
Having released quite a few premium Lightroom presets over the last few years, I thought I'd take some time to give you an insight into my process for creating them. It's not as straightforward as it might seem. I've often seen people on forums and in comments who seem to think that it's just a matter of randomly saving a few settings and then putting them up for sale, but it's a lot more involved that that. It actually takes quite a bit of work. When I stopped to think about it the other day, I realised that it's actually quite an interesting process, so I decided to write it all down. So what follows is a rough guide to the way I create presets for Lightroom, and the various steps involved. I'm sure others do things differently but this is how I go about it.
In the beginning
Before I get into how I create Lightroom presets, let me go back to how I got started doing this. My first presets were for Aperture. Back when Aperture was at its peak and I was writing the Aperture blog, I found that I had several presets that made some nice looks, and so I decided to put them up for sale to see how they would sell. I also wanted to do something a little different, as I was doing my best to contribute something to the Aperture community. They ended up being really popular, and people really liked them. As I made the move to Lightroom, I began to port them over, which turned out not to be an easy task. My first few Lightroom sets were ports of my Aperture ones, but now, the newer ones I've created are all originals.
It starts with an Idea
Coming up with a new set of presets is often an organic process. Sometimes I'll be working on an image and I'll come up with a look that I like and I'll save it as a preset. I have several folders full of various ideas for styles. Some of these never go anywhere, but sometimes, I'll then go back to one of these looks and work with it a bit further, and see if I can then turn that into a theme. Often the early ideas are just that, ideas. A lot of the time I don't set out to create a set of presets, they just sort of come together.
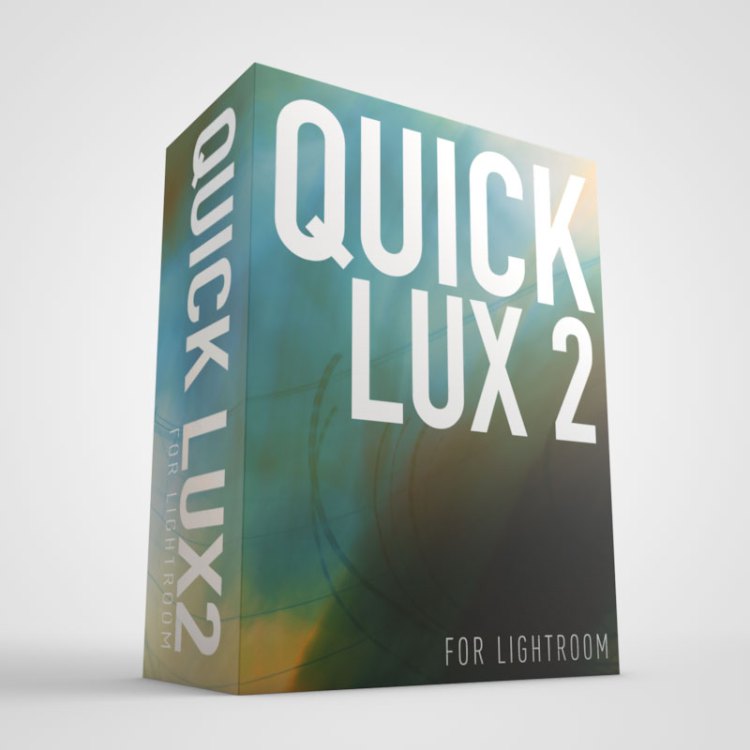
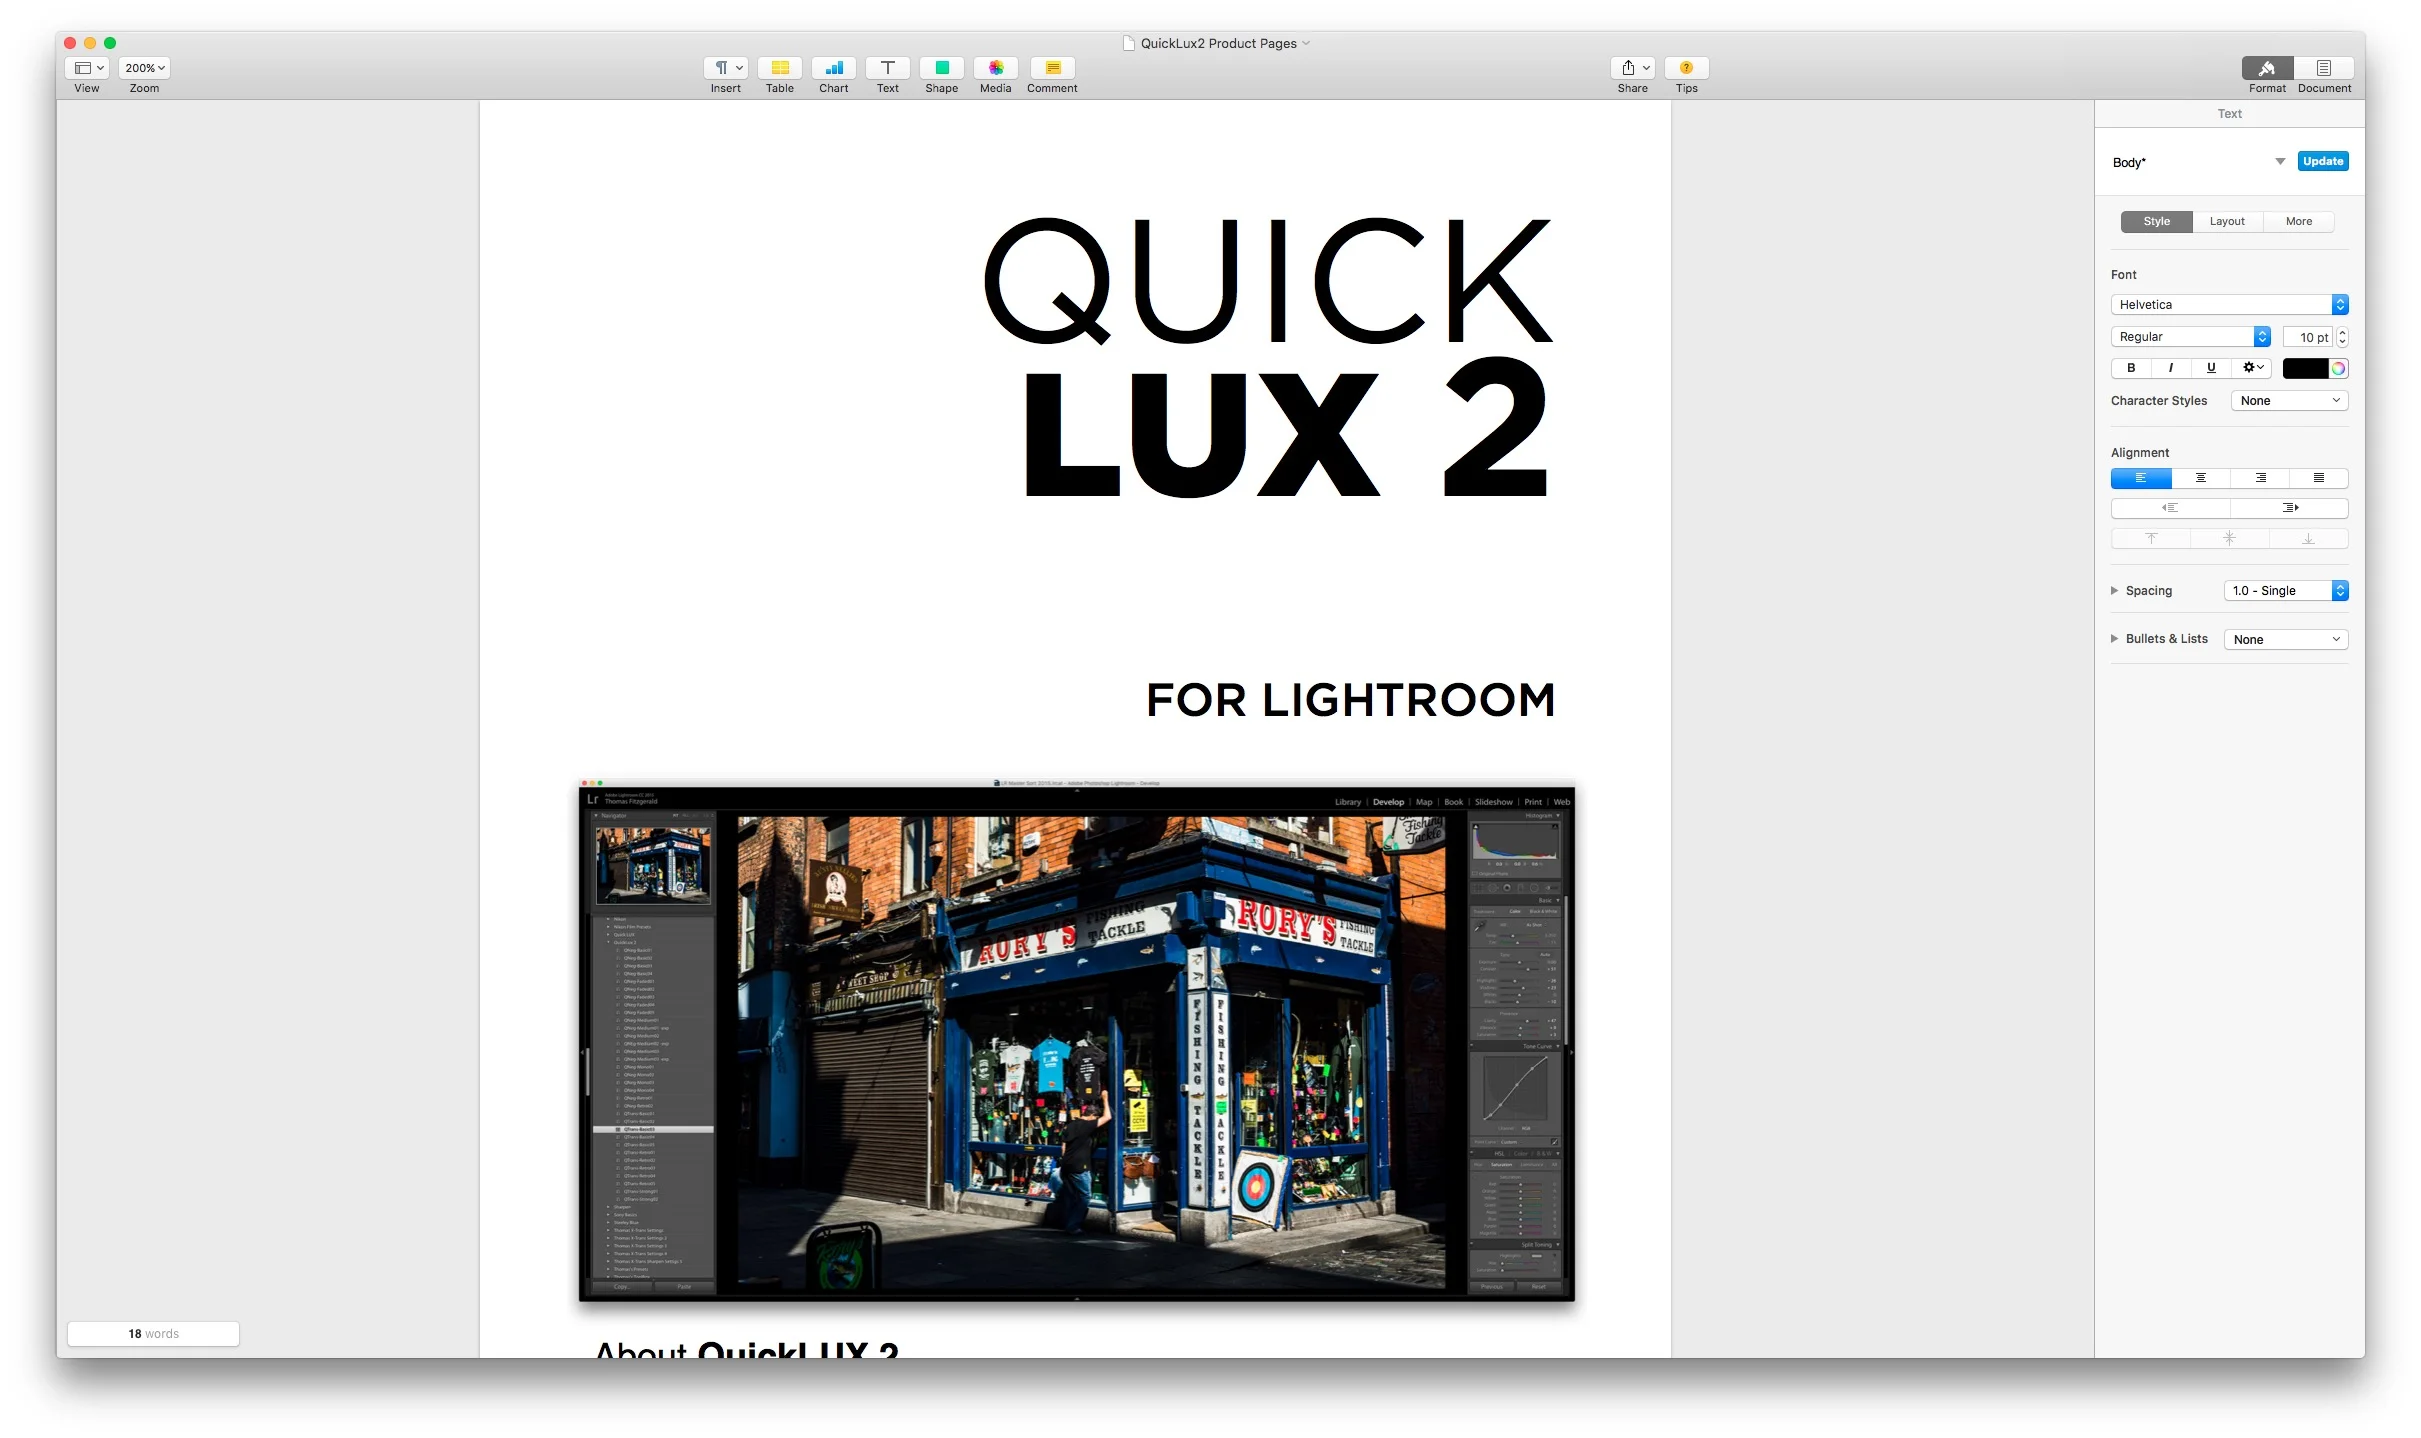
Sometimes though, I do set out to create a look specifically. Sometimes I'll see a style in a magazine or book that I like and it will inspire me to try some ideas out in Lightroom. Or I might see some old film photograph, and it will spark some inspiration. Some of the looks in my recent QuickLUX 2 pack started life that way.
Testing and Iteration
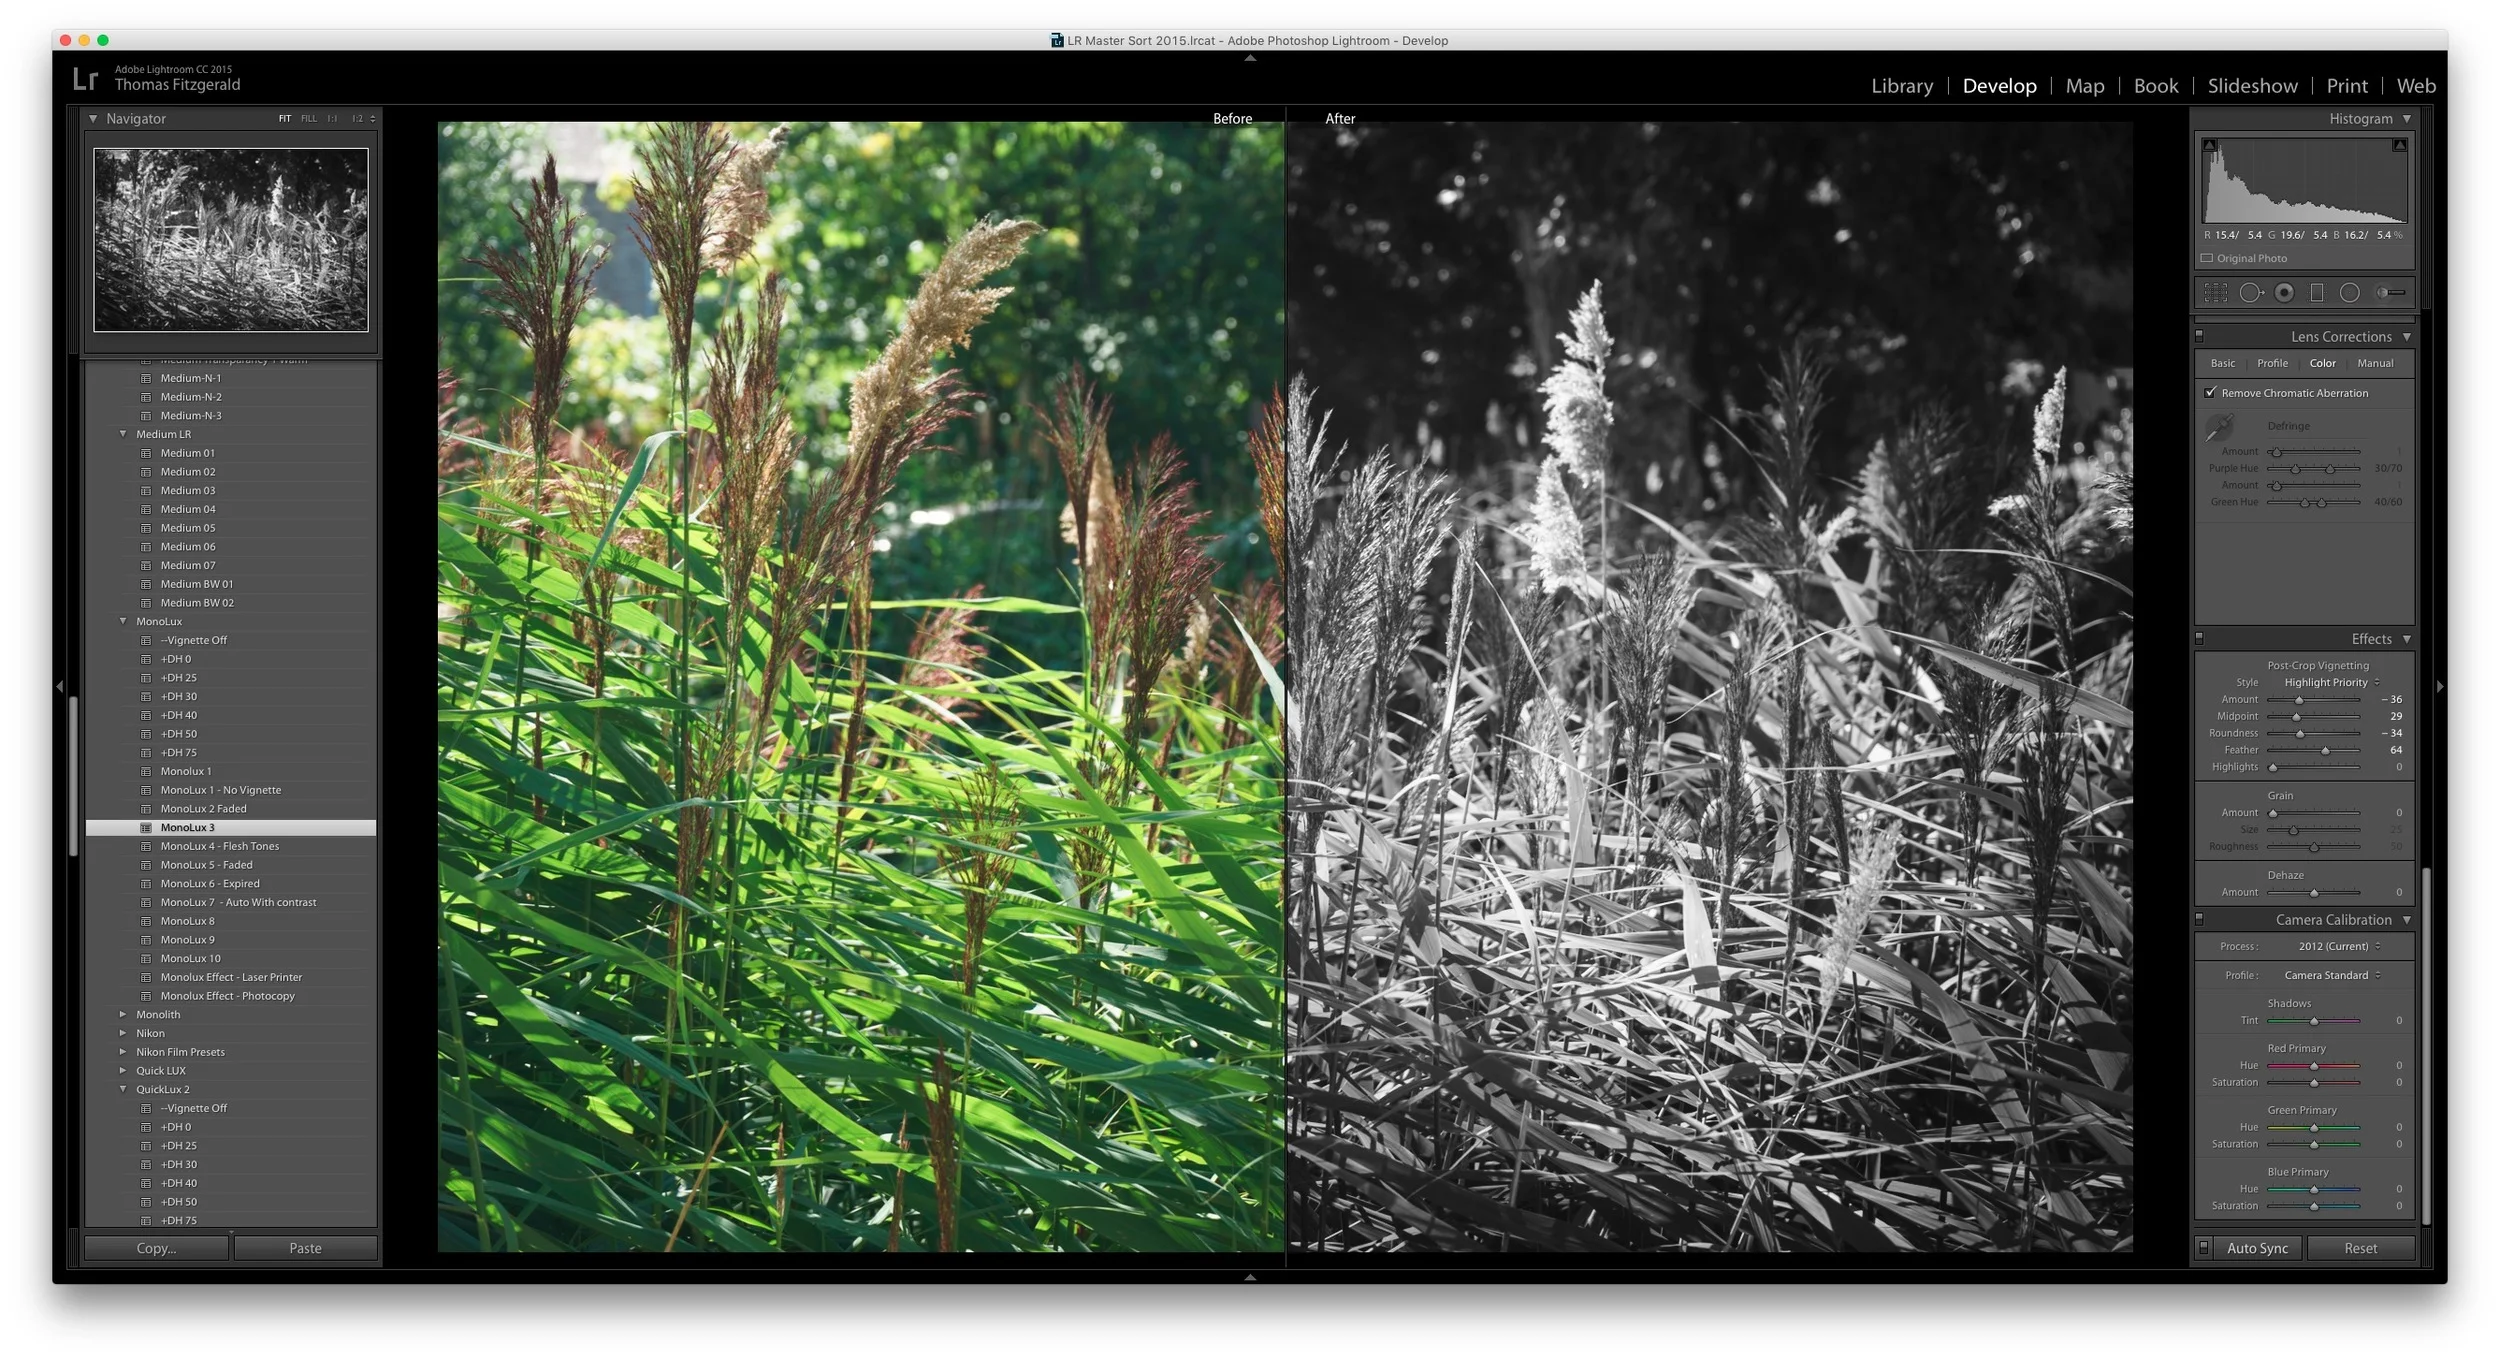
Once you have an idea, or a few presets to start with, it then involves a lot of tweaking and re-visiting. This process can take weeks or months, mainly because I'm not doing it as a full time endeavour. The thing about presets is, that if you just save a bunch of settings that look good on one image, they won't necessarily look good on a different photo. While it starts as saved settings that looked well on a particular image, you need to then make it so that those settings will create a similar look on lots of images. This isn't as easy as it sounds.
Getting it from one stage to the other requires quite a bit of changing and tweaking and sometimes you just won't get the results you're looking for. Images can vary widely and sometimes what looks good on a particular image won't look good on any other, and you can't quite make it so that it will. Often during this process, you'll tweak your settings so that they work well on a different set of images, only to find that they then don't work the way you initially wanted or they aren't really something that you can make generic.
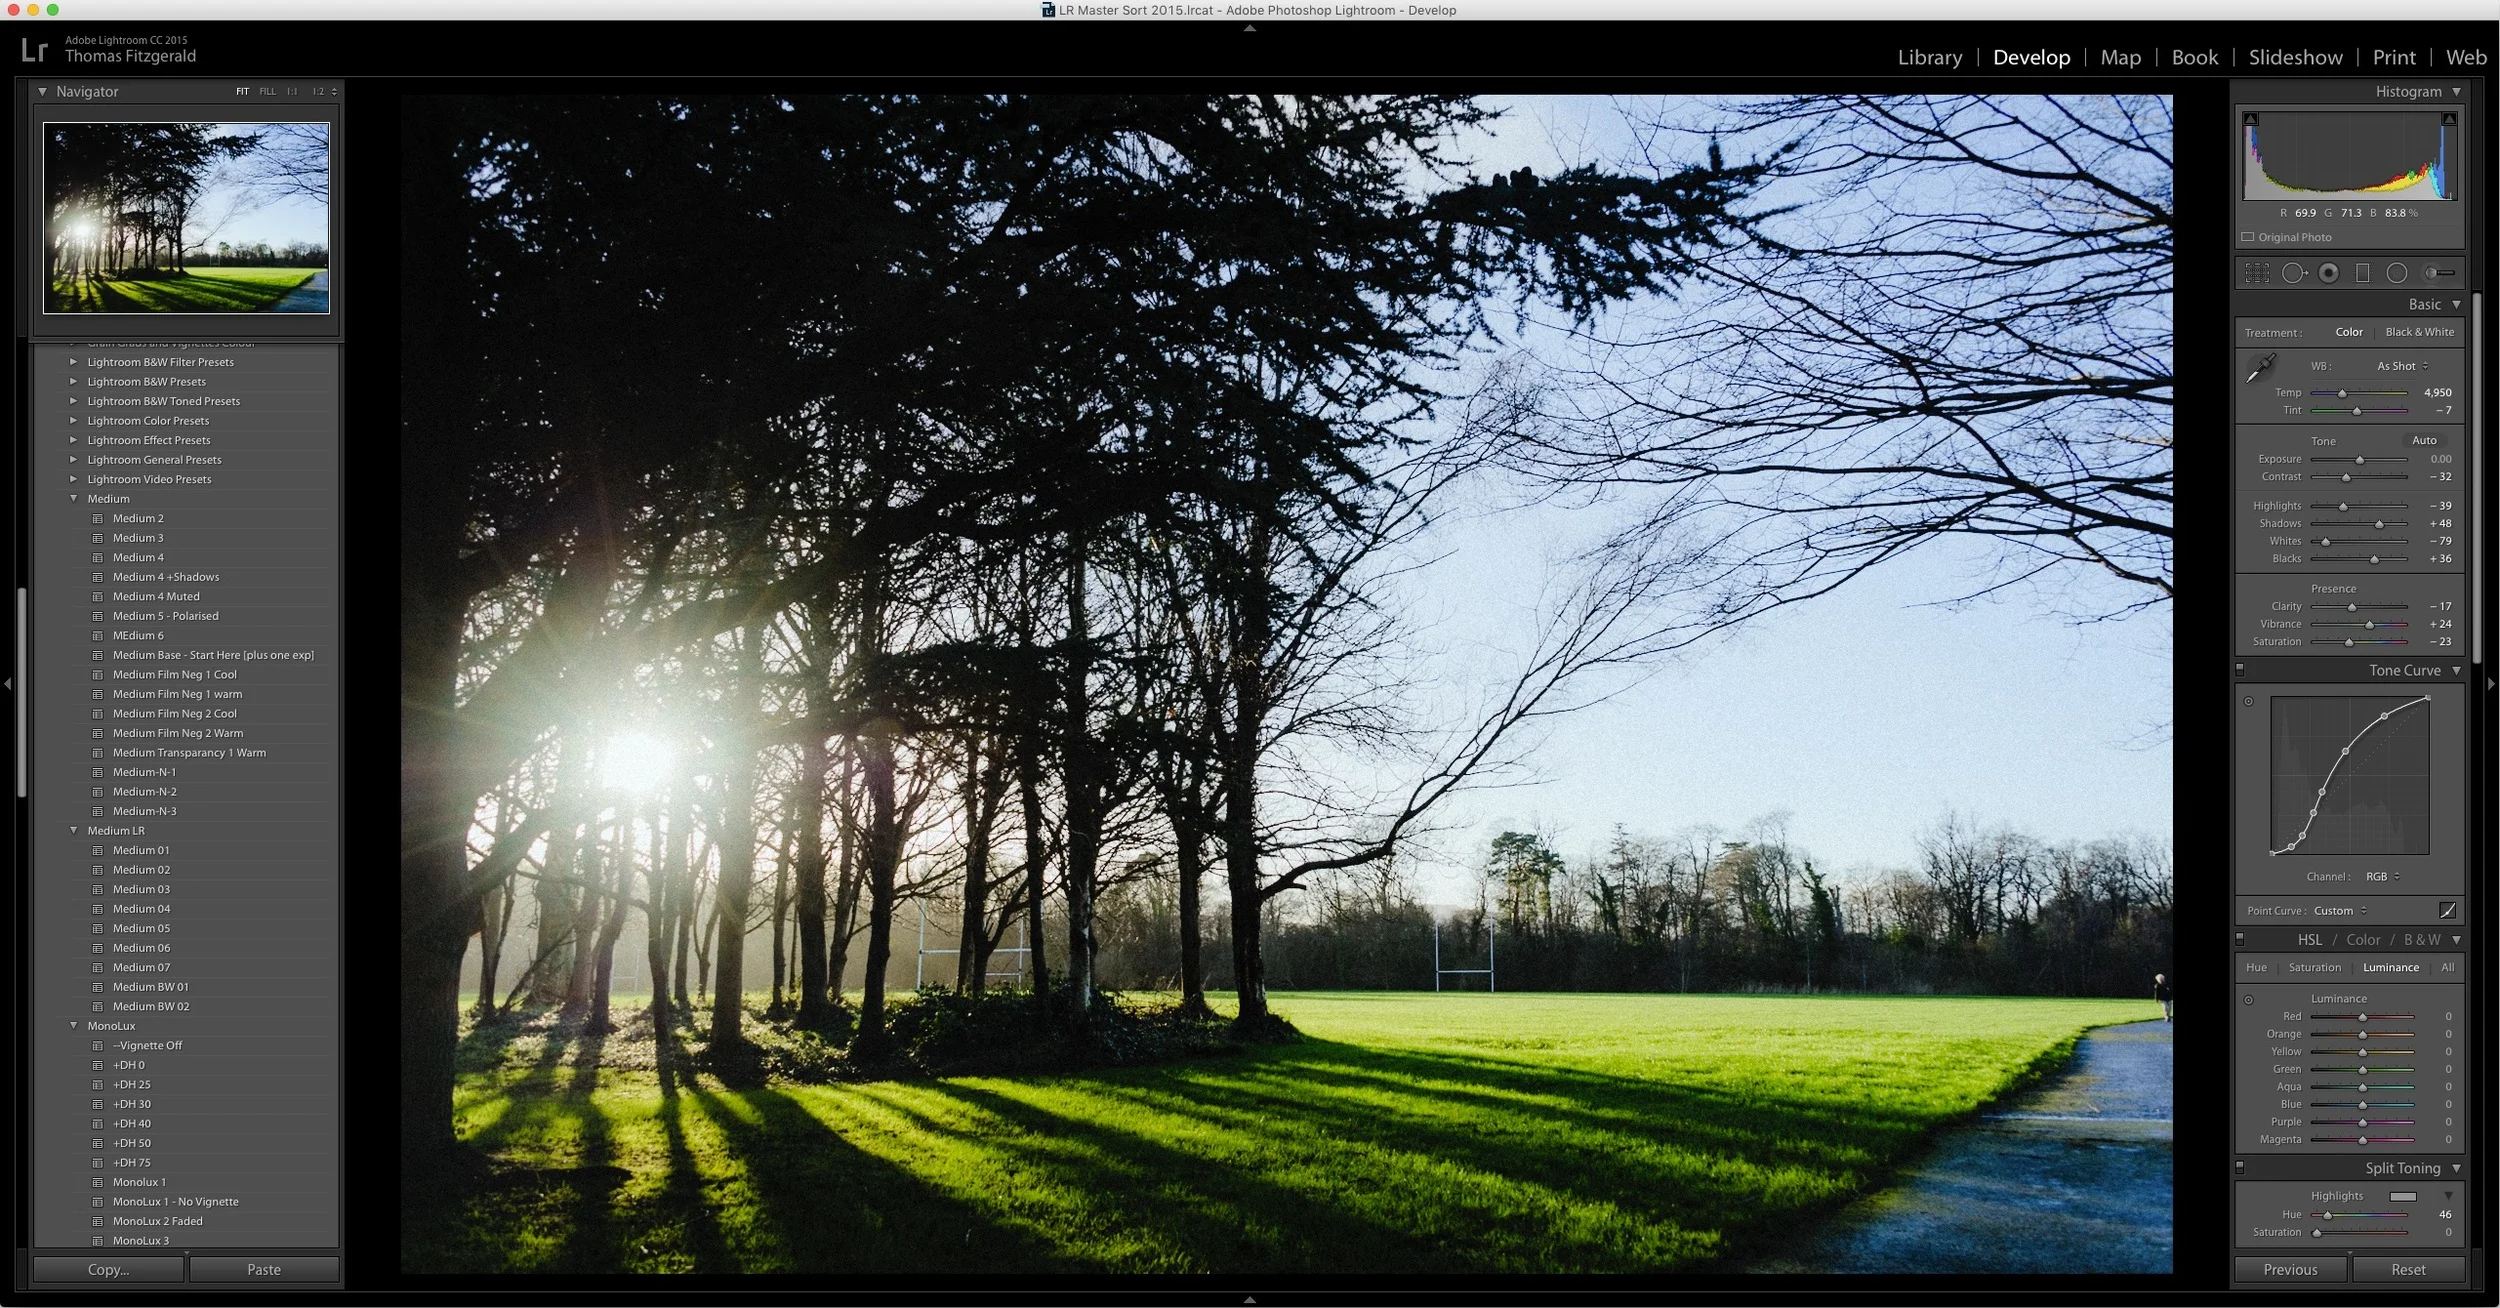
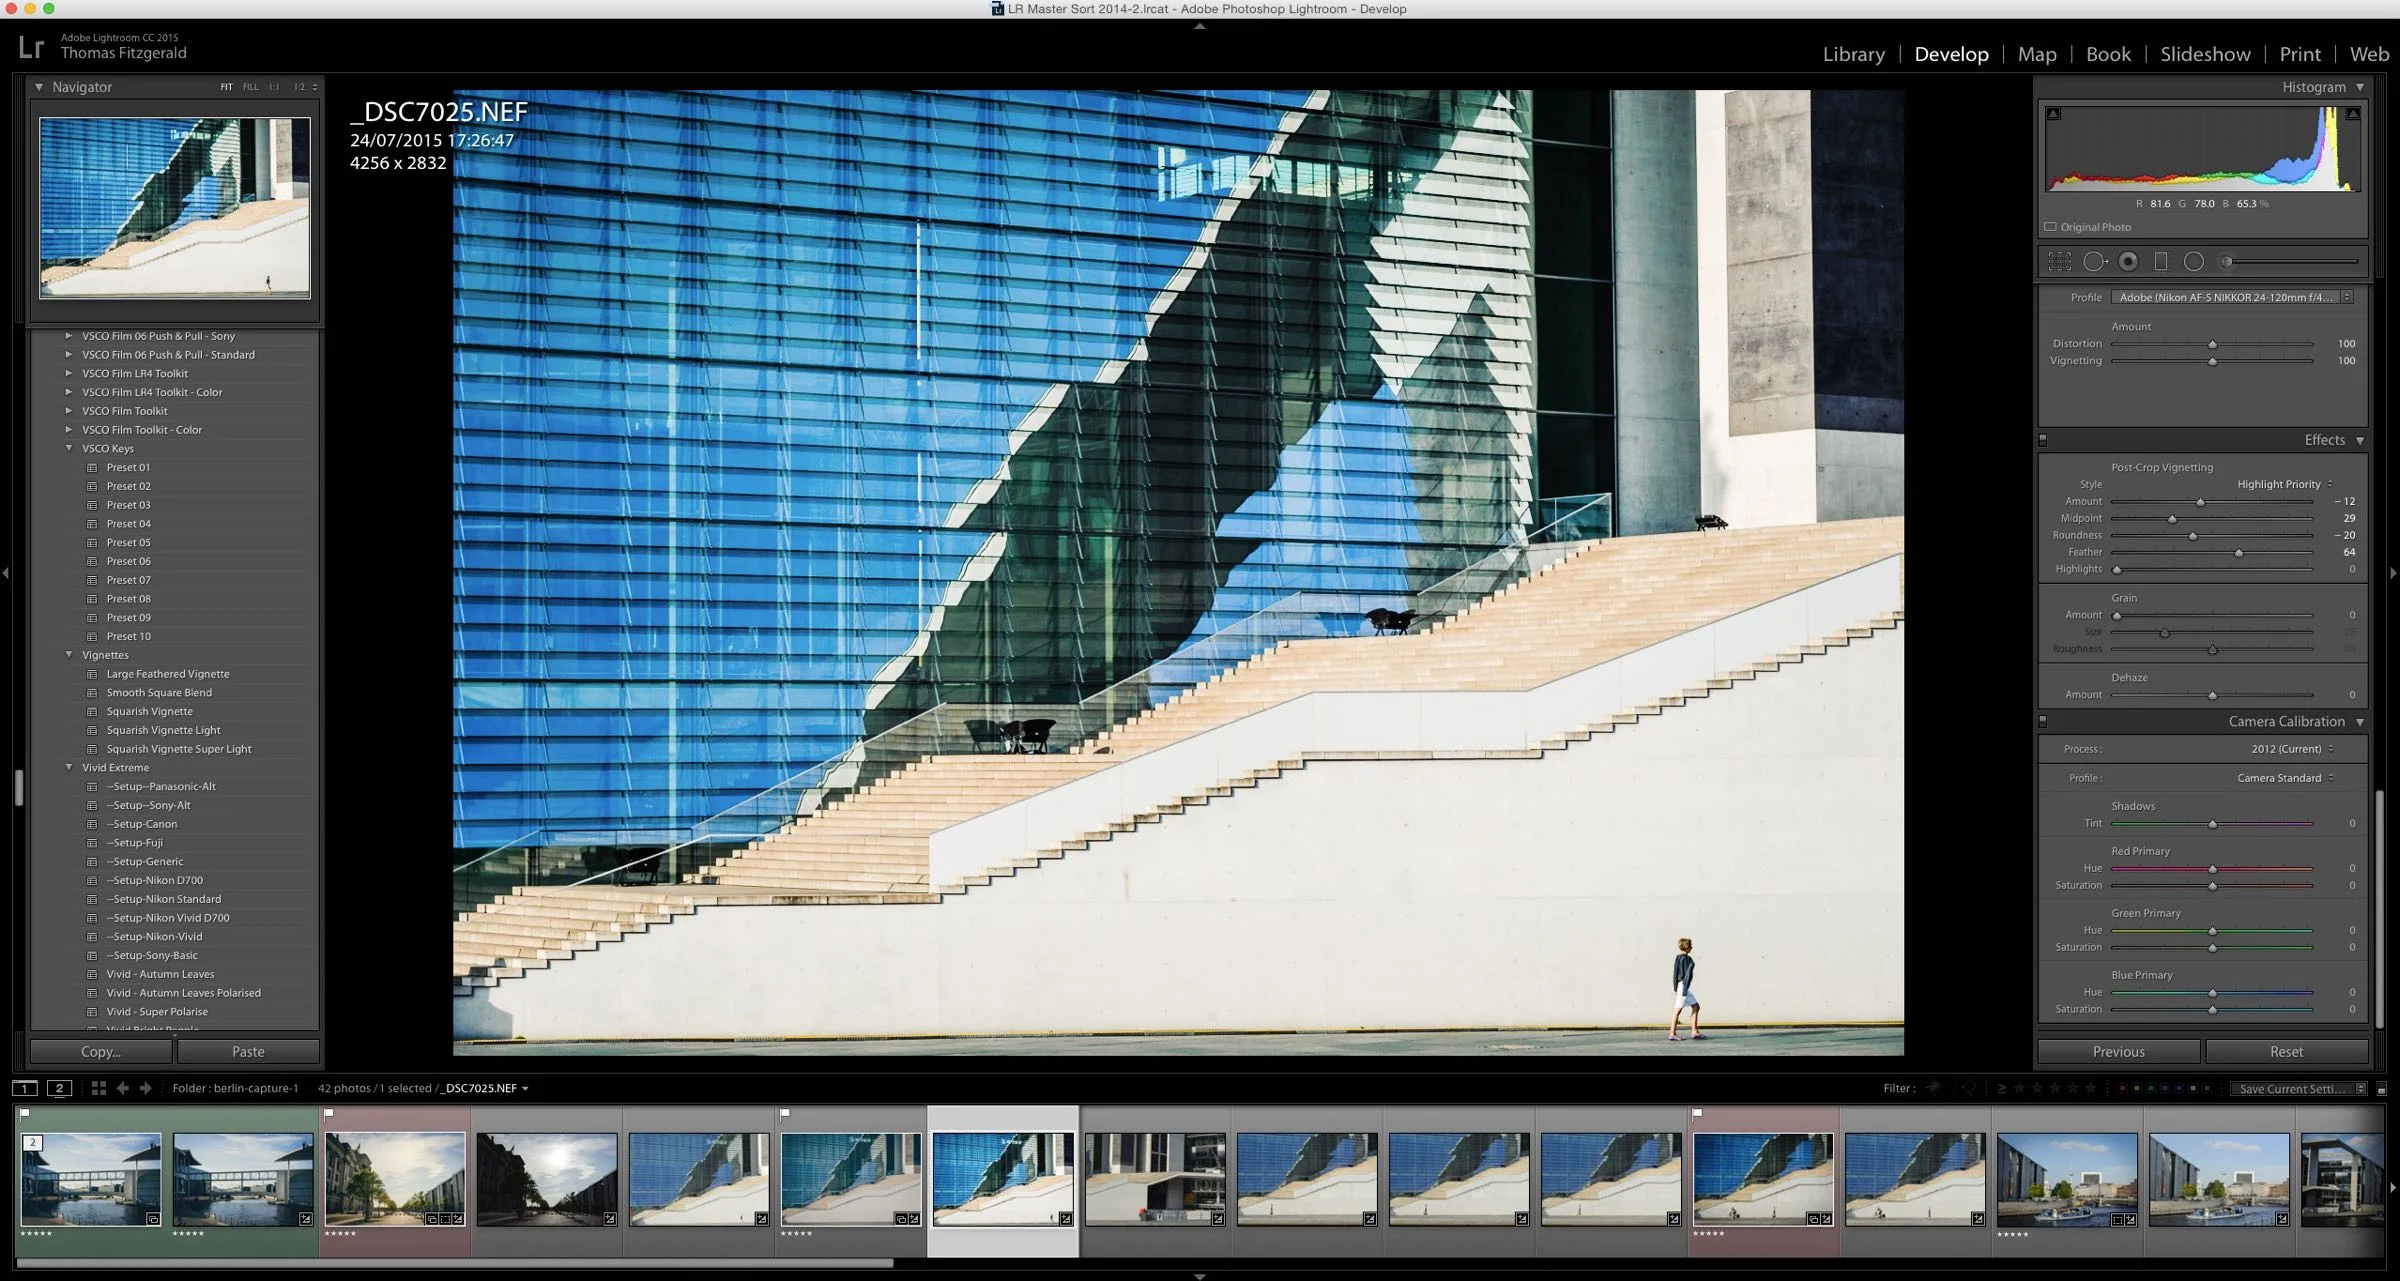
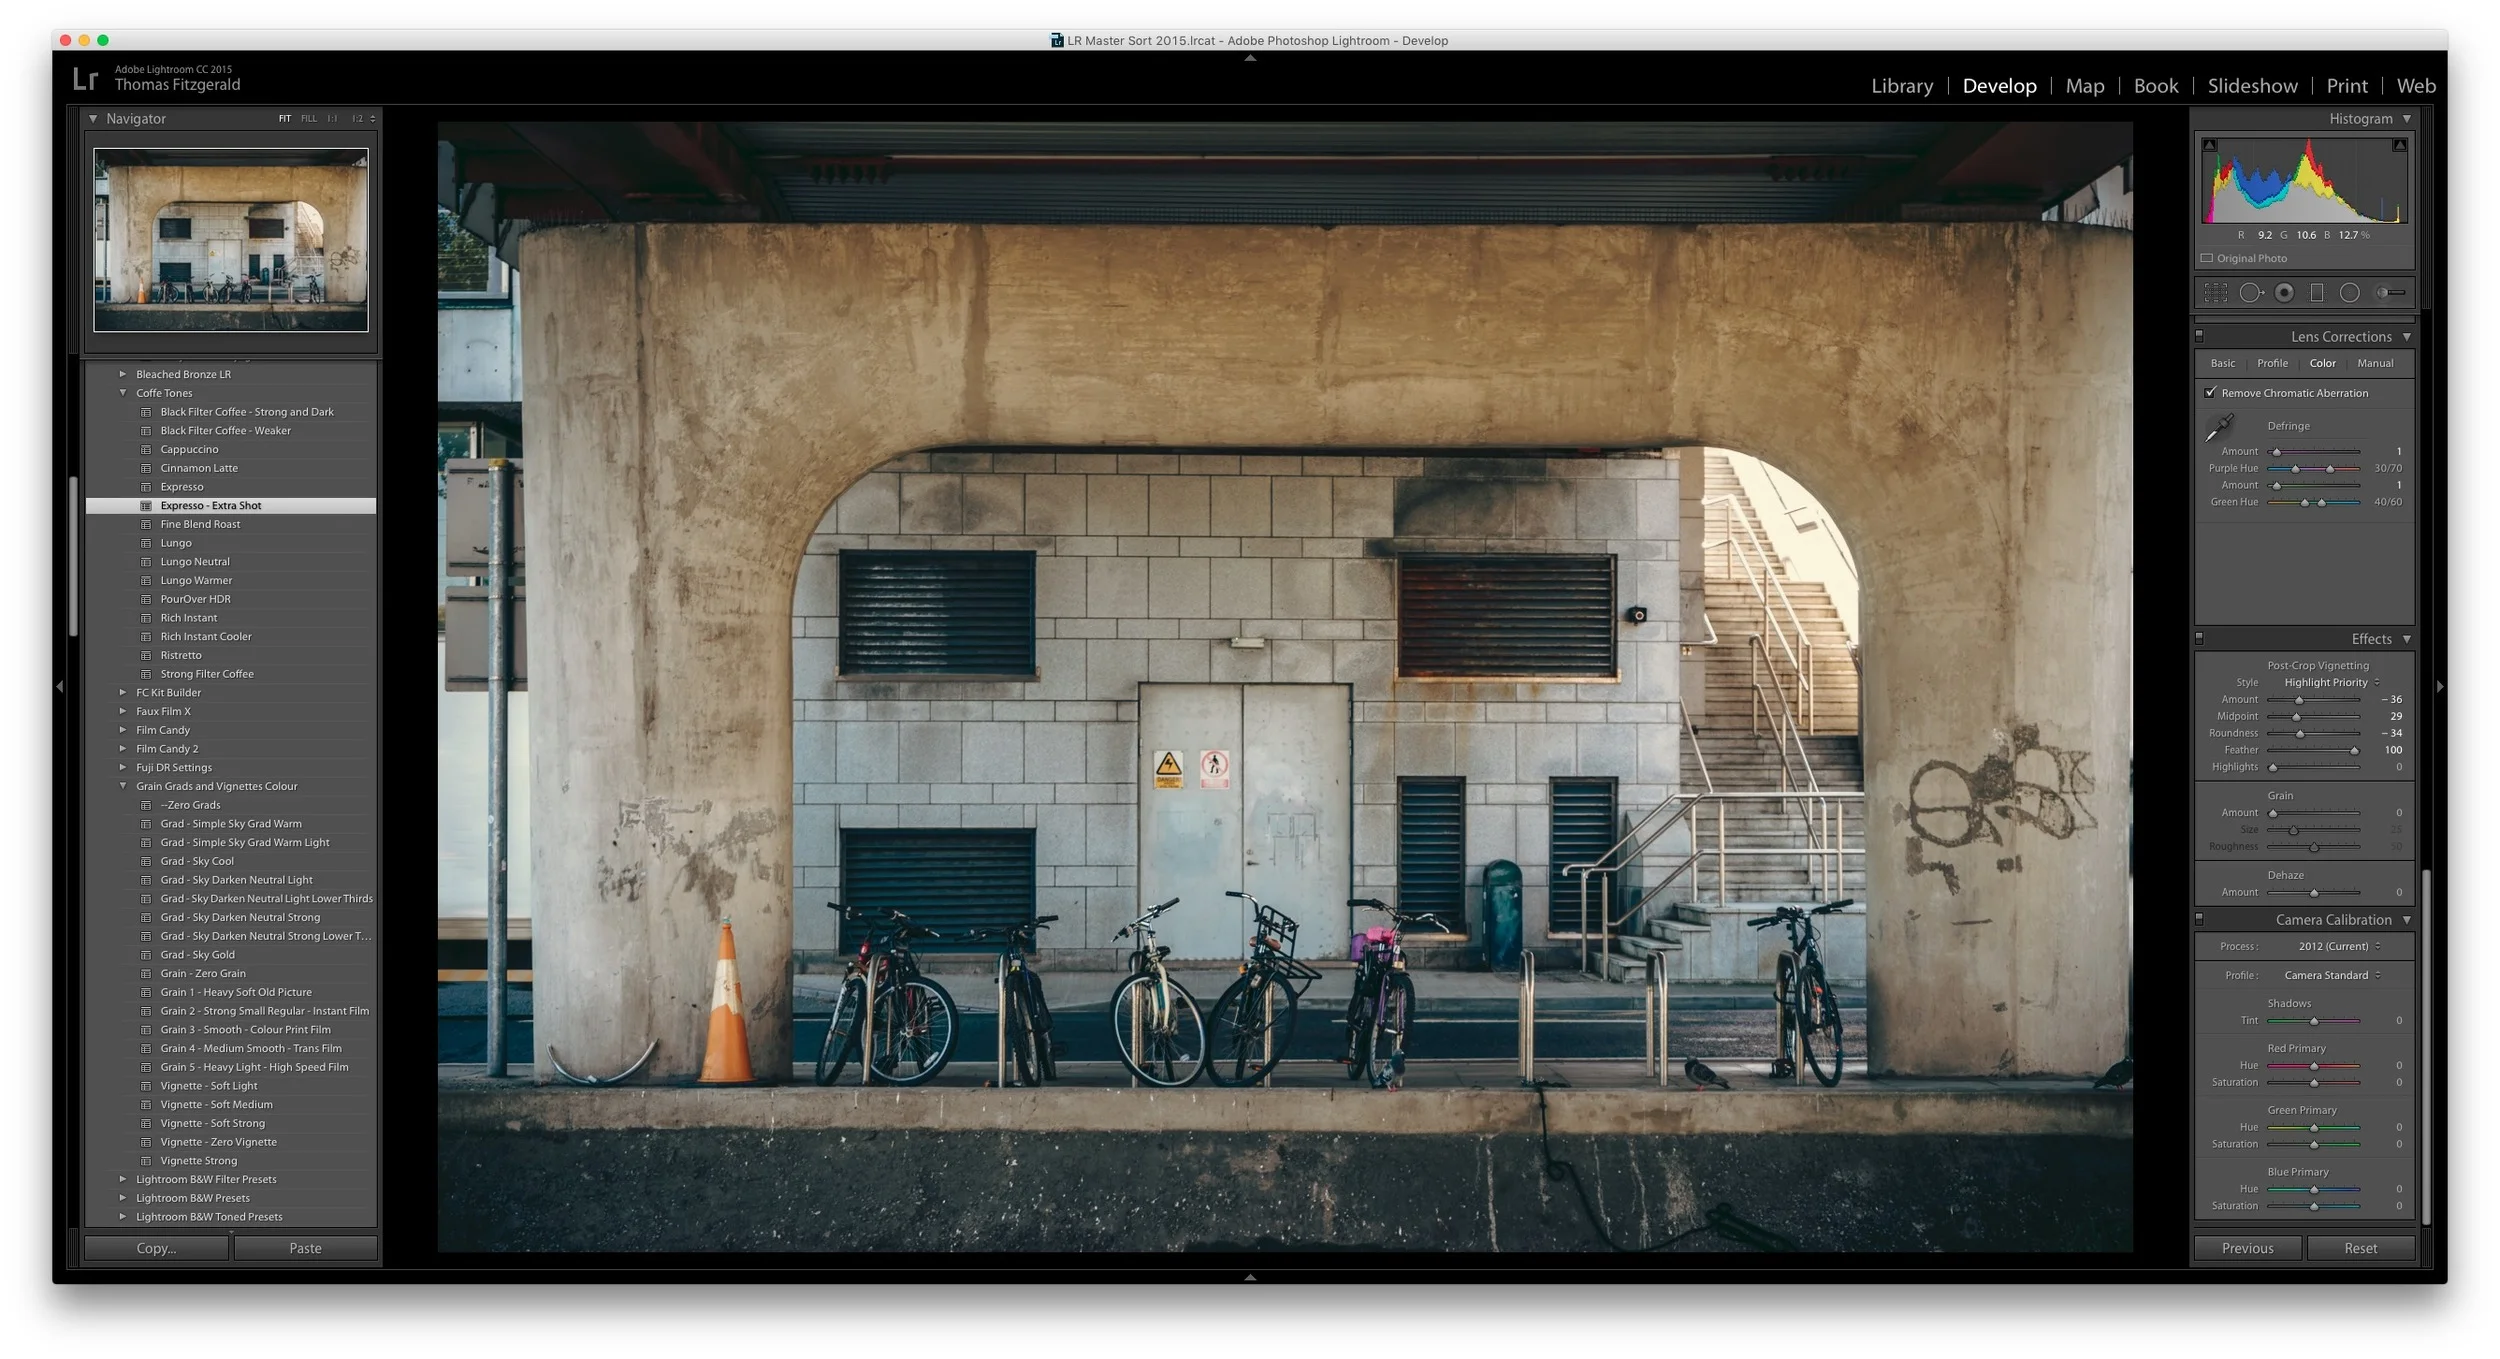
Multiple camera testing
Once you have honed and tested an idea for a look, and made sure it works on more than one image, it's then important to make sure that it works reasonably well across RAW files from multiple camera manufacturers. it's important that a preset gives similar results regardless of the camera that the raw file was shot with. It's practically impossible to get the exact same results without creating specific versions for each camera make and model, and that would require a huge investment in time and expense. If I was to do that for my presets I would have to charge much more for them. That's partly why presets from companies such as VSCO cost so much. They profile each make of camera and supply versions specific to different camera manufacturers.
My method is to use the "standard" colour profile as a base. Most modern cameras have camera profiles supplied with Lightroom that correspond to the picture modes available in camera. Most cameras come with a "standard" profile, and so I use this as a baseline for comparing looks across cameras. Often I'll have to make a few tweaks at this stage too.
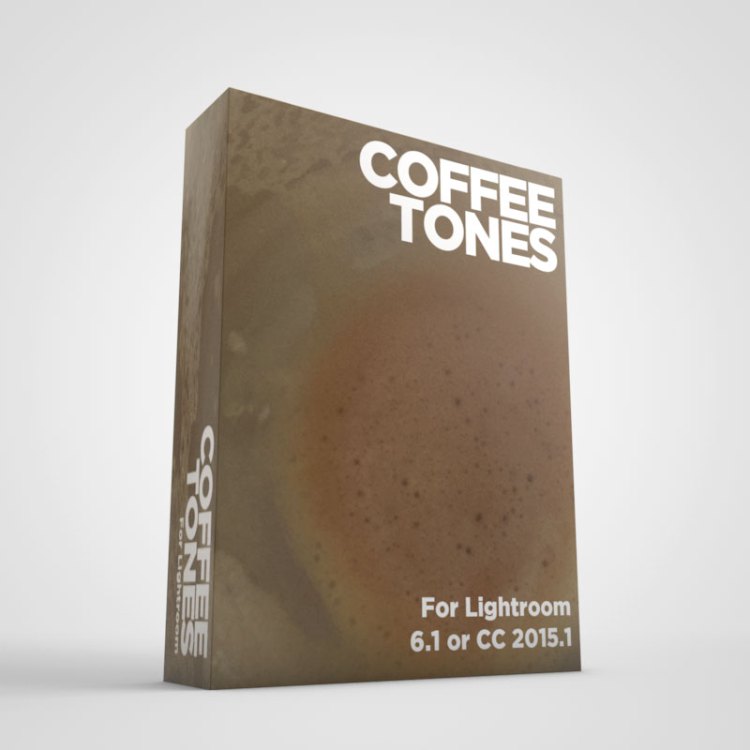
Another thing that has to be taken into account is what settings to actually save as part of a preset. It's important to try and avoid things that may need to change from image. It's generally best to try and avoid saving white balance or exposure as part of presets. White balance can change from image to image, and different cameras record white balance differently, so pre-setting a value could produce odd results on different images. Only on rare occasions do I use white balance as part of a presets look. I think there are white balance adjustments baked into Coffee Tones for example.
Getting it ready for sale
Once the presets are finalised and I'm happy with the contents of a pack, it's time to generate all the corresponding support and sales material.
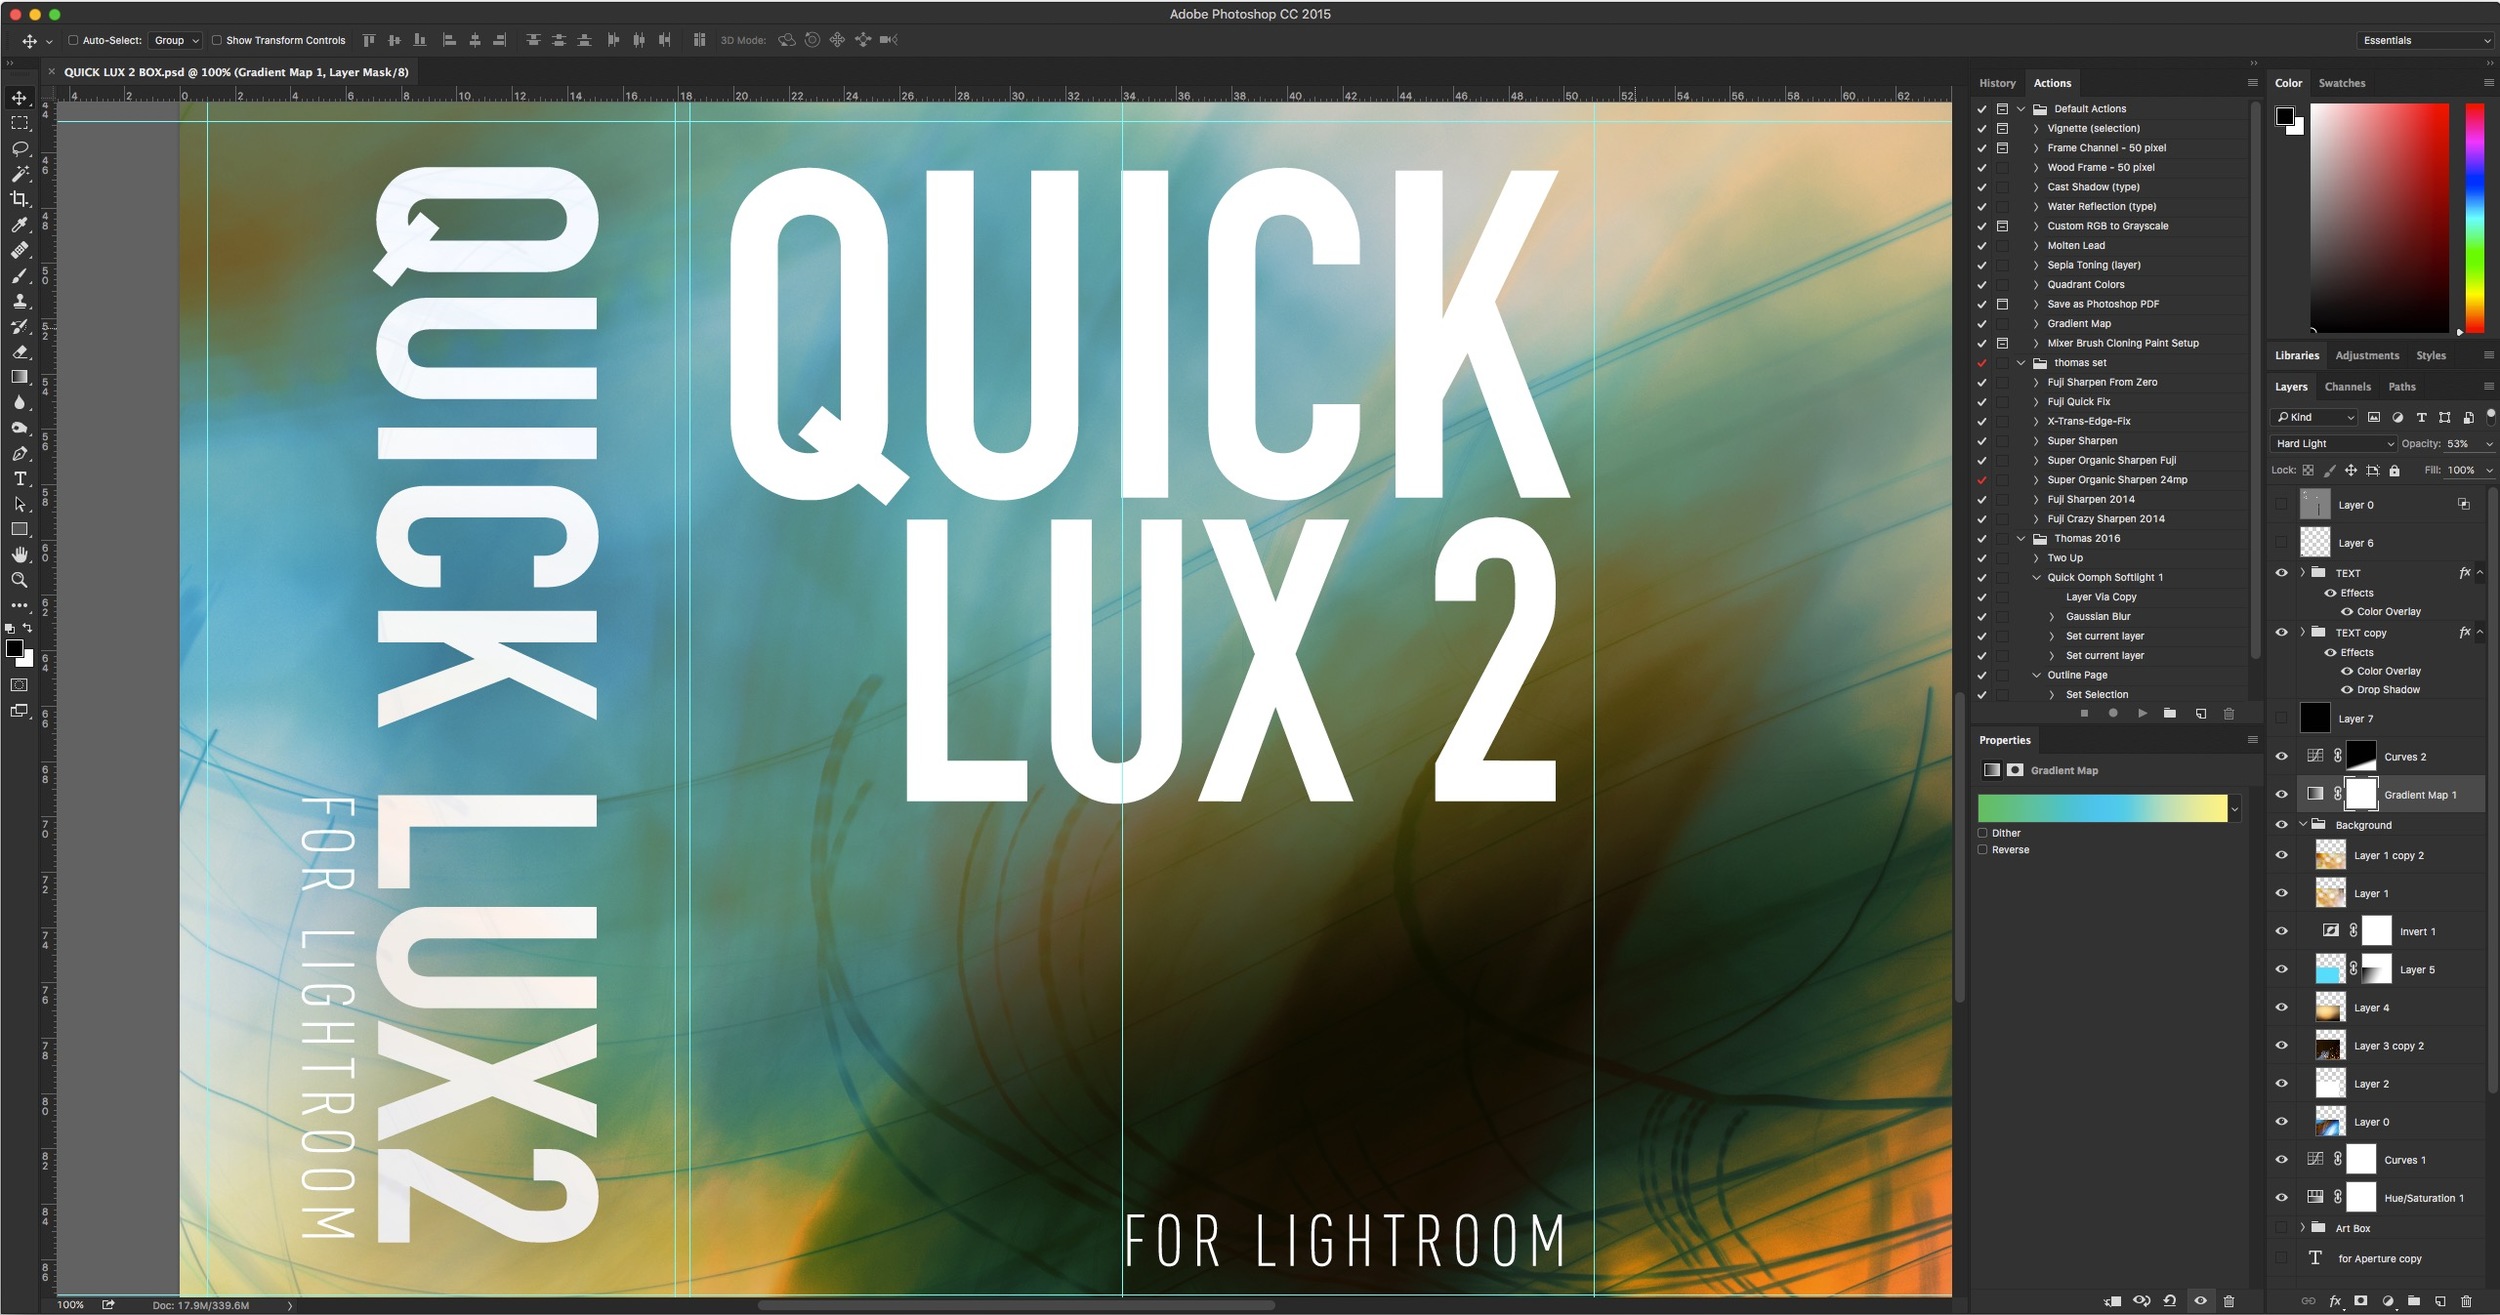
The box
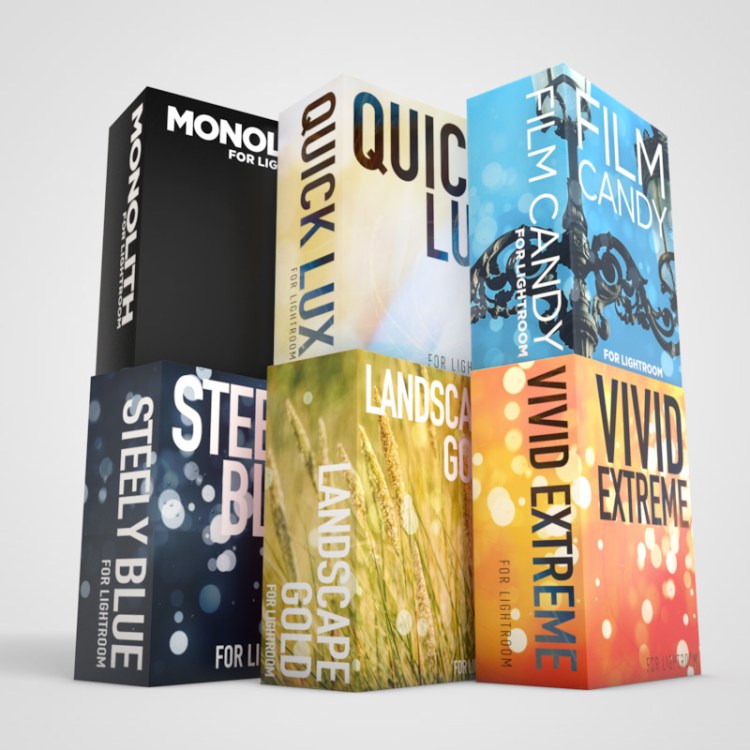
It starts with the virtual box. These are generated in 3D using a design that first gets put together as a texture in Photoshop. I have a template for an "unwrapped" box which gets edited and used for a new set of presets. Once this is saved it is brought into the 3d software as a texture.

I already have a 3d box template set up now which I use, so it just requires texture on the box to be replaced with the one that was just created in Photoshop. Once this is loaded, a new box is rendered out which gets saved as a tiff and then brought into Photoshop for a few final tweaks before saving it out as a Jpeg to use on the store.
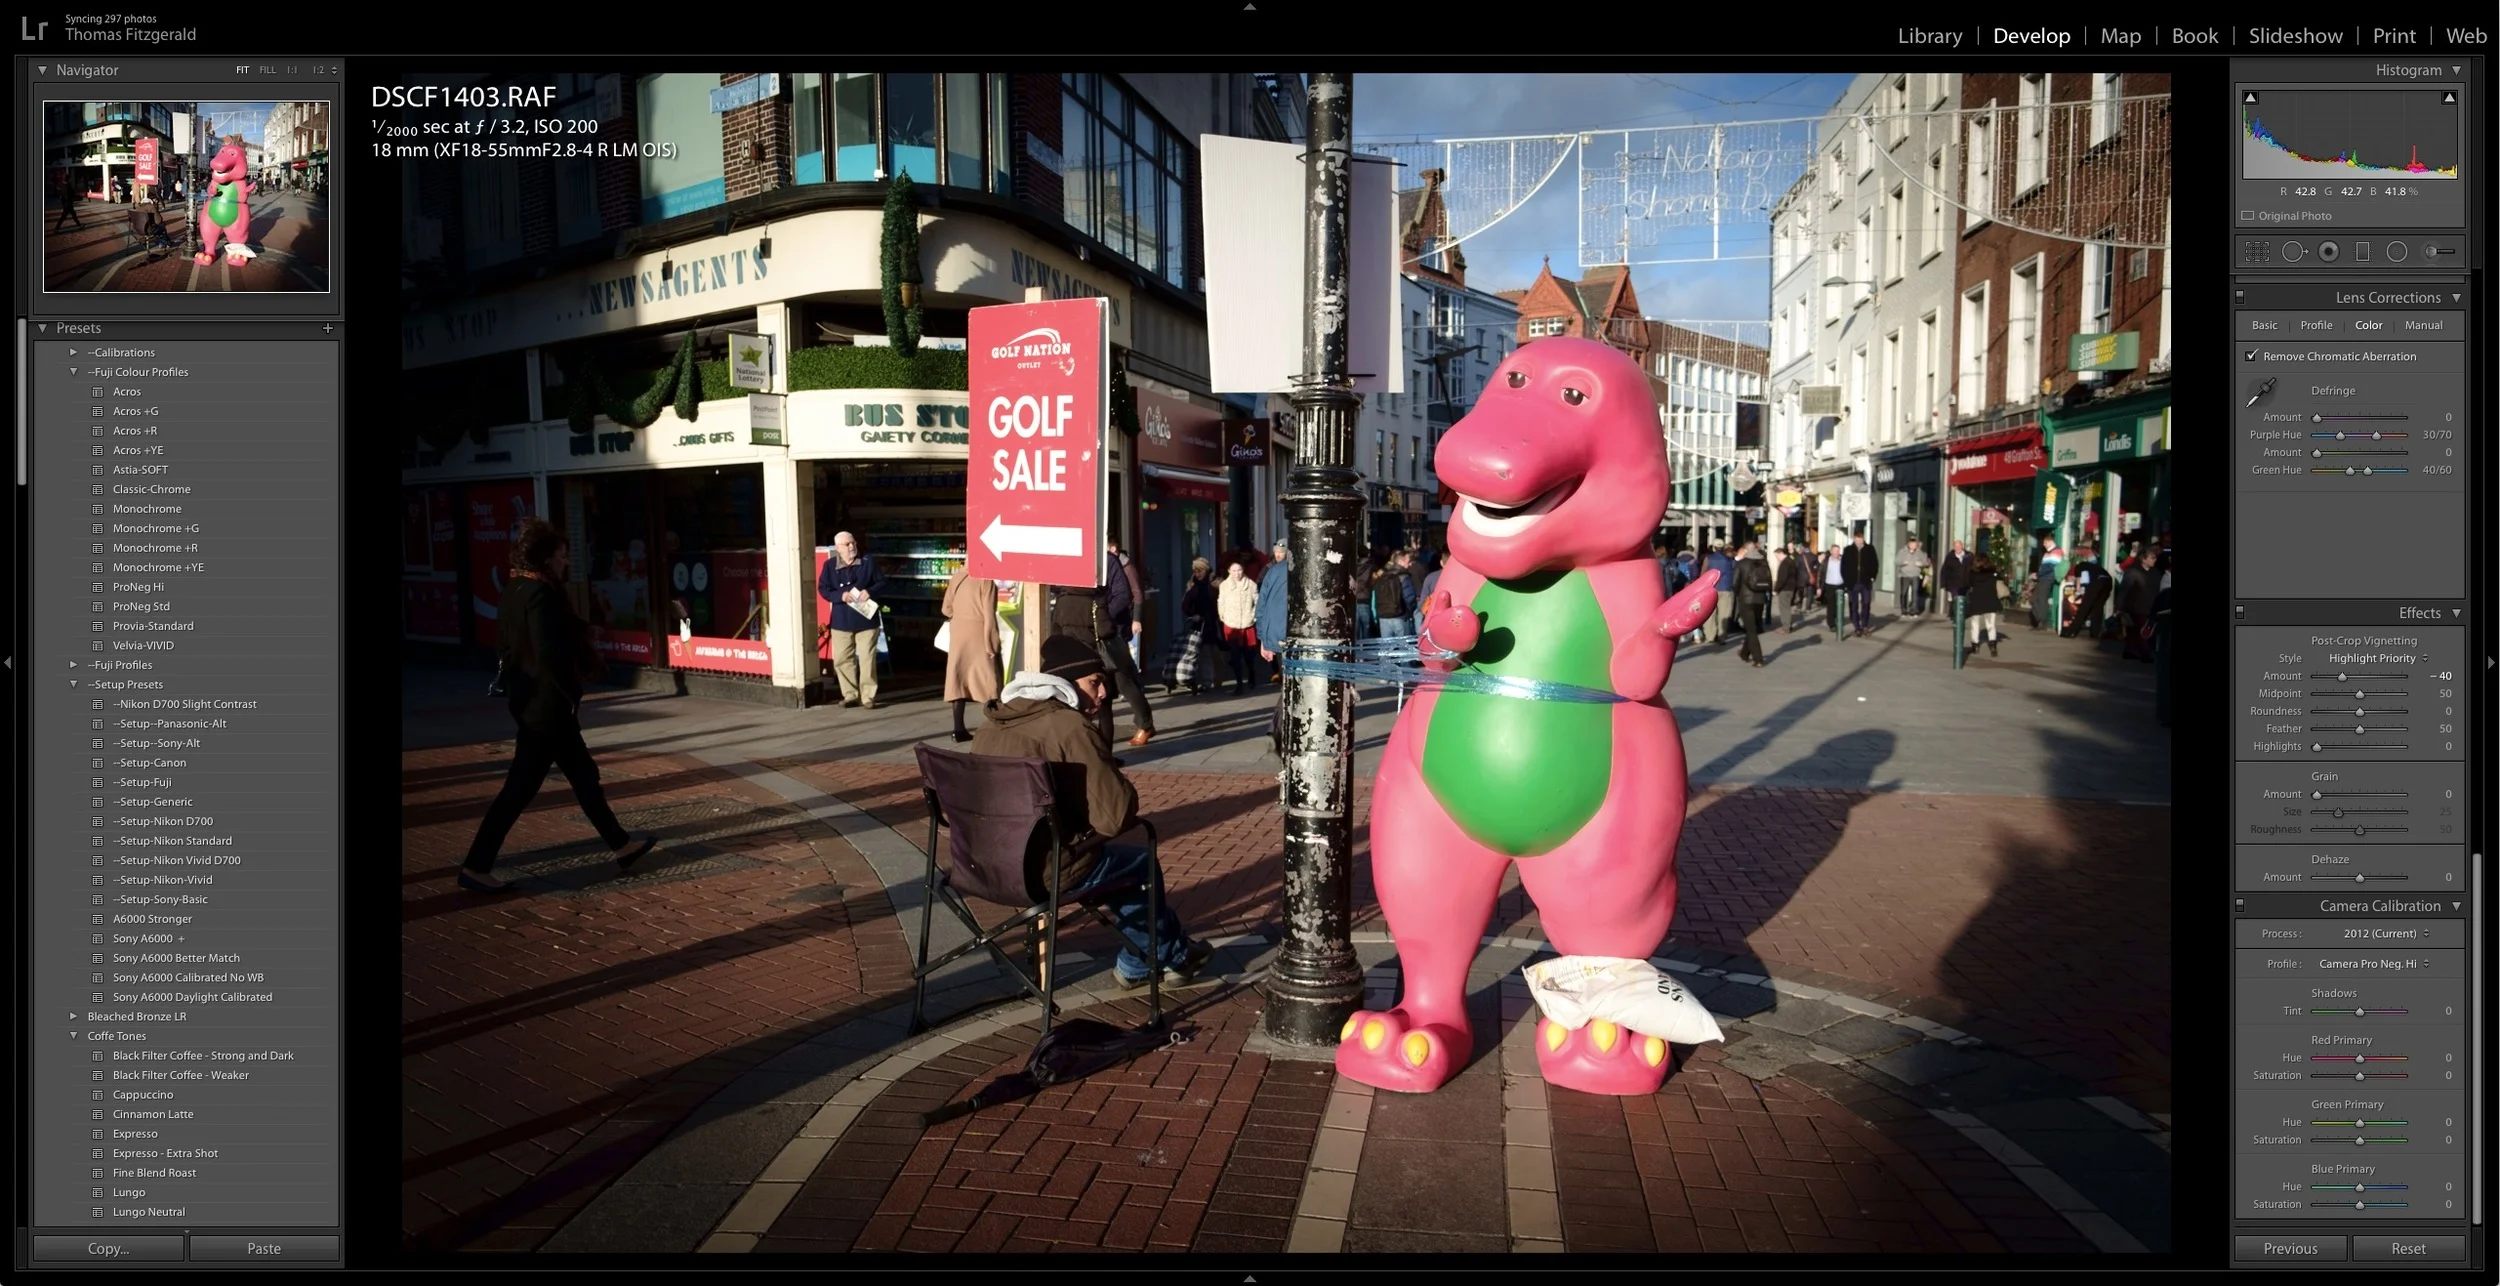
Samples
The next thing that needs to be done is to get samples ready. This is actually a surprisingly difficult process. It's important to have a wide range of images, and it's important too that they're reasonably good shots to begin with too. This is probably the weakest part of my preset pipeline. I'm generally quite hard on myself when it comes to my photography, and so I often don't think my images are good enough. When it comes to picking samples, I want to have a range of shots that look like they could be taken by an average photographer, while still looking reasonably good.
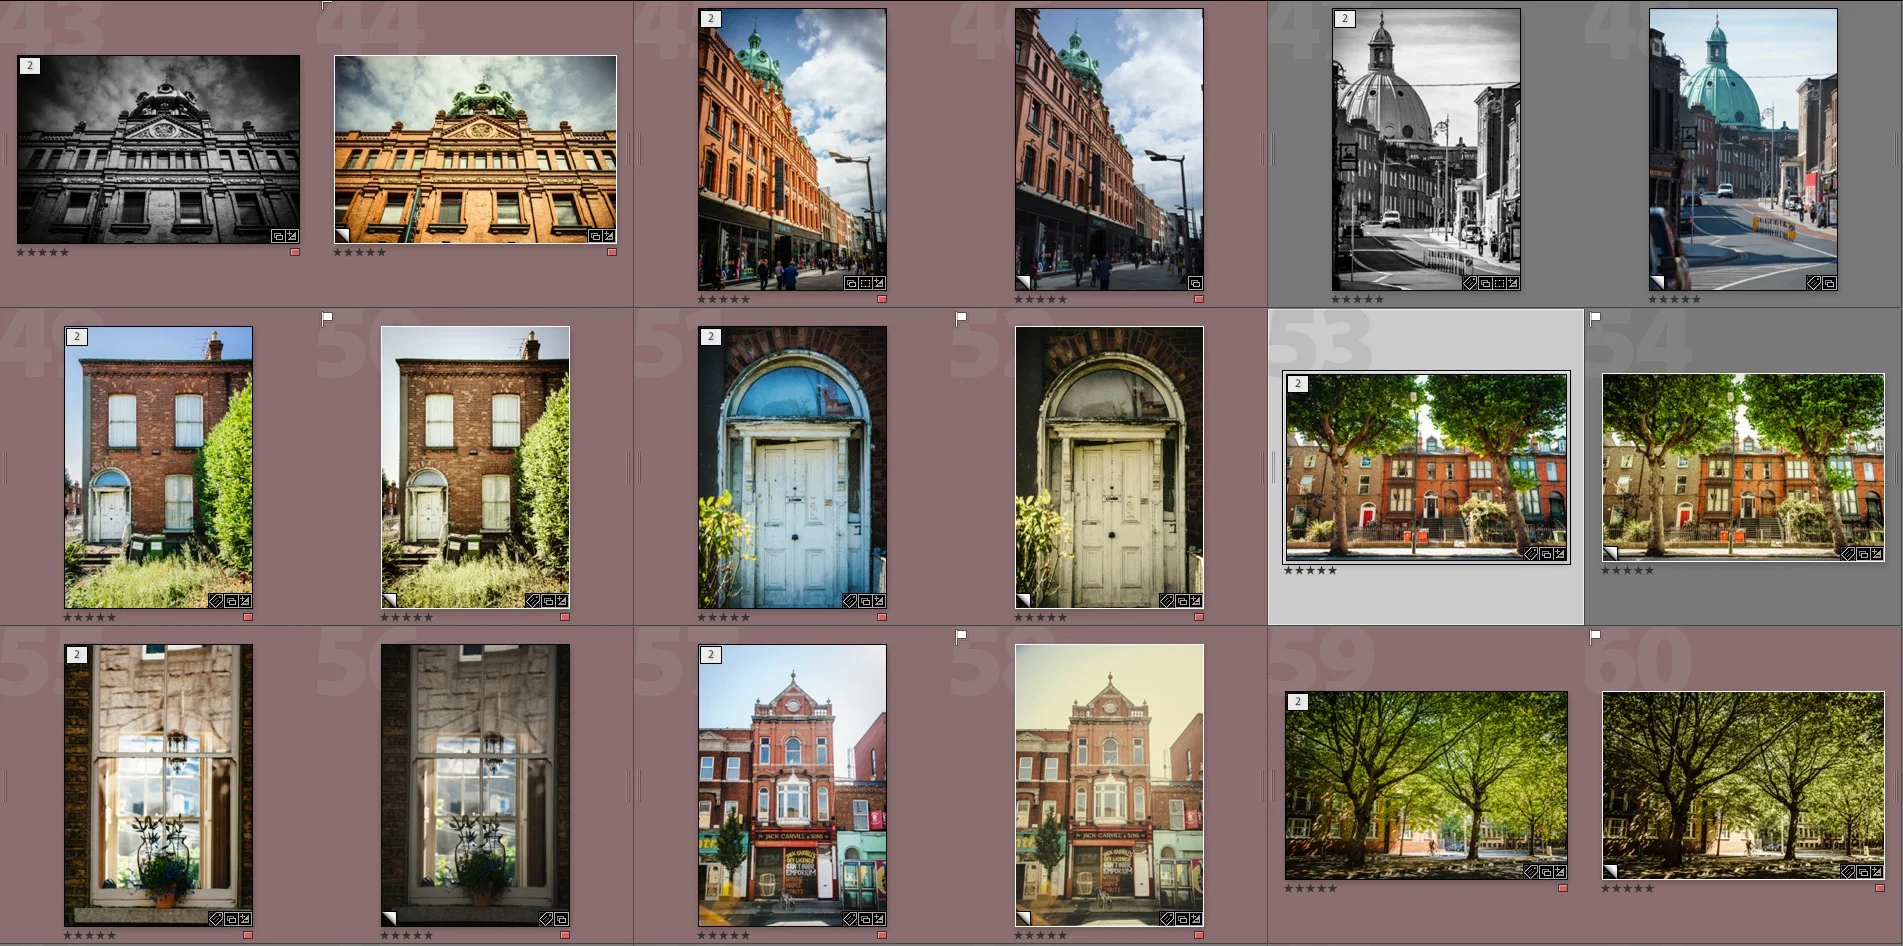
I have a folder of images in my Lightroom library that I use for samples, and I'll also take shots from recent shoots. Unfortunately my range of shots probably isn't as wide as it should be. I don't really have any portrait or fashion shots, which would probably be better at selling the presets than ones I currently use which are mostly street, travel, architecture and landscape type shots. At some point in the future I'm going to arrange some proper model shoots so that I'll have specific images for use as samples.
Documentation
Once the box is created and the samples are chosen, it's time to create the corresponding documentation. This includes read-me files, the product description for the store and the text to be used for the launch announcement and various other bits and pieces of information.
Read-me Files
As I've been creating presets for a while now, I have a template set up with most of the common elements for the read-me file already set up. For example: installation instructions, where to get support and so on. I use Apple pages to create these document, and it has worked well for me for these so far.
Once the basic information is in the template, more specific information for that specific set of presets gets added. This ranges from specific instructions that may only apply to that set of presets, to the list of included presets, the main description and so on. Once that's done, it's proof read a few times (also not my strong point) then the finished document is exported as a PDF for inclusion in the final set of presets.
Product Pages & Launch posts
The read-me files aren't the only documents that need to be created. I also have to create the documentation that goes on the store's product pages. Some of this is taken from the read-me files, but some of it has to be written from scratch. There are also some common elements that need to be added to the product pages, such as system requirements and so on. These are also in a template that I can use, but sometimes they have to be customised for specific presets too.
Finally, once the product pages are written, and the presets themselves are uploaded, the final product can be created and made live on the store. Once this is done, the process still isn't over though. A "launch" post the blog needs to be created to announce the launch of the new product. Version of this are also created to use on the mailing list too to let previous customers know of a new product.
Conclusion
That's pretty much the process for creating presets. Well, it's my process anyway. I hope that has been interesting for you to read, and you can see that there is a substantial amount of work involved. It's taken me a while to iron out this process and I'm always learning new things every time I create a set of presets. The process of creating the presets is just part of the story though. After they go on sale there's still a considerable number of things to take into account. You have to manage the store and the server, as well as providing customer support. I'll cover the process of running a store in a future post, and I think you'll find it interesting. If you're considering setting up a store yourself, I think you may find the information useful.
Oh, and if you did find this interesting, please stop by and check out my range of Lightroom presets !