My settings for Processing iPhone RAW Photos in Capture One
If you want to shoot RAW on your iPhone then it is important to properly process those RAW files. Because the camera app on an iPhone normally does a significant amount of processing, you will need to do this in software if you shoot RAW. While there are lots of applications that will process RAW files from an iPhone, I normally use Lightroom, but I wanted to see what kind of results you could get from Capture One too, and how best to process the images. After a lot of experimentation and trial and error, here are my results and recommendations.
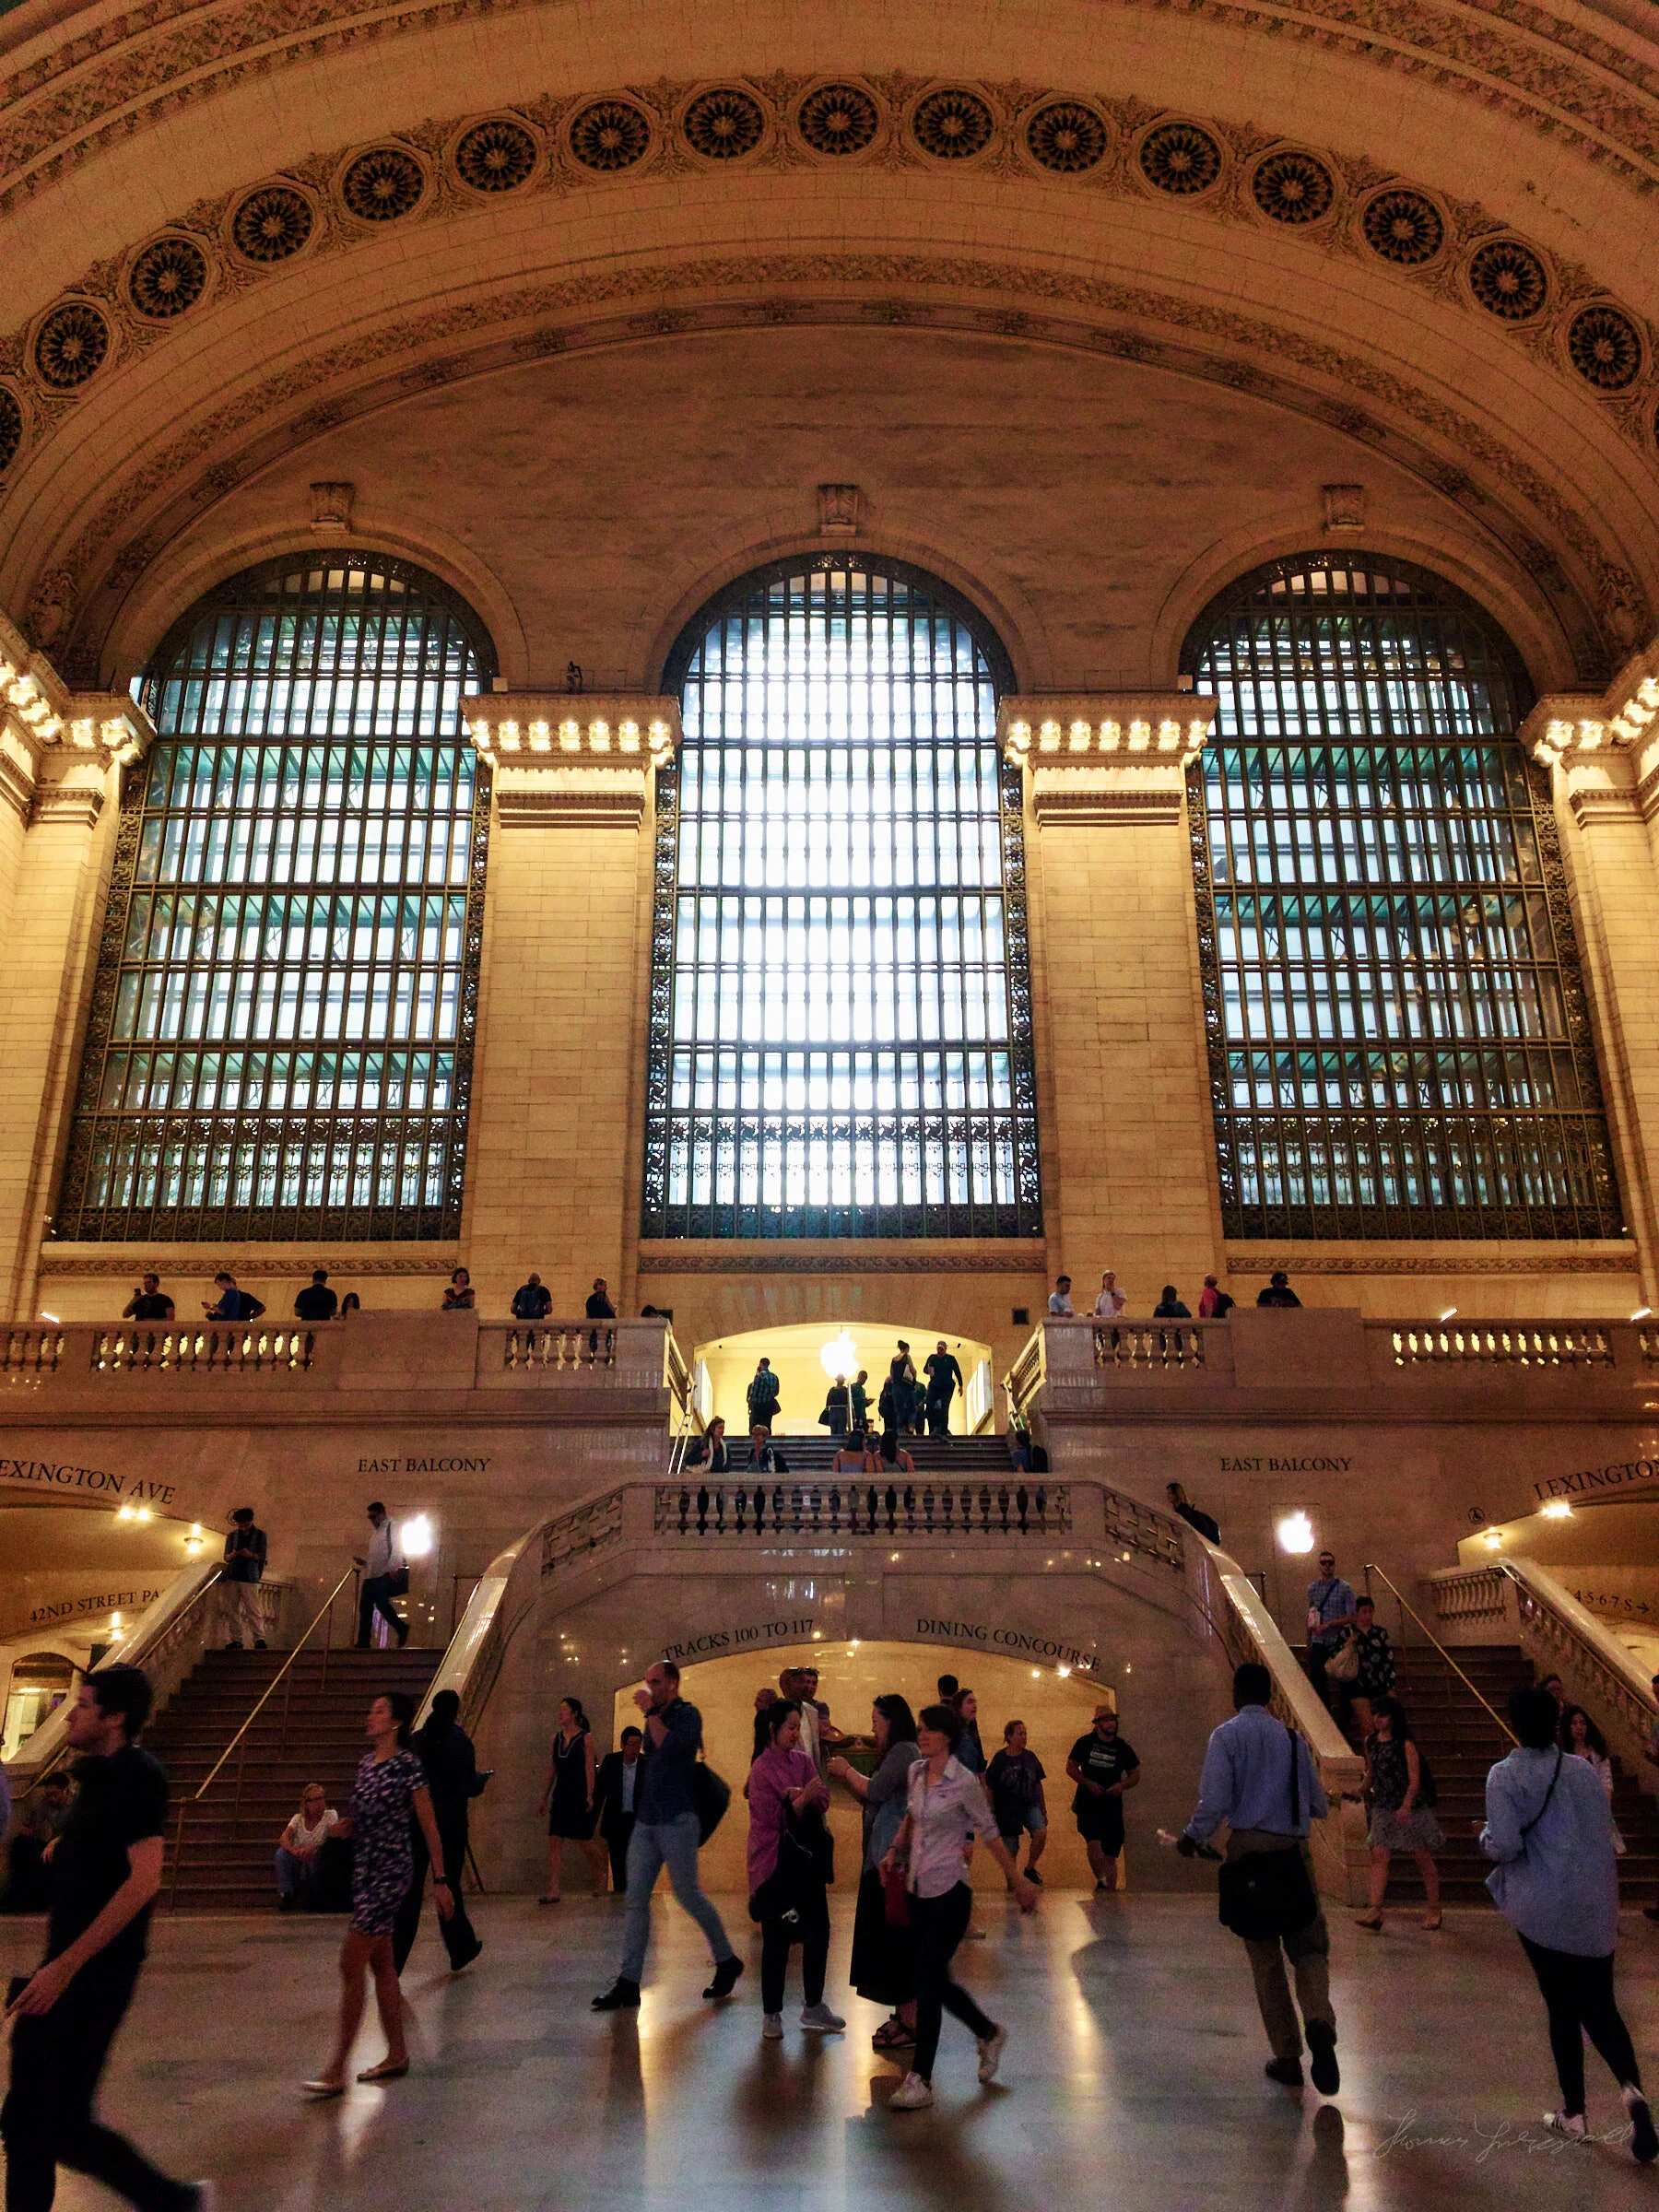
iPhone XR ISO 400 Raw File Processed in C1
iPhone RAW Files
If you use an app that shoots RAW on your iPhone, and there are many, you will get a DNG file as the outputted format. This will either end up on the camera roll in the Photos app, or depending on the App you may be able to export it to files or dropbox. I normally use the camera app inside Adobe Lightroom Mobile, as this in my opinion, is one of the best options, especially as it syncs to the Adobe cloud. In this case you will need to use Lightroom on the desktop to get the RAW files out of the software. Whatever you use, once you get the RAW files onto your computer, you can import them into Capture One just as you would any other photo.
Inside of Capture One, the software supports the iPhone images from most recent iPhones. For the purposes of this article, I was using RAW files from my iPhone XR. The DNG files are read inside of Capture One perfectly fine, but there are a few caveats. There is no camera profiles, and instead it relies not he generic DNG file. Secondly, there is no lens profiles either. While there is no major distortion to worry about there is some heavy vignetting, and this isn’t compensated for, but you can fix this pretty easily.
Changing the defaults
To optimise your iPhone raw photos in Capture One, you’ll need to change some of the default settings. In particular the sharpening is way too high, as it treats it like a normal DNG. The result is a significant amount of over sharpening. While some people might not care about this, or even prefer it, I like to have my images looking as natural as possible. With that in mind here are the settings I suggest you change.
Important Note: Make sure to view at 1:1 when adjusting things like sharpening and noise reduction, or the scaling and previewing system that Capture One uses will distort your results and you won’t get an accurate representation of your changes.
- Correct for the Vignetting: The first thing you want to do is correct for the vignetting. For the camera on my iPhone XR, this is what I did. Go to the lens correction panel, and set the “Light Falloff” amount to 50. I find this to b the best setting for the iPhone XR. You may need less correction if you’re using a different iPhone or a different lens, such as the telephoto, on the iPhone 11 for example.
- Sharpness: The sharpening is way too high in my opinion. Because of the nature of the iPhone camera, you actually don’t need much sharpening in Capture One at all. I set a value of between 50 and 75. This will give you a more natural look, with less aliased edges and over sharpening artefacts.
- Radius: I recommend a setting of 1.2 here. This is because of the nature of the camera sensor, the size of the elements and so on. I find that again, this gives the details in your image a more organic and natural looking structure than the default value of 0.8
- Threshold: I set this to 0.5 so as to lessen the artefacts that occur when the threshold causes sharpening cut-off and it make the image look a bit less “digital”.
- Halo Reduction: Set this to 100, because it helps soften the edges slightly, which will still show some harshness and aliasing, even with the settings above.
- Noise Reduction Luminance Amount: Set this to between 50 and 100. The iPhone sensor does contain a little noise, especially in the shadows and a high value here gets rid of that. However, perhaps somewhat counterintuitively, the higher ISO, the more this noise reduction started to look over processed, and so, bizarrely, lowering this value for higher ISO images may produce a more pleasing look.
- Nose Reduction Details: … the details slider to 100 as well. This compensates for the softness of the high noise reduction. For higher ISO images lower the details value to correspond with the luminance value. Again, this may seem counterintuitive, but a little grainy noise looks better than processed noise reduction, in my opinion. Try this yourself and see which you prefer
- Contrast: The image will still be a little flat, so I suggest a value of 10 on the contrast slider int he exposure tab, to set a base level.
Remember, on an iPhone image, high ISO values are anything above ISO 100, with ISO 25 being the default.
Overall, these are my recommended settings. They are just preliminary finsings for now, and I'll have an update once I refine this process. Obviously this is subjective too, and you may prefer a different look, but I find this gives it a more natural and less processed looking image. One thing to try too, especially if you're processing the noise a lot, is to add some grain, as this can even out the processing and make it look more film like. Experiment with these settings and find what works best for you, but hopefully this will be a good starting point. Also, as mentioned, these are based on the iPhone XR, so if you’re using one of the newer iPhone 11 cameras, you may need to tweak these settings slightly.
Once you set these settings you can save them as a style so that you can apply them on import. You can also set defaults, but in this case a style may be better as you can’t set the defaults for the Light Falloff slider for some inexplicable reason.
Compared to Lightroom
So, the question is should you use Capture One for processing iPhone RAW files? To be honest, if you have Lightroom, the results with Lightroom are probably a little better, especially if you are using the Lightroom mobile camera app. If you use the settings above, there won’t be much of a difference in terms of detail and noise, but in my opinion the colours are better in Lightroom, as it has a calibrated colour profile.
Of course, if you don’t have Lightroom, then this is a perfectly valid option, again, once you change the defaults. As I said the colours aren’t quite as hood, but it still does an ok job. Im curious to see what people think, especially if you have an iPhone 11. If you do, please share your results in our Facebook Group, or in the comments below.
If you’re a Capture One user, Don’t forget to check out my Capture One Styles. If you don’t have Capture One, you can get it now directly from the Capture One store.
Help Support the Blog
Patreon
If you like what you see here and you find this useful, then you can help support this blog and help me keep making great content like this by supporting me on Patreon for as little as $1 a month. There are a number of options available with different rewards, such as behind the scenes content, special Patreon only videos and more. Check out my Patreon Page for more details, and a big thanks to everyone already supporting this blog on Patreon.
Buy me a coffee!
If you’d rather not use Patreon, but still want to say thanks or help, then you can feed my caffeine habit and buy me a coffee via PayPal with a one off donation to my PayPal tip jar.
Lightroom Presets and Capture One Styles
If you use either of these applications, then check out my range of custom made Looks in the form of presets for Lightroom, and Styles for Capture One.
Join our Facebook Group
If you want to discuss anything you’ve read here on my website, or saw on my youtube channel, or if you want to share images you’ve created using any of my techniques or presets, then I’ve started a new Facebook Group just for that.


