
Photo Editing, Tutorials, Photography News, and More
This blog covers a range of topics from Lightroom, Photoshop, Capture One, Fujifilm, Canon, Nikon, iPhone Photography, and more. If you want to see more of my actual photography work, visit my Portfolio and Photo Journal blog.

Two Ways to Automatically Send Images from Lightroom (or Capture One) into Apple Photos
If you’re on a Mac and you want to send your finished images from Lightroom (or Capture One) to Apple Photos, to sync to your devices for example, then you can do it manually by exporting from one application and importing into the other. This can be a bit tedious, but there are also some ways you can automate the process. This involves exporting to a folder in the finder from Lightroom or capture One, and having that automatically import into Photos.

Setting your Fuji Film Simulation Modes Automatically in Lightroom
While Lightroom supports Fuji Film Simulation modes via colour profiles, you still have to set them manually. This means that if you have shot using multiple modes on a single shoot, if you’re working with the RAW files in Lightroom, it can be a pain to replicate the right ones manually. While Capture One will set the right modes automatically based on what you shot with, there’s no way to do this in Lightroom natively. There is however a plug-in that will do this for you.

Experimental Sony A6000 Custom Lightroom Colour Profile to Download
Long time readers will know that I’ve spent quite a bit of time talking about and coming up with solutions to the problem with Adobe’s calibration of Sony raw files. In particular, I’ve covered the A6000 many times, as it is a camera that I own and use regularly. In the past I’ve crated custom corrections by manually adjusting the calibrations by eye. As Datacolor were kind enough to send me their Spyder X Studio package to try and to review, I thought I would see if I could use the Spyderchecker to create a better profile.
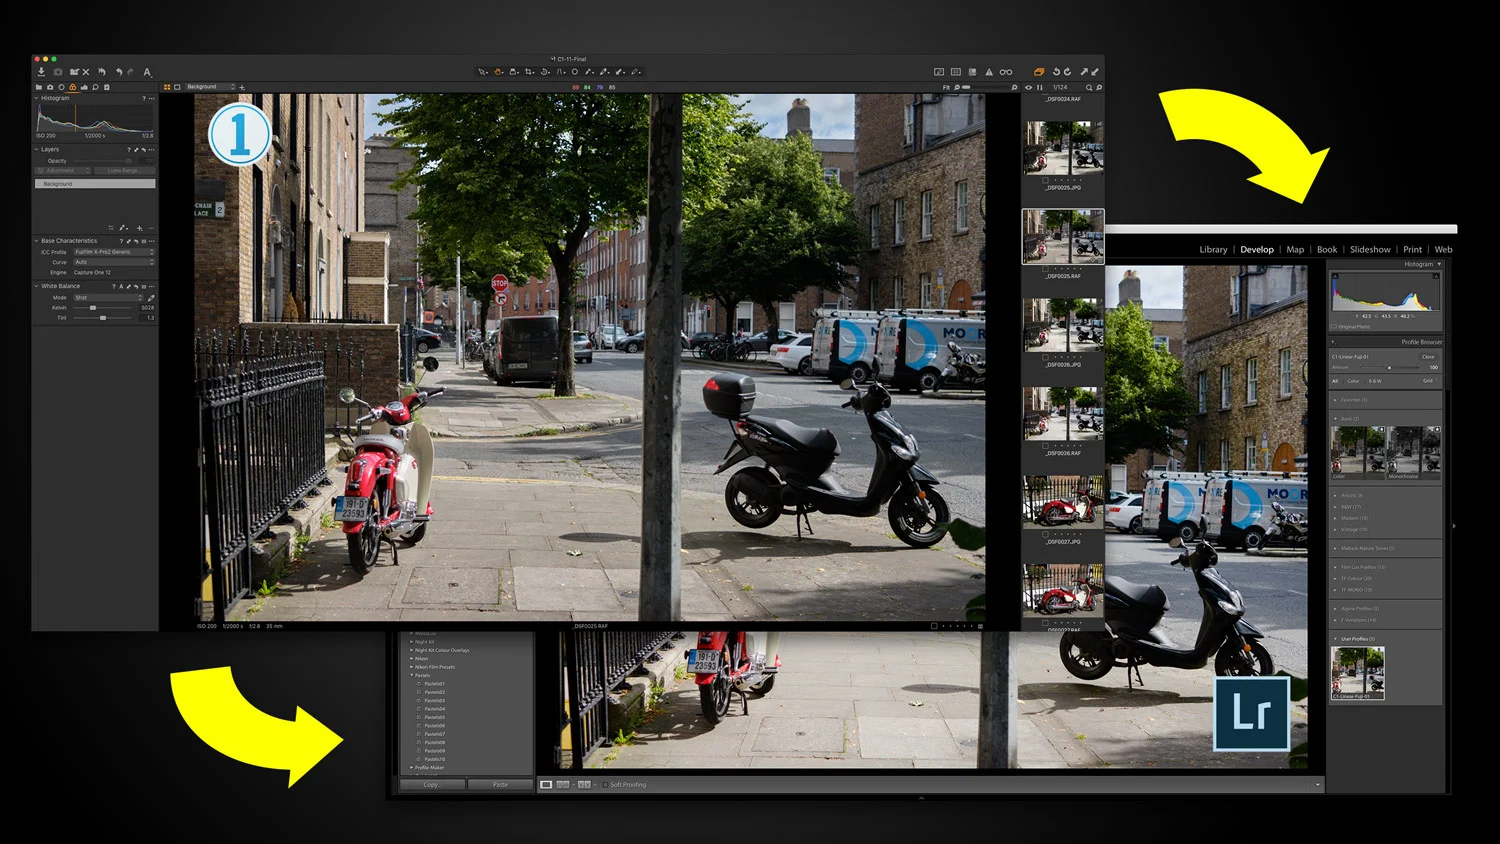
A Capture One (Express) to Lightroom Technique For Fuji Shooters (How to Use Capture One Express like X-Transformer - sort of)
I’ve often gotten questions from readers as to whether there is any way to use Capture One Express in a similar fashion to Iridient X-Transformer, in order to produce a file that you can then import into Lightroom for further editing. While there is no direct way to do this in the exact same way it is with Iridient X-Transformer, getting these questions did get the cogs in my brain working! I wondered if there was a way one could use Capture One’s flat profile to achieve something similar. So, after spending some time experimenting, I’ve come up with a possible solution. Read on to find out more…

Lightroom Classic Updated with GPU Acceleration for Image Editing
Adobe today released its August update for the Lightroom family, and it contains a pretty big new feature that people have been requesting for ages. This update finally brings GPU acceleration to image editing.
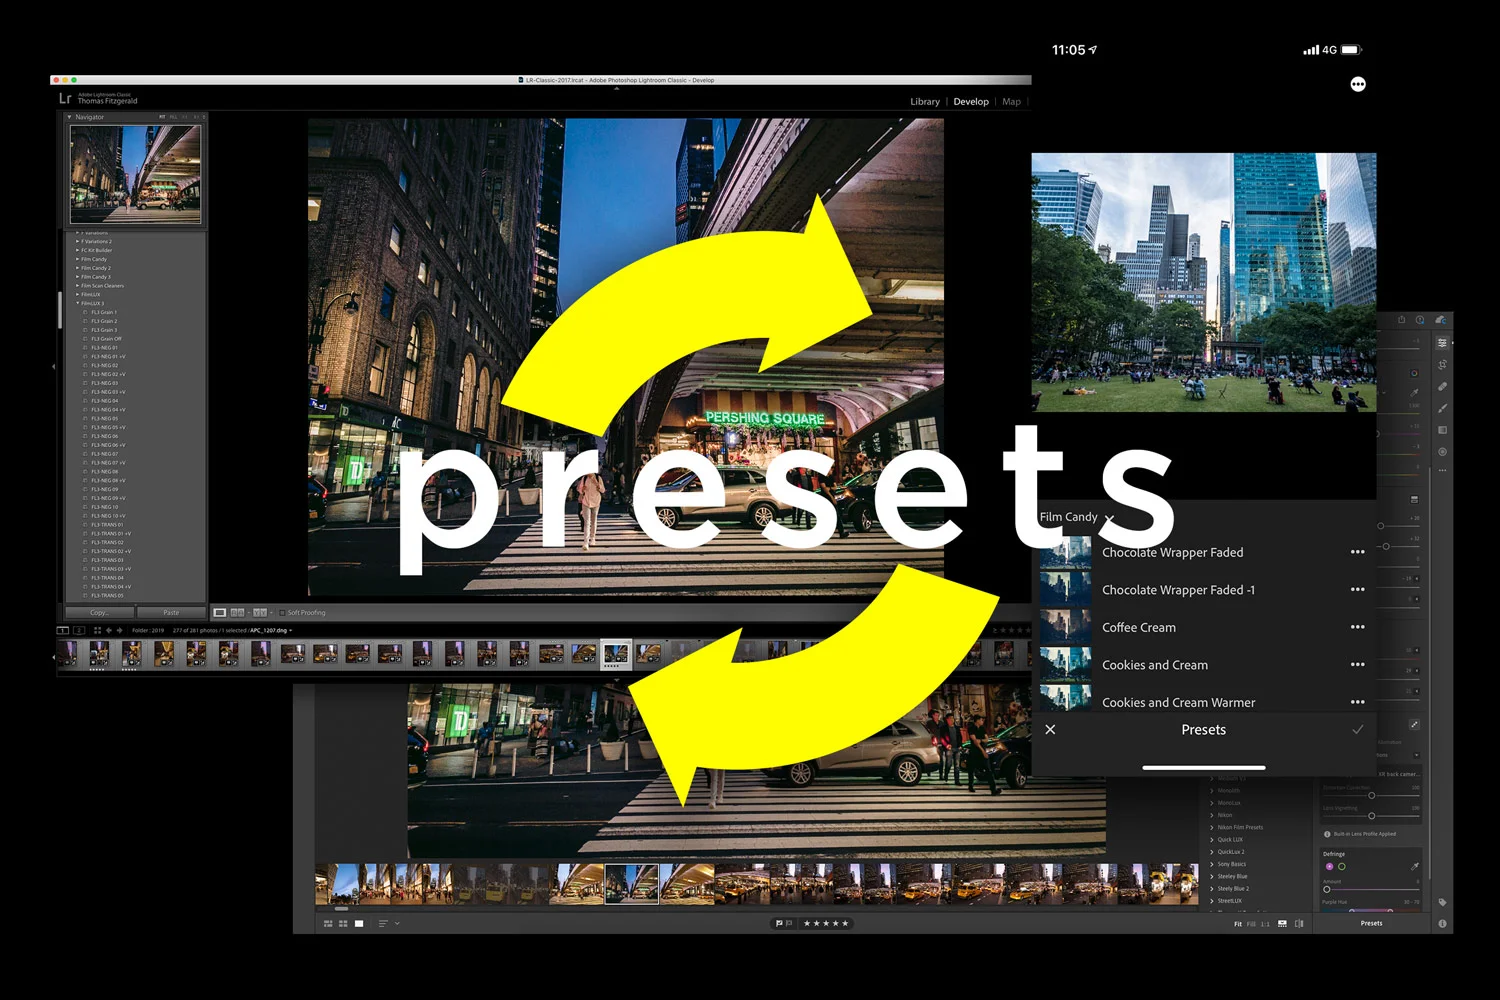
The Quick Way to get your Lightroom Presets from Lightroom Classic to Lightroom Mobile
For the longest time I wasn’t a huge user of Lightroom mobile, but that all changed when I upgraded to the iPhone XR and I started using Lightroom’s camera more and more. Now I use Lightroom mobile a lot more than I used to. Having access to your presets on the software can really help your workflow, but if you primarily use Lightroom Classic on the desktop, they won’t be synced automatically so un this post I’m going to show you a quick way to get your presets across, without too much fuss.
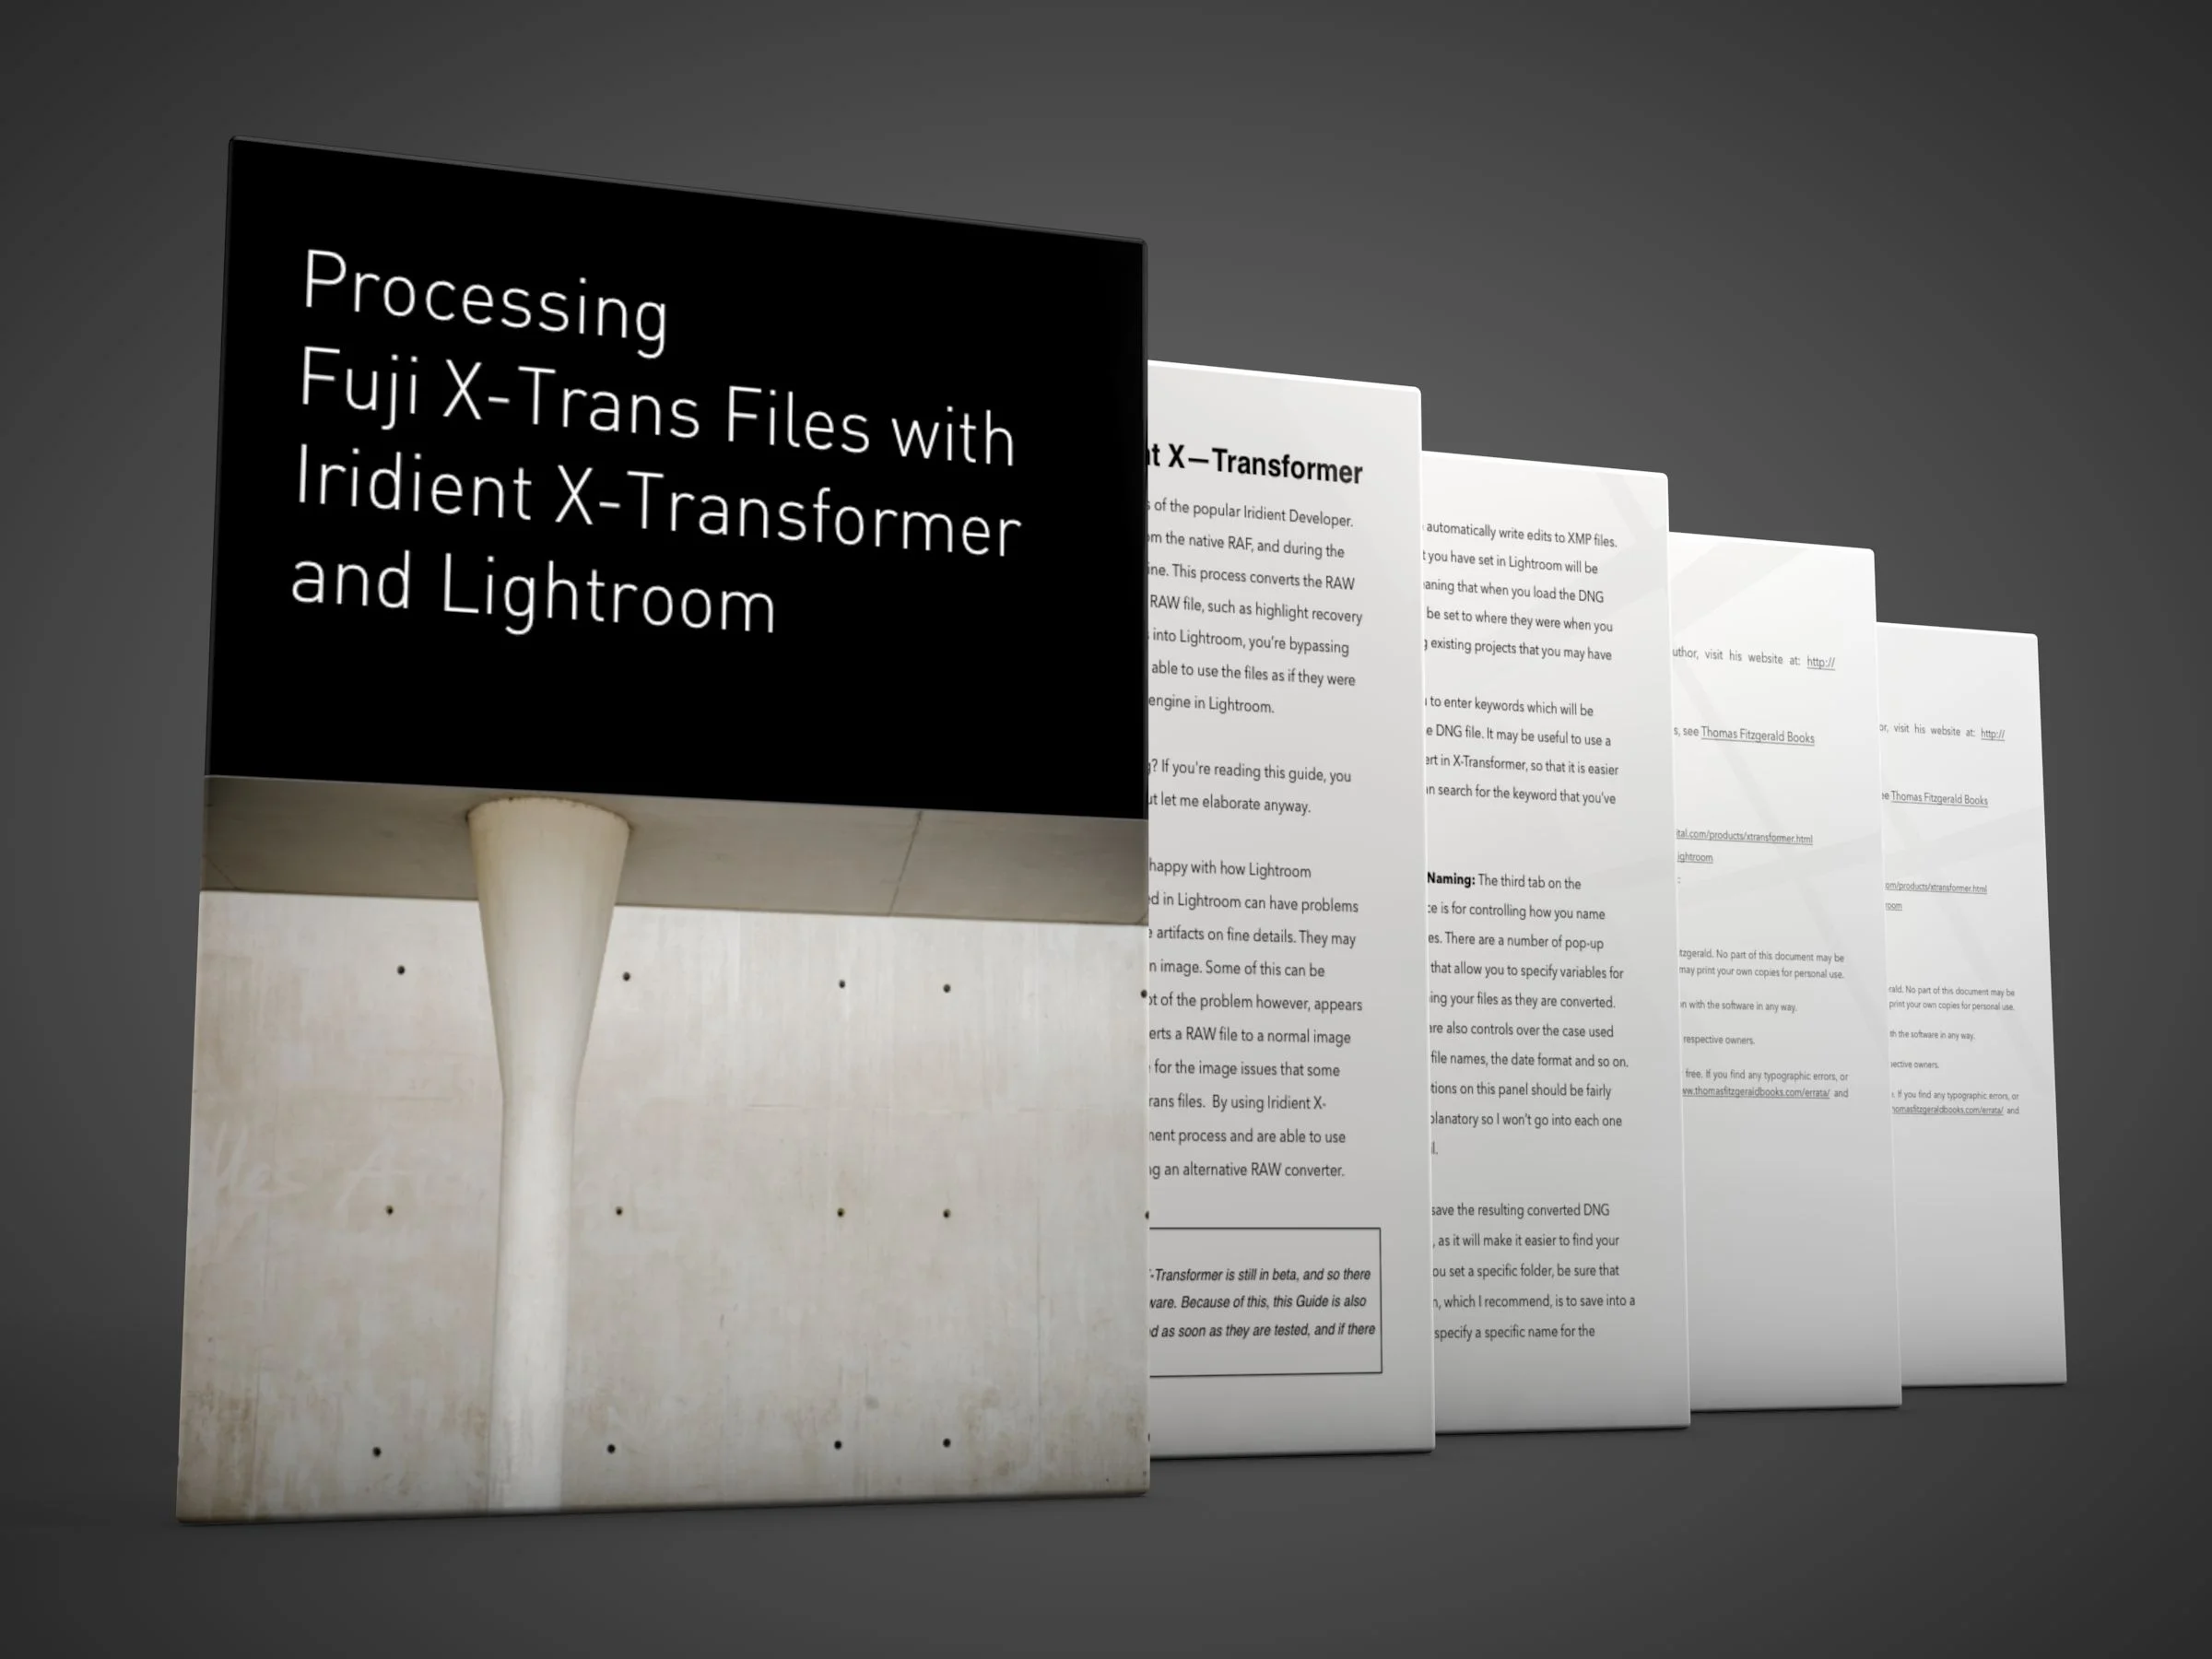
My X-Transformer Guide Updated
I’ve released a minor update to my X-Transformer guide that addresses some of the recent changes in the application. This is a free update to anyone who had previously bought the guide.
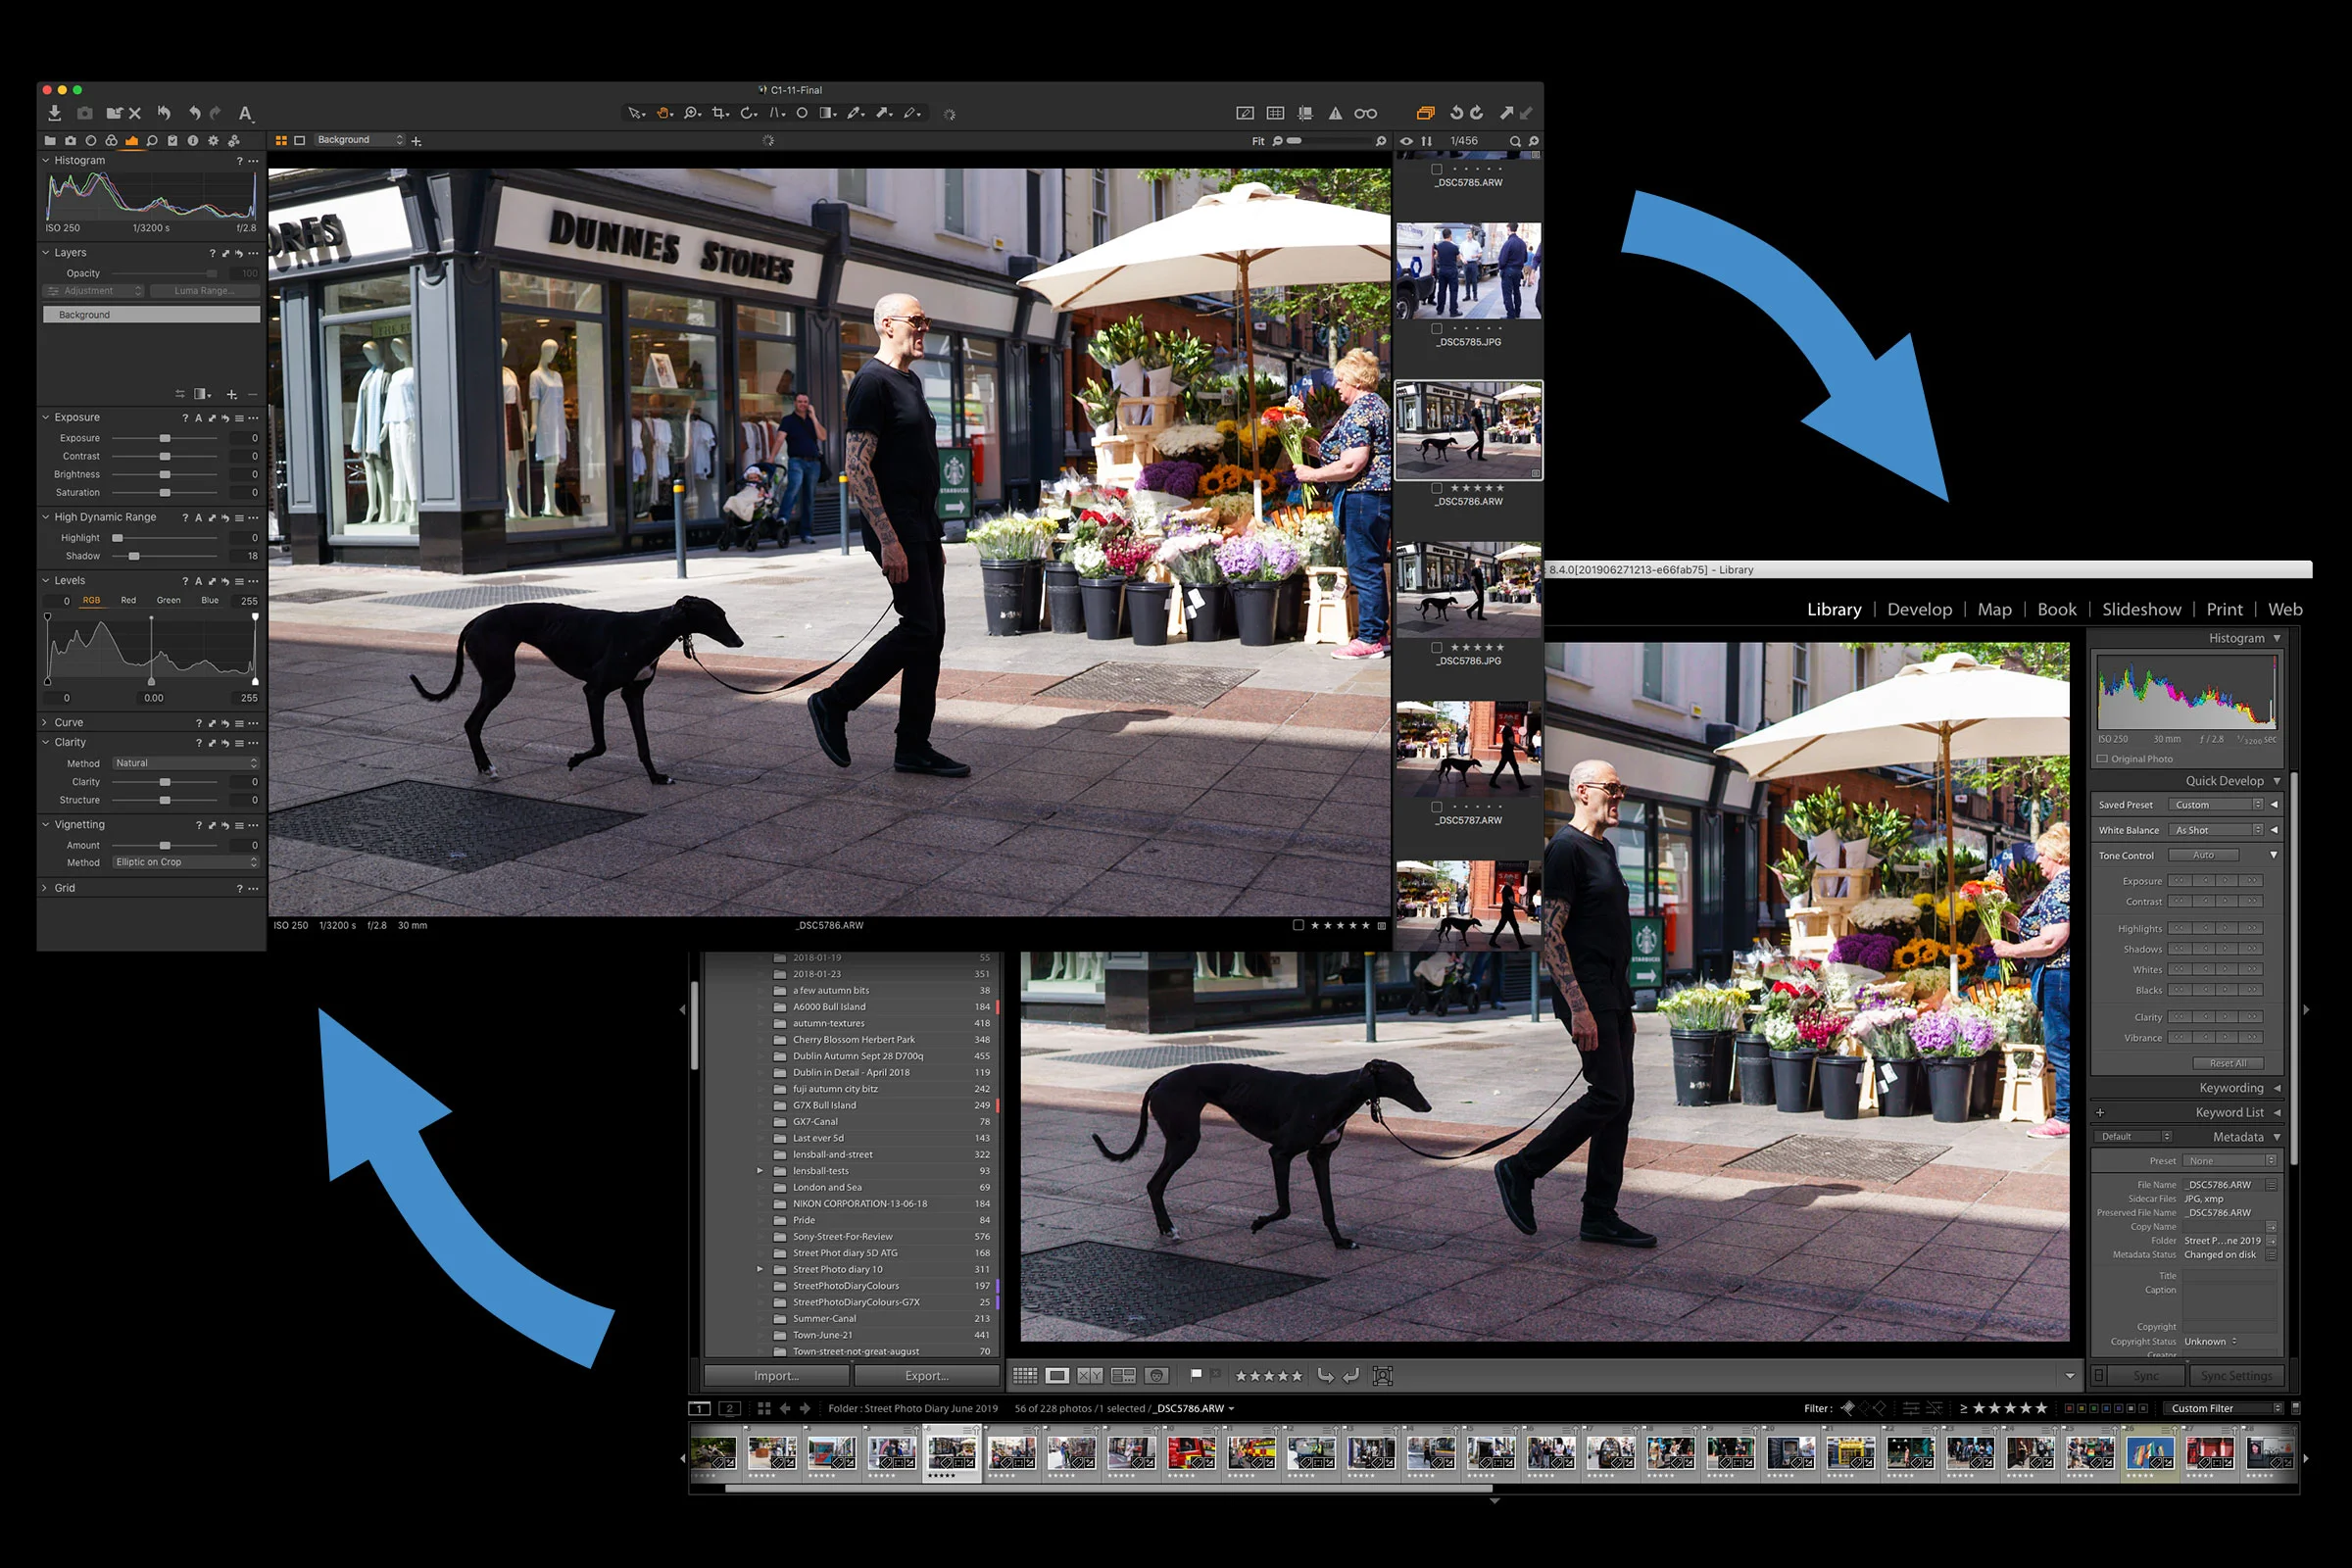
Share Folders of Images between Lightroom and Capture One and Keep Metadata Intact
If you are using both Lightroom and Capture One, there may be occasions when you want to try processing your images in both applications. This could be because you are still in the process of transitioning to Capture One, or you may just like using both applications. Whatever the reason, there are ways you can simplify the workflow of working with both applications, and in this post I’ll show you what to do.

Lightroom returns to the Mac App Store
After an extended period of not being available through Apple’s MacOS App Store, Lightroom has made a return. The changes to the Mac App Store that came about when Mojave was released last year, allowed Adobe to bring the software back along with the return of several other high profile apps, such as Microsoft Office, It’s available now for any compatible Mac running 10.8 or later. It should be noted that this version is Lightroom Desktop (I.e. the version based on the mobil eversion of Lightroom) and not Lightroom Classic.

Reduce Shadow Noise in Lightroom
Sometimes you can come across an image where the shadows are quite noisy, but there are still details in the mid tones or highlights that you don’t want to soften by applying too much overall noise reduction. You can actually just apply noise reduction to the shadows of an image in Lightroom by using a luminance mask. In this video I show you how to do this.

FilmLUX bundle now Available
I’ve just put together a new bundle of all of my FilmLUX presets on my store. This pack is a bundle of all of all three of the previous “Film LUX” set of Lightroom presets, and they’ve been updated to use the latest preset format and put together, in a single easy to install collection.

How to replicate Lightroom’s “Texture” in Luminar
The most recent recent release of Lightroom added a new slider called “Texture”. This function works like a version of clarity, only on a smaller radius and on more “medium” details. A lot of people have liked this new functionality, but for those with older versions of Lightroom, or who have ditched it all together, you can actually do the same thing in Luminar.

Lightroom May 2019 Updates (Lightroom Classic 8.3 Released)
Today Adobe rolls out a series of updates across the Lightroom portfolio of applications. Lightroom Classic is now at 8.3 and it contains quite a few bug fixes and performance enhancements, as well as several new features. The entire suite of Lightroom versions has been updated including the mobile and desktop versions. Here are some of the details.

An Unpopular View on Adobe’s Recent “Price Hike”
If you’re into photography at all, unless you’ve been sleeping under a rock (or stayed off the internet) you can’t help but have read about the recent “price hike” on Adobe’s Photography plan. Site after site reported that Adobe had “doubled” the price of its photography plan, which lead to cries and consternation from all corners of the internet. I was really in two minds as to whether to write about this or not, because I know this will be unpopular, and I will get lots of hate mail because of this. I was really angry and annoyed about this news. Not because of what Adobe did, but because of the way it was reported and the crazy carry on afterwards.

Do you still need to use X-Transformer?
Do you still need to use X-Transformer? That’s the question that I’ve been getting asked pretty regularly since Adobe launched “Enhance Details” in Lightroom and Camera Raw. The answer might seem like it should be straight forward, but it’s actually a little complicated and it depends on a few factors.