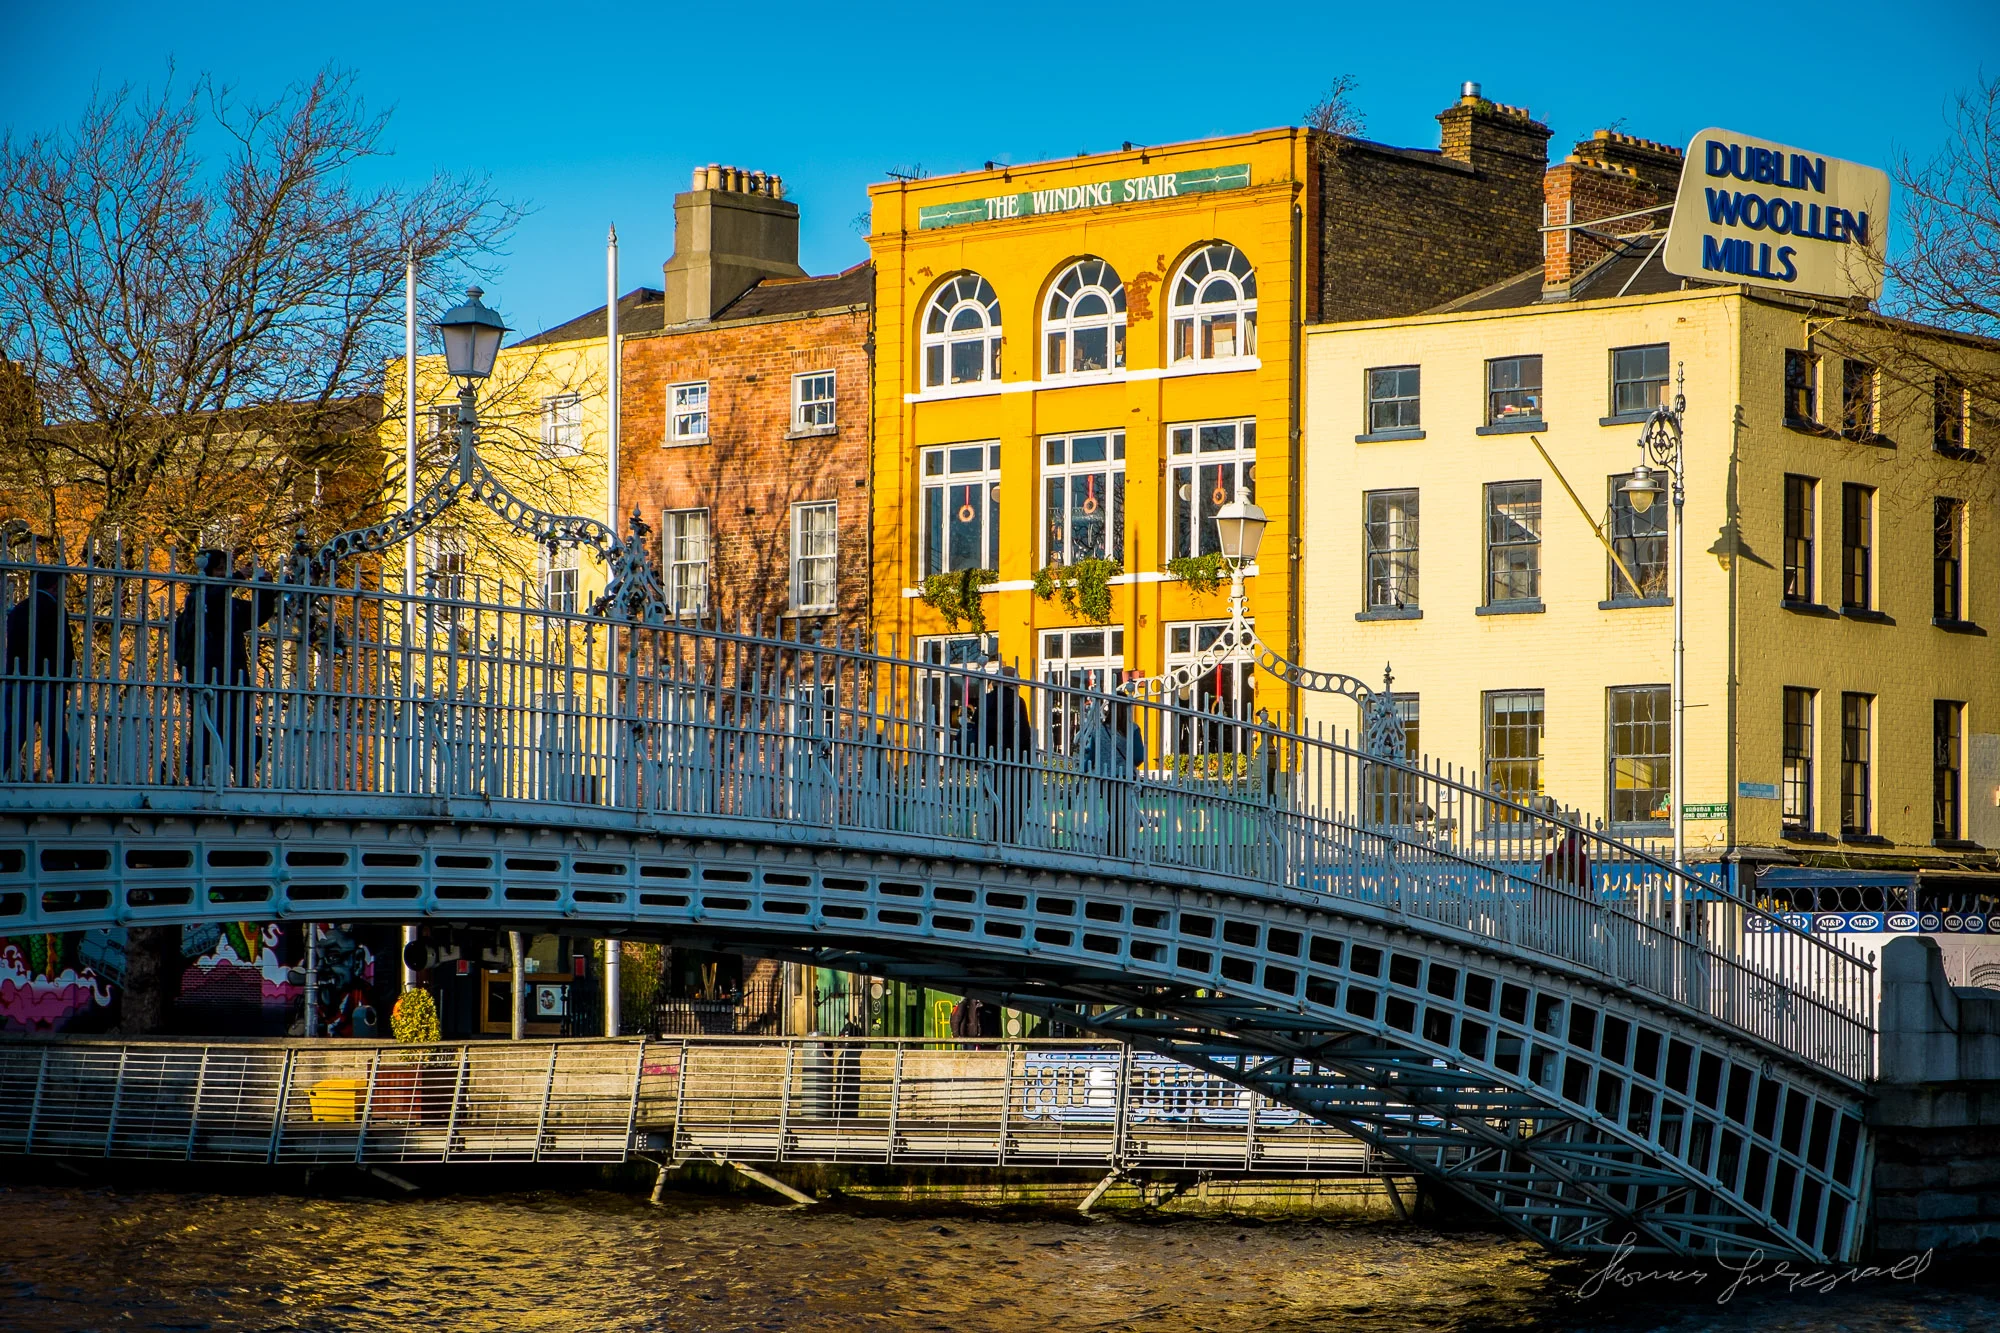
Fuji X-Trans Sharpening Presets for Lightroom
UPDATE: You can now get all of my X-Trans Sharpening Presets in One Download. See this post for more details:
If you’re an owner of one of Fuji’s X-Trans cameras and you use Lightroom, you are either perfectly happy with the way the software handles the raw files or mildly frustrated at the way the Lightroom doesn’t seem to quite achieve the full potential of the X-Trans sensor. Unfortunately this has become a charged issue for some people, which is unfortunate, because I think that has prevented this issue form being properly resolved. I'm not trying to be controversial here, I'm just trying to help people. So if you don't have an issue, then great, you can stop reading now!
On the other hand, if you are a bit frustrated then I share your pain, and hopefully this will help. There’s something odd about how Lightroom processes X-Trans files. Despite a previous fix for the issue of smearing it still exists, and while it is not too bad at default settings, the files are a little soft, and the patterning becomes very apparent when you sharpen the files. There is also some weird thing going on where high contrast edges have a halo around them almost like it was embossed. I think this is what is causing the weird pattern like smearing when you turn up the sharpening. The other odd thing that I’ve found is that if you turn the sharpening off in Lightroom all together, the images look much softer than they do in other software when you do the same thing and turn sharpening off. It’s not just an over all Lightroom thing either though, as raw files from other manufacturers don’t show as big a difference when sharpening is disabled
Anyway, I’ve tried to be proactive about the issue and see if I could tweak the settings to minimise the issue. I had posted some sharpening settings before that i found created a more natural look, but after doing some research and a lot of experimentation I’ve come up with some new settings that I believe work quite well. There’s no one setting fits all approach, and I’ve found that different types of image work better with different sharpening settings. The key seems to be not to increase the actual sharpen values too much, and instead turn up the detail. I’ve also found that for certain types of images, particularly architecture, using a high radius works too.
I’ve created a set of presets that you can download and install and try yourself. You’ll have to play around and see if they work for you. You may already have your own workflow, but I thought I would share these anyway. The list of presets contained in this set are as follow:
- X-Trans-Import-Velvia
- X-Trans-Import-Standard
- X-Trans-Sharpen-Detail-50
- X-Trans-Sharpen-Foliage
- X-Trans-Sharpen-High-Radius-Low-Detail
- X-Trans-Sharpen-High-Radius
- X-Trans-Sharpen-Detail-100-Mid
- X-Trans-Sharpen-Detail-100-Low
- X-Trans-Sharpen-Detail100-Sharper
The first two are import presets that I use. I mostly just use the standard one. It turns up the sharpening a little and also tweaks a few other settings, such as the contrast and the saturation. The rest are various sharpening settings. X-Trans-Sharpen-Detail-50 is the one I use the most. The other X-Trans-Sharpen-Detail versions are for increasing levels of sharpness. You’ll need to experiment to see which ones work best in various situations. The Foliage version is my attempt to make one that works well for areas of foliage, however there are limitations given Lightroom’s x-trans de-mosiacing algorithm. Finally the high radius versions work well with architectural detail and fine repetitive textures.
Feel free to download the presets and give them a try. I don’t have an installer so you’ll have to manually install them, but it’s actually relatively easy. Here are the steps you need to take:
- Download the preset file and un-zip the file if it does not un-zip automatically
- Inside of Lightroom go to your preferences. Inside of the preferences window, click on the preset tab. Now click on the button that says “Show Lightroom Presets Folder”
- In the Finder (on the Mac) or Windows Explorer (on a PC) open this folder and navigate to the Develop Presets folder. Open this fodder.
- Copy the folder of presets you downloaded earlier into the Develop Presets folder you opened earlier. Make sure to copy the whole folder, and not just the individual .lrtemplate files.
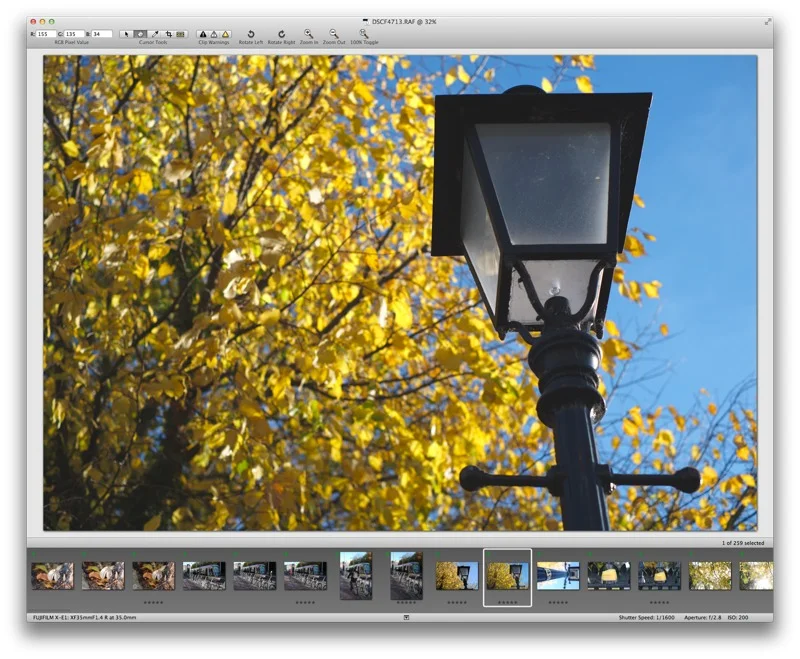
Incidentally, a lot of people have recommended Iridient Developer to me as it does a really good job with X-Trans files and I've been trying it out this weekend. It does indeed do a great job and certainly does a better job of de-moosiacing than Lightroom, however it does lack many of Lightroom's creative tools. Still, I'm working on a workflow for using the two in tandem, and I'll have a post about it soon.
UPDATE - I have a newer version of these X-Trans sharpening presets available now, with some tweaks to my original settings.
Please Help Support the Blog
I am a fine art Photographer and do not shoot commercial projects. I do my best to keep this site regularly updated with lots of tips, reviews, news and photography advice, all for free. If you like what you read here and want more, then sign up for our newsletter to get regular site updates and occasional special offers. You can also follow my photographic exploits on Facebook and Twitter
If you're a Lightroom user check out my original Lightroom Presets


