The Quick Way to get your Lightroom Presets from Lightroom Classic to Lightroom Mobile
For the longest time I wasn’t a huge user of Lightroom mobile. To be honest, I found it a bit clunky and it took up too much space on my mobile device. But that all changed when I upgraded to the iPhone XR and I started using Lightroom’s camera more and more. Now I use Lightroom mobile a lot more than I used to.
Having access to your presets on the software can really help your workflow, but if you primarily use Lightroom Classic on the desktop, they won’t be synced automatically. In this post I’m going to show you a quick way to get your presets across, without too much fuss. Then in a follow up post I will show you how to keep them in sync.
I wanted this to be as easy as possible for people who don’t necessarily like fussing around with system folders and so on, so I hope uni find this easy enough to follow. Obviously there are lots of different ways of doing this, but this is what I suggest, and if you have an alternative method, by all means leave a comment with your suggestions. These instructions are Mac specific. I’m sure it’s actually more or less the same on a PC, but as I don’t have access to a PC to check, I can’t say for certain.
Ok, here we go…
Step 1: Install Lightroom Desktop

If you don’t already have the desktop version of Lightroom installed, you will need to have it in order for this to work. This is currently the only conduit for getting your presets onto Lightroom mobile. Even if you don’t intend to use it for anything else, this is the only way to get your presets across unfortunately.
Step 2: Open Lightroom Classic
The next thing we need to do is get your Develop module presets from Lightroom classic. There are a couple of different ways to do this, but this is the easiest without fussing with paths etc. Here’s what to do:

- Go to the develop module
- Scroll to any Develop module preset
- Right click (ctrl + click) on it and choose: Show in Finder (see screenshot above)
- This should open your presets folder and bring you to the preset you had selected in the finder. You need to go to the root of this folder, so if you are in a sub folder you may need to go up one until you see all of your presets and preset folders. How do yo know? If you were in a sub folder of presets in Lightroom you’re probably in a sub folder now. Look at the name in the top of the finder window. It should say “Settings.”

If it doesn’t say settings then you need to back up one level. Do this by pressing command + up arrow.
Step 3: (optional) Create a Zip archive of all your presets
The next thing to do is to create a zip file from all of your presets. This is really easy on the Mac. Here’s what to do:
- Press Command + A to select all the files and folders in the Settings folder. (alternatively choose Edit > Select All)
- From the file menu choose: Compress x Items (where x is the number of items selected.) This will create a zip file of all your presets. It will be called archive.zip. You can rename this if you want, but it doesn’t really matter.
- Drag this zip file to the desktop.
Just as an aside - you don’t really need to create a zip file - You can just select the “Settings” folder directly in Lightroom Desktop and skip the zip step, but by zipping the files first makes it easier to just drag the zip file to the desktop, and its then easier to locate in Lightroom desktop. If you don’t want to zip them first, you can select the “Settings” folder directly from Lightroom desktop (in the next step). I thought the zip way would be simpler and easier to explain - and its so easy to do on the Mac - which is why I’m suggesting doing it that way - but it’s up to you!
Step 4: Import into Lightroom Desktop
The next step is to import your presets into Lightroom Desktop. Here’s what to do:

- Open Lightroom Desktop
- Go to the Edit Mode by clicking on the edit icon, or pressing the “E” key on the keyboard.
- At the bottom of the edit panel, click on the presets button. This will open the presets panel.
- From the … menu at the top of the presets panel, choose “Import Presets”
- Select the zip file you created previously and copied to the desktop.
- This will start importing presets. If you had a lot it may take a little time.
One this is complete you may get a warning if some files were incompatible. This can be because there were older files in the folder, or if you had already imported some presets.
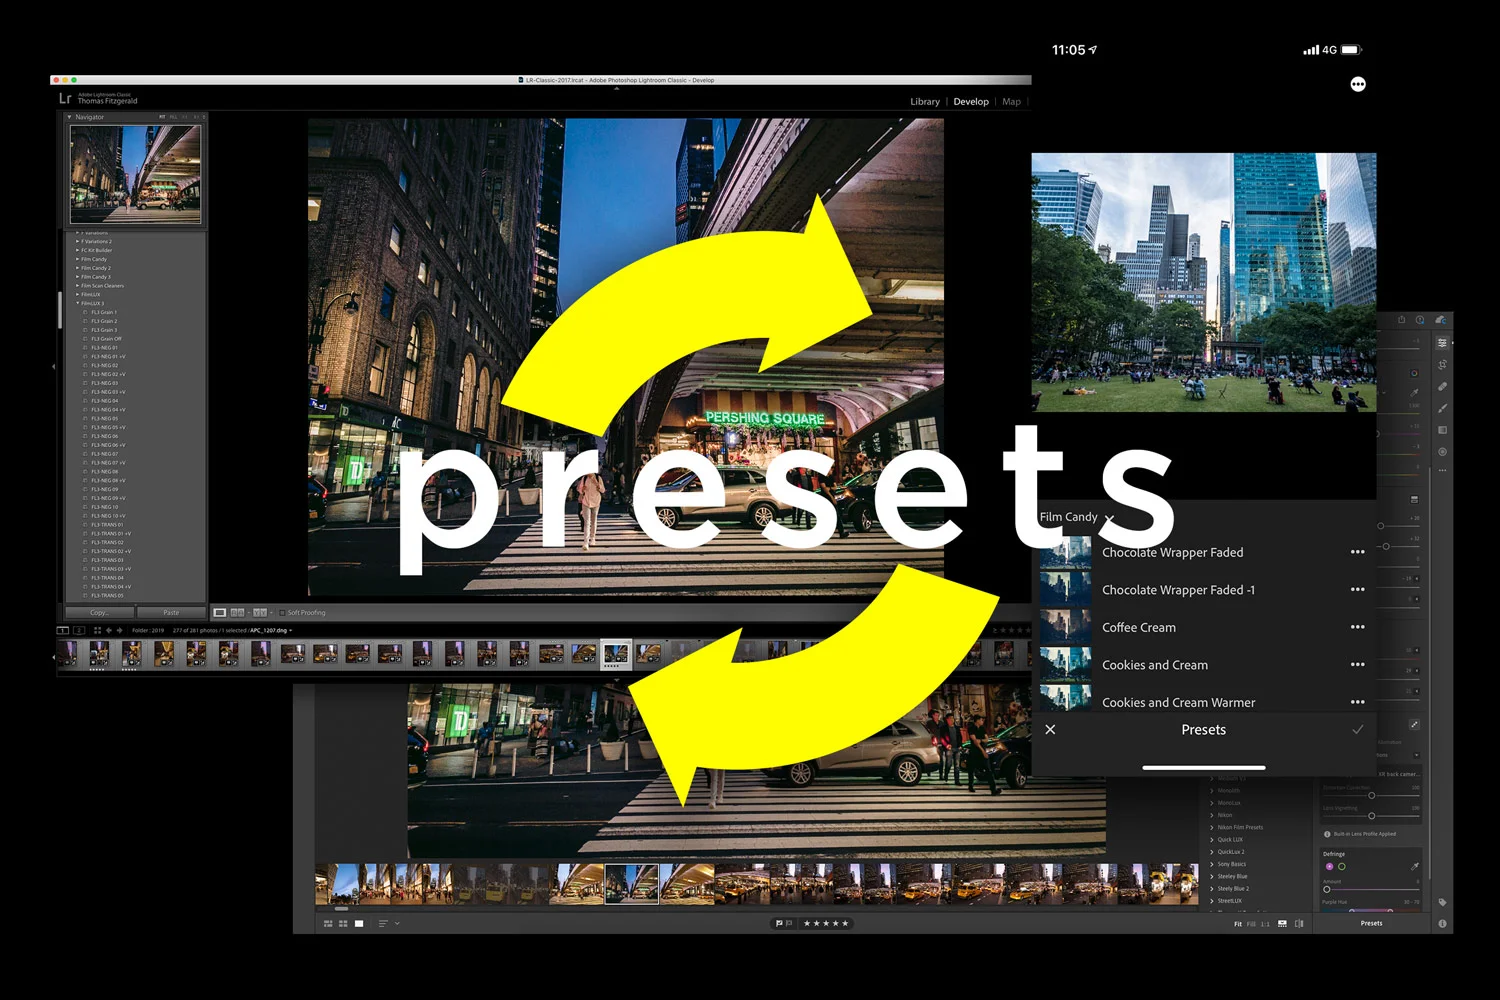
Onto Lightroom mobile.
One you have imported the presets into Lightroom desktop they will sync over to Lightroom mobile although this may take a little while. You don’t need to do anything, but you might want to leave Lightroom desktop open for a while to let it sync everything across. You may also need to be on wifi on your mobile device if you have the option to sync over cellular data turned off. You should now have access to your presets on your mobile device, whether that’s an iPhone, iPad or Android device.
Presets copied over to Lightroom Mobile

Make sure “Show Partially Incompatible Presets” is enabled.
If you don’t see all of your presets in Lightroom mobile there are two probable causes. Either they haven’t copied over yet, or the option to show partially compatible presets are turned off.
If you have profiles stored as part of a preset and they aren’t available for certain camera models, Lightroom will hide them if the option to show partially compatible presets is turned off. To check this on Lightroom mobile, here’s what to do:
- Go to an image in Lightroom, then in the edit settings, scroll over to the presets button
- Click not he presets button to see the presets. At the top of the screen you should see a little … menu. Click on this
- Make sure “Show Partially Incompatible Presets” is active. It will be highlighted in blue if it is.
I know that looks like a lot of steps, but that’s just when you write it out. To do it should only really take you less than a minute (bar waiting for them to import). Note that if you have any custom profiles they should copy over too. (I'm not 100% certain abou this - they should be in the zip file if you've installed the profiles in the correct loaction, but they may need to be installed separately)
In the next post on this subject I’m going yo look at setting up a system to keep these in sync. (If I can get it to work!)
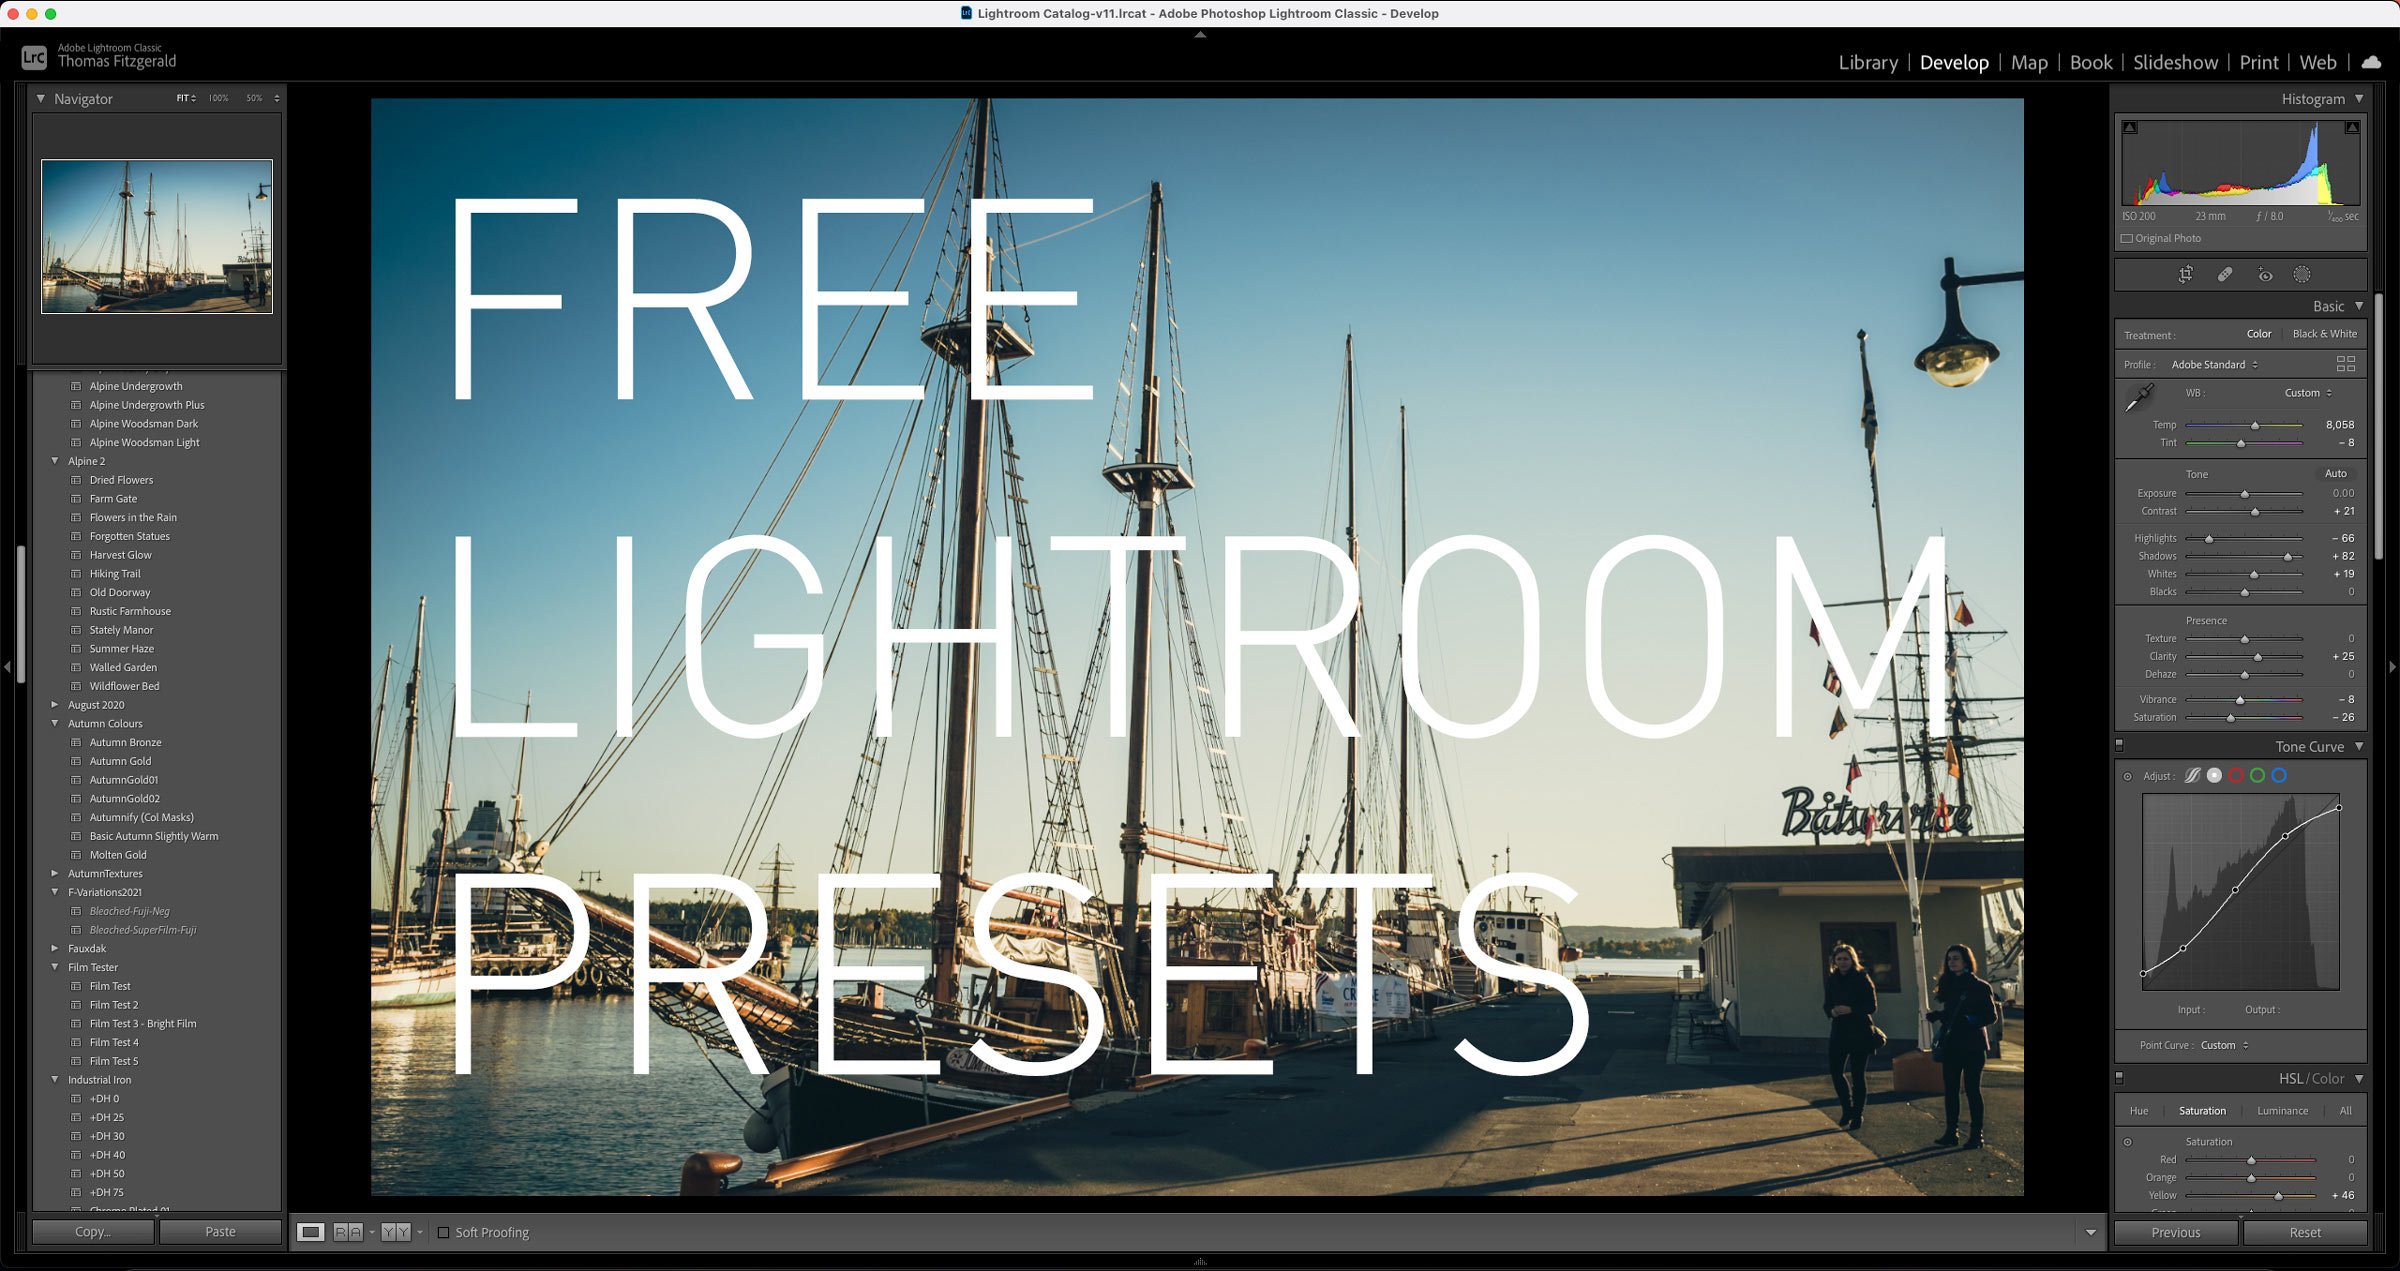
Speaking of presets, I’m currently having a sale on my Lightroom presets (shameless plug) until the end of August. All of my preset packs are on sale and theres up to 50% off selected presets. Visit the store to check it out. The sale of these and my eBooks helps pay for me to keep doing this blog full time, so every little helps!
Help Support the Blog
I’m now on Patreon. If you like what I do here and find the information useful, then you can help by supporting me on Patreon. As well as helping keep this blog going with even more useful news, tips, tutorials and more, members also get special Patreon only perks. Stop by and check it out.
If you like this post then you can see more of my work on Instagram, Twitter and Facebook. I also have a YouTube channel that you might like. You should also check out my other Photography Project: The Streets of Dublin. If you want to get regular updates, and notices of occasional special offers, and discounts from my store, then please sign up for the Newsletter.
You can also show support by buying something from my from my Digital Download Store where I have Lightroom Presets, and e-books available for download.