
Lightroom Quick tip - Global Colour Wheel in the Colour Grading Tool
Here’s a very quick Lightroom tip for you. I was recently processing some Autumn images, and as I was doing some colour grading to enhance the glow of the Autumn/Winter light, it occurred to me that there was a feature that people may have missed. That feature is the Global Colour Grading tool.
Three way vs Individual controls in the Colour Grading Panel
When you go to the Colour Grading panel in Lightroom, the default view is the three-way colour corrector. This shows the colour wheels for “Shadows”, “Midtones” and “Highlights”. By adjusting the controls on these, you can alter the tint and brightness of the various parts of the image based on brightness. Most people probably only ever use this three-way layout.
Three-way Colour Correction Tool (the Default)

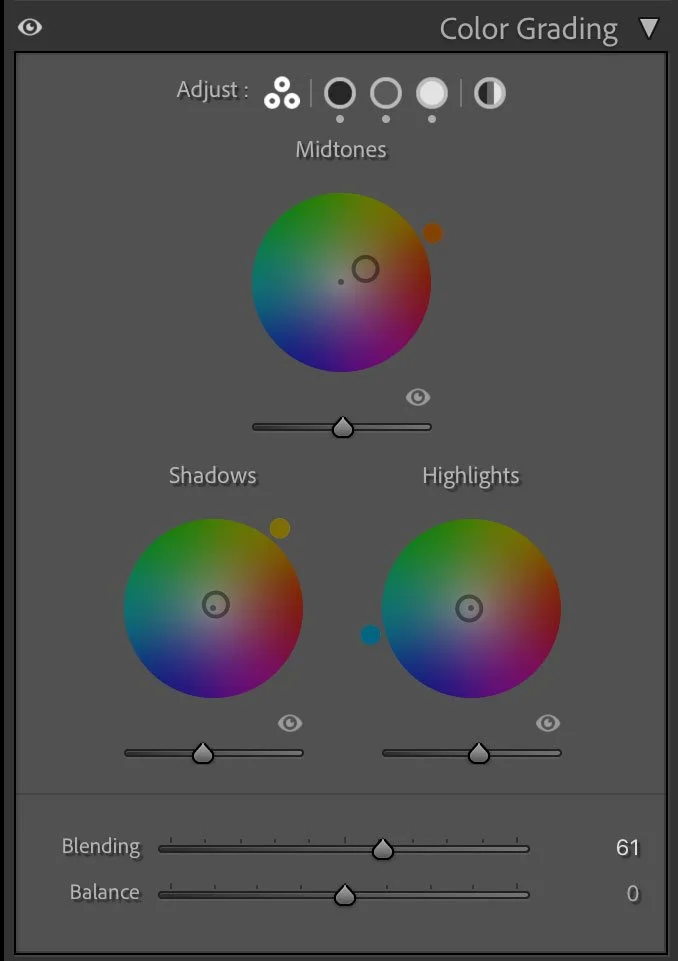
Individual Channel Colour Grading Tool
There is however a way to see these controls larger, and that is to click on the buttons beside the three way corrector icon at the top of the panel. When you do this, you now see much larger wheels for the Shadow, Mid-tones and Highlights. In this mode you can make much finer edits because the controls are larger, and each one also has sliders underneath as an alternative to using the wheel. These also allow you to enter numeric values for the individual controls.
But there’s another control in addition to these, and that’s the global colour wheel…
Global Colour Grading Wheel
The last icon at the top of the colour grading panel is the Global control. It kind of looks like a contrast icon, but it actually brings you to the global colour wheel.
With this tool you can add an overall tint to the image. You can also adjust the overall luminance value which acts like a brightness control (which Lightroom is otherwise lacking)

Using the overall control is useful for a number of reasons. If you want to warm up or cool down an image, this can give a useful result that’s not the same as using the white balance (try it to see what I mean). For example, in the Autumn images I was talking about, I was using it to add an overall warm glow to the light, and it works quite well. You can also use it to correct images that have an overall colour tint for whatever reason. Try playing around with this on your own images and you’ll quickly see if it’s something that you may have use for or not.
Conclusion
So that’s pretty much all there is to this tip. It’s one of those things that you may hardly ever use, or you may use it a lot, but it’s worth knowing about regardless. It’s yet another useful tool in your quiver so to speak. I’m sure many of you reading this already know about the global colour wheel, but I’m also willing to bet some people had either forgotten about it, or never knew it was there in the first! Either way, I hope this little Lightroom tip has been useful to you!