

Photo Editing, Tutorials, Photography News, and More
This blog covers a range of topics from Lightroom, Photoshop, Capture One, Fujifilm, Canon, Nikon, iPhone Photography, and more. If you want to see more of my actual photography work, visit my Portfolio and Photo Journal blog.

Lightroom Pro Tip: Quickly Reset Adjustments Without Losing Your Crop with a Zero All Preset
In this video I show you a handy workflow tip to make it easier to reset your adjustments in Lightroom without reseting your Crop or Geometry edits.

New Video: How to add a Vignette BEHIND a subject in Lightroom | Create a Smart Vignette preset | Lightroom Quick Tip
In my latest YouTube tutorial, I demonstrate how to use the mask tool to create a custom vignette effect behind your subject, adding subtle drama to the background while preserving the subject's integrity. The video also shows you how to create a time-saving smart preset for future edits.

Lightroom Quick tip - Global Colour Wheel in the Colour Grading Tool
Here’s a very quick Lightroom tip for you. I was recently processing some Autumn images, and as I was doing some colour grading to enhance the glow of the Autumn/Winter light it occurred to me that there was a feature that people may have missed. That tool is the global Colour Grading tool.

Video: How to Eliminate Clarity Halos in Lightroom
In this video I show you a quick tip on how to avoid one go the most annoying problems with Lightroom’s processing engine: Clarity Halos. That is the issue of dark or bright halos or blurry shadows you get when you use too high a clarity setting on a high contrast image.

Capture One Quick Tip - How to see before and after on individual Adjustments
Here’s a quick Capture One tip for you to start your week! With the latest version of Capture One, the company added a new before and after method, which can be accessed by pressing the Y key. This will give you a complete before and after on all adjustments, but what if you only want to see the effect of temporarily resetting one adjustment? In other words, what if you want to see a before and after view for a single panel? Well, this is pretty easy in Capture One.

Capture One Quick Tip - Controlling a Vignette with Layers and Luma Range
In this super short Capture One quick tip, I show you how to place a vignette behind an object in a scene using layers and the luma range tool.
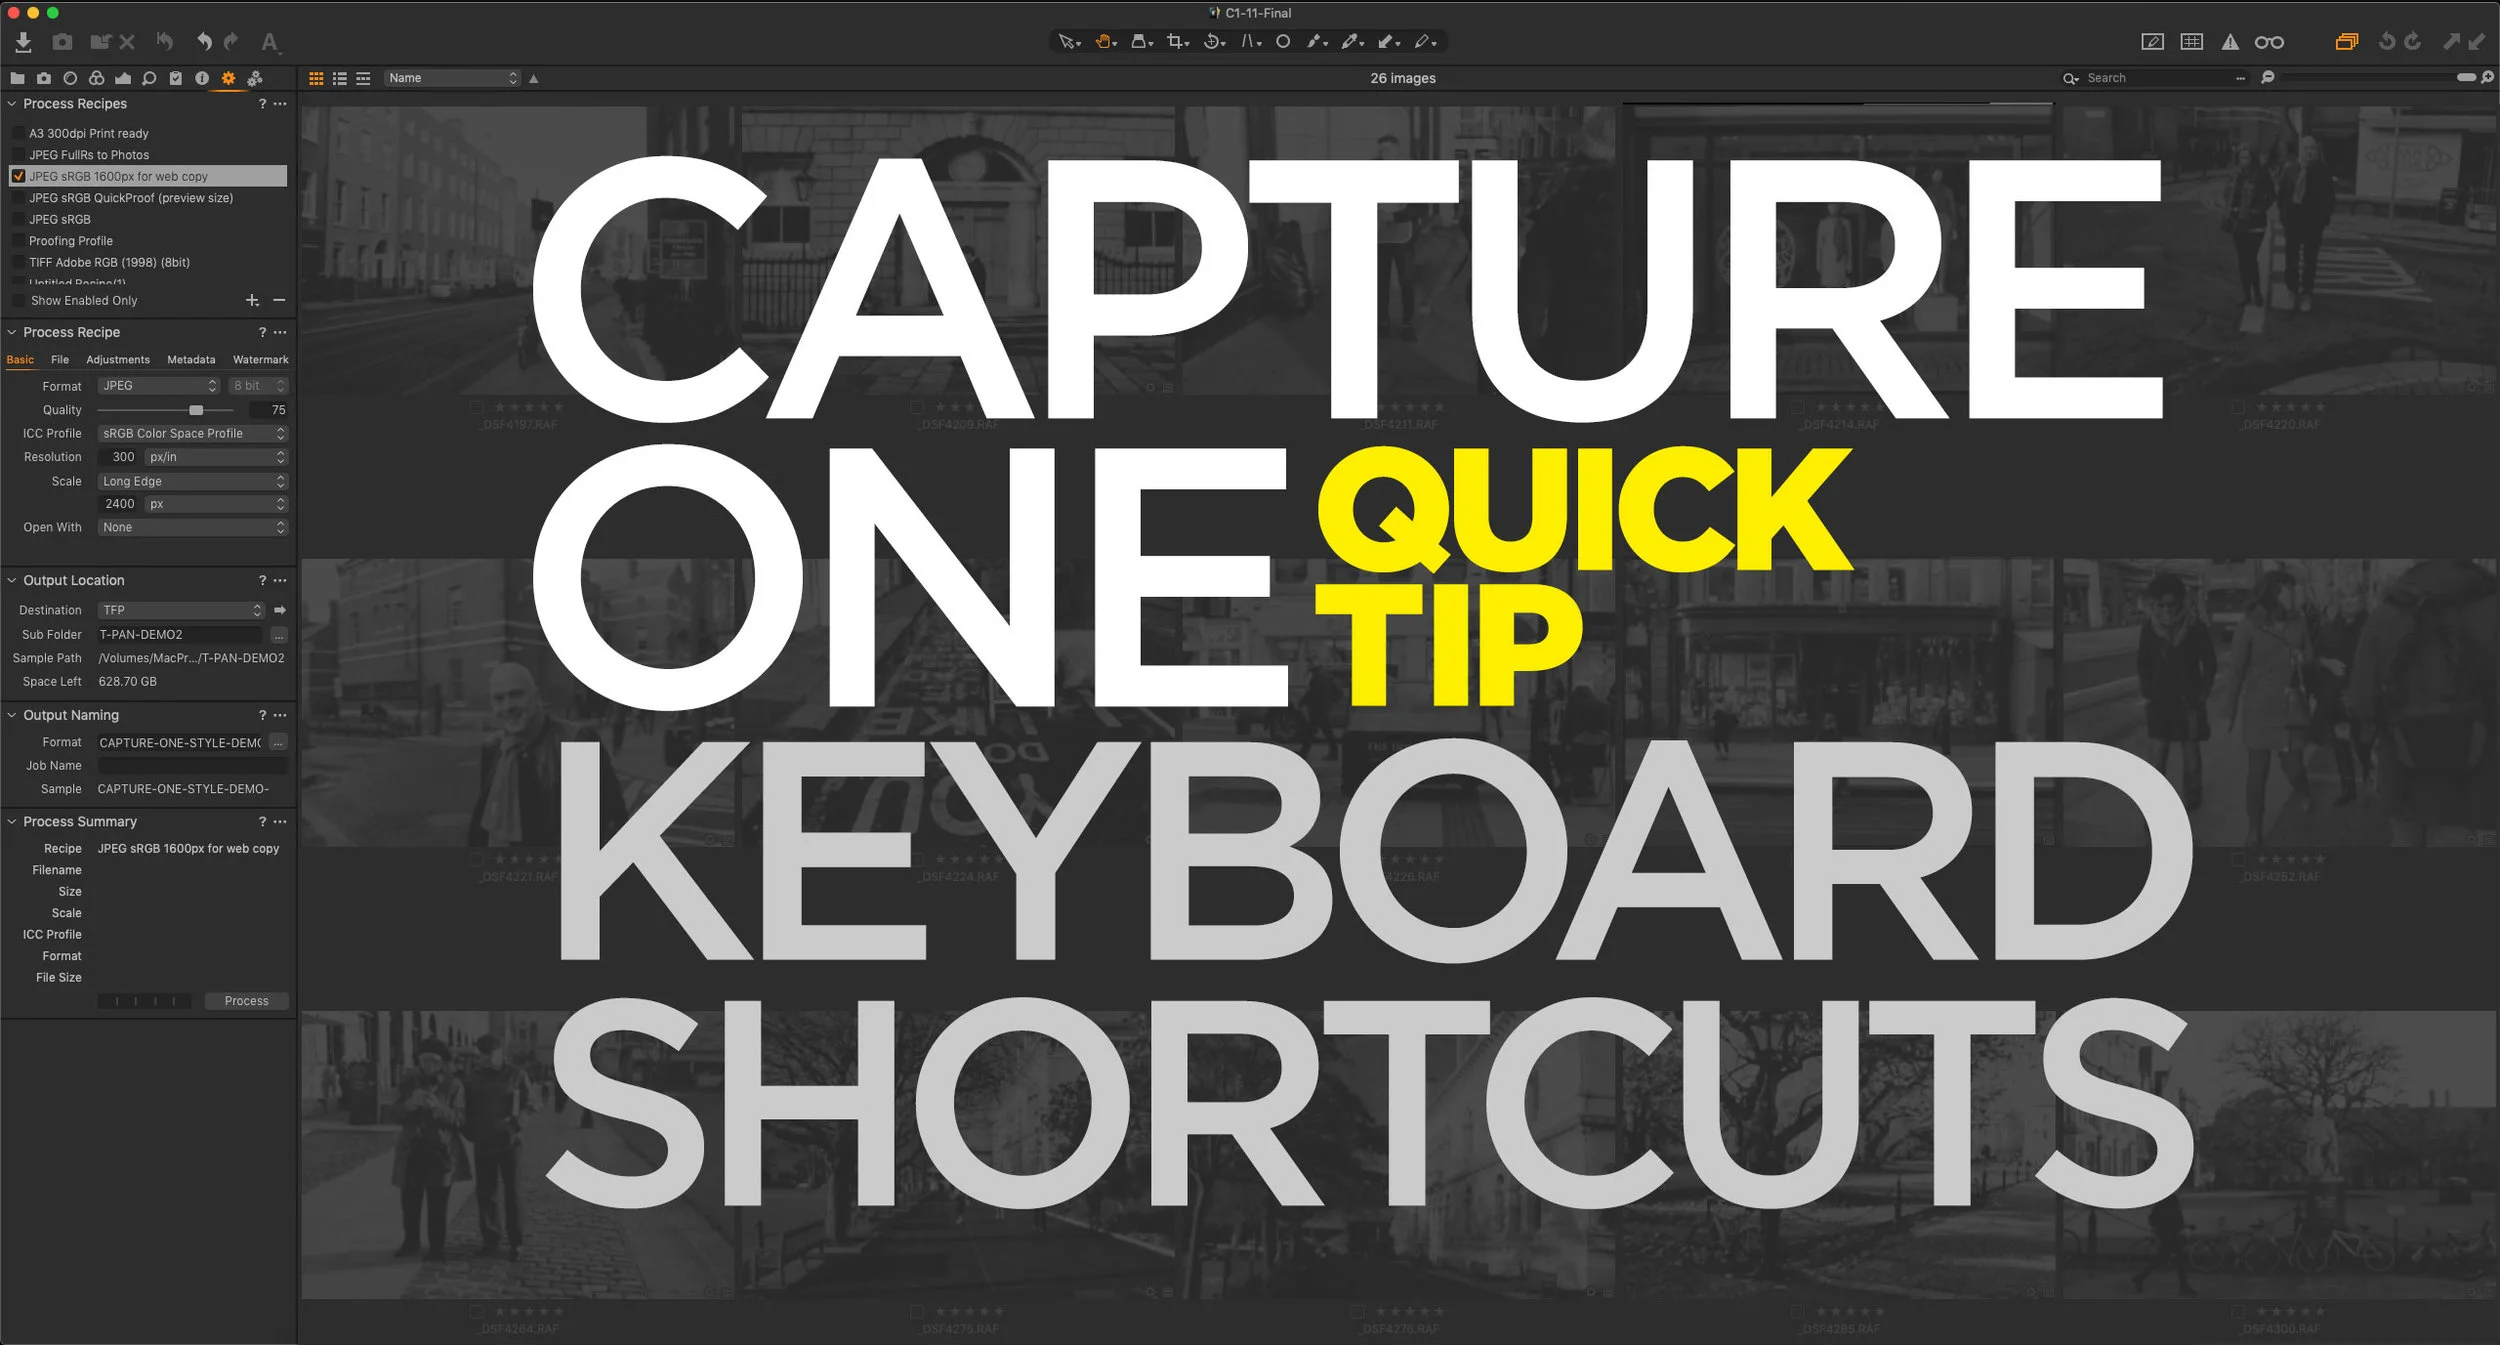
Capture One Quick Tip: Simulate Lightroom’s “Grid” Mode Keyboard Shortcut
This is a really specific and kind of nerdy tip, but I’ve found that this helps me speed up my workflow in Capture One considerably. If you’re used to Lightroom, you may be used to switching between the grid and develop modules using the “G” and “D” keys. I do this all the time, when I’m working on a project, and I want to jump to different Images. I find it easier than scrolling up and down the film strip at the bottom of the develop module. To do this in Capture One, you show and hide the viewer. There is a keyboard shortcut for this already, but it’s hard to remember and physically awkward to press. Luckily it’s easy to change.

Lightroom Quick Tip: When not to use camera profiles
It’s been my long-standing practice to use a “camera matching” profile in Lightroom whenever possible. Camera matching profiles are colour profiles that come with Lightroom, that attempt to make the colours of your raw file match the colours of your camera’s Jpeg output as closely as possible.

Video: Capture One Quick Tip - Purple Fringing Control
In this short quick tip for Capture One, I look at how to use the purple fringing control to get rid of chromatic aberration that’s not addressed by the normal aberration correction tool.
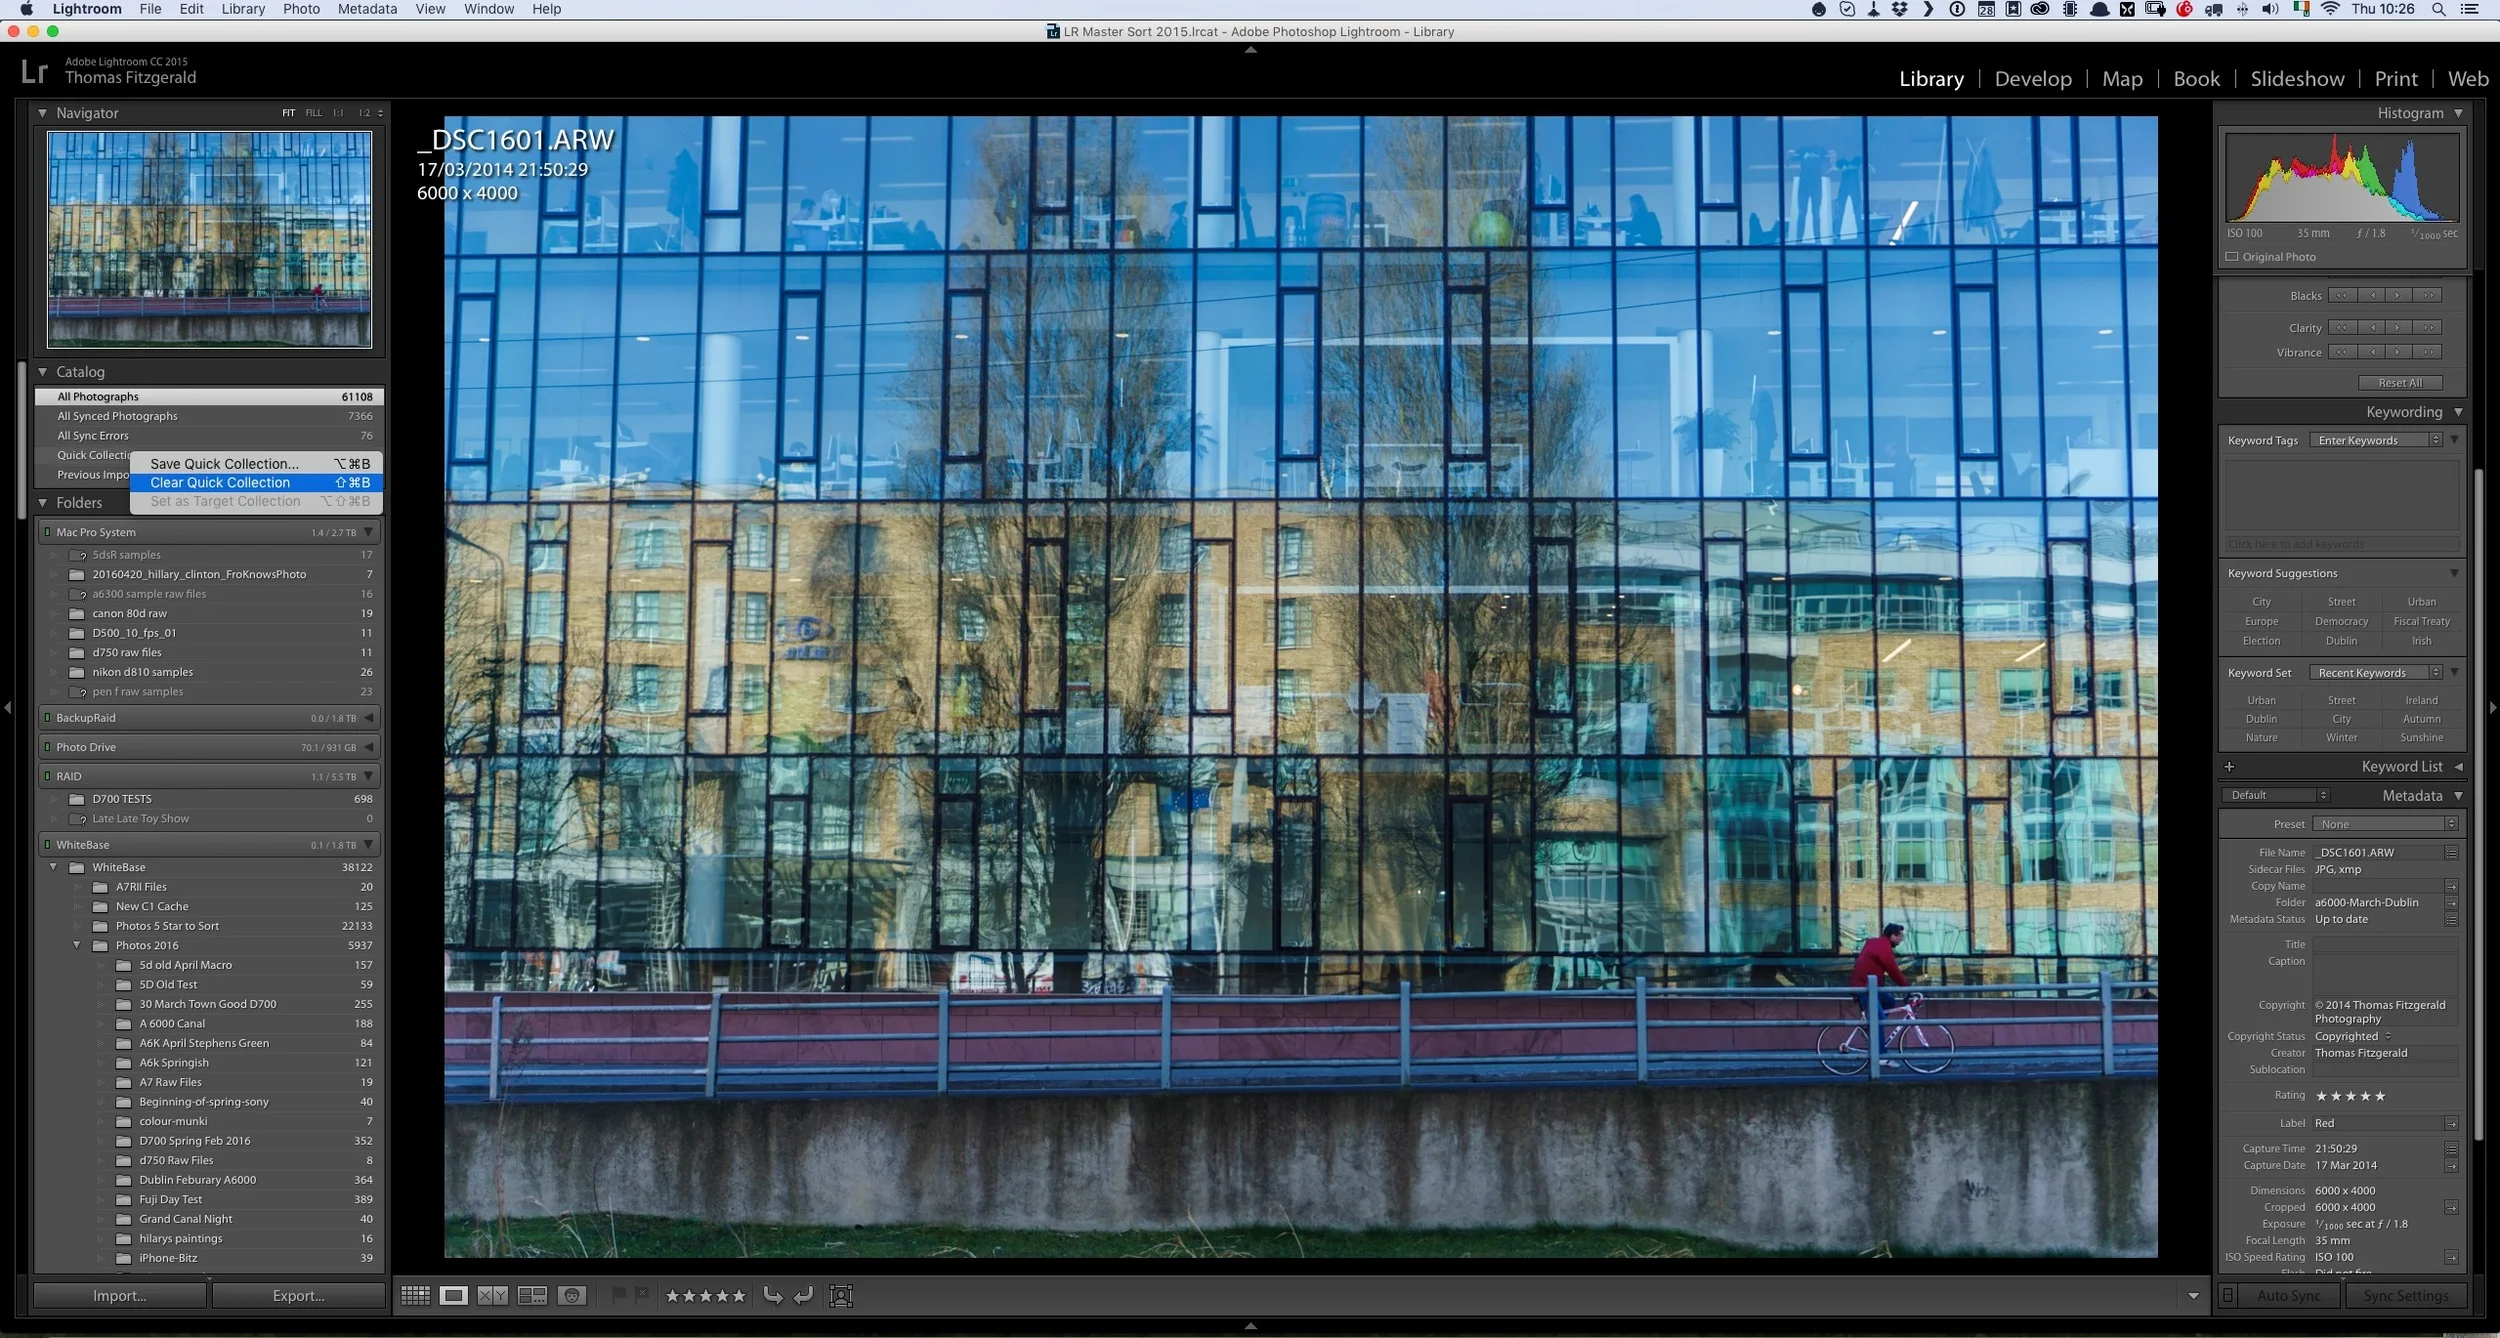
Quick Lightroom Tip: Clear Quick Collection
Here's a very quick Lightroom tip for you. I often use the quick collection in Lightroom as a sort of temporary clip board or place to collect some images that I'm either collecting for a blog post, or for a comparison and so on. Sometimes I will be in the processing of going through images , and I may have set some search filters in the library or something similar, when I decide that I may want to add some images to the quick collection. However, I already have images in it that I no longer want, but I don't want to leave the current view to go to the quick collection.