

The news that Adobe has agreed to acquire Topaz Labs has hit the creative community with a collective “what the f….”. For anyone who relies on tools like Gigapixel, Photo AI, and Video AI, I’m sure this news is a bit of a worrying development, especially if you’re one of those creators who had exited the Adobe ecosystem (”you fool … there is no escape!”).

With the last few Photoshop releases, Adobe has kept adding new features to Camera RAW. Usually, these would be added to Lightroom either at the same time or with the following release, but so recently, this hasn’t been the case. And these haven’t been minor features either, we’re talking some big, long-sought-after tools, including the colour corrector in masks, and the ability to adjust the edges and feathering of AI masks. Are we seeing a different strategy emerging from Adobe regarding its photography applications?
A set of June updates to Adobe’s Photography applications will be released later this week. This will include Lightroom Classic, Lightroom, Photoshop and so on. For the most part, these will be bug fixes and new camera support, but there are a couple of things worth noting.

Adobe’s latest Lightroom Classic update makes AI tools like Denoise and Super Resolution far less disruptive by moving their processing into the background, so they no longer take over the app, which is especially helpful when working through large batches. The update also includes a handful of performance improvements, better assisted culling detection, PSB sync support, and other smaller additions.
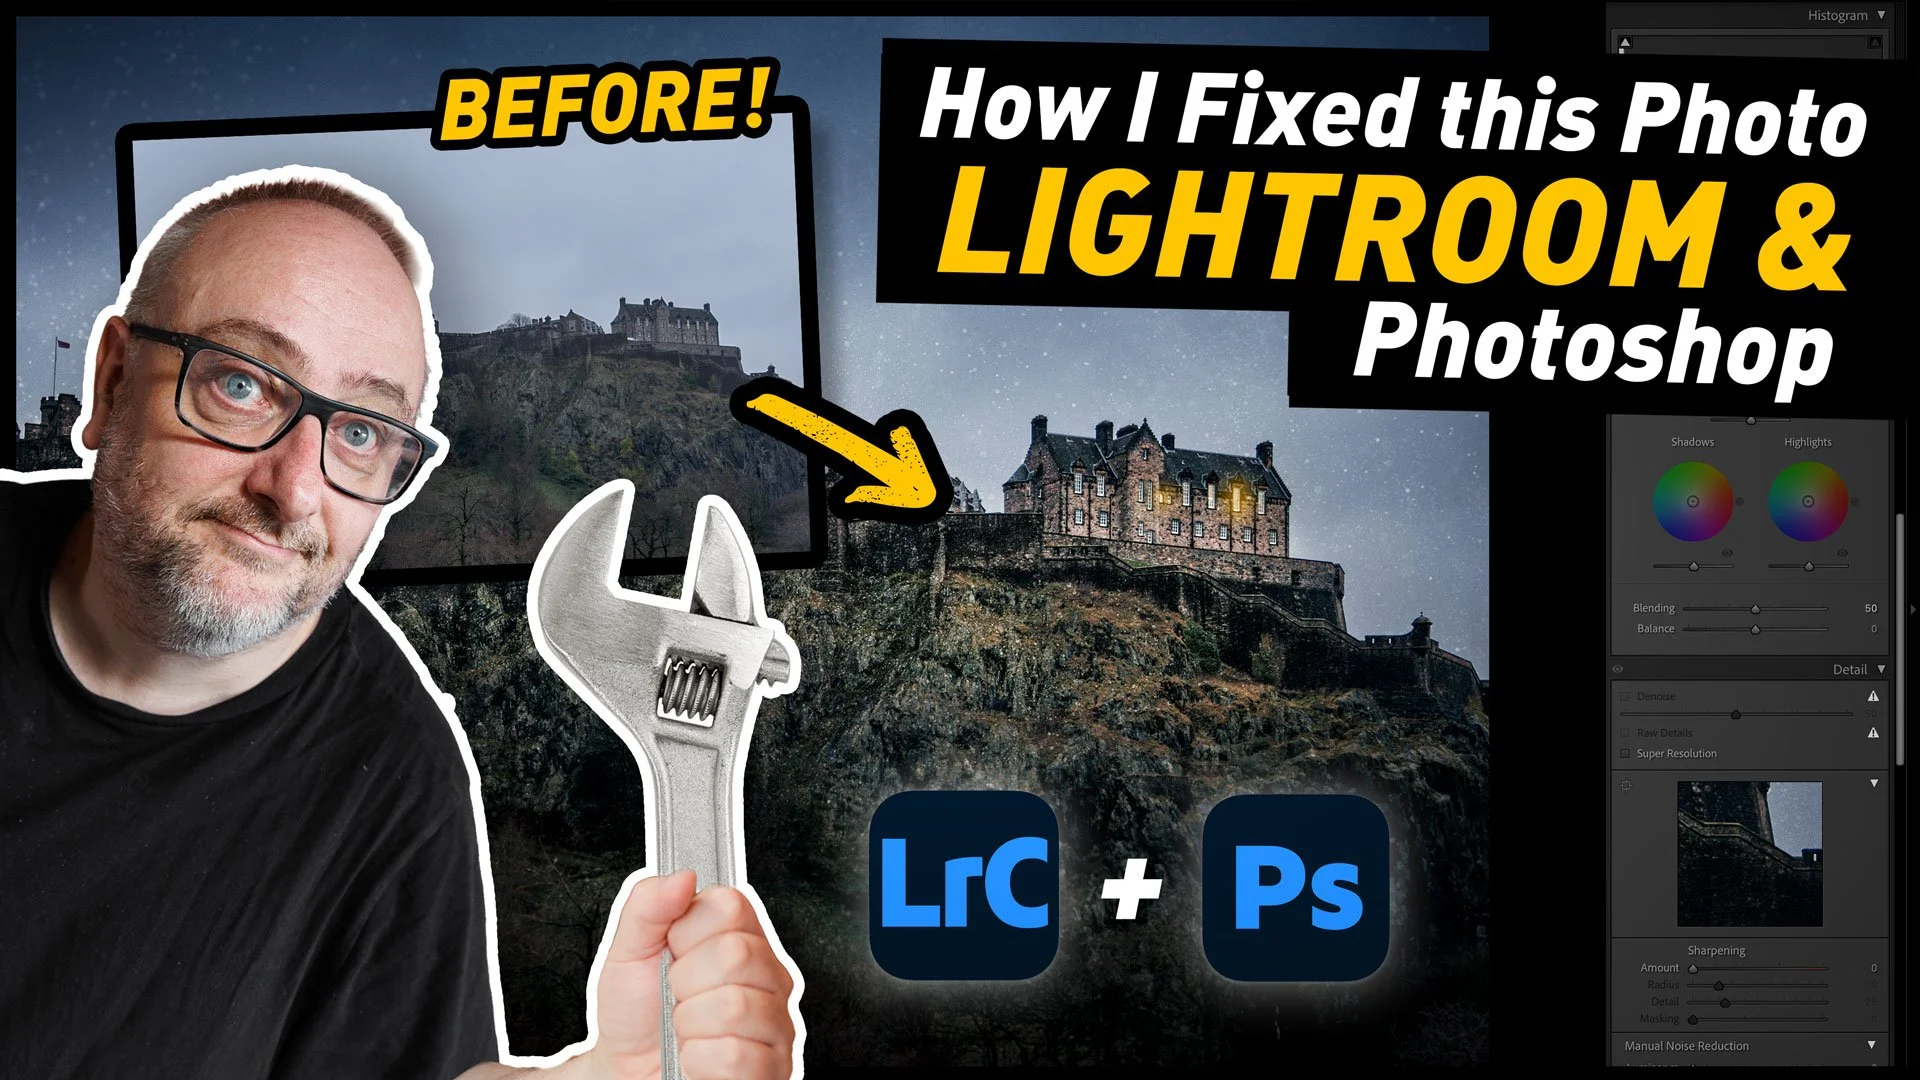
I was recently in Edinburgh, Scotland for a week, and while I was there I had been planning to spend quite a bit of time out taking photos around the city. Unfortunately, the weather had other plans. It was pretty much raining and cold the whole time. And when I say cold, I do mean cold. But more than that, it was really dark. Like, twilight dark the entire time. So eventually, I forced myself to get out and shoot, regardless of the result, and said result wasn’t great. However, when I got back to my computer, with a little editing I was able to get a pretty decent image of the castle. As there was such a difference between the result I got and where I started from, It thought It would make a good tutorial video, and so here you go!

Adobe has just released new versions of its photography software suite, including Lightroom Classic and Lightroom Desktop. While mostly an under-the-hood release, there are a few new features, including the ability to you send your images directly to Adobe Firefly to create video from your photos using AI. You can also edit your images in firefly using AI. Other new features include improved Assisted Culling and Topaz Gigapixel support directly in Lightroom Desktop.

Following on from last week’s Lightroom video, where I showed you a feature of the software that not many people know about, I’ve done another collection of lesser known tips and tricks. This time, I’ve collected 5 tips that people may know some of, but may not fully know.
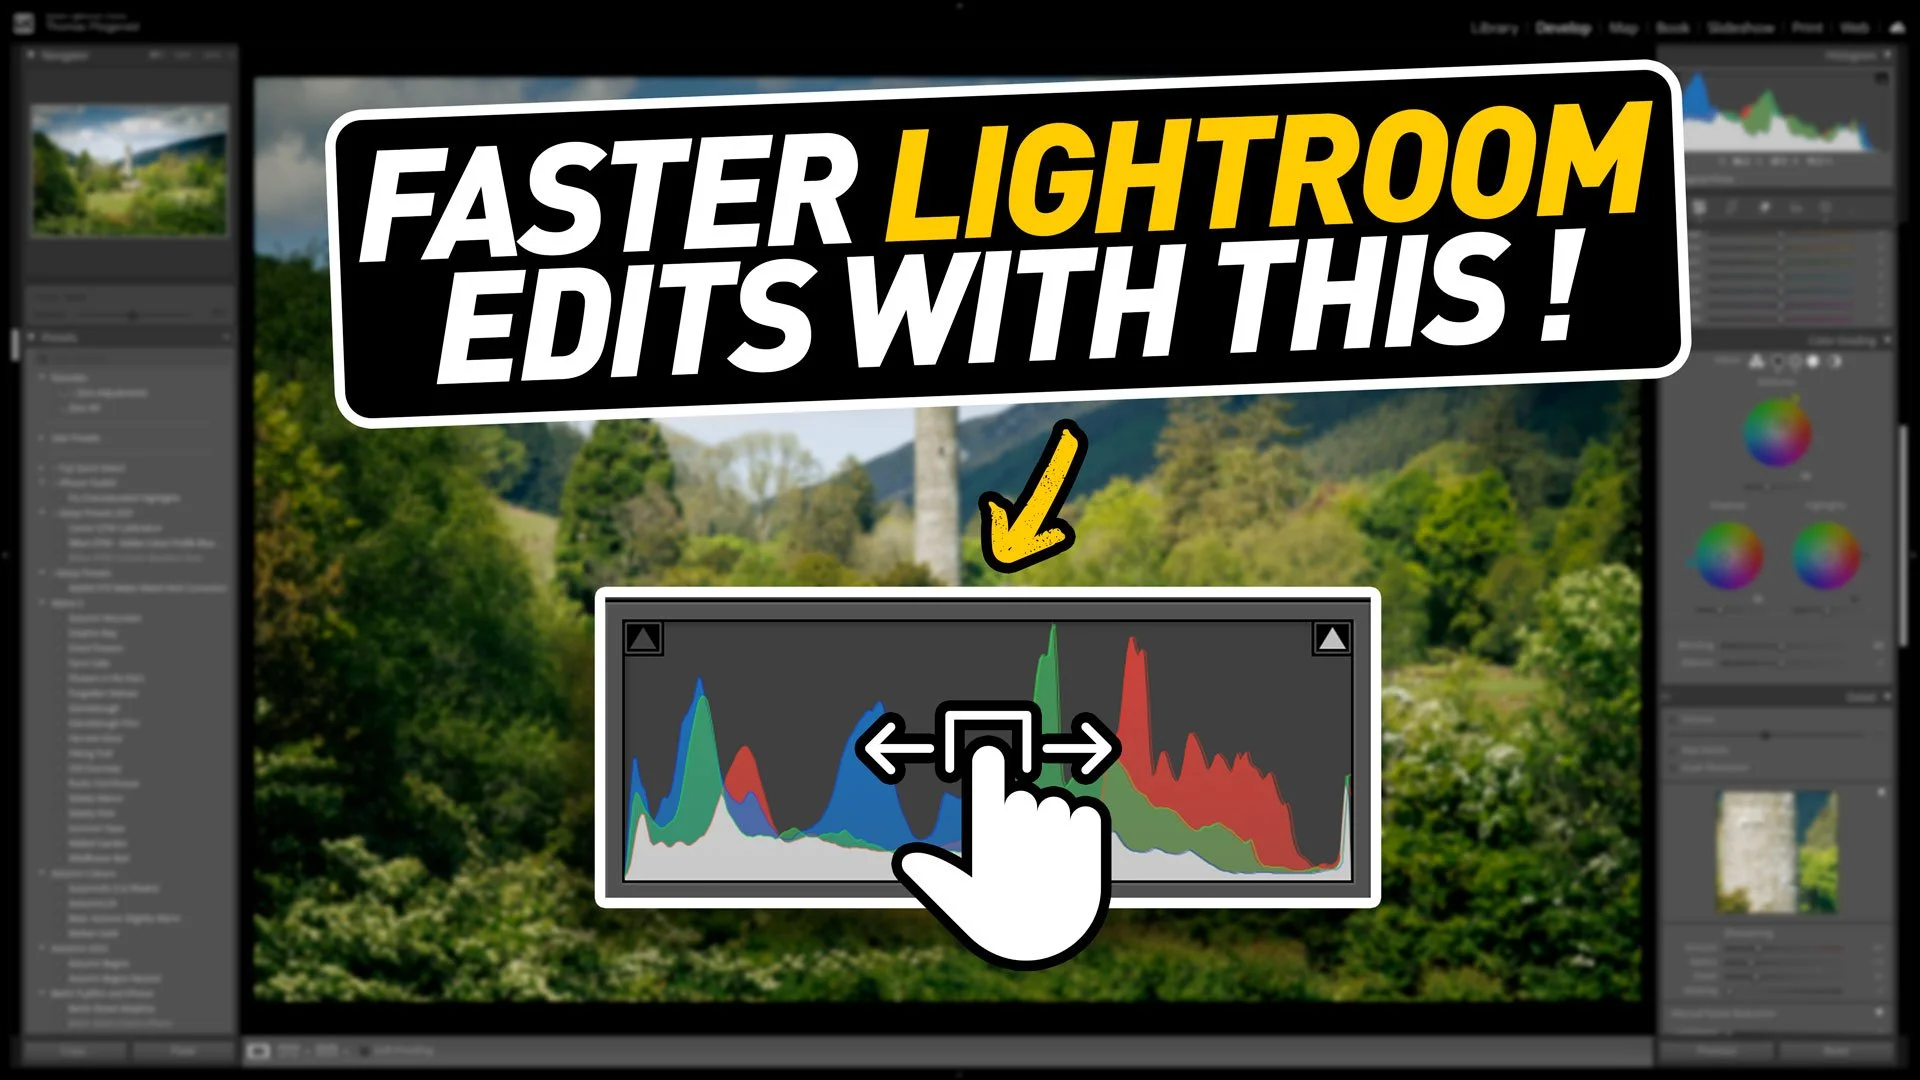
When you’ve been using software for a long time you often pick up tricks and techniques and they become habits and you forget how you heard about them in the first place. I was recently editing an image for a friend in Lightroom as they watched, and when I did the technique in this video, they were surprised as they had no idea you could do that. I then realised that perhaps there is quite a few people out there who don’t know that you can do this either. That technique is editing by dragging the histogram.
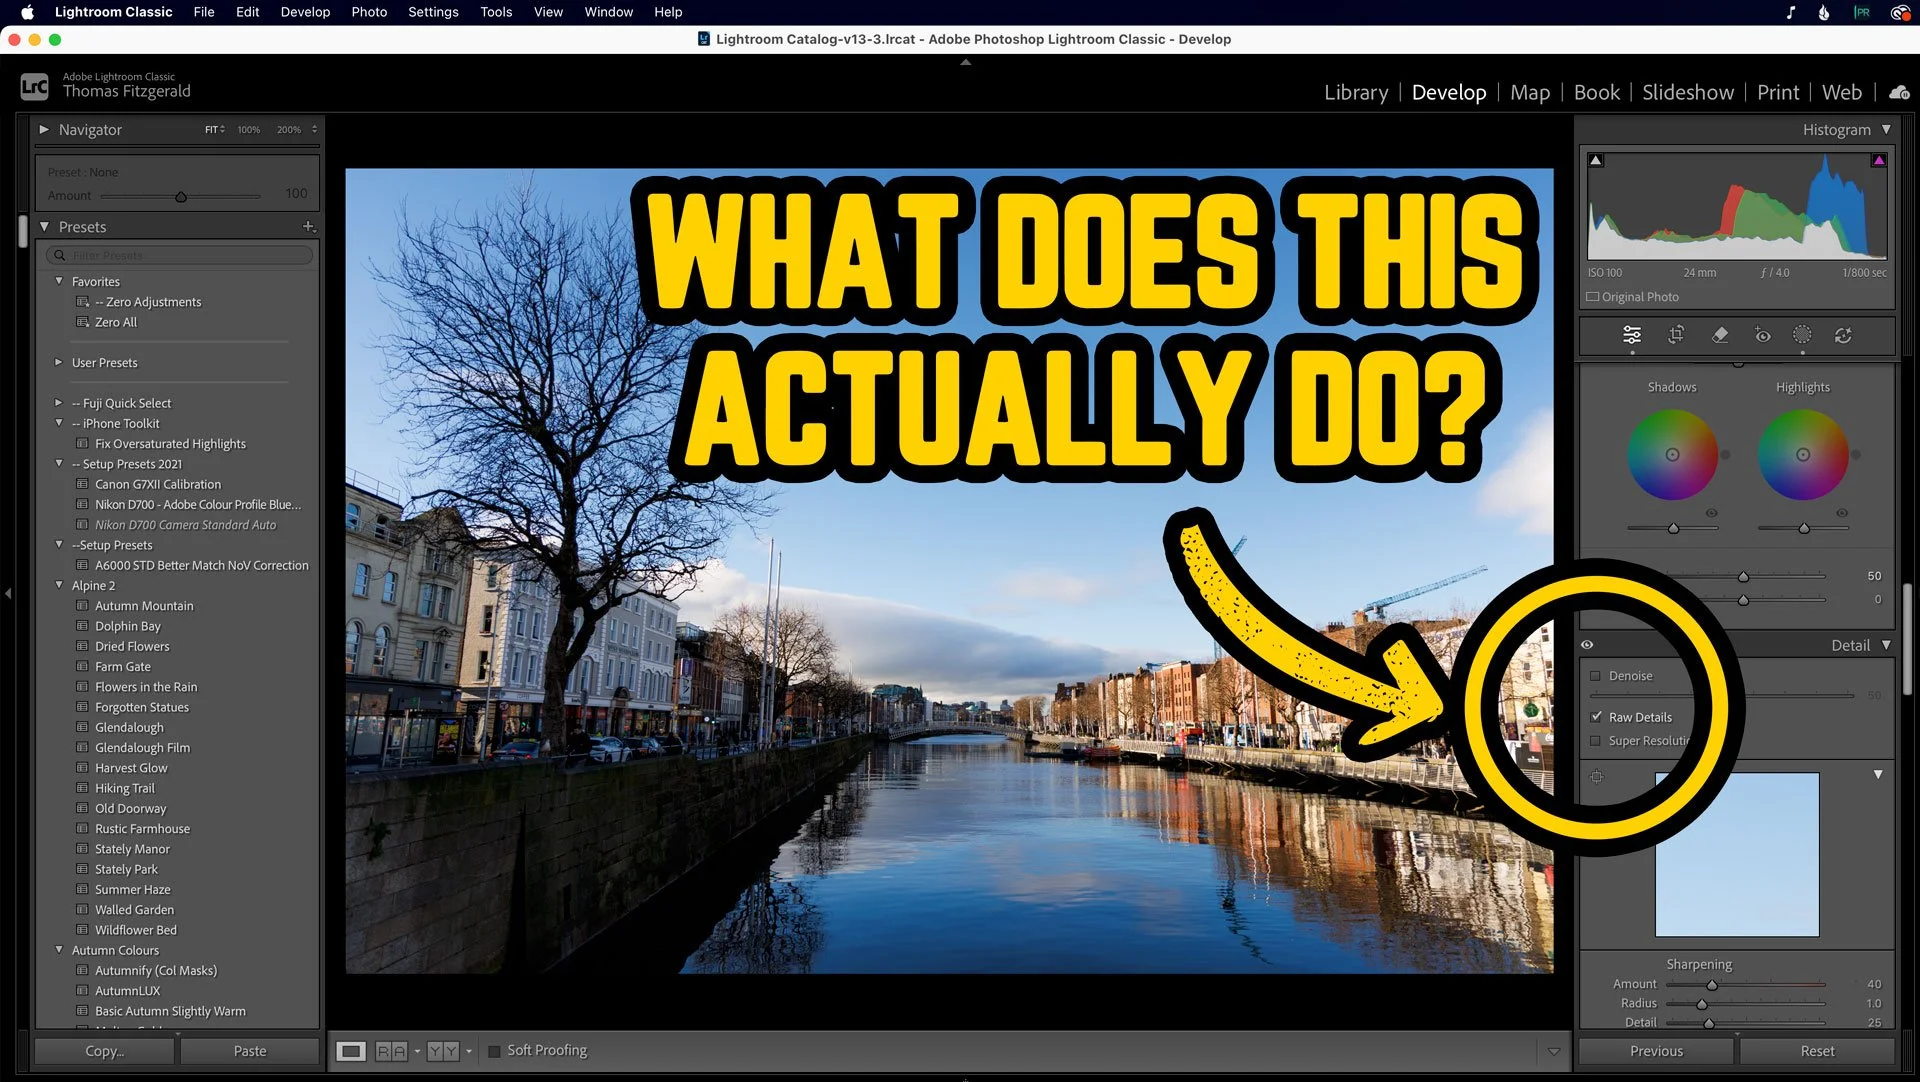
Over the past few years, Adobe has been adding to the AI processing functionality of Lightroom, with Denoise and Super Resolution. But the OG of these, the one which was the original “Enhance Details” was what is now known as RAW Details. Most people probably only ever use this now in conjunction with the other two, and you may be wondering what is even the point of RAW details on its own. Well, I was recently going through a few photos I shot the other day, and I saw something that demonstrated perfectly how Raw Details can actually work. Allow me to explain….
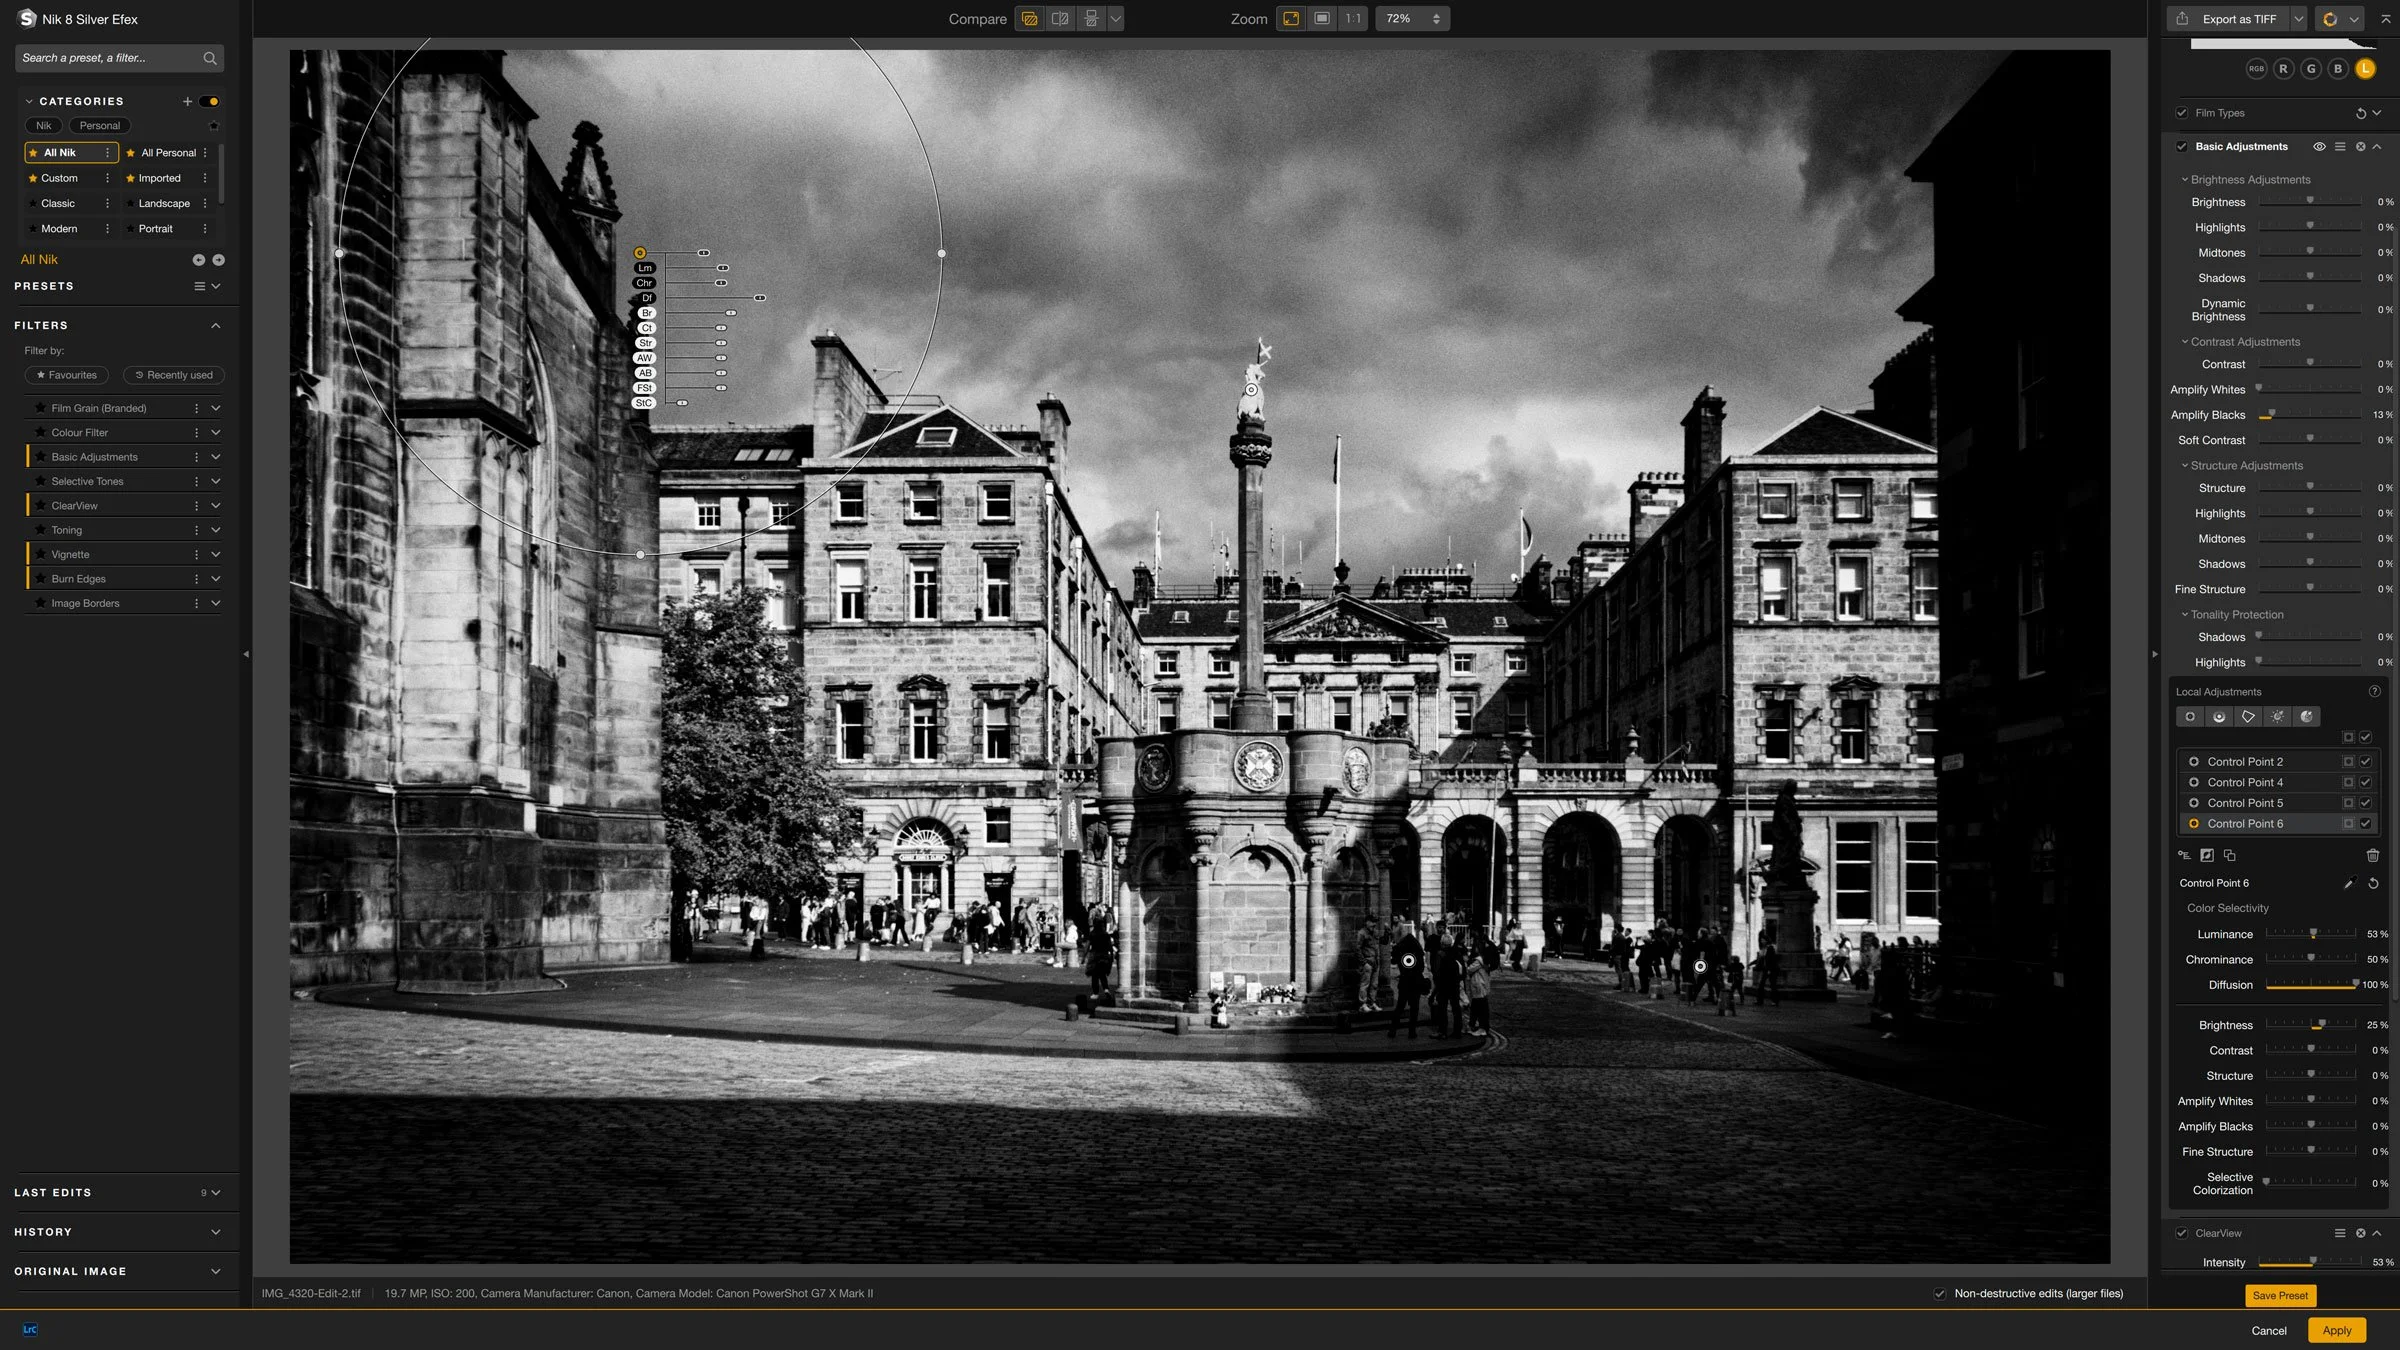
Nik Silver Efex is one of the longest running Lightroom and Photoshop plug-ins out there, and I think it was one of the first plug-ins I ever bought. This was years ago before the suite was owned by DXO and even before they were owned by Google before that. In recent versions, some aspects of the software have changed quite a bit. As I haven’t covered it in quite a while, I thought I would share a few random tips for using the latest version.
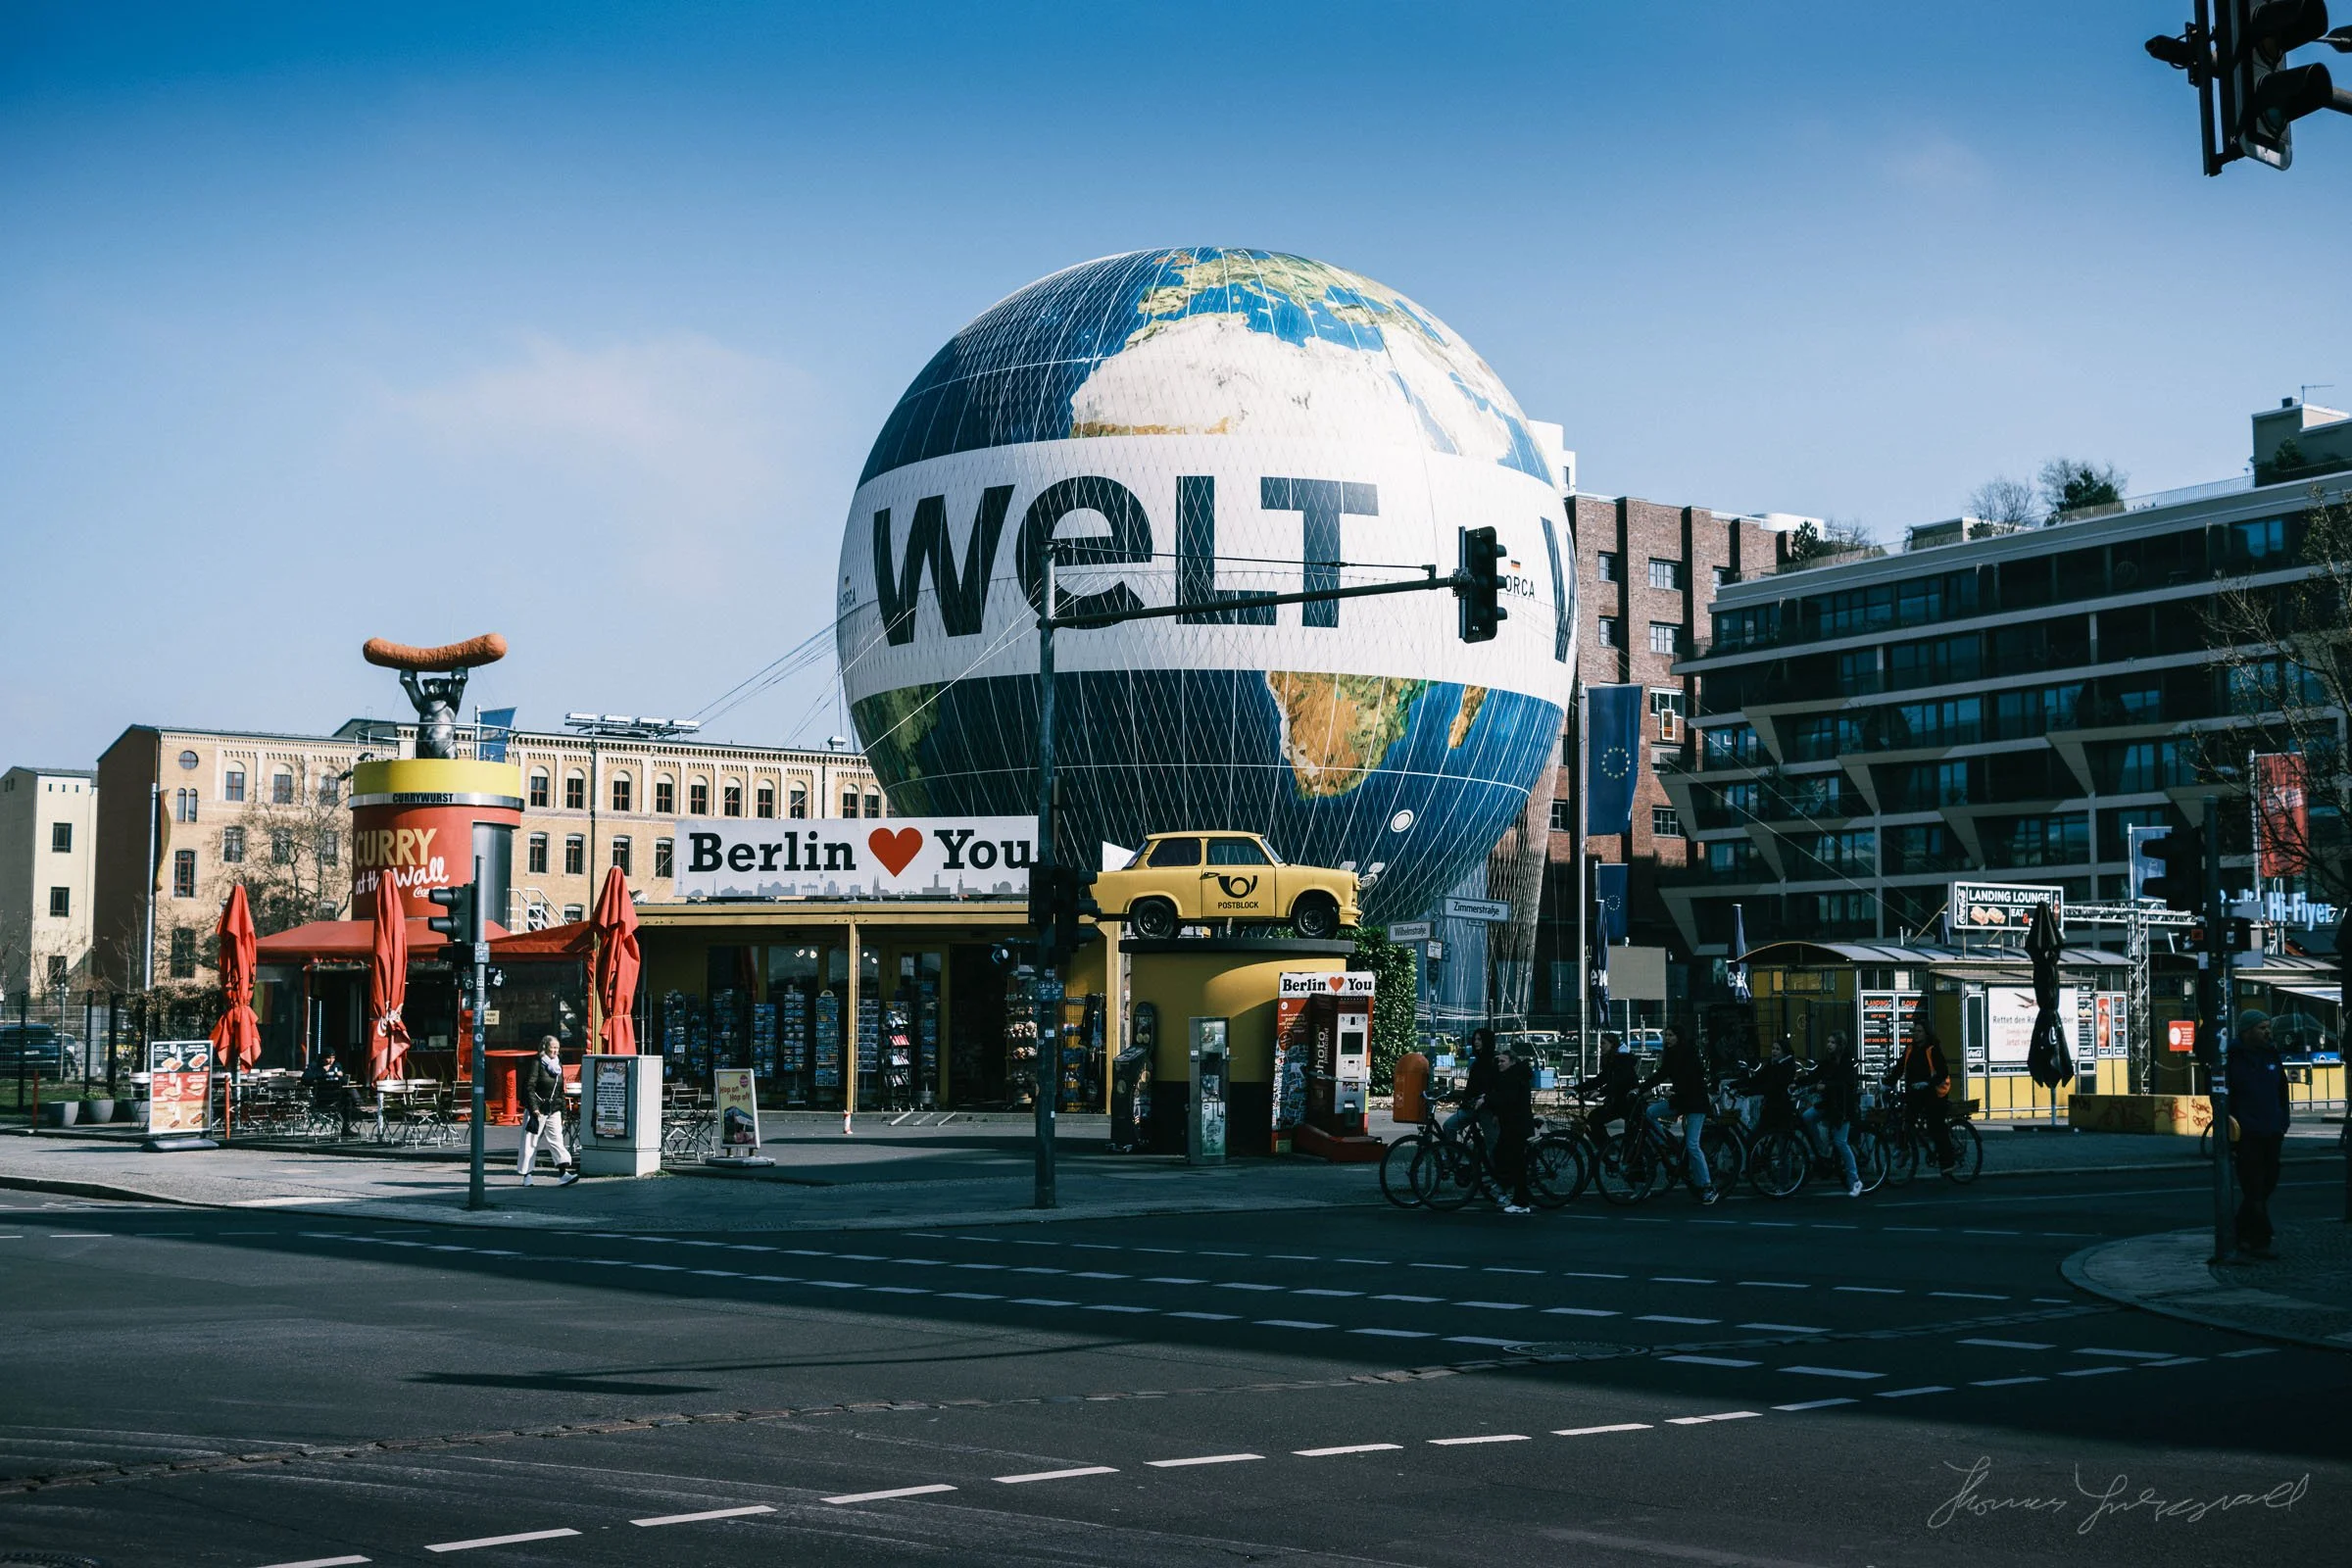
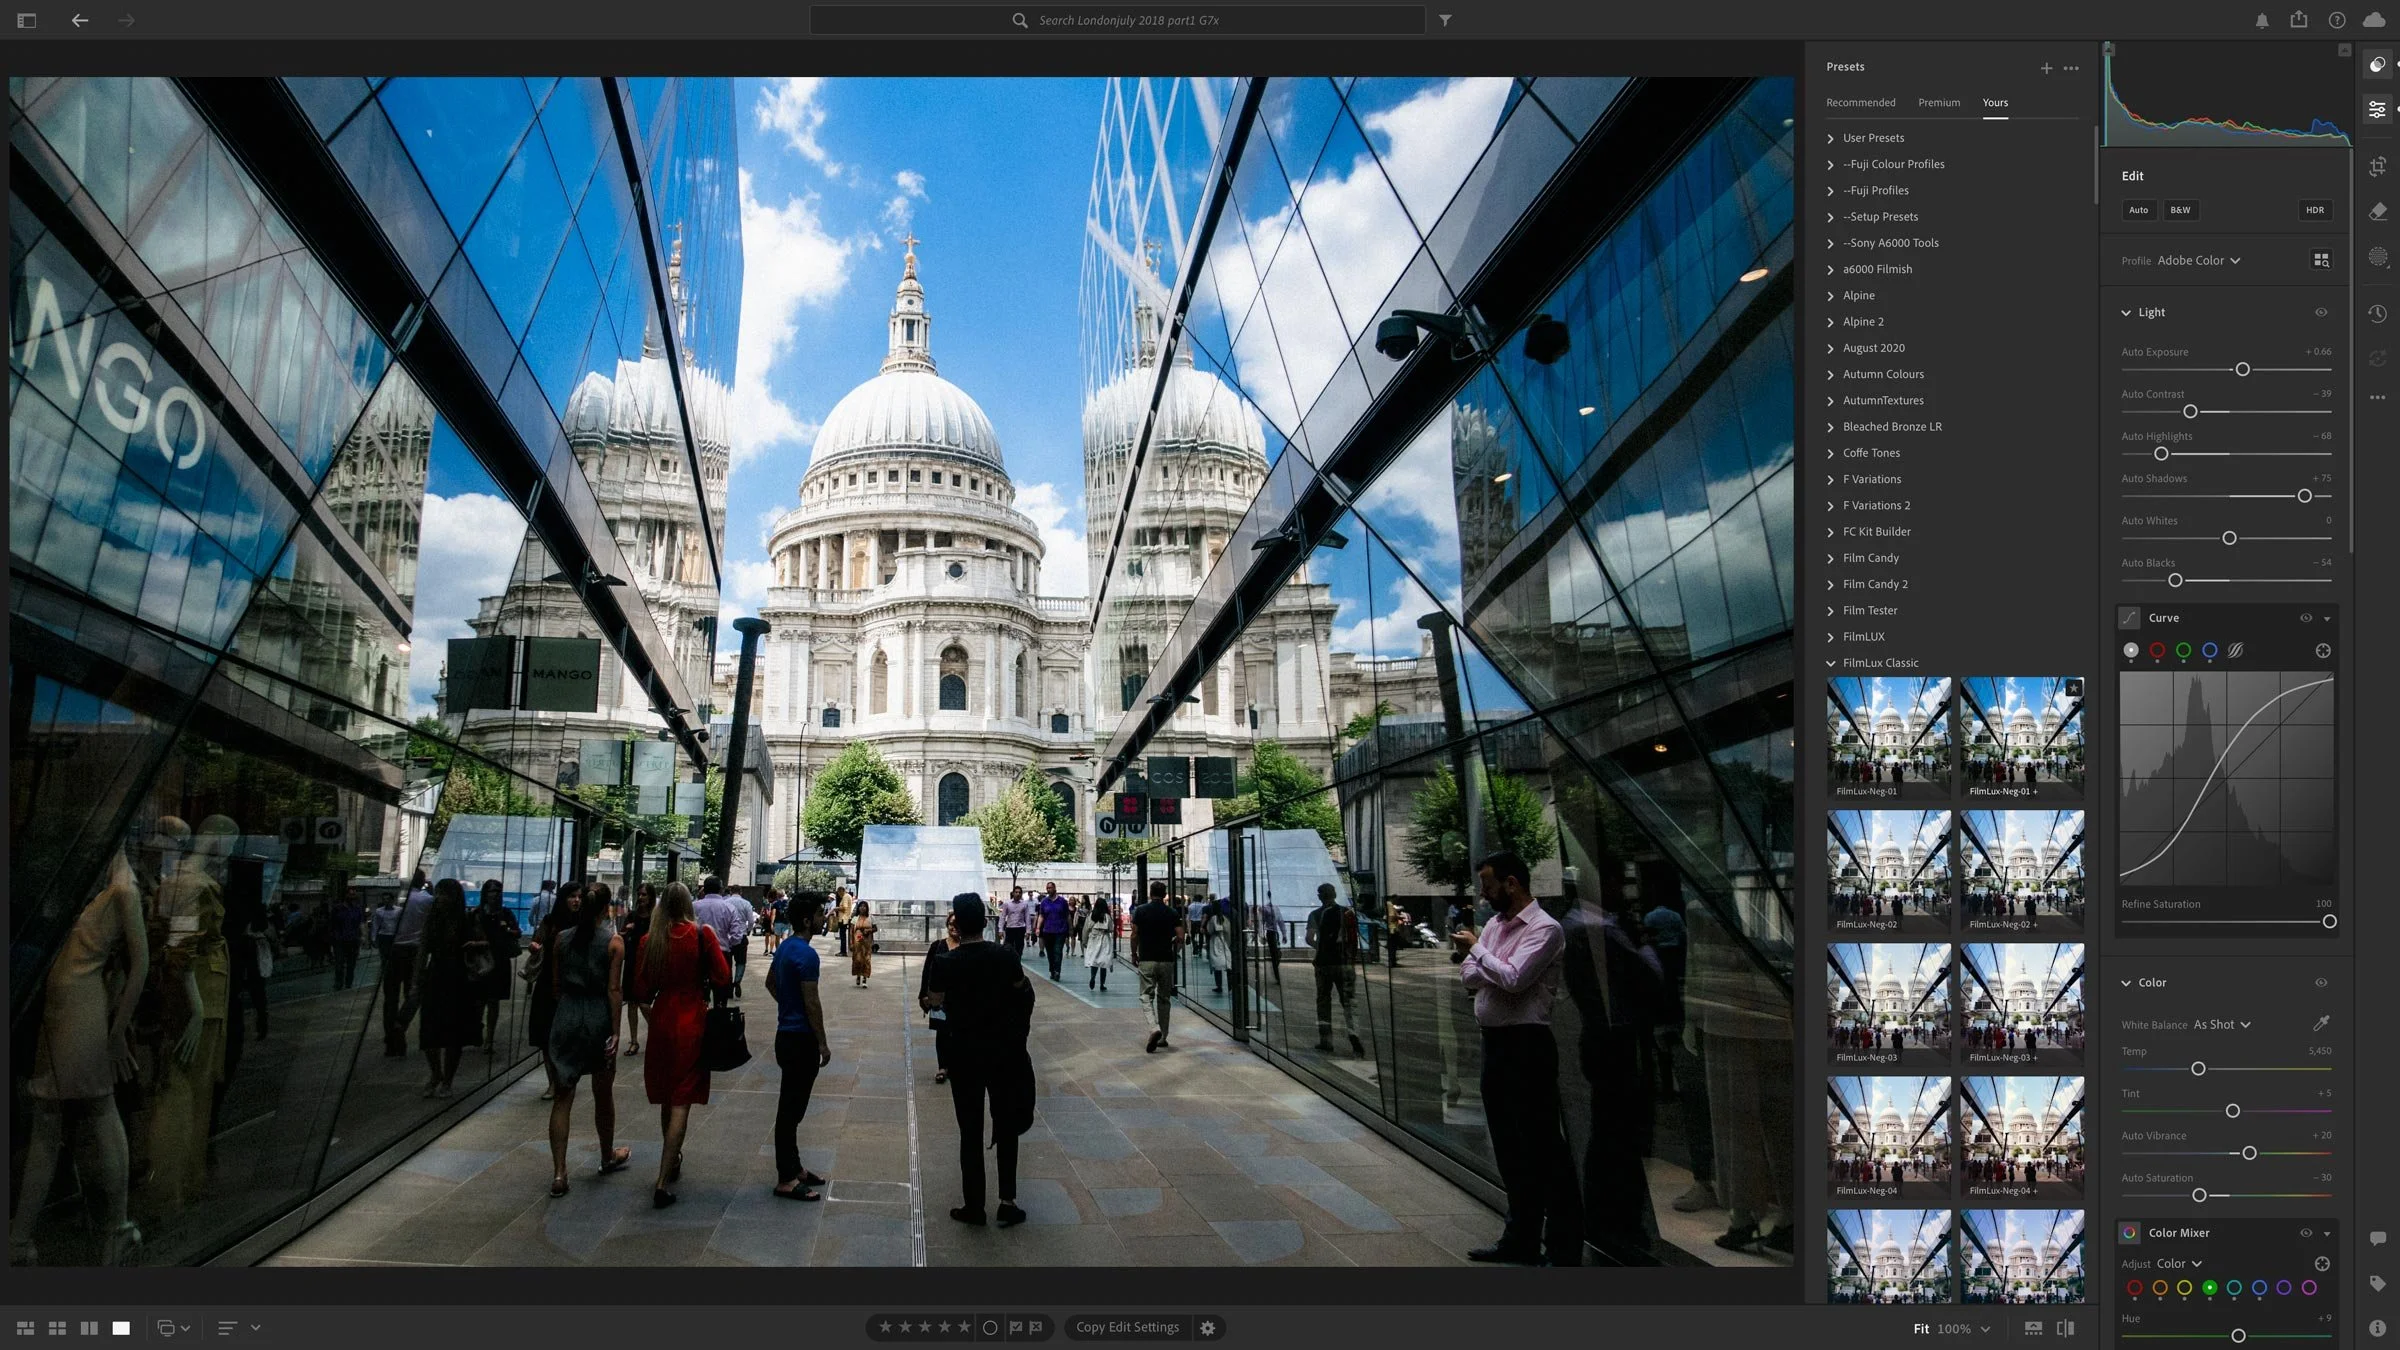
In my most recent Photo Journal post, I talked about my trip to Berlin back in March of this year. I had previously promised that I would make the presets I used to create the “Berlin” look on some of these available, so here it is in the post below.
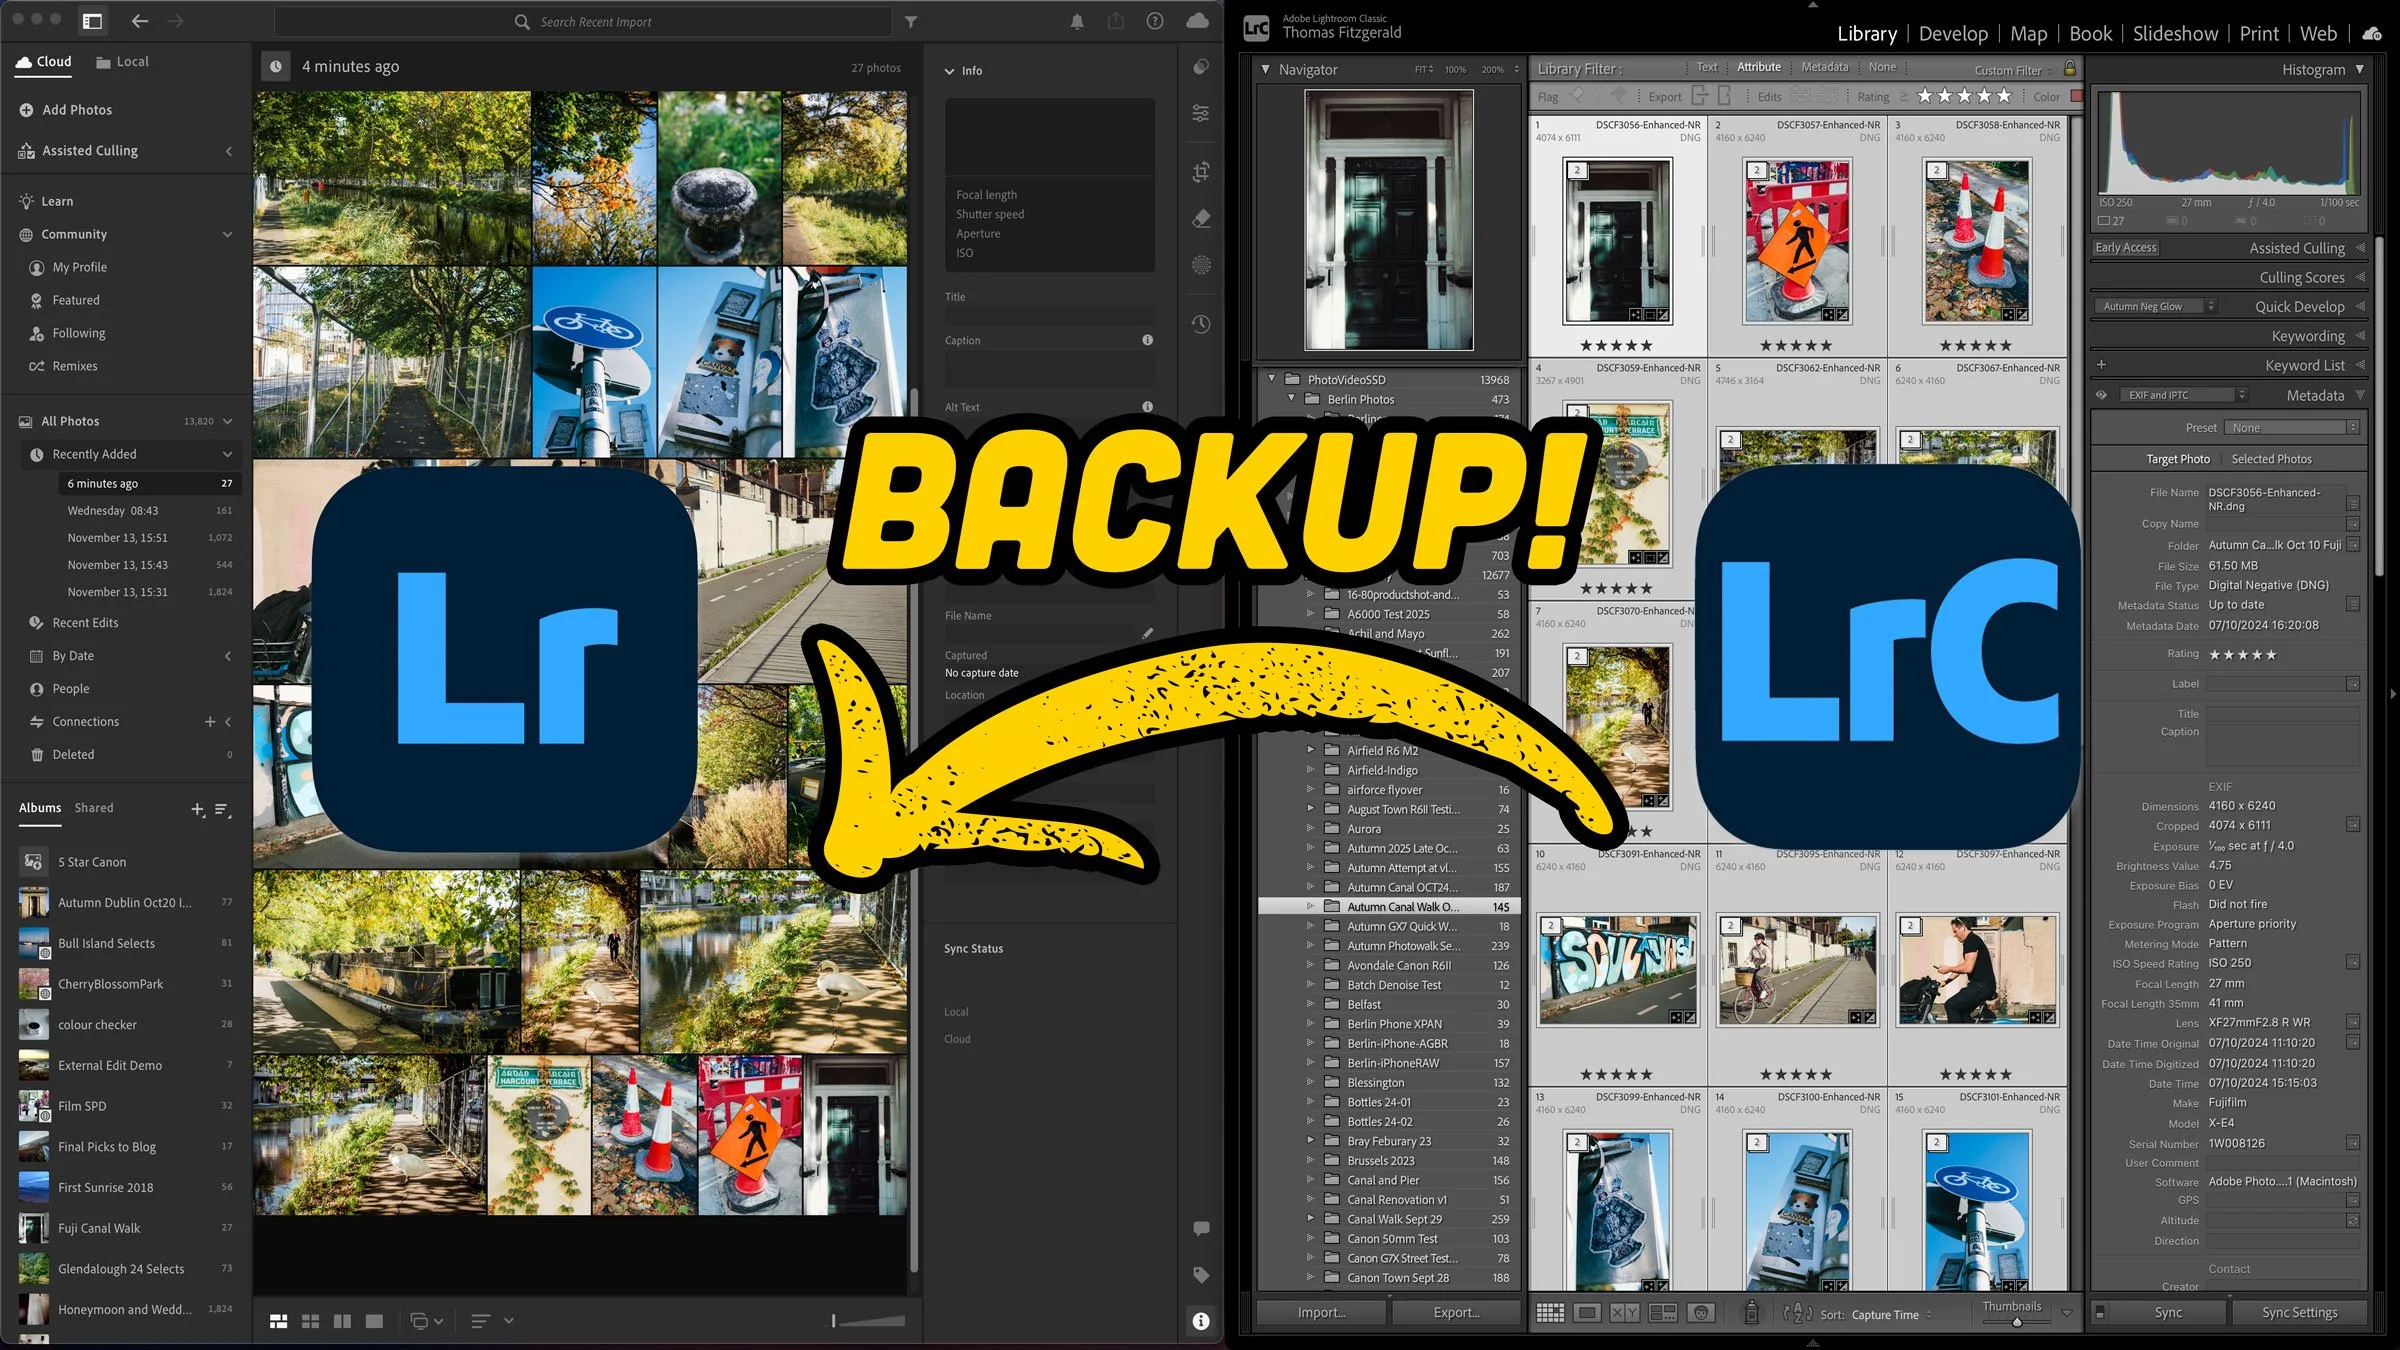
Recently, I had one of my backup hard drives fail on me, and it reminded me that my archiving and backup setup for my photography needs some work. While I do have a comprehensive solution for client work, my personal projects are in a somewhat precarious state. Ideally, you should have your important data backed up in at least three places, but I suspect many people don’t do that. However, it occurred to me that I actually have multiple cloud services that I probably don’t fully utilise, so after a little thinking I came up with a way to doubly and triple protect my work going forward. It involves using Apple Photos and Lightroom desktop.

Adobe has just released the latest version of Lightroom Classic. The newest update, version 15.0 brings a set of new tools and workflow improvements aimed at image selection, organisation, and fine-tuning. The release also includes the usual additions to camera and lens support.

When Adobe recently released Lightroom 14.5, there’s one tiny feature I almost missed. Well, I did miss it until today when I discovered it by accident. It’s one of those things that’s so small you might not even notice it - I didn’t - but it can make a big difference and it’s something I think people have been wanting for a long time. You can now copy and paste only the parameters that have changed in an image.

It’s only been a short time since Adobe released Lightroom 14.4, but the next iteration is already out. I’m actually a little late on this - as it didn’t get much fanfare when they launched it. While this is mostly an under-the-hood update, the release does have a couple of new features and one big fix for generative remove.
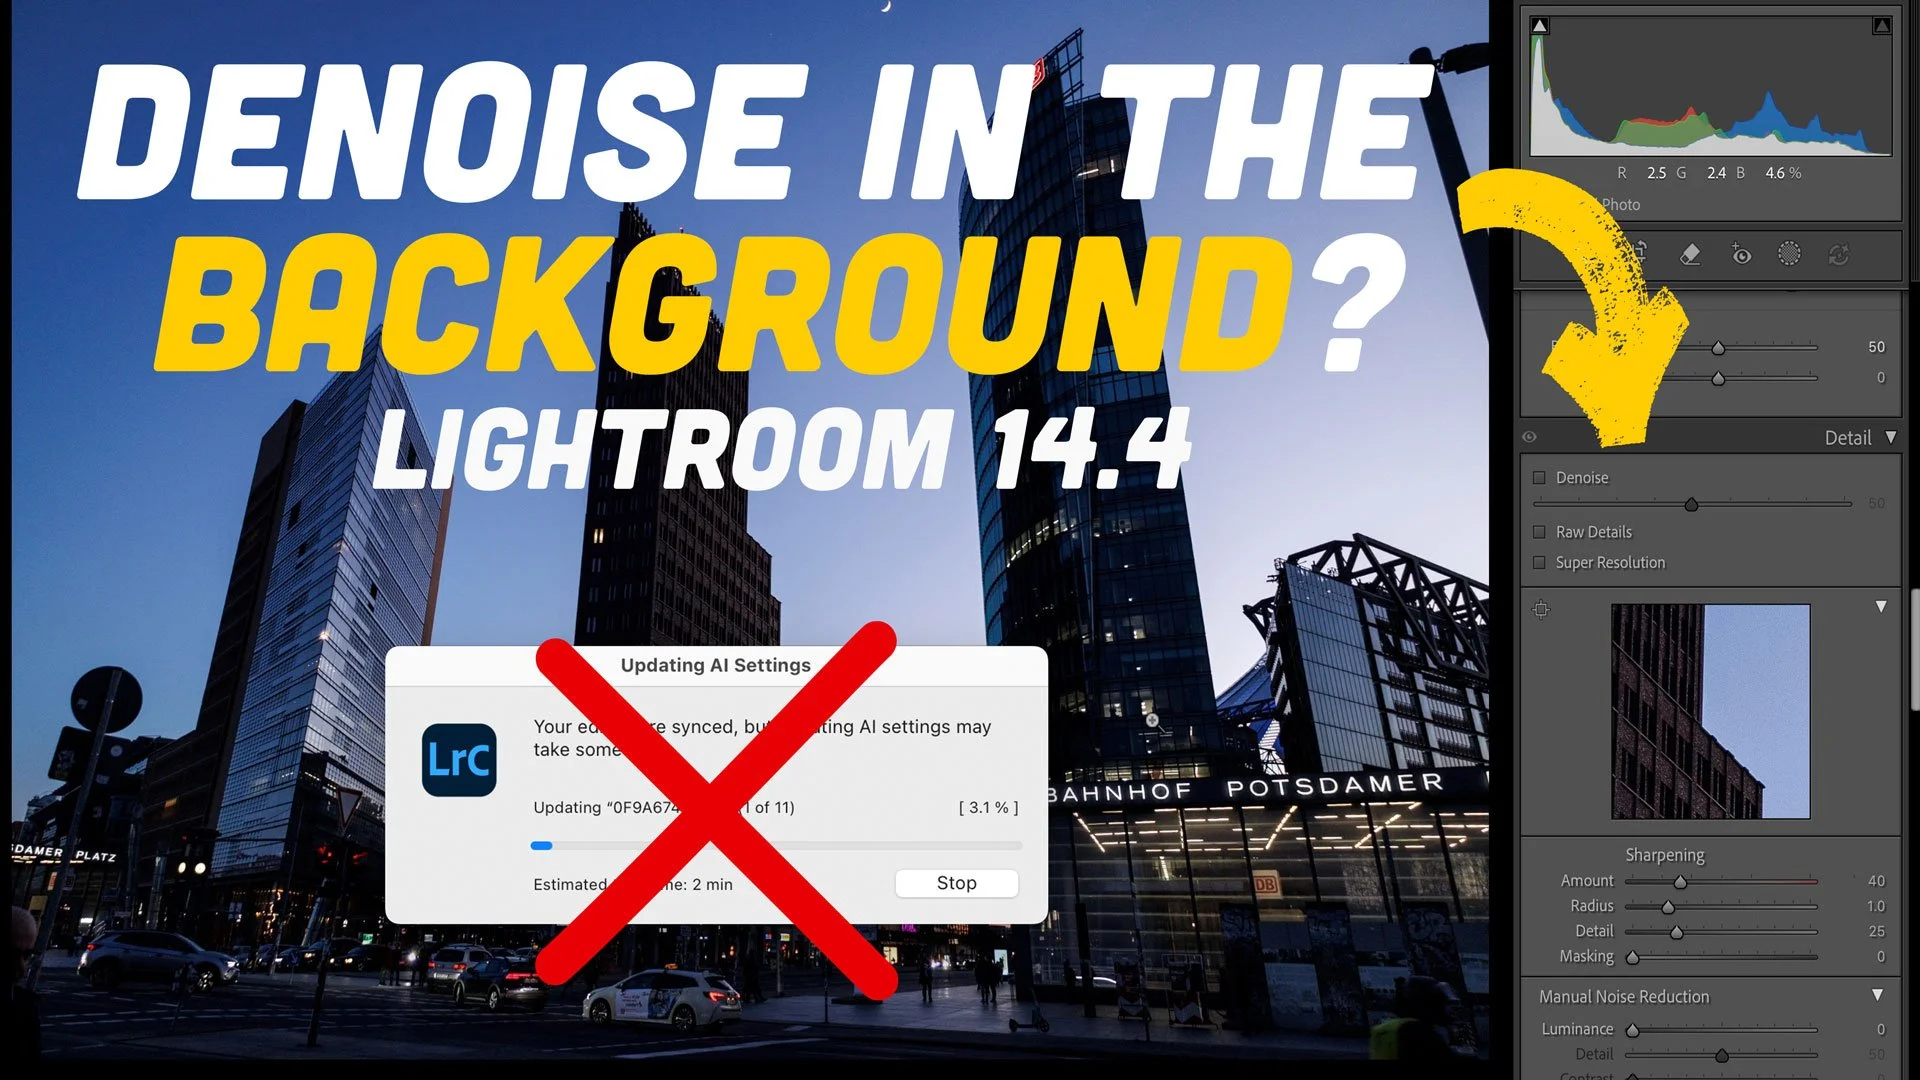
The 14.4 update to Lightroom caused quite a degree of consternation with its changes to how the software handles Denoise, Raw details and Super resolution. While I prefer the new method of applying these tools, some people really preferred the old way of creating DNG files. One of the biggest complaints I received, which is totally valid, is that when batch processing Denoise with the new method, it no longer updates in the background. If you’re doing a lot of images, this can take over Lightroom for minutes or even hours. After a bit of trial and error, I have found a way to get this to work in the background. It’s not perfect, and it’s a bit of a hack, but it means you can process hundreds of images without it taking over Lightroom.

I’ve been exploring the challenges of processing Fujifilm X-Trans files ever since the original X-Pro 1, sharing tips, sharpening methods, and even an eBook along the way. Historically, Lightroom struggled with these unique raw files, demanding extra workarounds. But with Adobe’s latest update, that’s finally changed. Processing Fujifilm files is now straightforward, and it mostly comes down to one simple checkbox.

The recent release of Lightroom Classic 14.4 brought with it a major change to how denoise, raw details and super resolution work, and with that, some confusion. One of the most recurring questions I received since publishing a video on the new version last week was “how do you batch process Denoise in the new version?”. It’s pretty straightforward, and there’s actually several ways of doing it.

Adobe has released a new update to Lightroom Classic and the rest of the Lightroom and Photoshop family. In Lightroom Classic, there are a couple of significant changes in this release, including a change to how “Enhance” works and some new functions in the remove tool.

A while ago, I shared a video on YouTube on how to do SuperResolution and Denoise on the same image using Lightroom and Photoshop. The trick was to do Denoise first, then send the image to Photoshop, save it and send it back, and then you would be able to do SuperResolution. Unfortunately, in a recent update, Adobe has broken this workflow. I’ve been working on finding another workaround for this, and after a bit of experimentation, I think I’ve found the solution.

Adobe has just rolled out the latest version of Lightroom, introducing an exciting new AI-powered feature: Landscape Masking. This addition promises to revolutionize how photographers and editors work with landscape images by allowing not only the selection of entire landscapes but also individual elements within them. In this post, I’ll share my hands-on experience with this new tool, highlighting its strengths, quirks, and potential.

If there’s one thing that really annoys me more than anything else about Lightroom, it’s the halo effect you get when you use the clarity slider. If you haven’t noticed this before, I apologise in advance for pointing it out to you, because once you see it, you can’t unseen it. Once I figured out what it was I see it everywhere online. I’ve been on a quest to find away around it, and I’ve already posted a video about this before. Now I’ve come up with another potential solution to the problem. Or at least a partial solution.

In this super quick Lightroom tip, I’ll show you how to import Lightroom presets directly into Lightroom on your iPad, without the need to install them on the desktop version first!
With Adobe recently adding lots of new features to Camera RAW that so far aren’t in Lightroom, users of Lightroom may be wondering how to get access to some of those new tools. Well, it’s actually very straightforward, and you can use Camera RAW from Lightroom entirely non-destructively. You just need to follow the simple workflow below.