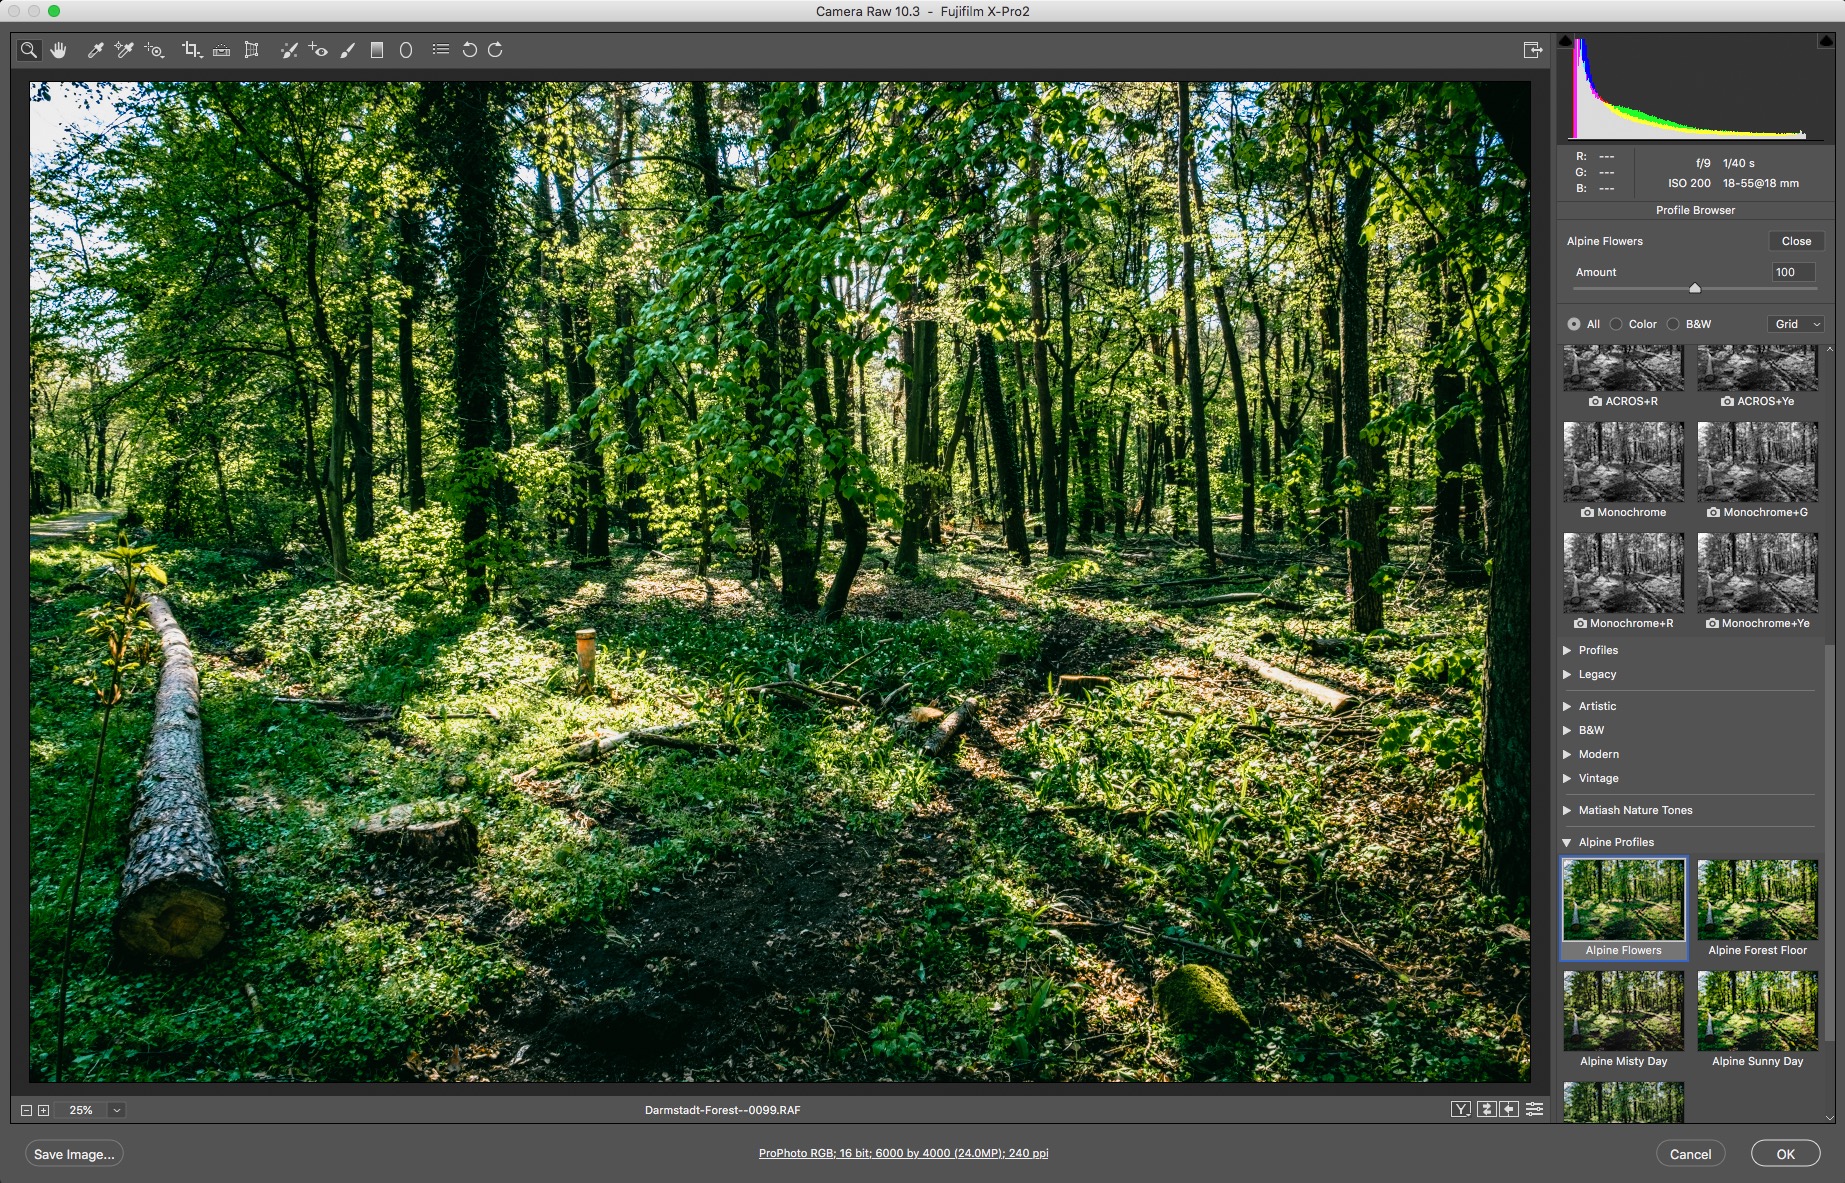
Lightroom Quick Tip: When not to use camera profiles
It’s been my long-standing practice to use a “camera matching” profile in Lightroom whenever possible. Camera matching profiles are colour profiles that come with Lightroom, that attempt to make the colours of your raw file match the colours of your camera’s Jpeg output as closely as possible.
For example, when shooting with Canon, Nikon, or Sony, if you shot with the “standard” picture mode in camera, you would use the “Standard” picture profile in Lightroom to match. For Fuji users, this would be one of the colour profiles that match the film simulation mode that you shot with, such as Provia, Astia or so on. Recently Adobe introduced a new set of its own profiles which it claims are better than previous ones and are also designed to create a way to match colours across cameras. So the question is, aside from trying to match the colours of different cameras, are there times when you’re better off using Adobe’s profiles, rather than the camera matching ones?
The answer is: Yes, sometimes.
The camera matching profiles supplied with Lightroom vary widely in quality from camera to camera, and some of these profiles actually have serious issues. In some cases, these issues have been fixed by Adobe, but in others, they’re still there. For example, with the Nikon D700 (and D3) the original “Standard” profile introduced purple banding in areas of solid colour under certain circumstances. Adobe eventually introduced a replacement set of profiles (they’re currently on v4). Some Sony profiles have problems too. Actually, Sony profiles have a lot of problems, but that’s another story.
Sometimes you don’t see the issue until you start manipulating the image, and only then will there start to be a problem. It usually is pretty subtle, and it typically takes the form of banding of some kind. In the example below, which may be difficult to make out on the web due to the compression, the first image is using the camera matching profile. There is a degree of banding in the sky, and a purple band around the sun.
Changing to the “Adobe Standard” rather than the camera one, essentially eliminates this problem, albeit at the expense of colours which more closely match the in-camera colour. (In this example I also adjusted the contrast slightly to make the colours and levels look a bit more like the previous version). Again, you may find it difficult to see the difference here, as the compression used when displaying this as a Jpeg is making this worse and adding banding too, so you'll just have to trust me on this. When viewed on my monitor in Lightroom, it's pretty significant.
So, what’s the point of me telling you this? Well, it’s this: If you are processing an image and you start to come across problems such as weird colours or banding, there’s a good chance it’s the colour profile. Changing it may well solve your problem. I’m not sure why some of the matching profiles are so poor compared to the Adobe versions, but it seems to be an issue with multiple brands. Perhaps they use a different method for profiling cameras that’s not as good or more prone to errors?
Of course, there may also be times when you simply prefer the Adobe profiles over the camera matching one, but for me, the biggest reason to use it is when there are errors.
Help Support the Blog
This blog (and my YouTube Channel) are my full time jobs, and are supported almost entirely by sales of my eBooks, presets and by support from readers like you. If you want to help keep this going then you can do so by…
Buy me a coffee / Tip Jar. If you want to support the blog, you can buy me a coffee via PayPal with a one off donation to my PayPal tip jar.
You can support me on Patreon. If you like what I do here and find the information useful, then you can help by subscribing to me on Patreon
You can also show support by buying something from my from my Digital Download Store where I have Lightroom Presets, and e-books available for download. If you're a Fuji X-Trans shooter and Lightroom user, check out my guide to post processing X-Trans files in Lightroom. I also have a guides for processing X-Trans files in Capture One and Iridient Developer. For Sony Alpha shooters I have a new guide with tips on how to get the best from processing your A6000 Images in Lightroom.
If you like this post then you can see more of my work on Instagram, Twitter and Facebook. I also have a YouTube channel that you might like. You should also check out my other Photography Project: The Streets of Dublin. If you want to get regular updates, and notices of occasional special offers, and discounts from my store, then please sign up for the Newsletter.


