How to Create Creative Profiles for Lightroom and Photoshop
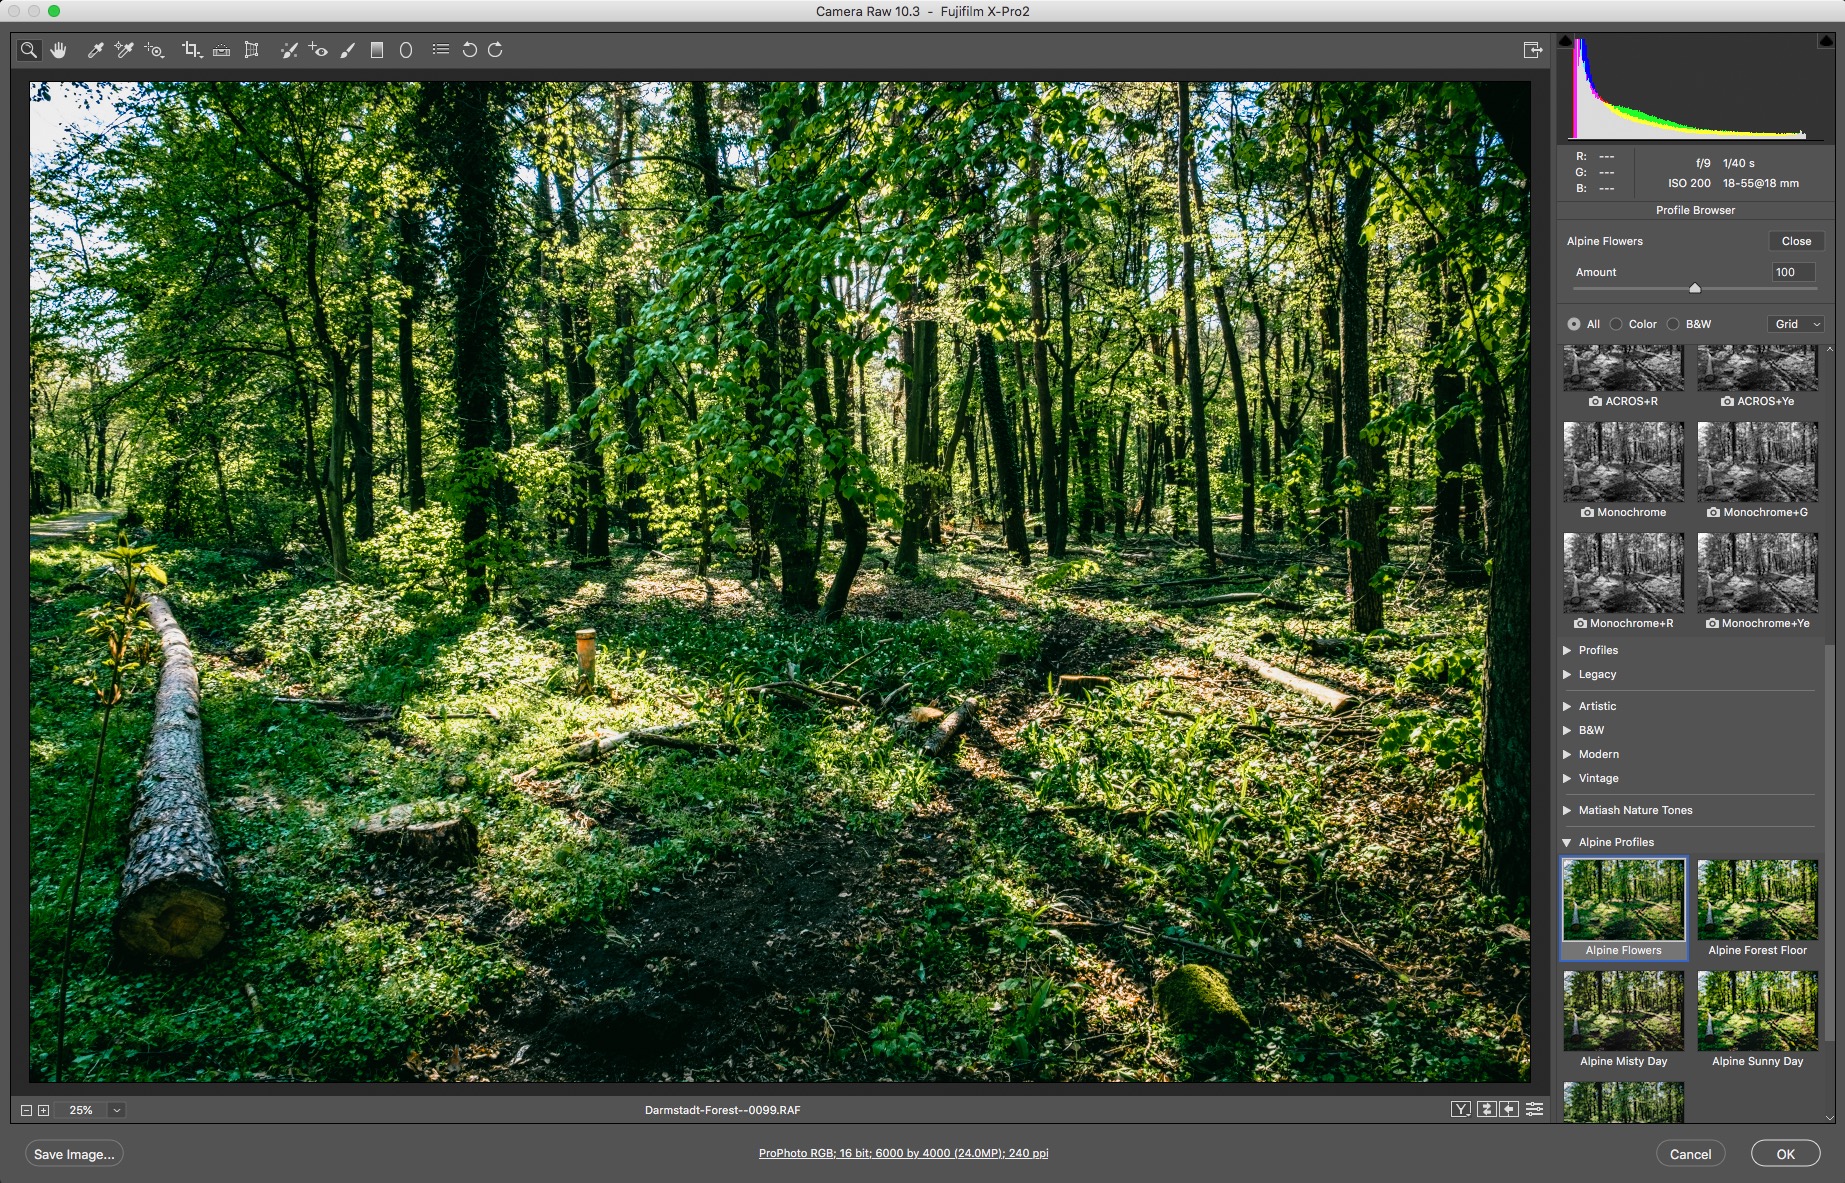
One of the key new features of Lightroom 7.3 and the corresponding Photoshop release, was the addition of creative profiles. If you’re not familiar with these, they are sort of a cross between presets and LUTS, and can be applied to both RAW and JPEG images (and of course tiff, and psd etc). You may be wondering how to create these new profiles. Well, it’s actually pretty easy, but you need to use photoshop. What follows is a basic guide. I will do a more in-depth version in a future post which goes into the more technical details.
To start you need the latest version of Photoshop CC as well as Lightroom. Then you’ll need a file to work on. I suggest working with a RAW file for the initial creation as this will make things a bit easier. You need to open the RAW file in Camera Raw inside of Photoshop. If you already have Lightroom presets that you’ve created, you can create profiles from these. You should be aware though, that you can’t make every feature of a preset into a profile, and profiles will behave differently to presets.
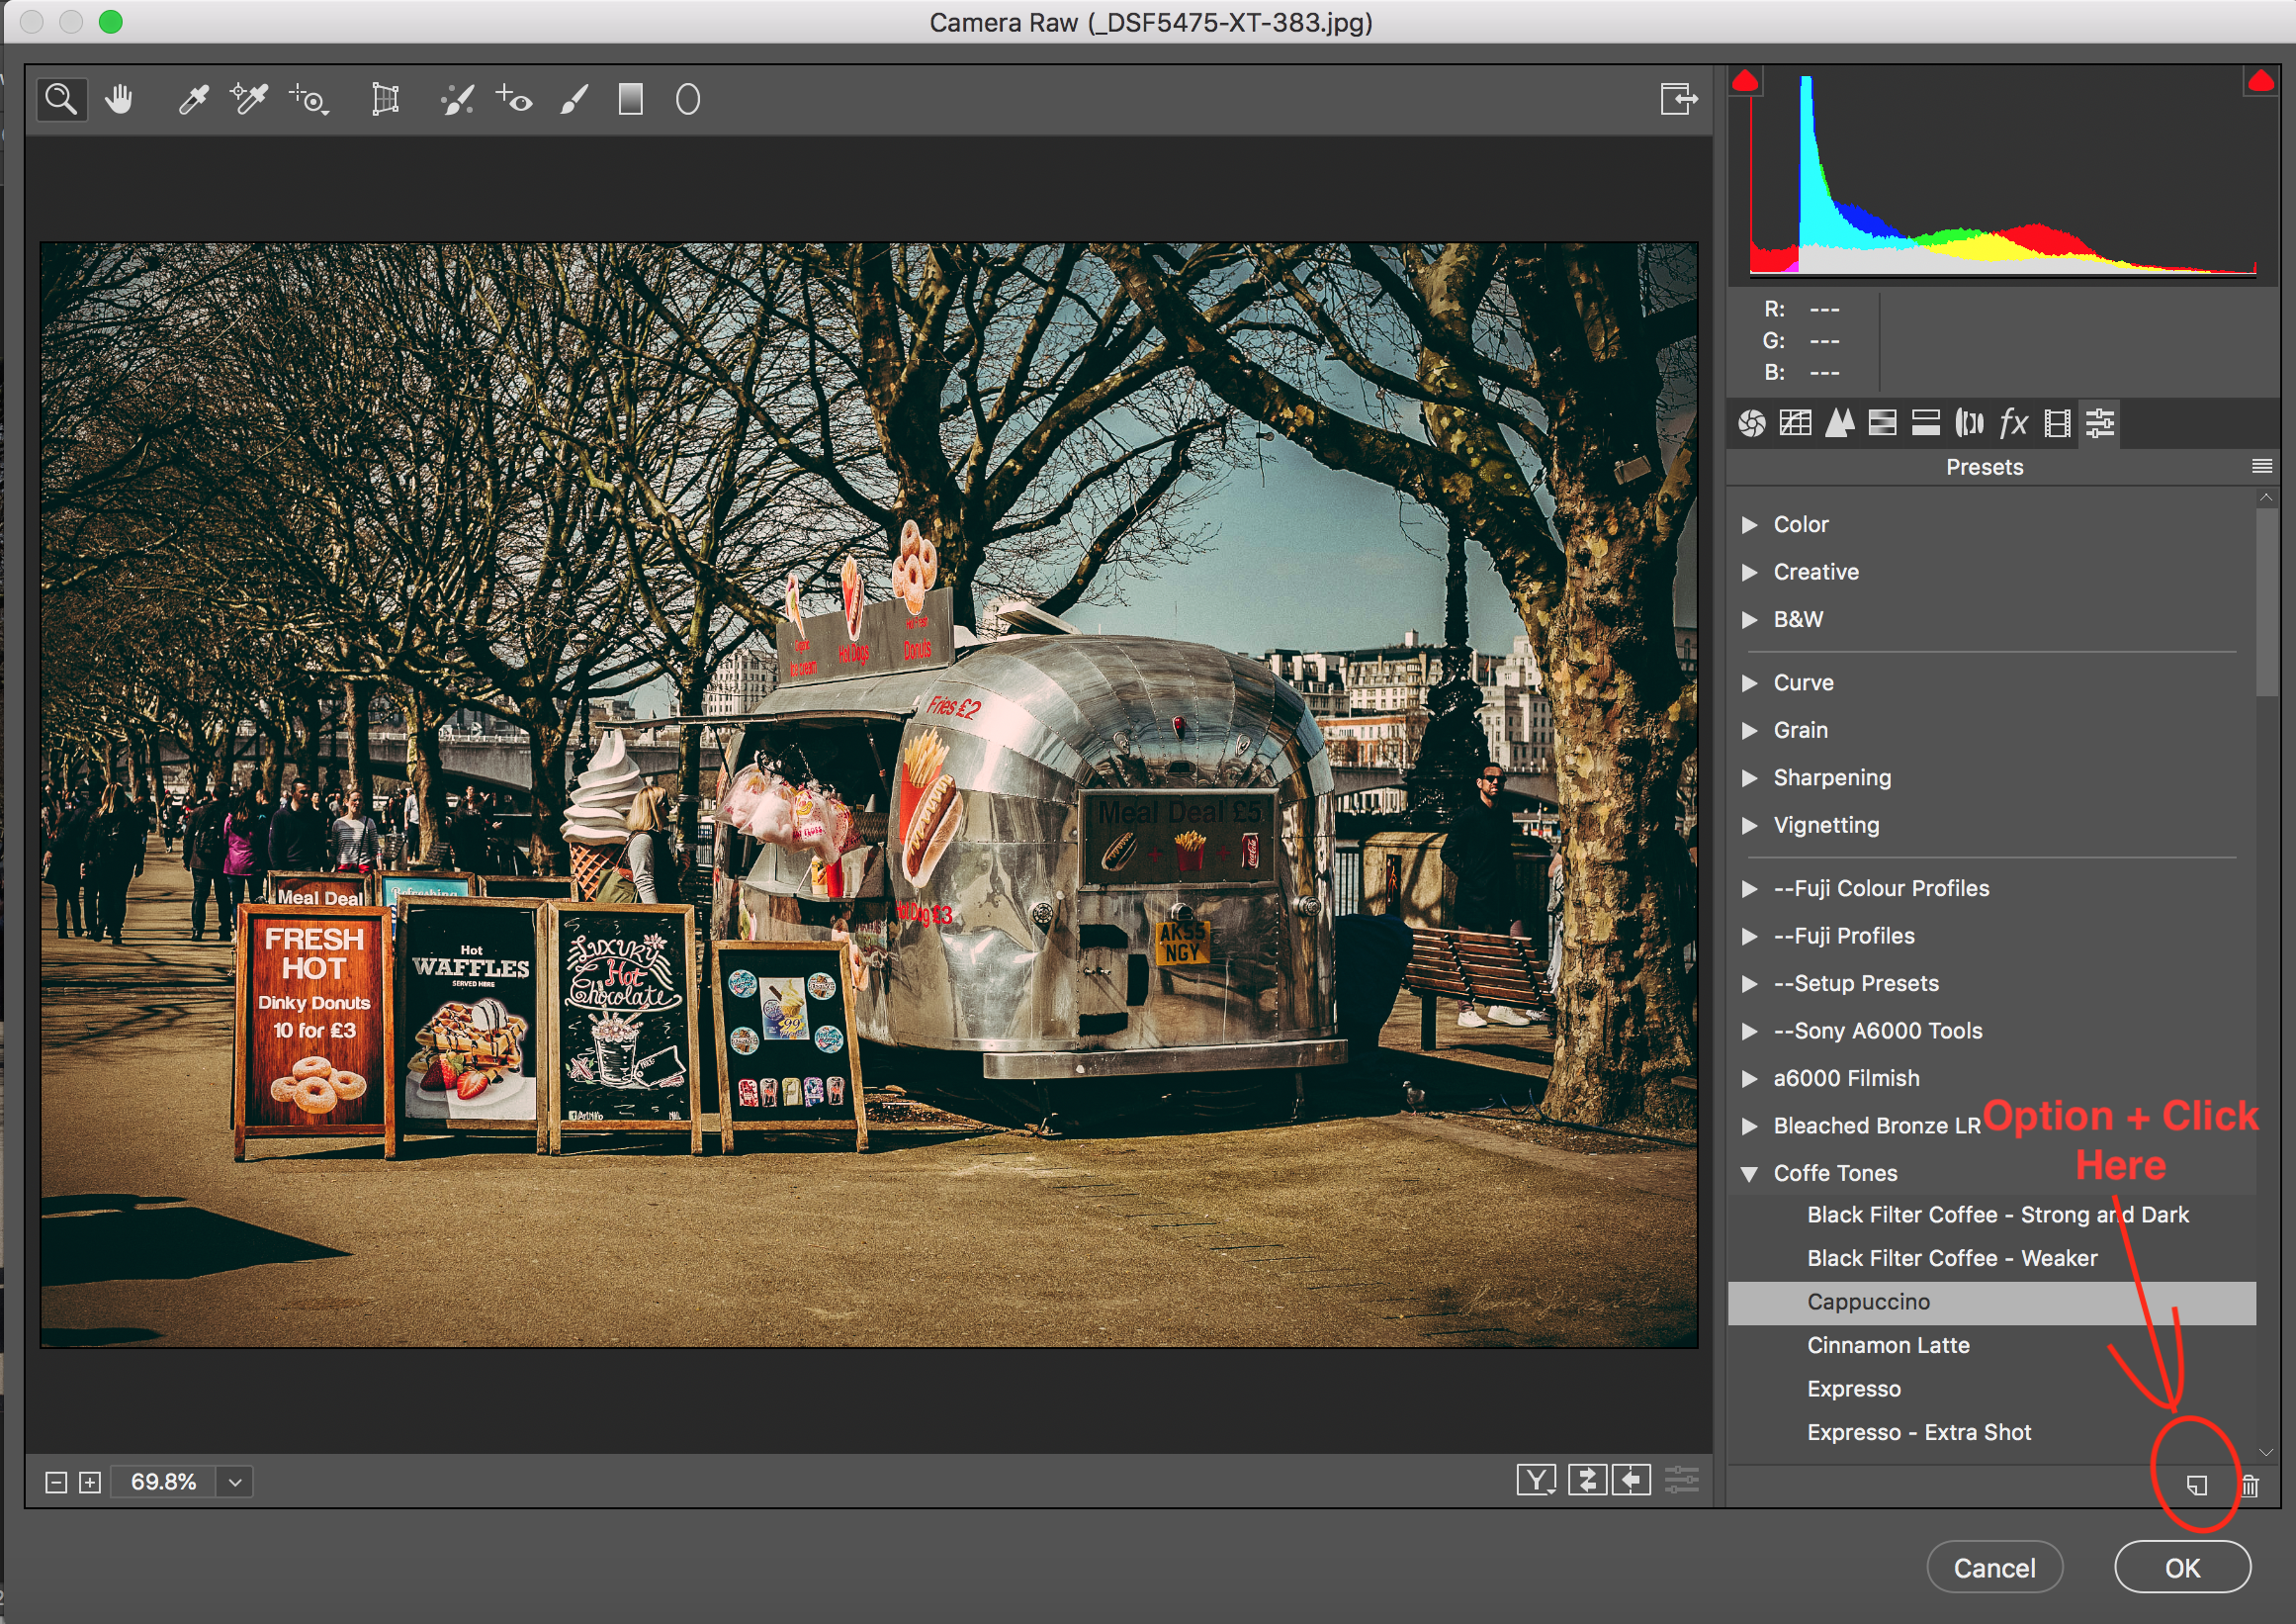
So either apply an existing preset or make whatever adjustments that you wish to make. Now comes the somewhat hidden part. To make a profile, hold down the option (alt on a pc) and click on the new preset button at the bottom of the camera raw interface.
So either apply an existing preset or make whatever adjustments that you wish to make. Now comes the somewhat hidden part. To make a profile, hold down the option (alt on a pc) and click on the new preset button at the bottom of the camera raw interface.
This will bring up the options window for the new profile creation tool. This will give you the option to include some (but not all) of the adjustments made in the camera raw interface. You can also load LUTS in here too, and use a LUT as part of the profile, with or instead of the other adjustments. There are some limitations to the types of LUTs you can use, and I’ll go into this in more detail in a future version. For now, I suggest not using this feature.
You also need to give it a name and a set in order to group your profiles. Profiles are sorted based on the metadata in the actual profile rather than folders in the file system. If you want to re-name profiles or move them to a different group, you need to do that inside of Photoshop and Camera RAW too.
To move a profile to a different set, go to the profile browser in Camera RAW, and right click on the profile and choose: Move Profile… There are other options here too. You can rename the individual profile, or rename the set, as well as delete the profile.
Once you create a profile, you need to restart Lightroom if it’s running in order for it to show up in the profiles browser. That’s pretty much the basics of it. There are other things you can do, but some of these things are more advanced, and for some you will need to edit the file manually in a text editor. I’ll be doing a more advanced version of this tutorial soon, and perhaps a walkthrough video too.
If you want to find your new profiles to move to another computer for example, they’re stored int he same folder as the new .XMP presets. They need to go into the following locations:
Mac: ~/Library/Application Support/Adobe/CameraRaw/Settings
PC (Windows): C:\ProgramData\Adobe\CameraRaw\Settings
In fact they share the same file type. Adobe keeps these loose in the settings folder, but they appear to work in subfolders too.
Help Support the Blog
Buy from our affiliates
If you want to help support our blog, you can do so if you buy anything from our affiliate partners:
- Capture One Pro is available in both subscription and perpetual licences available, in versions for all cameras, Fuji specific , Sony specific or Nikon specific. In addition you can get 10% off the price of any Capture One product by using the following code: TFPHOTO
- Capture One Professional Style Kits from Capture One.
- Luminar AI is available from Skylum Software. Get a 10% discount using the following code: TFP10
- Nik Collection from DXO Labs
- DXO Photo Lab
- DXO Pure Raw
- My Amazon Photo Recommendations
- My Favourite Mac Utility Application: Clean My Mac X from MacPaw
- The VPN I use regularly - Nord VPN - Save on 2 year deal (valid at the time of posting)
If you buy through the above links, we get a small commission, which helps run this site.
Check out my Capture One Style Packs
If you’re looking for some Film Effect, or black and White style packs for Capture One, check out my Capture One styles on my Gum Road Store.
Buy me a coffee!
If you’d rather not use Patreon, but still want to say thanks or help, then you can feed my caffeine habit and buy me a coffee via PayPal with a one off donation to my PayPal tip jar.
Join our Facebook Group
If you want to discuss anything you’ve read here on my website, or saw on my youtube channel, or if you want to share images you’ve created using any of my techniques or presets, then I’ve started a new Facebook Group just for that.
Note that this post contains paid affiliate links. We get a small commission for purchases made through these links, which helps run this site.


