
Editing My London Photos in DaVinci Resolve
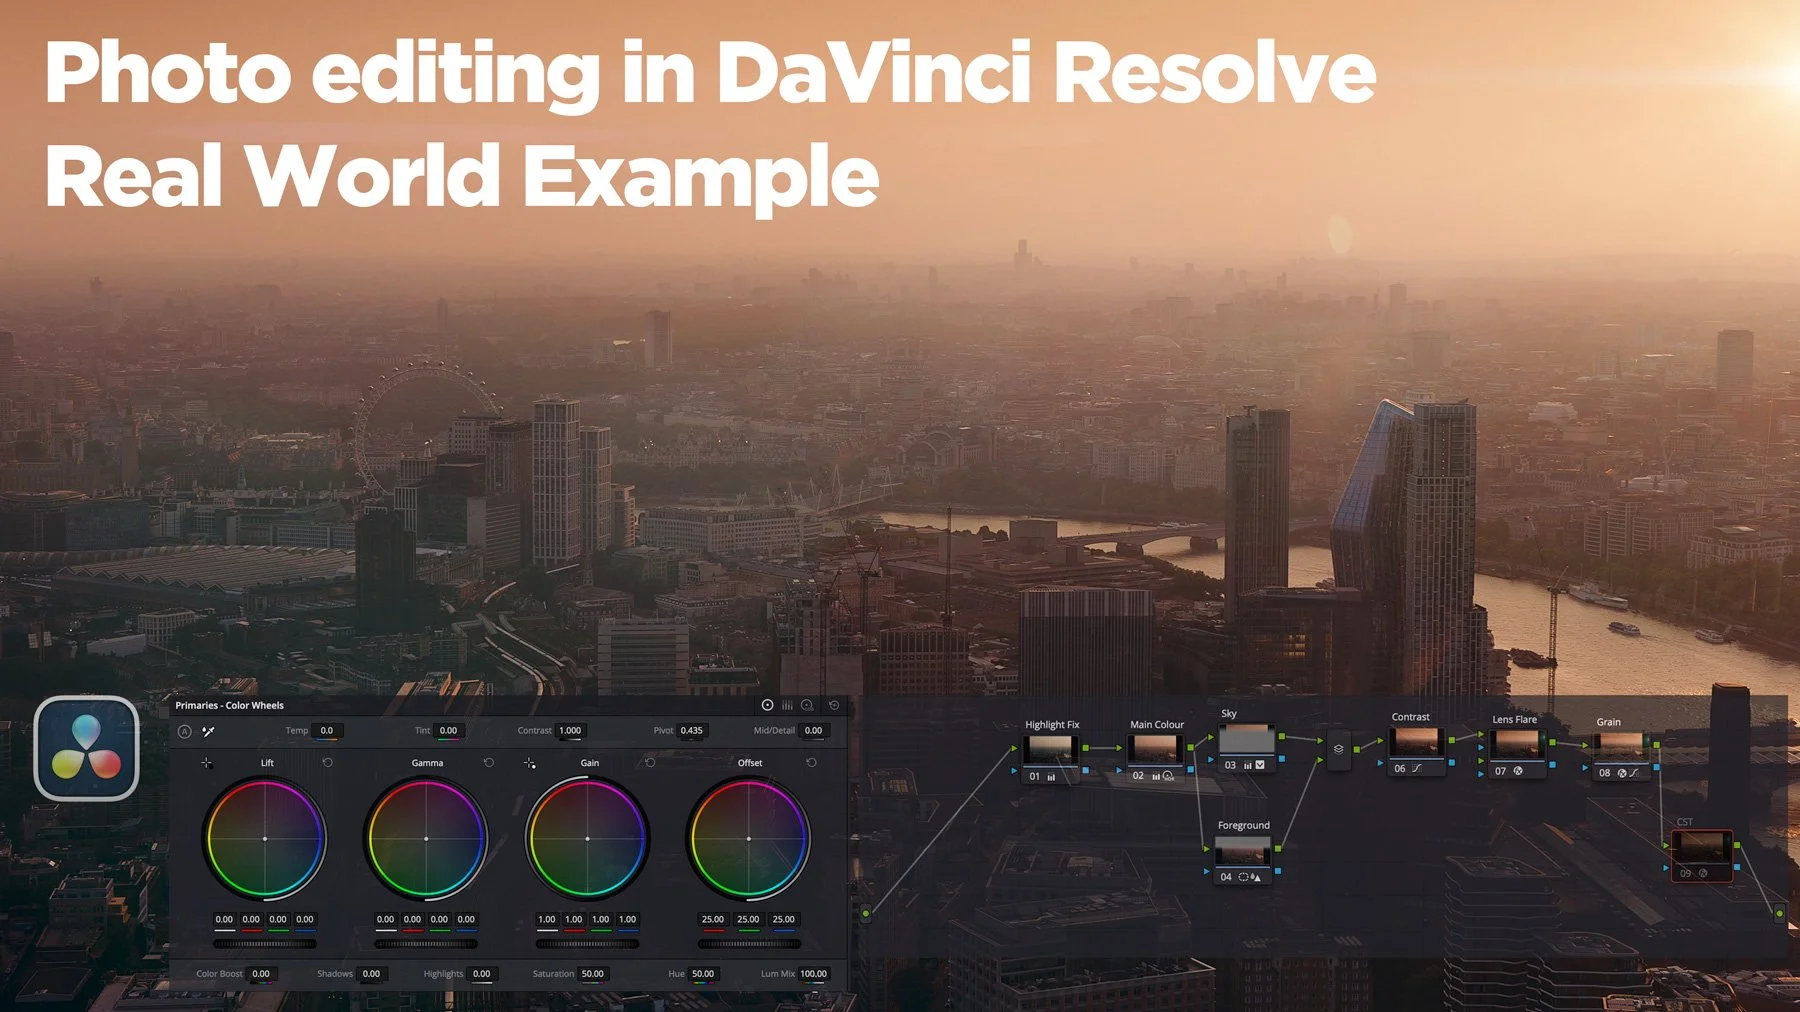
On a recent trip to London, I took quite a few photos and some video at the top of the Shard, one of London’s most famous buildings. I have already posted a few of these, and there are a lot more to come. However, in this post, I wanted to talk about the challenges I faced editing a subset of the images I took and how I addressed them. I ended up using both Lightroom and DaVinci Resolve’s new photo editing mode for these. The latter is something I particularly want to talk about, as it has some interesting abilities, as well as some quirks that those not familiar with the software should be aware of.
Pre-Processing in Lightroom
I started with these images in Lightroom. The reason for this is twofold. Firstly, Resolve’s actual RAW conversion is still not great, to be honest. It lacks lens corrections and proper colour profiles. The second reason is that I wanted to remove the reflections. I was shooting through glass, and so it was difficult to avoid reflections because I didn’t have a polariser when I was shooting these. I also didn’t want to get right up to the edge to try and block the reflections (it’s very high!)
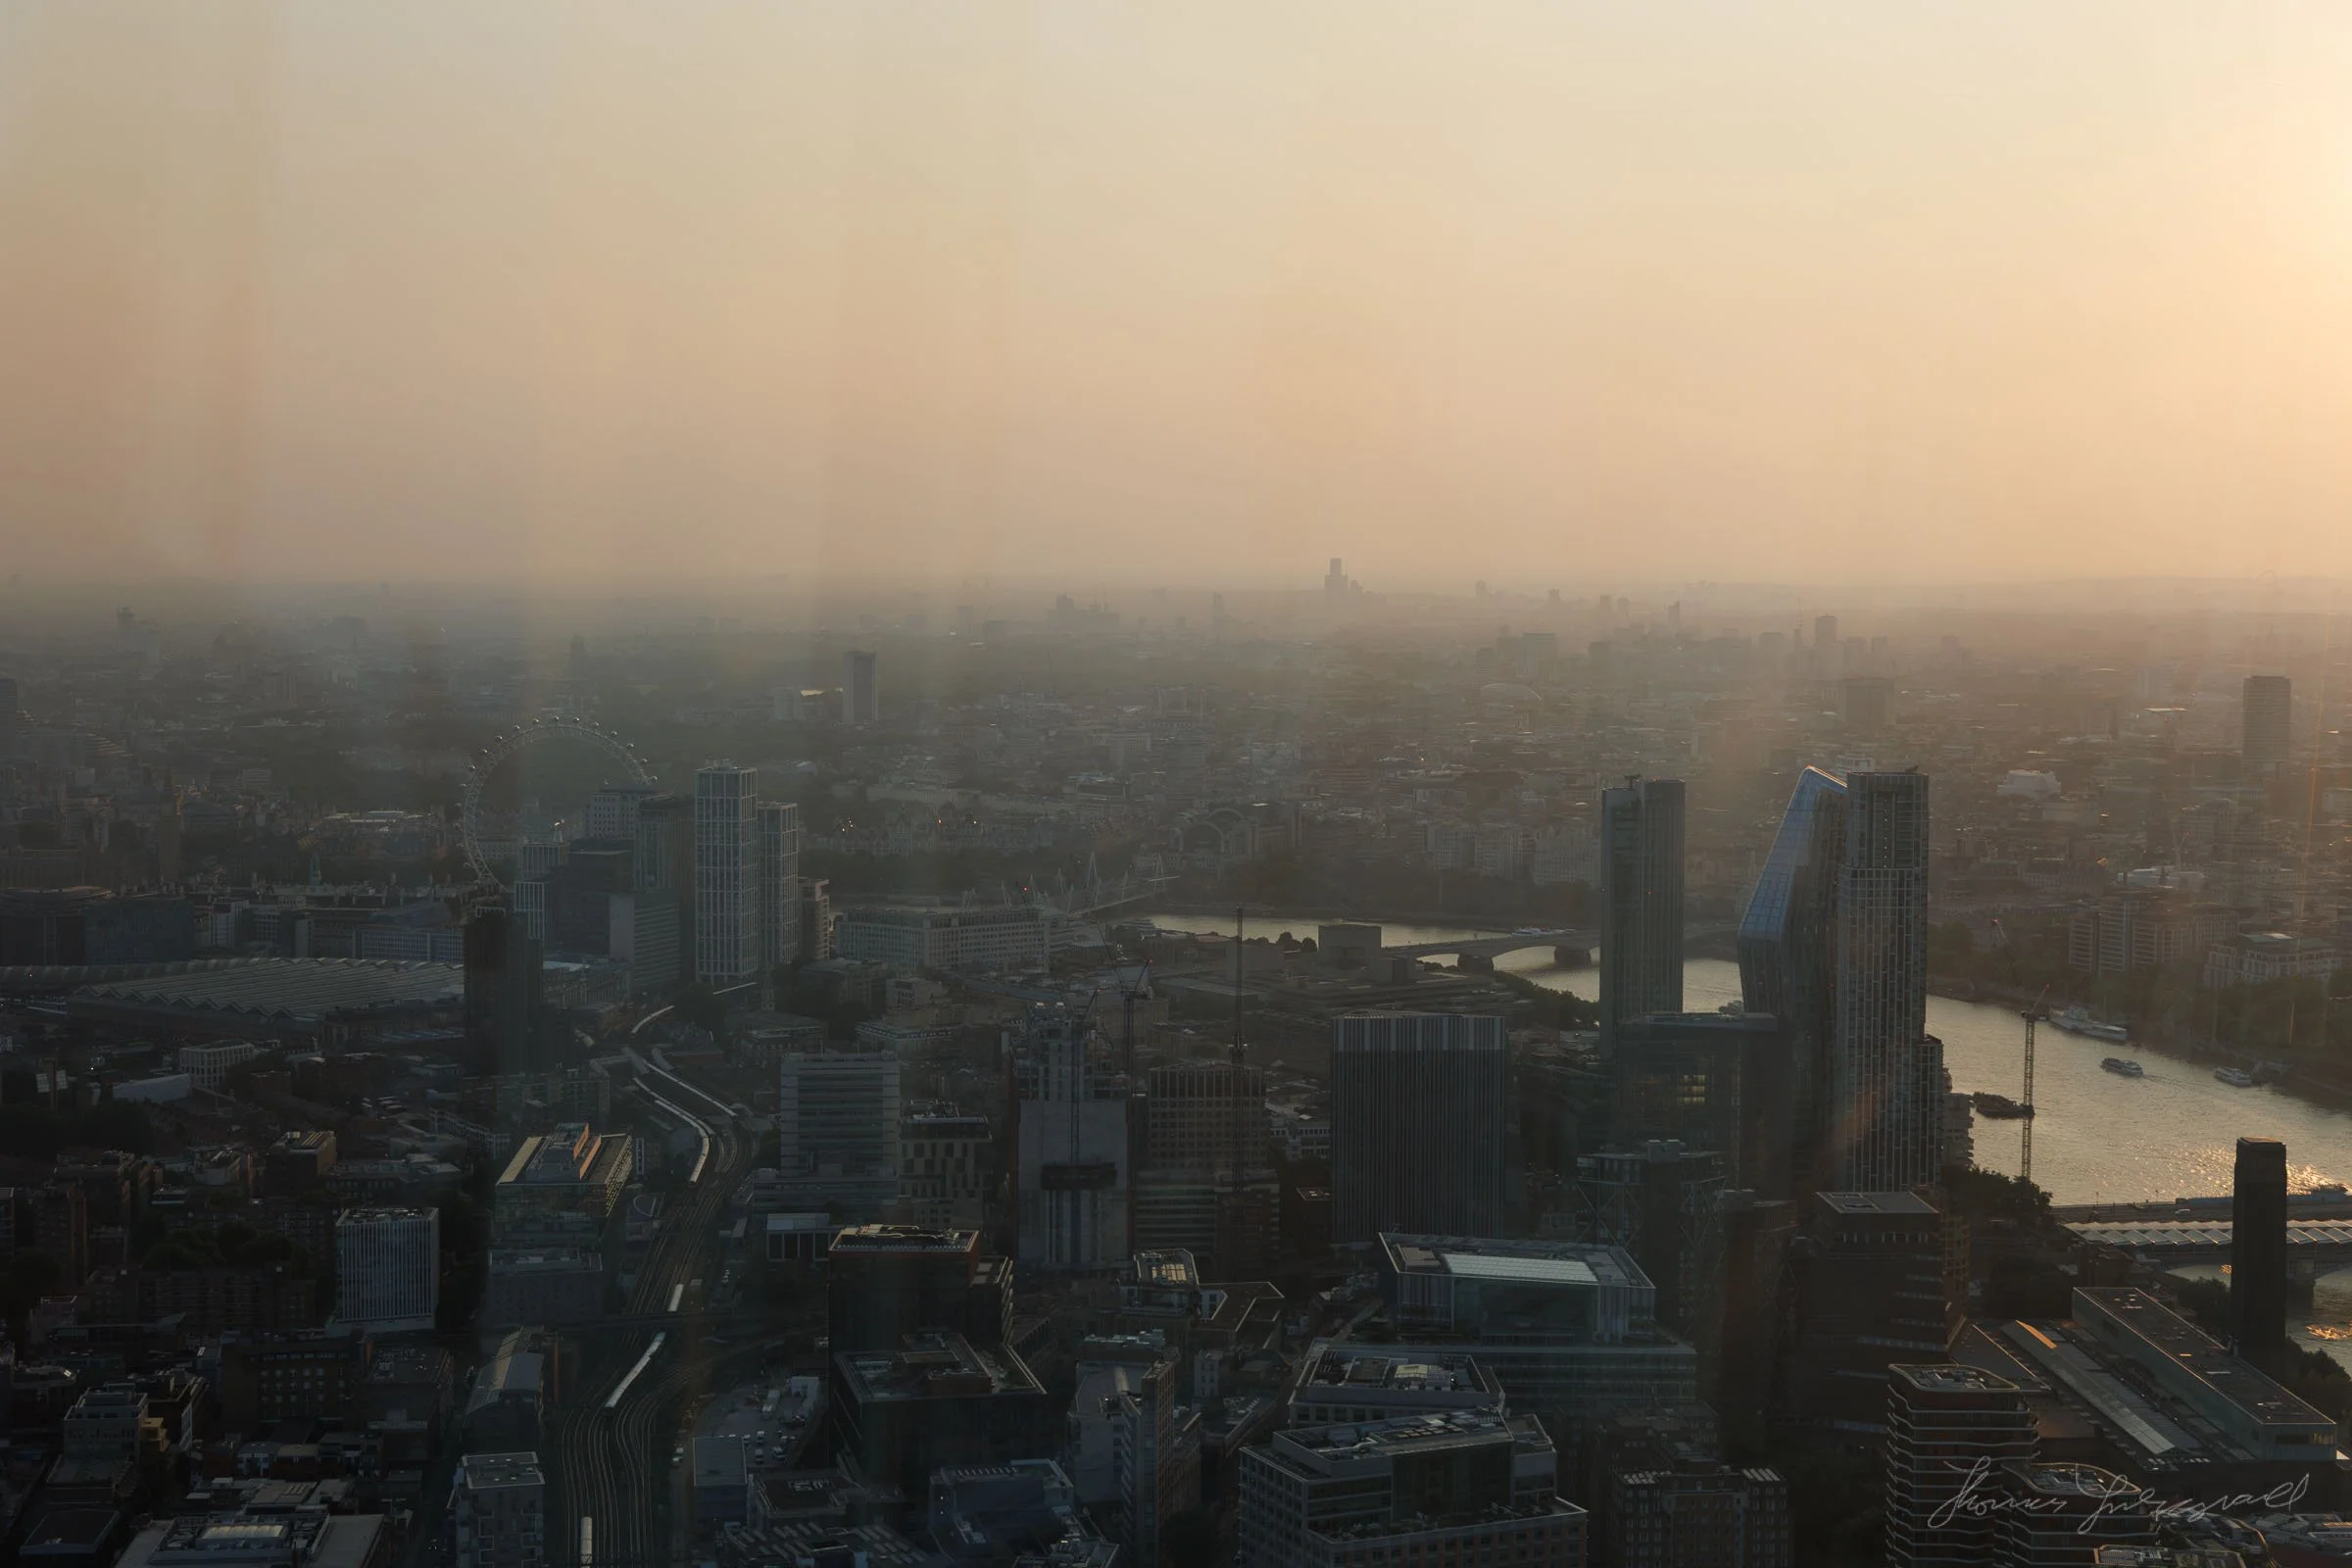
Orighinal Image before Reflection Removal
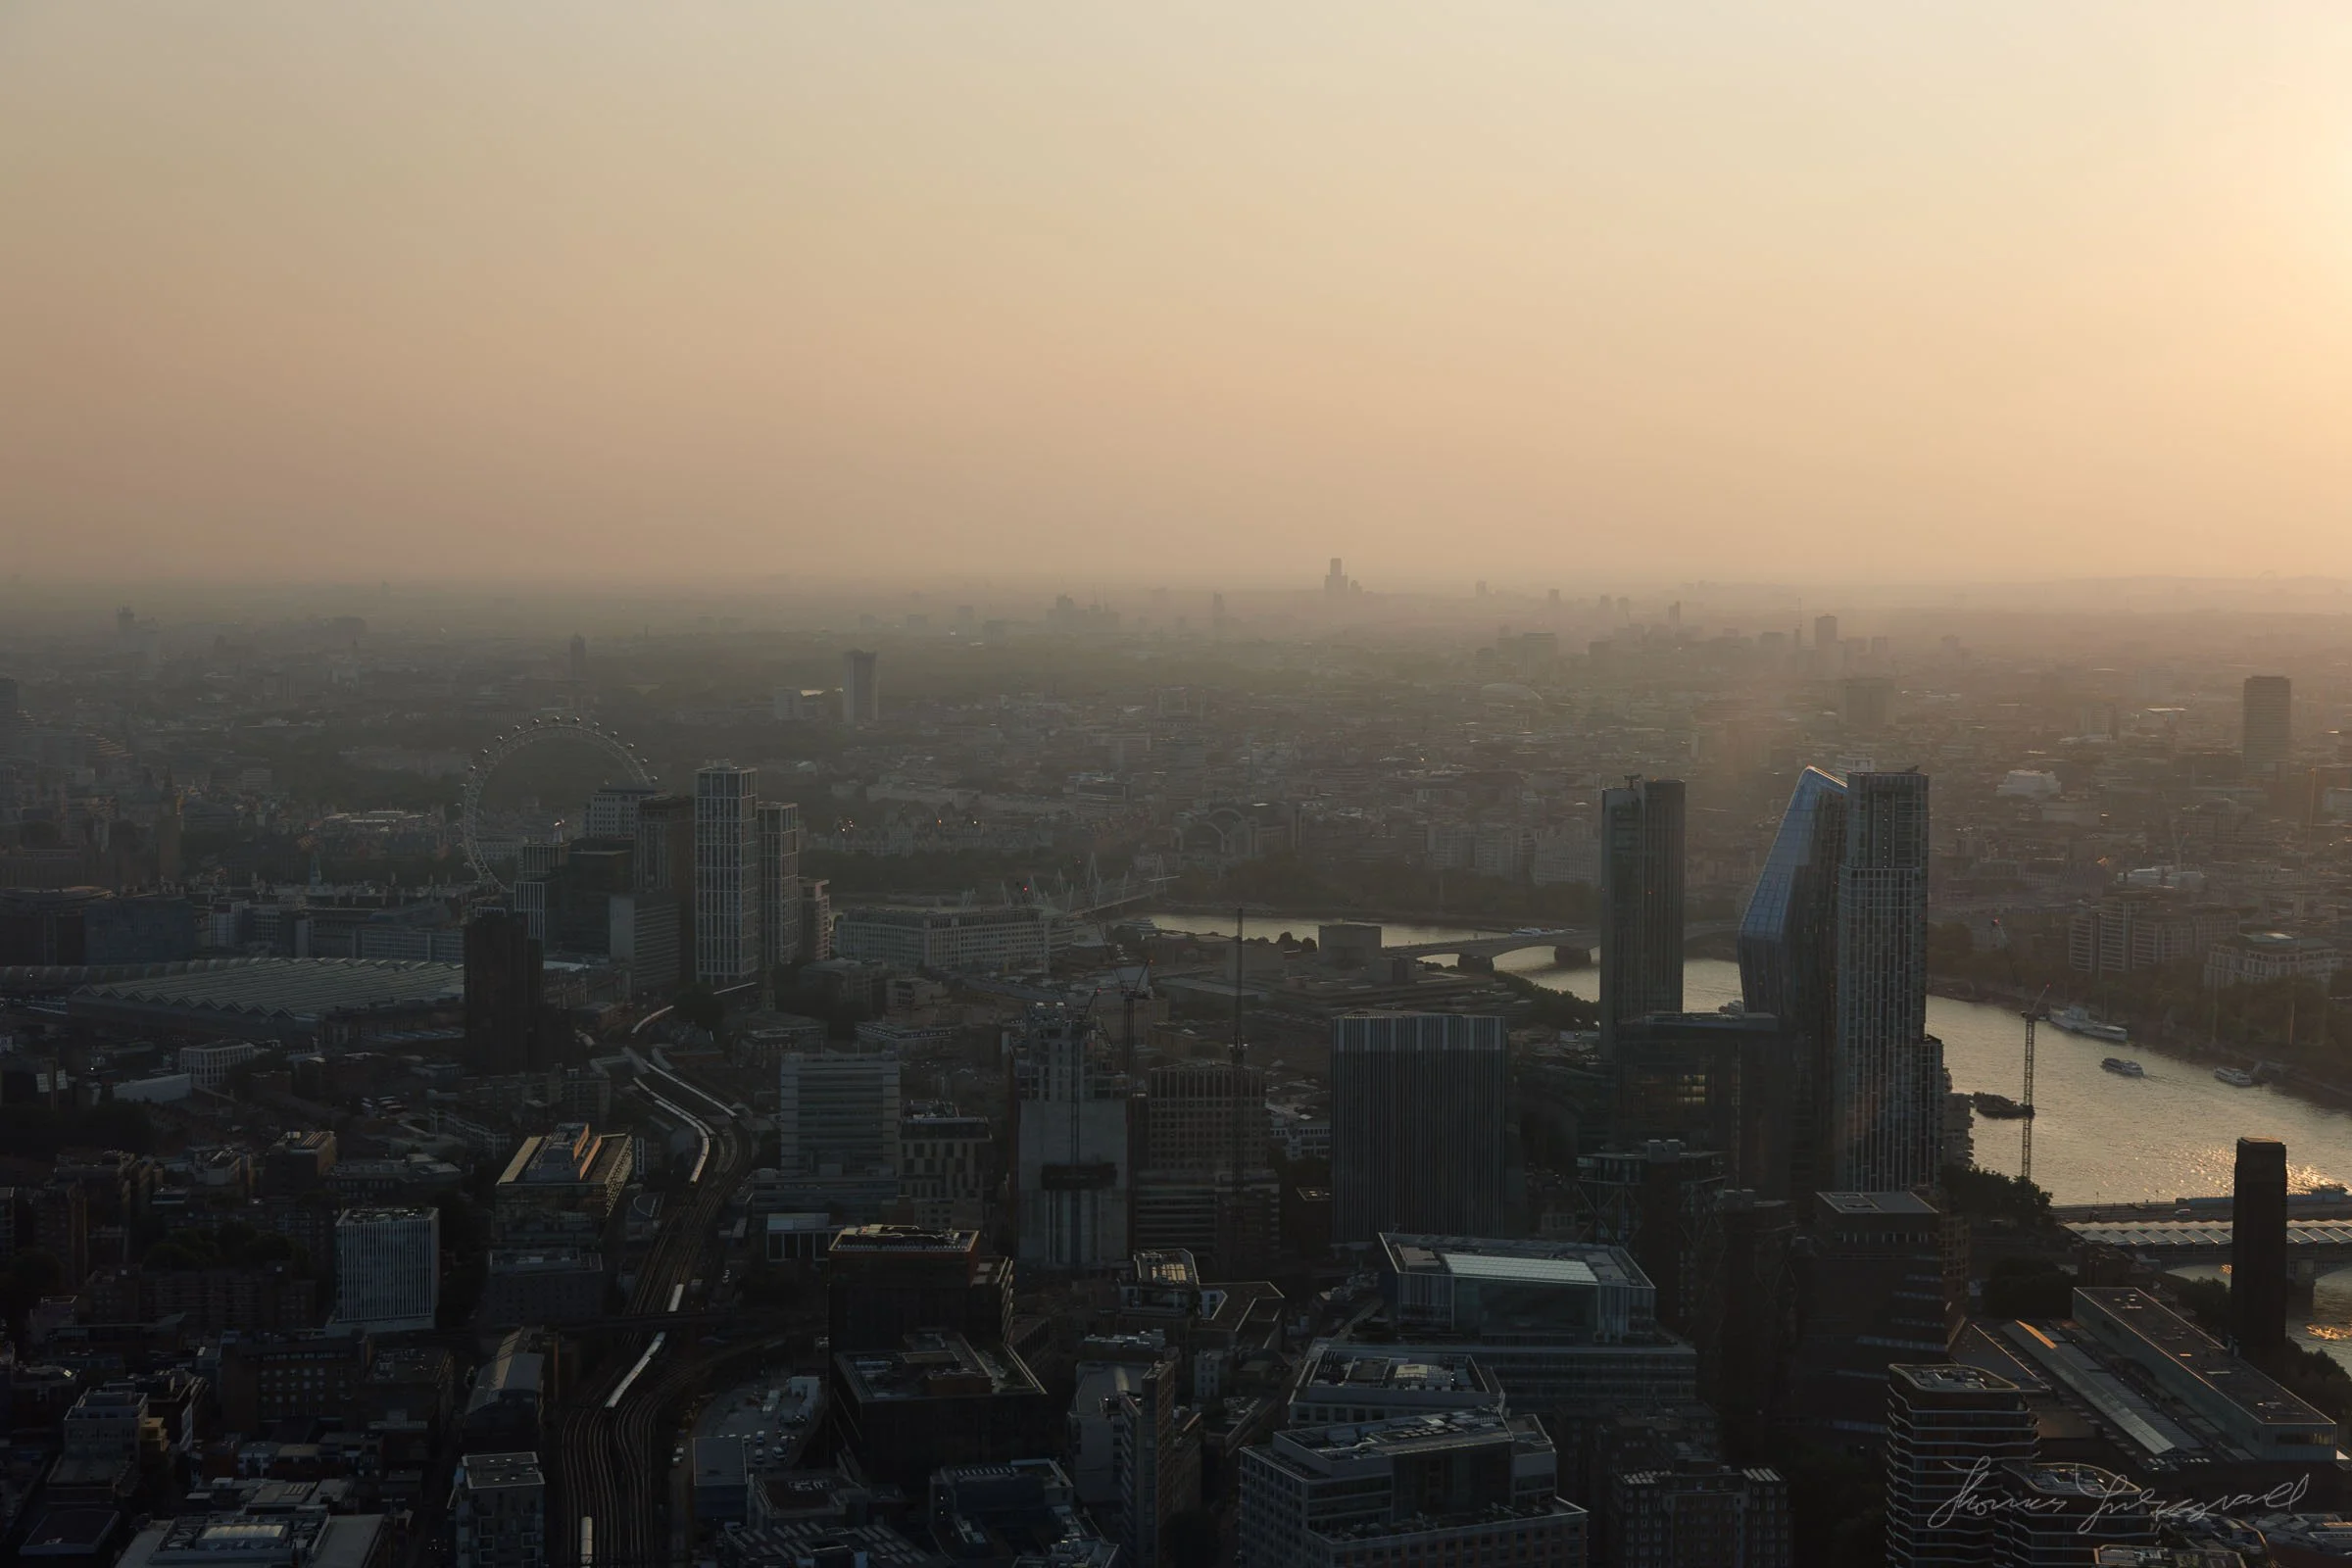
Original Image after reflections are removed
Luckily, Lightroom’s “Remove Reflections” works a treat on photos like this and totally removed the reflections. I actually batch processed the entire set of photos I took from the shard with the reflection removal tool. It took some time to process, but luckily it happens in the background now in newer versions of Lightroom.
Once I had done this, I made sure that there was no image information clipped and then exported them as TIFF files for import into Resolve.
Editing in Resolve
So you may be wondering, why bother editing in DaVinci Resolve at all? Why not just do it all in Lightroom? Well, the issue I was having was one of consistency. Because the light was constantly changing and I was shooting through glass, at different angles, and in different surroundings, I was having trouble getting consistent results. This is where Resolve’s much greater control over colour comes in. In Resolve, it’s much easier to do targeted and finer adjustments than you can in Lightroom.
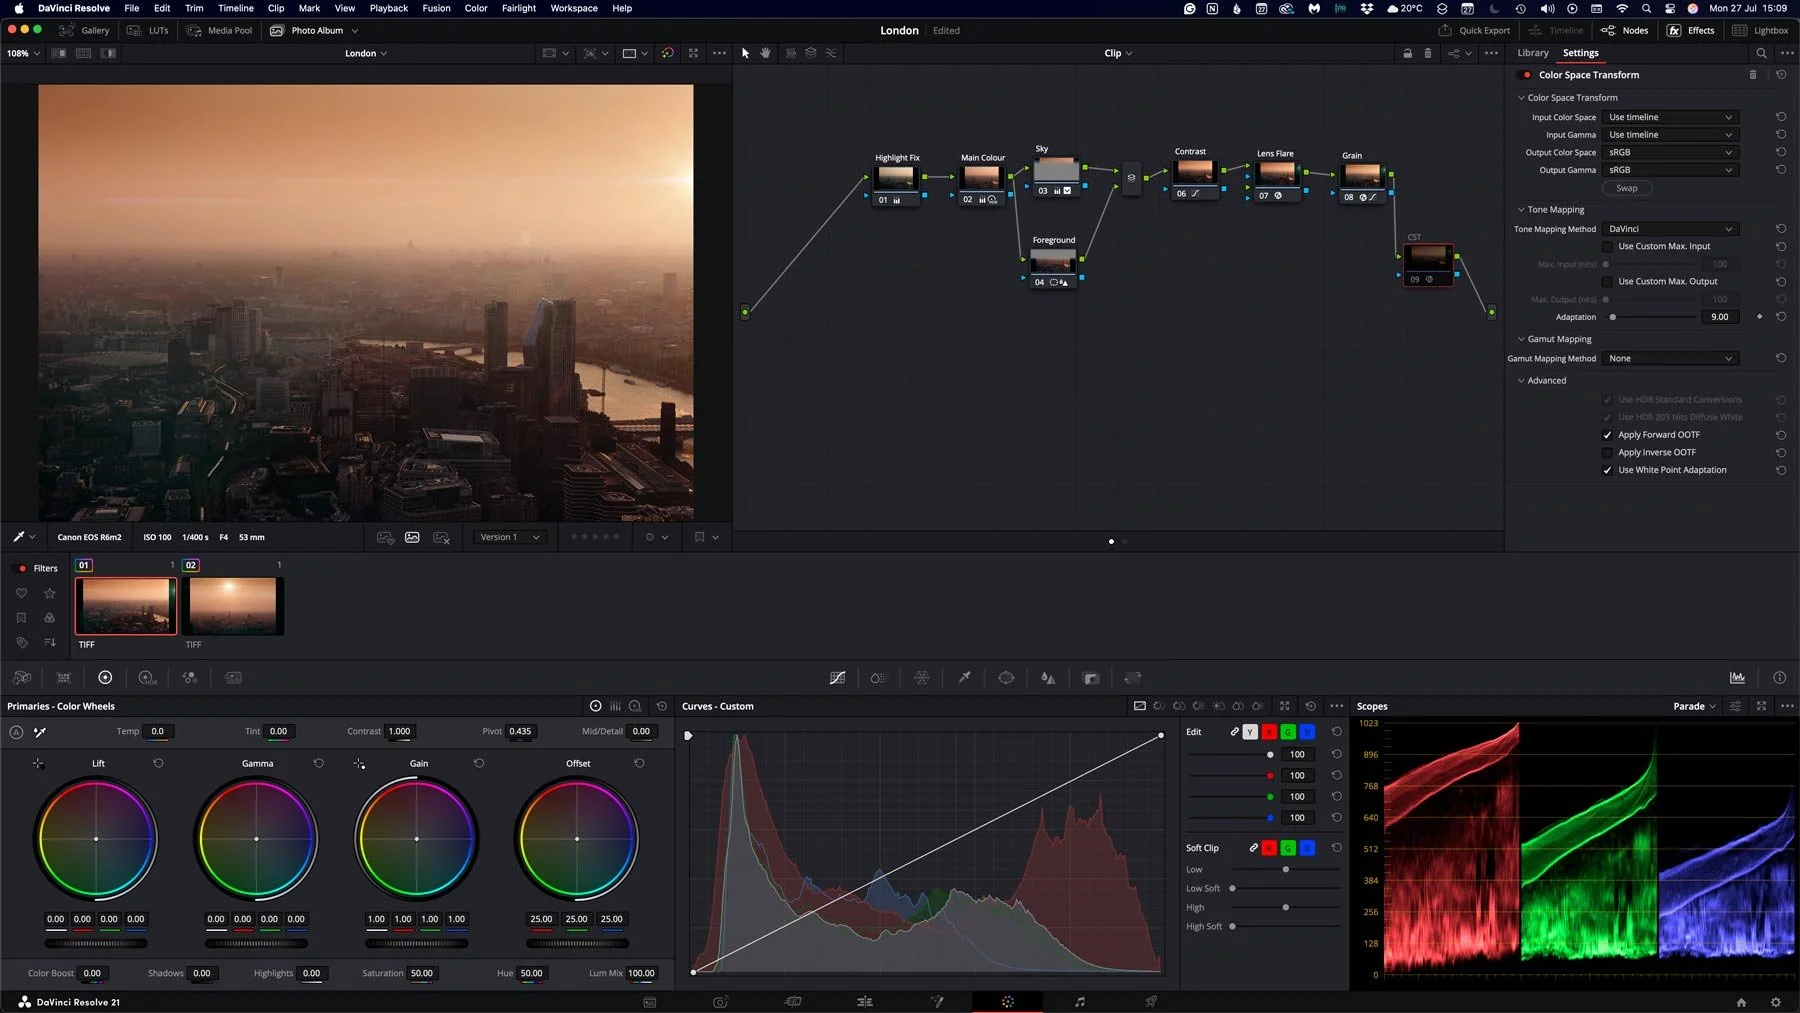
The colour wheels offer much finer control in Resolve, not to mention that there are various modes for the colour correctors. They just work much better than the ones in Lightroom, which are sort of a blunt instrument. You can also specifically target colours and areas of the image more easily than you can in Lightroom, plus you get a visual reference for your corrections in the form of the node tree. Now, you absolutely could make these adjustments in Lightroom; it’s just much easier and quicker to get the results you want in Resolve. That is, of course, if you know how this kind of colour correction works. And this kind of node-based editing is something I’ve been doing for years, so it’s second nature to me.
Breaking down the node tree
One of the advantages of working with a node-based editor, is that it’s easy to break down the colour corrections, making it easier to see what you’re editing and easier to go back to it later. This also makes it easier when you apply those edits to another image.
If we look at the node tree I used for the image above, I’ll talk you through what I did. There are no hard-and-fast rules for this kind of thing, and you can work however you want, but this is how I approached it.
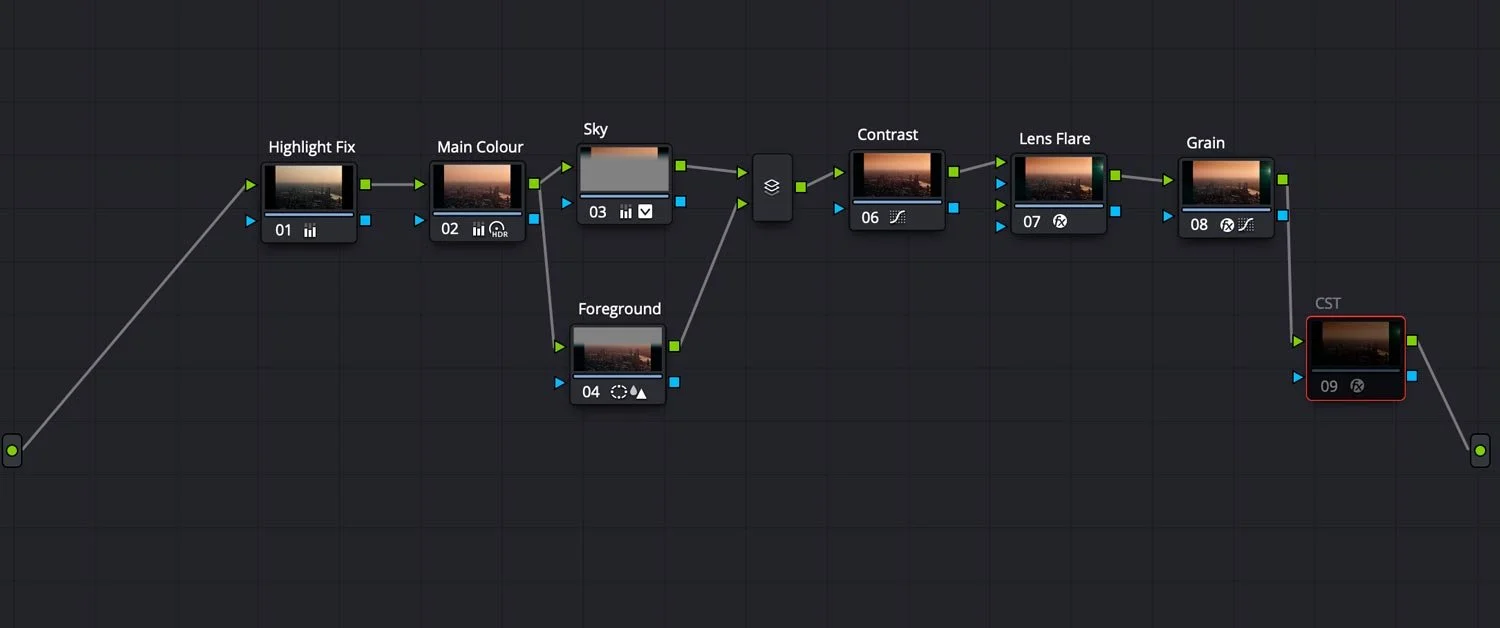
Node1: The first node is for overall brightness and tonal fixes. I haven’t done much here, except reduce the highlights slightly. Think of it as more of a technical fix before passing it to the second node.
Node2: This is where I did the bulk of the colour correction, using the standard and the HDR colour correction tools. The HDR three-way colour corrector lets you select finer areas of brightness to work on. It’s hard to explain in a short post. To be honest, I’m not even sure I fully get it myself; I just know how to use it!!!
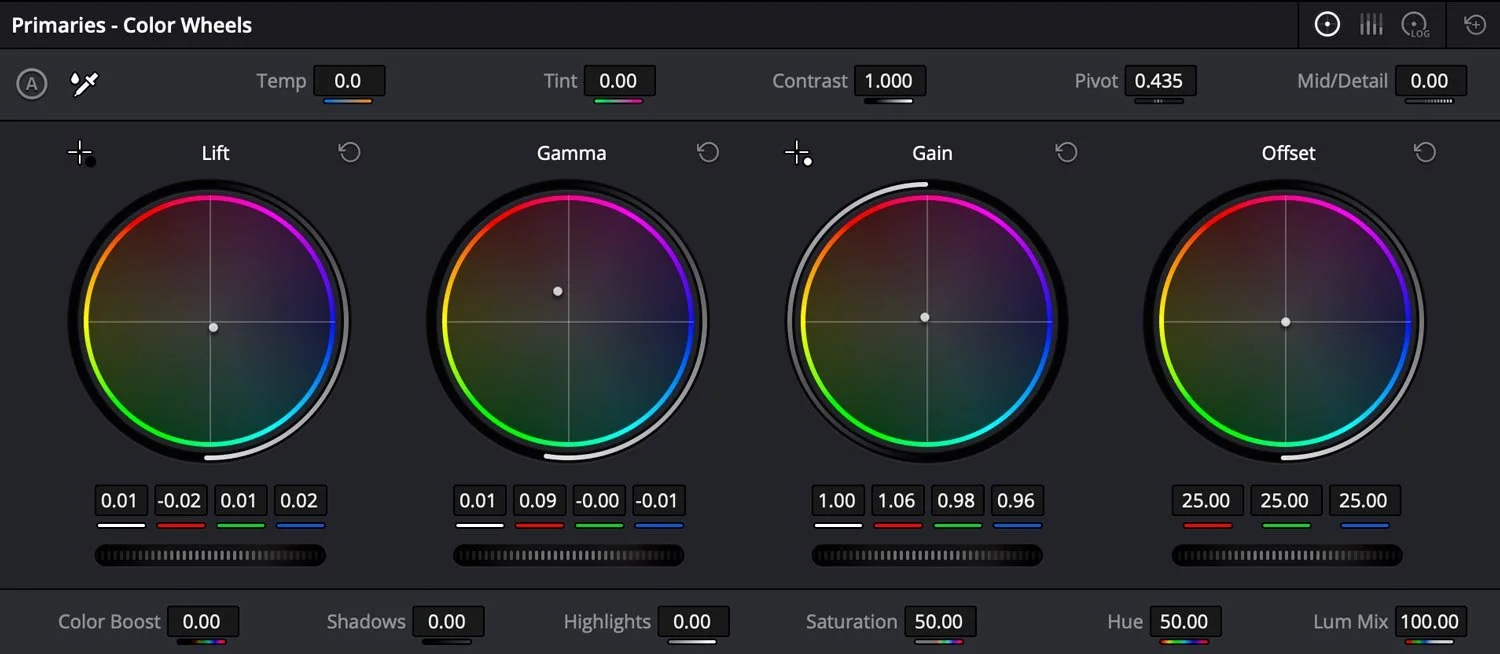
Nodes 3 and 4: I used these two parallel nodes with the gradient mask to tweak the sky and ground values separately. There’s no direct “clarity” tool that I’m aware of in the colour editor, although there may be in the effects, but that’s one of the limitations that I’ll get to later. I did manage to add some details to the foreground, though, using a reverse blur modifier. (I’m not entirely sure how this works either)
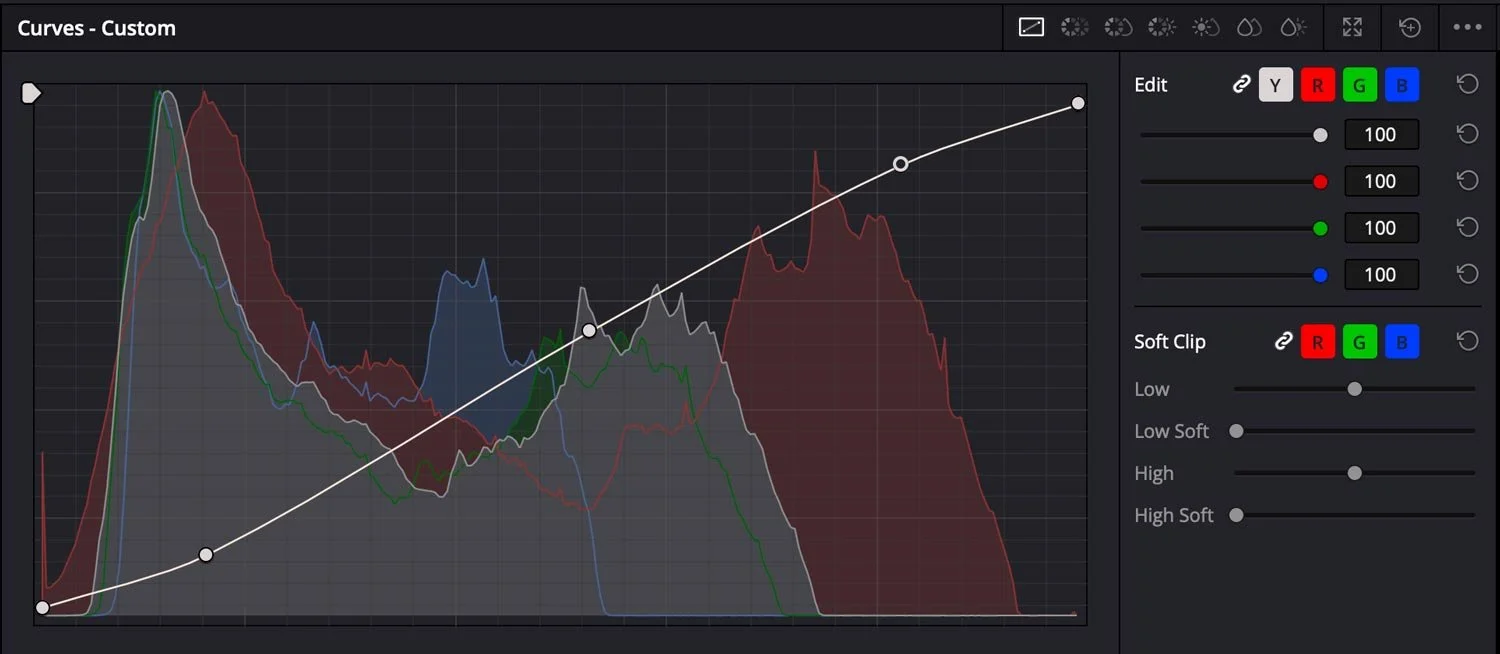
Node 6: is an overall contrast addition using the curves tool. This was just because I thought it was a little flat and needed some more oomph
Node 7: This node adds some off-screen lens flare. I used the Red Giant “Real Lens Flares” plug-in for this. The reason I added this was that the reflections were gone, it lacked some interest in the sky, and there were still a few mismatched colours and artifacts where the reflection removal didn’t do the job properly.
Node 8: This node adds some subtle grain to the image
Node 9: I didn’t use this node in the end, so it’s turned off. It was a colour space transform to convert the colour space to RGB, but I ended up doing this a different way. More on this below.
Limitations and Issues
There are two things you need to be aware of if you plan on editing photos in Resolve. Actually, there are three. The first I’ve already covered: the RAW conversion for stills is still lacking, so you’re best off using something else for that.
Secondly, if you’re using the free version of Resolve, you are limited in the output resolution. You can also only use certain effects and are limited in the number of effects. For example, I was using the free version here, and I could only output at about half the resolution that the image actually was.
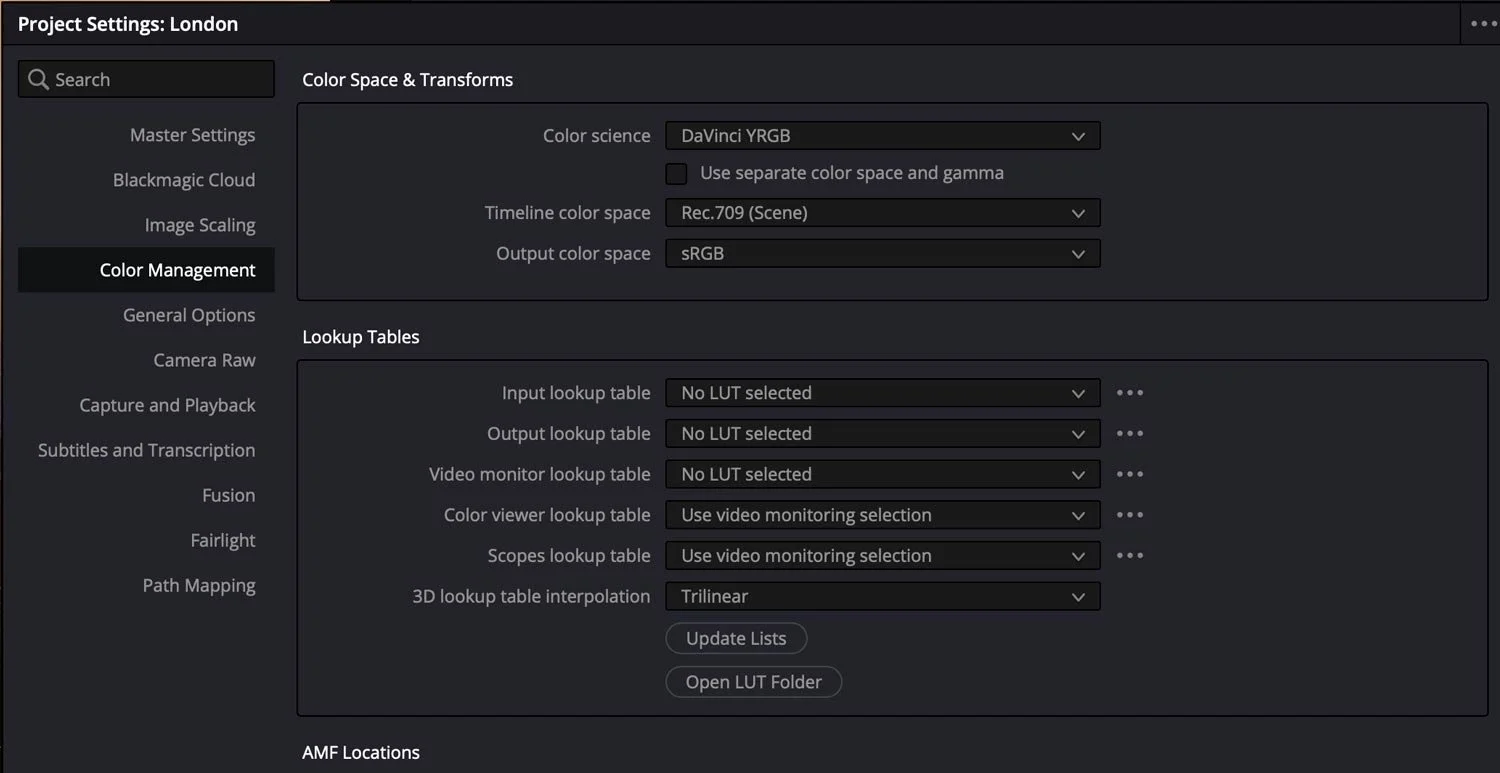
Thirdly, you need to be aware of the colour space you are using. This isn’t something that you have to really deal with too much when working with Lightroom, but it’s an issue with Resolve. Because it’s set up for working with video, you’ll have issues if you try to open the resulting images in Photoshop. So the best thing to do is set the output colour space in the project preferences. You can also just put a colour space transform node at the end of the node tree, but this will alter how it looks in Resolve. I would do this if you were working on a mixed project, but otherwise, it’s best to set the output to sRGB in the project settings.
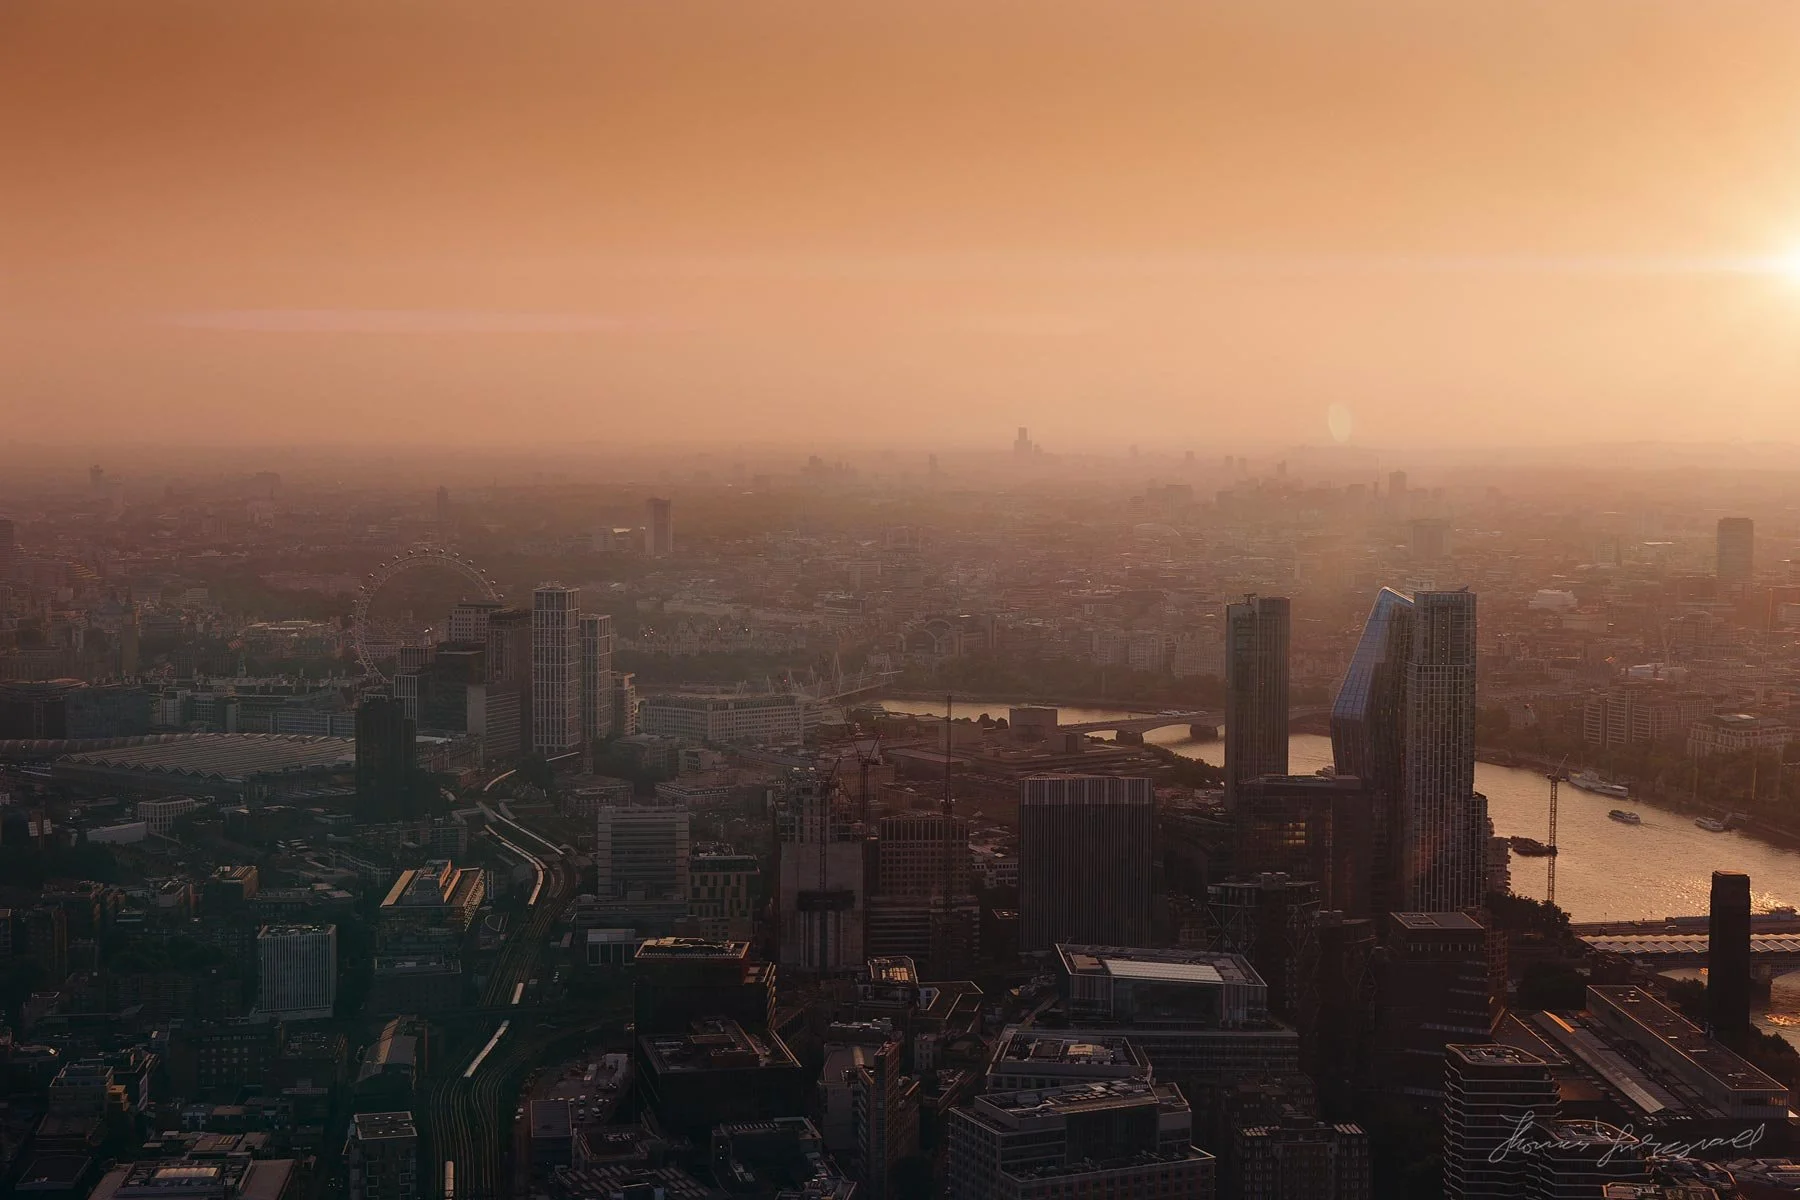
Final Image
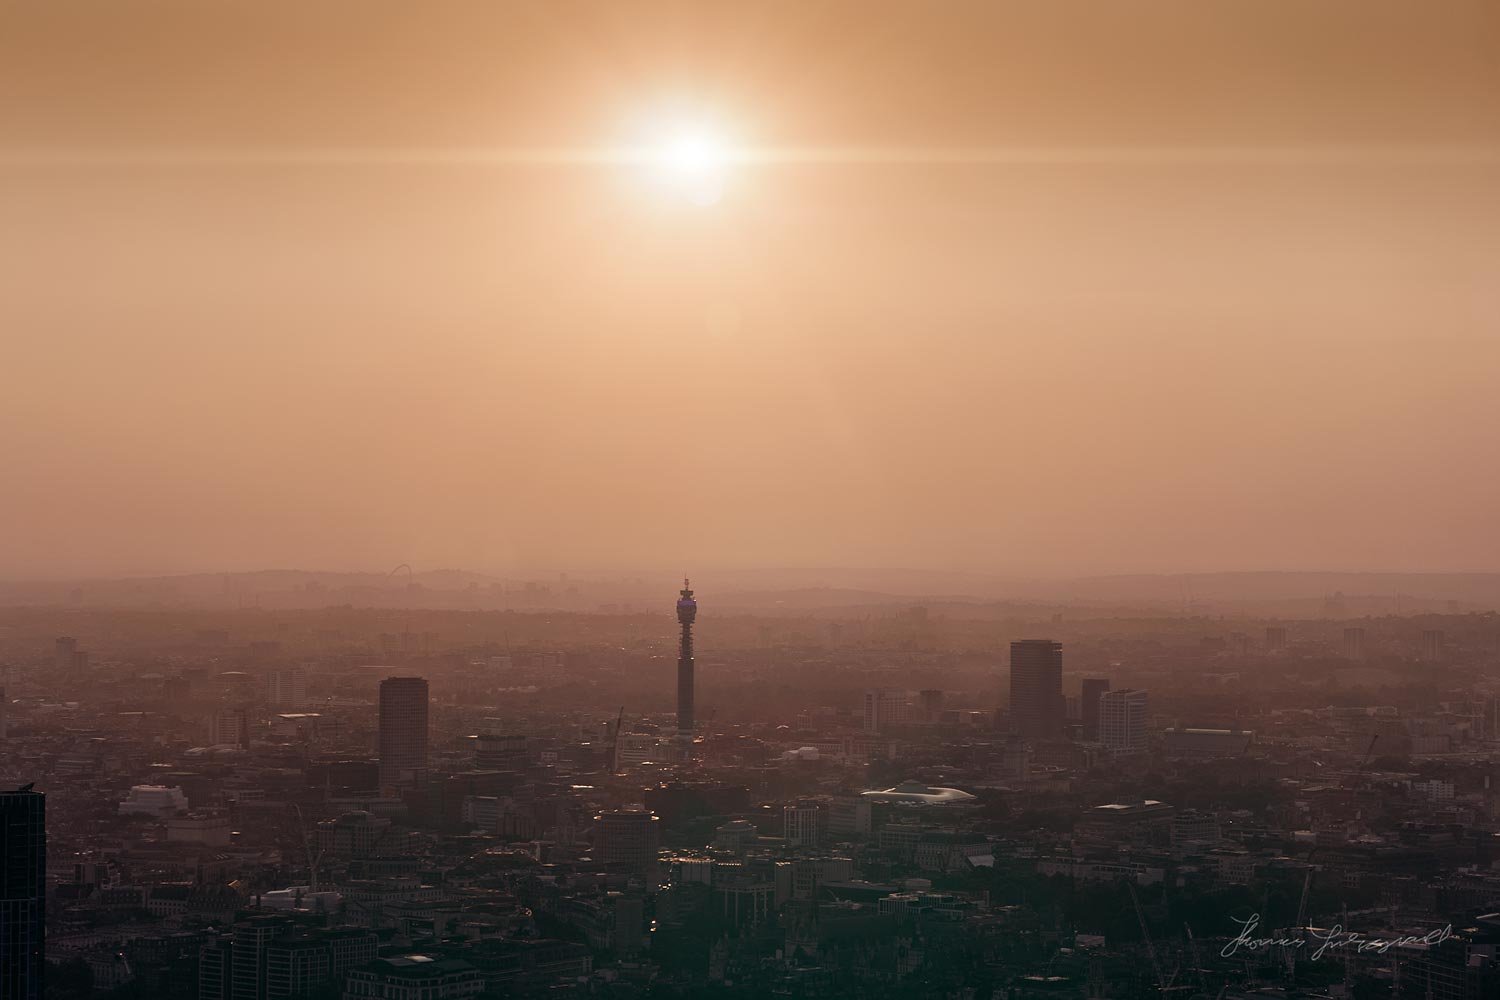
Another London Photo Edited using the same Node Tree (With some tweaks)