
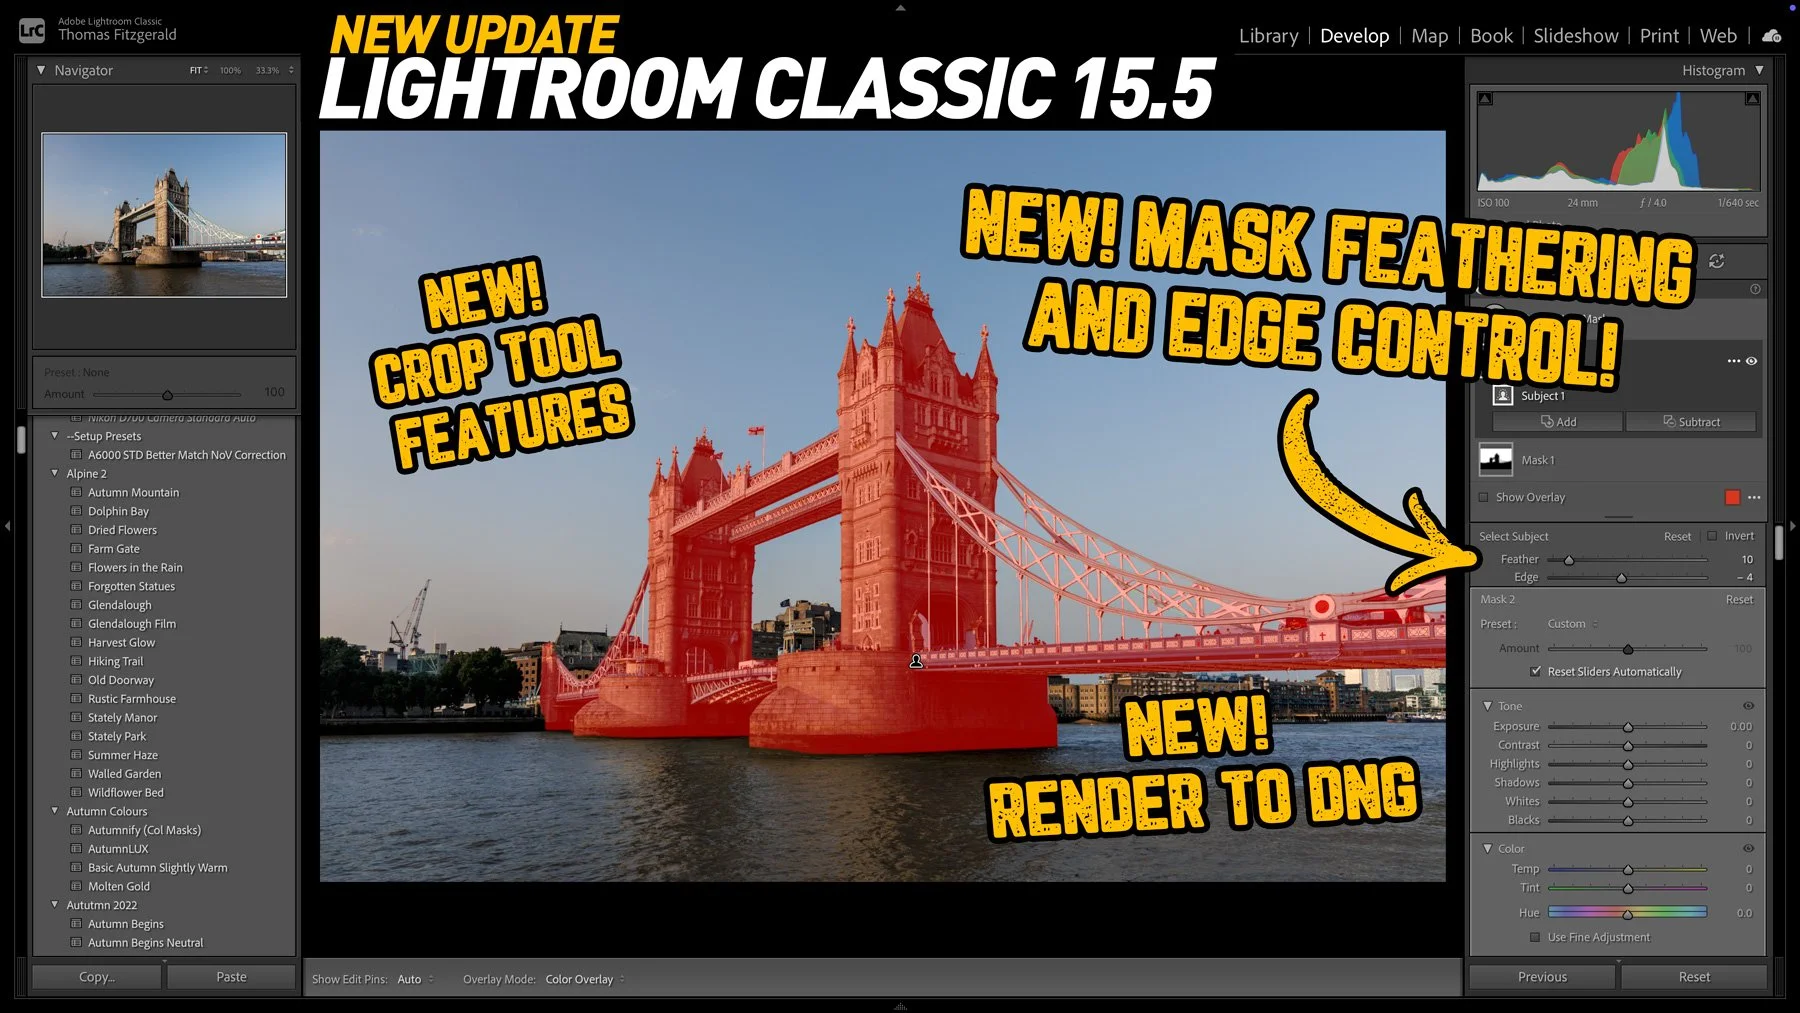
Adobe has released the latest round of Lightroom and Camera RAW updates, and in this article we’re going to concentrate on Lightroom Classic. Aside from the usual under-the-hood tweaks and bug fixes, Lightroom Classic 15.5 adds three new key features, one of which I’ve been asking for for a long time!
Speaking of Lightroom, don’t forget to check out my Lightroom presets over on my Gumroad store! Shameless plug!!!
Mask Feathering and Adjustments in Lightroom Classic 15.5
Ever since Adobe introduced AI-generated masks, I’ve been asking them to add the ability to modify those masks. In fact, I’ve been wanting these features since before AI masks. Capture One has always had the ability to blur a mask, and so it’s good to see Lightroom finally gain this ability. Well, sort of.
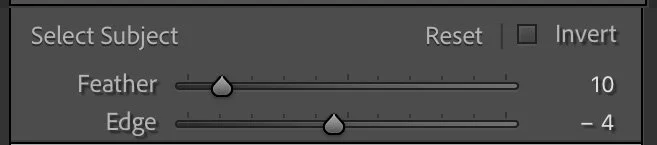
If you use any of the AI masks, you will now get two new sliders. One to feather the mask and one to control the edges. The feather slider basically blurs the edge of the mask, and the Edge slider expands or contracts the mask. If you’re familiar with green screen keying in video, these are the equivalent of a matte choker tool (yes, that is the actual term!)
The only thing about this that I find a little disappointing is that you can only apply it to AI-generated masks. You can apply it to brushed-on masks, for example, which is something that you can do in Capture One. Also, if you combine multiple masks, the mask adjustment sliders are on the individual masks, and not the overall combined mask.
Adjust the opacity of Lightroom’s Crop Tool in Lightroom Classic 15.5
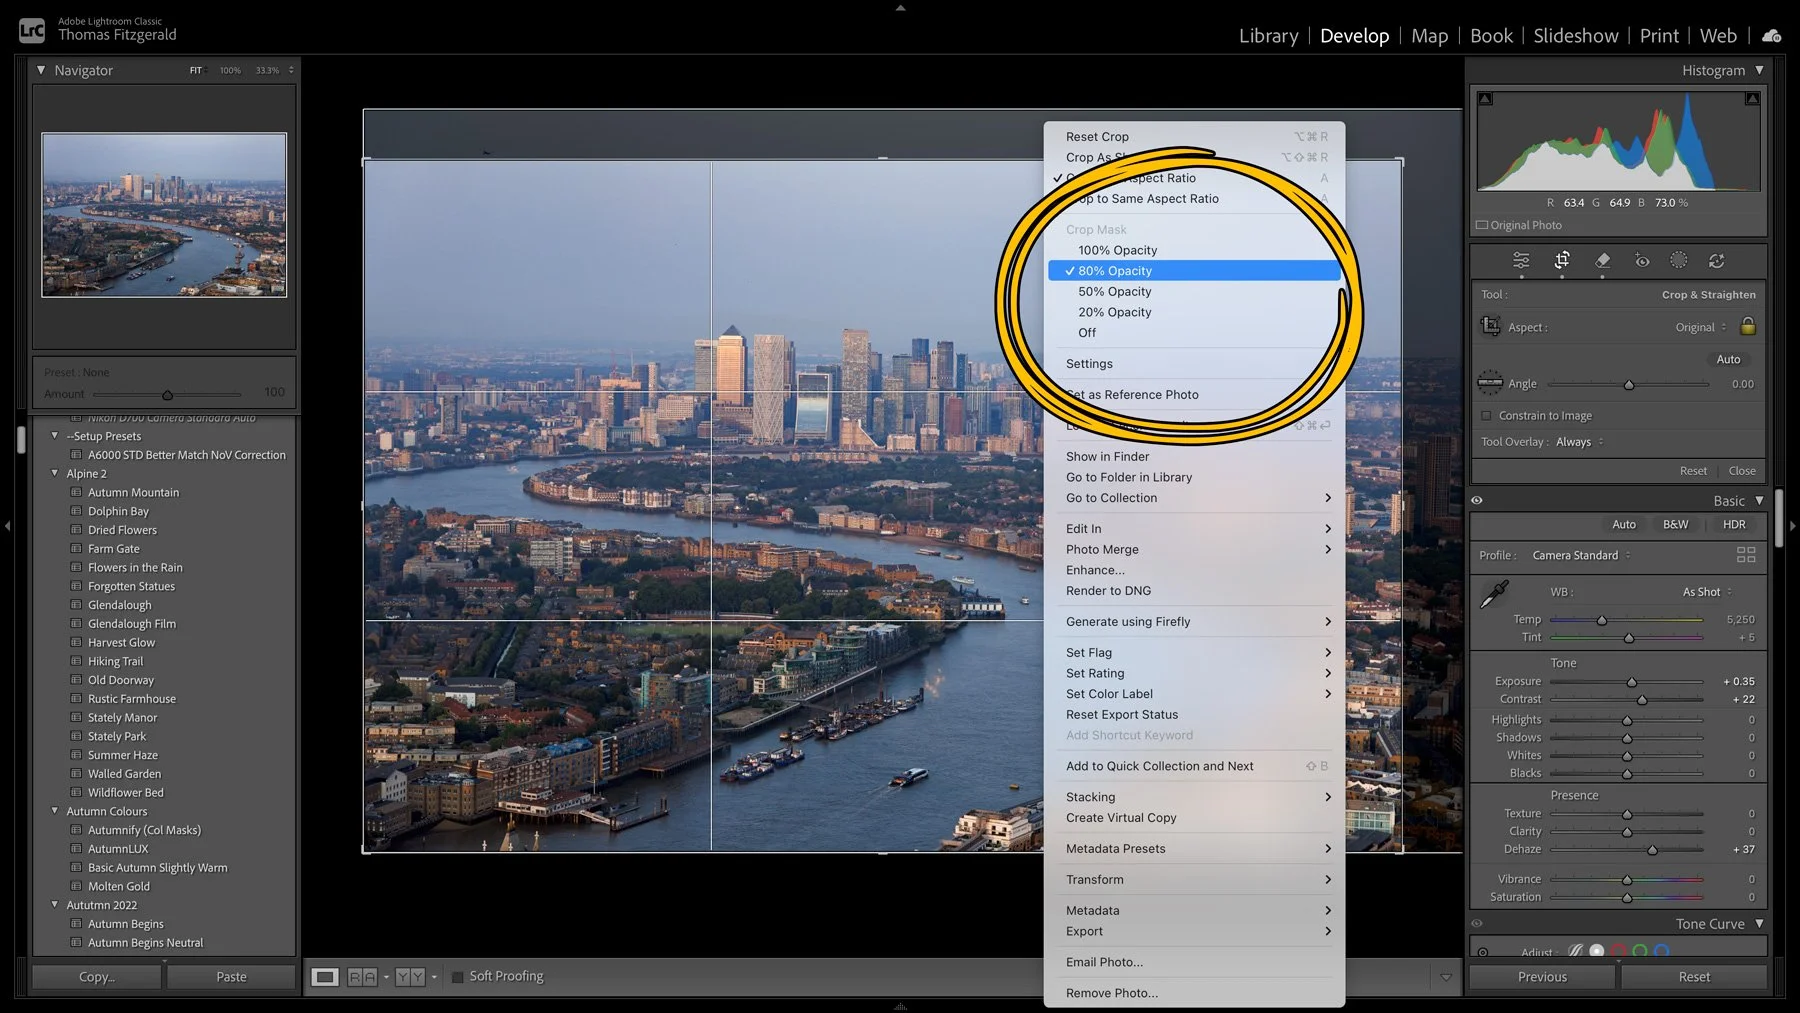
The second new feature allows you to adjust the opacity of the outside of the crop tool when cropping in Lightroom Classic. What this means, basically, is that when you crop, outside the crop tool is normally pretty dark to indicate which areas are being cropped out. Well, in the new version, you can now adjust the opacity of this area, so if you are trying to get a really precise crop and the cropped area was too dark, you can adjust the opacity of this now.
To adjust this, when the crop tool is activated, right-click on the image and from the contextual menu that pops up, you should get a list of opacity options, ranging from 100% to Off. Simply select whichever one works for you!
Render to DNG
Adobe has added the ability to render an image to DNG. This will flatten your image and bake in all the edits, giving you a DNG of the image, and it will reimport it into Lightroom. This is not a RAW file but a flattened file containing all your edits baked into the raw file. It’s as if you had exported it as a TIFF and reimported it. Interestingly though, while it doesn’t create a RAW file, the resulting DNG does retain some exposure latitude. If you look at the DNG using the HDR option in the Develop module, you will see that it does retain some information over 100% brightness. This is an interesting one, because, on the one hand, people have been asking me about a similar feature for years, but on the other hand, I suspect some people won’t be happy that this doesn’t do something like the old Enhance tool did, and create a linearised RAW file. But there are some good uses of this.
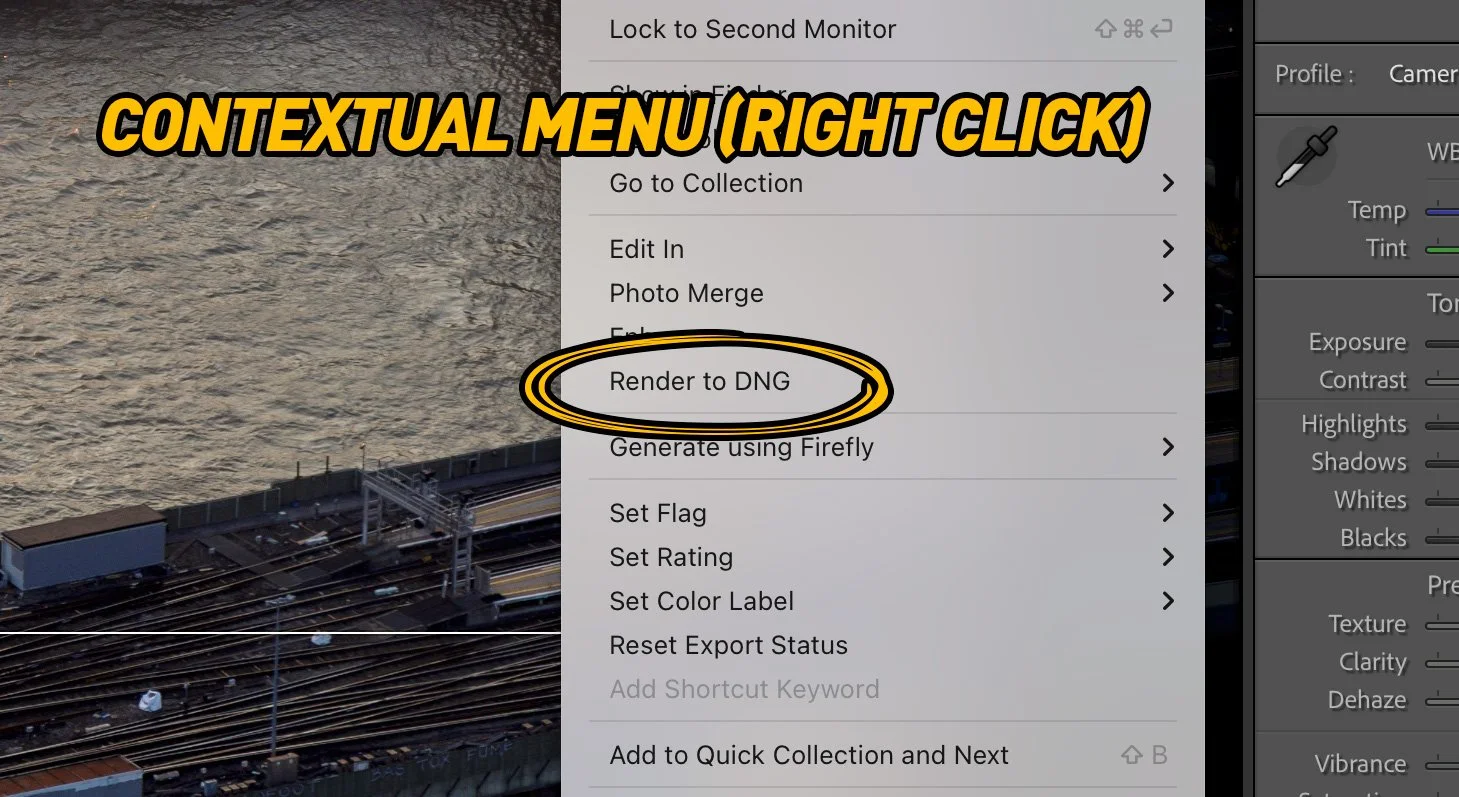
One of the big advantages of this Render to DNG feature is that this will allow you to do denoising and super-resolution on the same image. Now, you could do this in the past, but it involved considerable hoop jumping, as just exporting to DNG and re-importing didn’t work. Now, all you have to do is apply Denoise, render to DNG and then do Super Resolution on the final image.
It’s also useful if you do a lot of edits to an image, and then want to do an overall look on top of changes you might already have made. In this case, you can render to DNG and then apply a film preset to the DNG, adjusting the opacity of the preset to get the right look.
The biggest downside of this Render to DNG feature will be the file size. On an image taken with my Canon R6II, this was 128 MB compared to roughly 50 MB for a RAW file. Now, if you’re not doing a lot of these, it’s not that big a deal, but if you’re very tight on space, it may be an issue.
Conclusion
I wrote a while ago that Camera RAW seemed to be getting all the new features, and that Lightroom Classic was starting to get left behind. This update takes a small step in the right direction by adding at least one of those features to Lightroom Classic. However, the disparity continues with new features added to this round of Camera RAW too. What’s more, there is starting to be a divergence between Lightroom Desktop (Lightroom Mac & PC to use the official name) and Lightroom Classic, as the version of Lightroom Desktop just released adds generative fill to the crop tool, which isn’t in this version of Classic.