
How to edit your photos in Camera RAW from Lightroom non-destructively
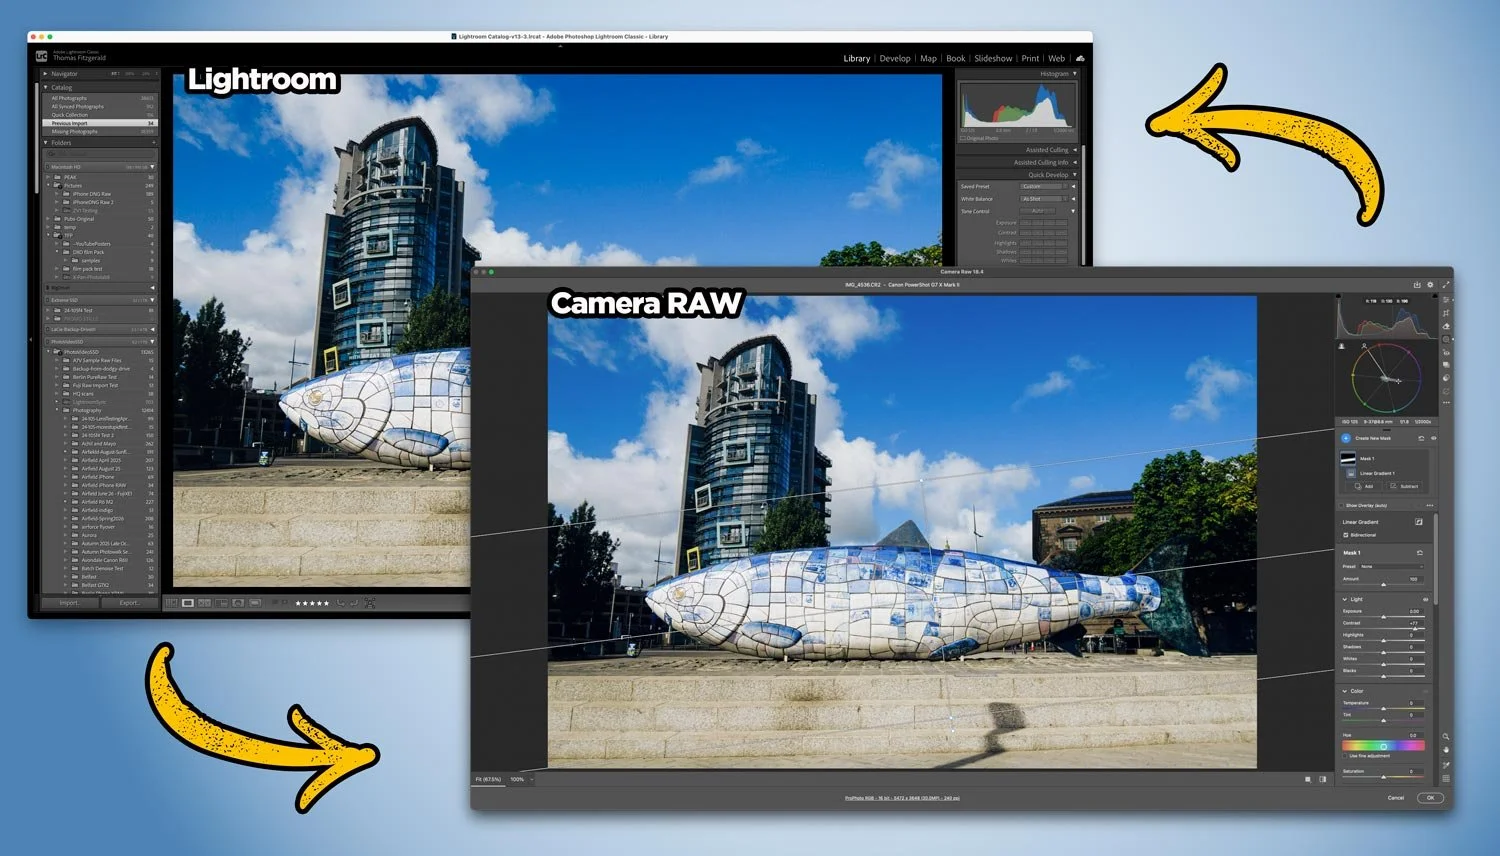
With Adobe recently adding lots of new features to Camera RAW that so far aren’t in Lightroom, users of Lightroom may be wondering how to get access to some of those new tools. Well, it’s actually very straightforward, and you can use Camera RAW from Lightroom entirely non-destructively. You just need to follow the simple workflow below.
Send to Camera RAW (via Photoshop) the first time
The first step is to send your photo to Photoshop. The important part here is not to use the normal “Edit in Photoshop” command. Instead, you need to use the option:
Photo > Edit In > Open As Smart Object in Photoshop …
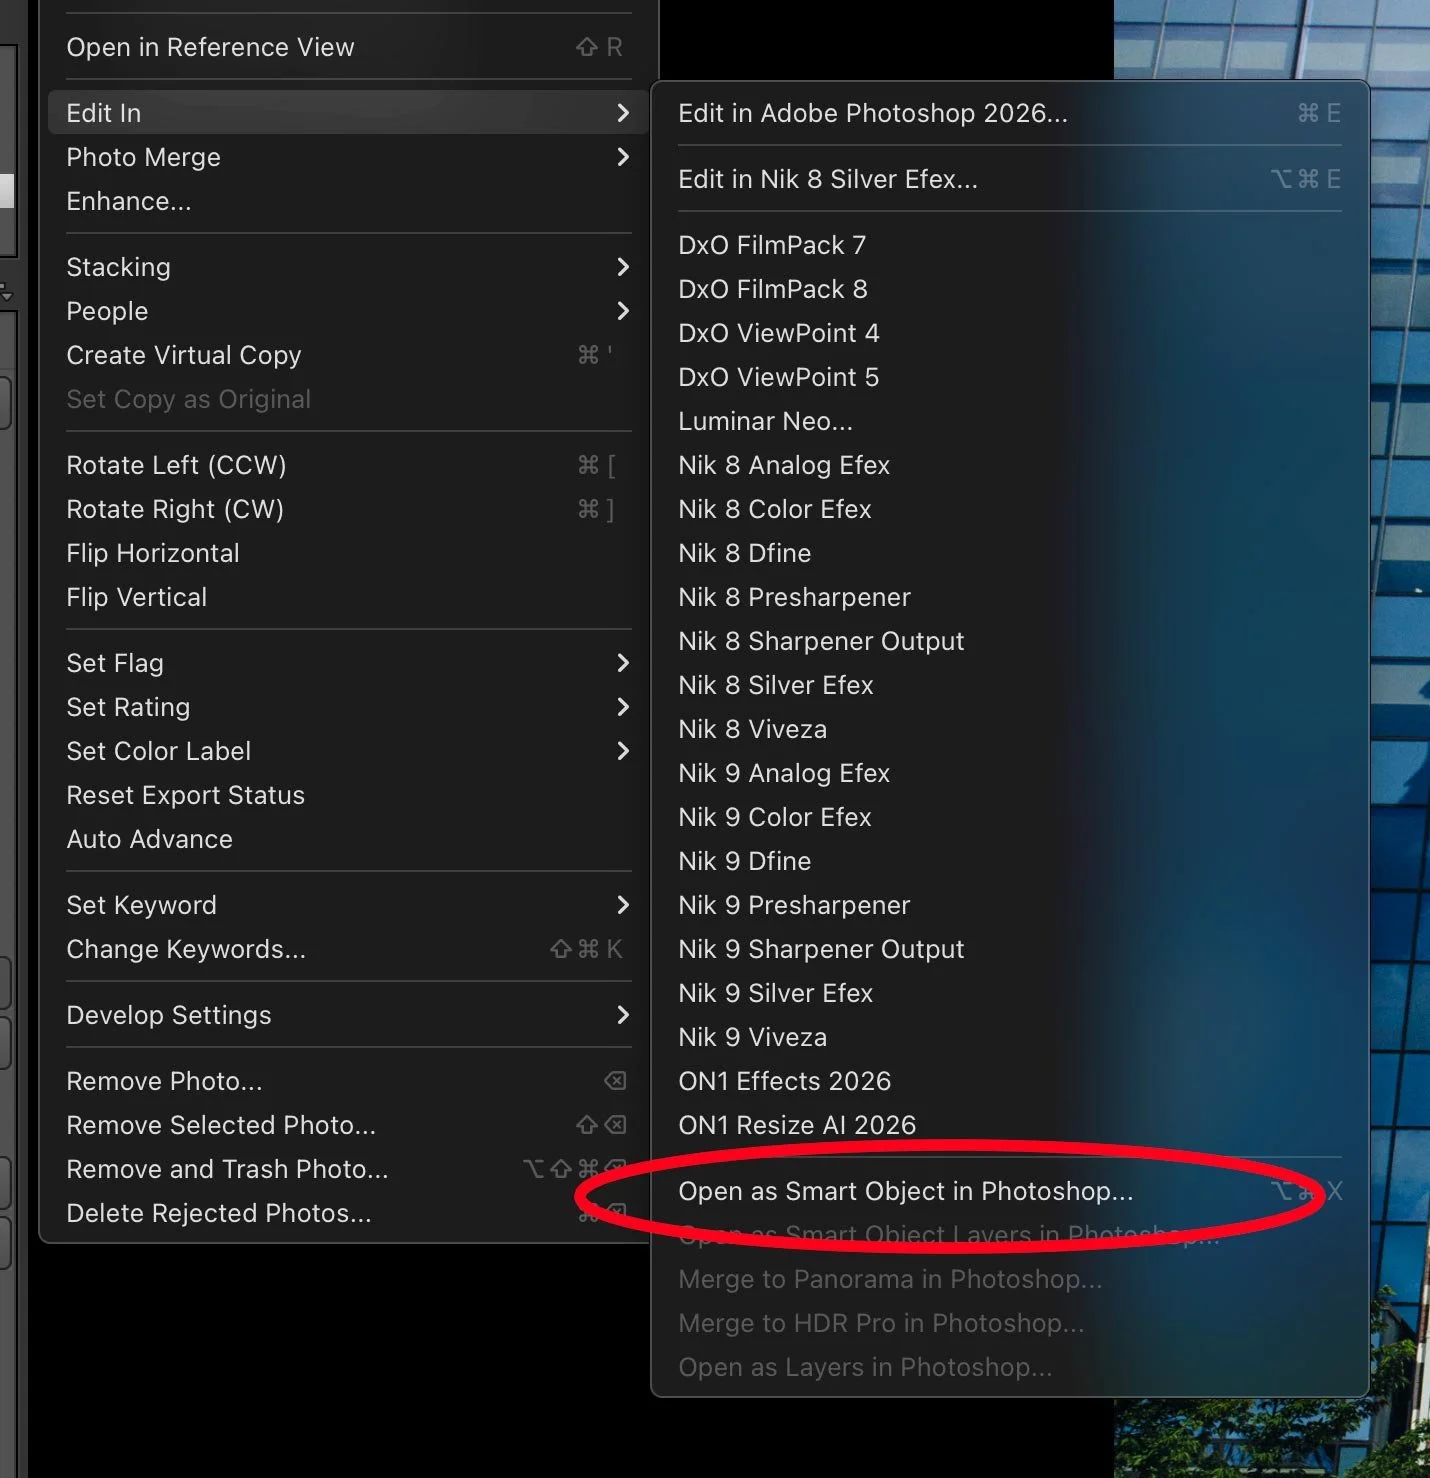
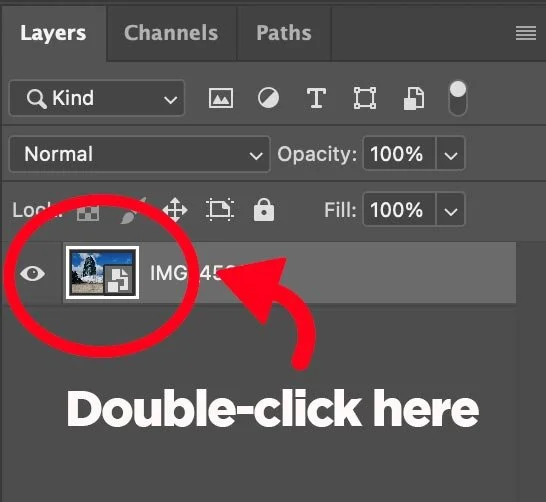
This will send your raw file to Photoshop without flattening it to a TIFF or PSD first. It will send the file to Photoshop as either a Tiff or a PSD depending on how you have it configured (it doesn’t matter which, really), and open in Photoshop as a smart layer. Once in Photoshop, all you have to do is double-click on the layer icon in the Layers palette, and the image will open in Camera RAW. Make sure to double-click the icon, not the layer name.
Now that you’re in Camera RAW, you can make all the edits you want and take advantage of some of the features not present in Lightroom. You will notice that any edits that you made in Lightroom before sending to Photoshop should be maintained here. In other words, any sliders you have changed in Lightroom will be changed here in Camera RAW.
Once you have finished editing, simply click ok to apply your changes. This will exit Camera RAW and return to Photoshop. Because it is a smart layer, you can double-click the layer icon again at any time to go back into Camera RAW and your edits will be exactly as you left them.
Once you’re finished in Photoshop, all you have to do is save your image to send it back to Lightroom. Make sure to just “save” and not “save as”, as this may break the connection.
Re-Editing your image in Camera RAW
If you want to re-edit an image in Camera RAW that you have already edited, you need to do it slightly differently. In this case, you’ll be working with a previously edited Photoshop or TIFF file and not an actual RAW file. This time, you do need to use the Edit in Photoshop command; if you use the Open as Smart Object option, you will embed the Photoshop file in another Photoshop file.
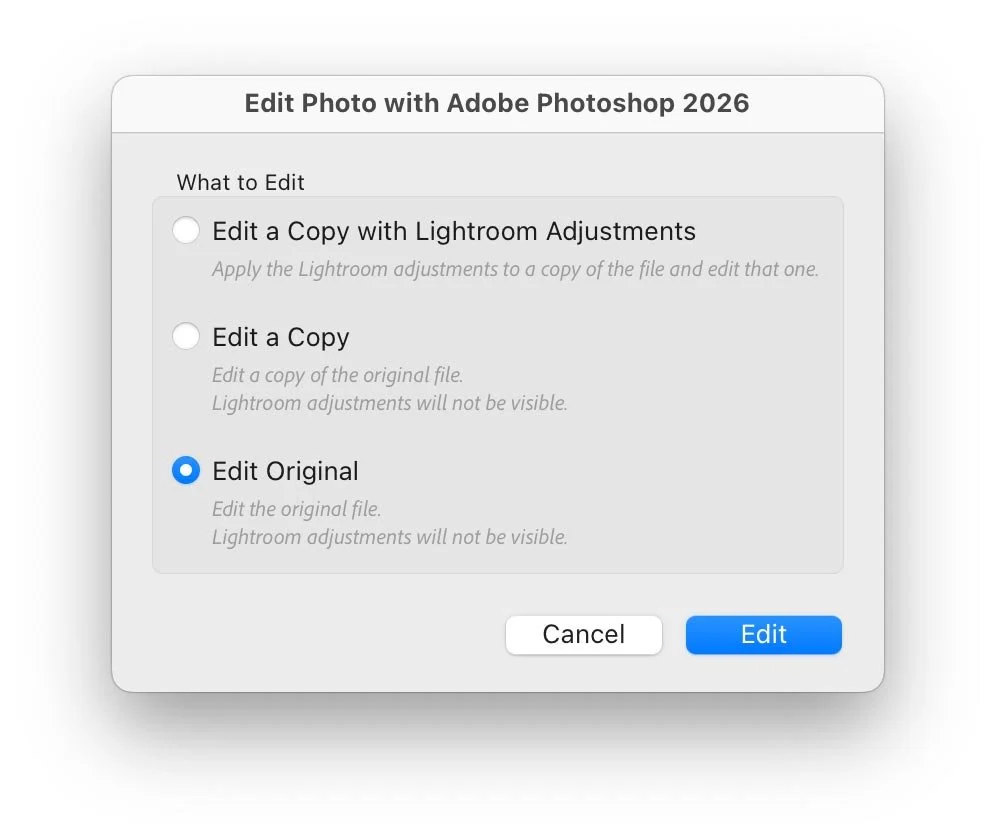
So use the command: Photo > Edit In > Edit in Photoshop (Photoshop version number)
When the dialogue box opens asking you what to edit, make sure to choose: Edit Original. This is very important, as otherwise, Lightroom will create a flattened version and send that to Photoshop
Once back in Photoshop, you can edit in Camera RAW by once again double-clicking on the layer icon in the Layers palette.
And when you’re finished, save again to send it back.
Note that while your image is open in Photoshop, you can just keep saving it, and Lightroom will update automatically. You don’t need to keep going back to Lightroom and re-sending it to Photoshop. If you have saved in Photoshop and the image hasn’t updated in Lightroom, just switch back to Photoshop, wait a second and then switch back to Lightroom. This usually fixes it.
Conclusion
That’s pretty much all there is to it. It sounds more complicated here because I’m laying it out step by step, but once you get into the habit of it, it’s fairly straightforward and much easier than trying to use Bridge and re-syncing your finished photos back into Lightroom. Just remember that the first time you send an image, use “Edit as Smart Object”, and when you want to re-edit, use Edit in Photoshop > Edit Original.