
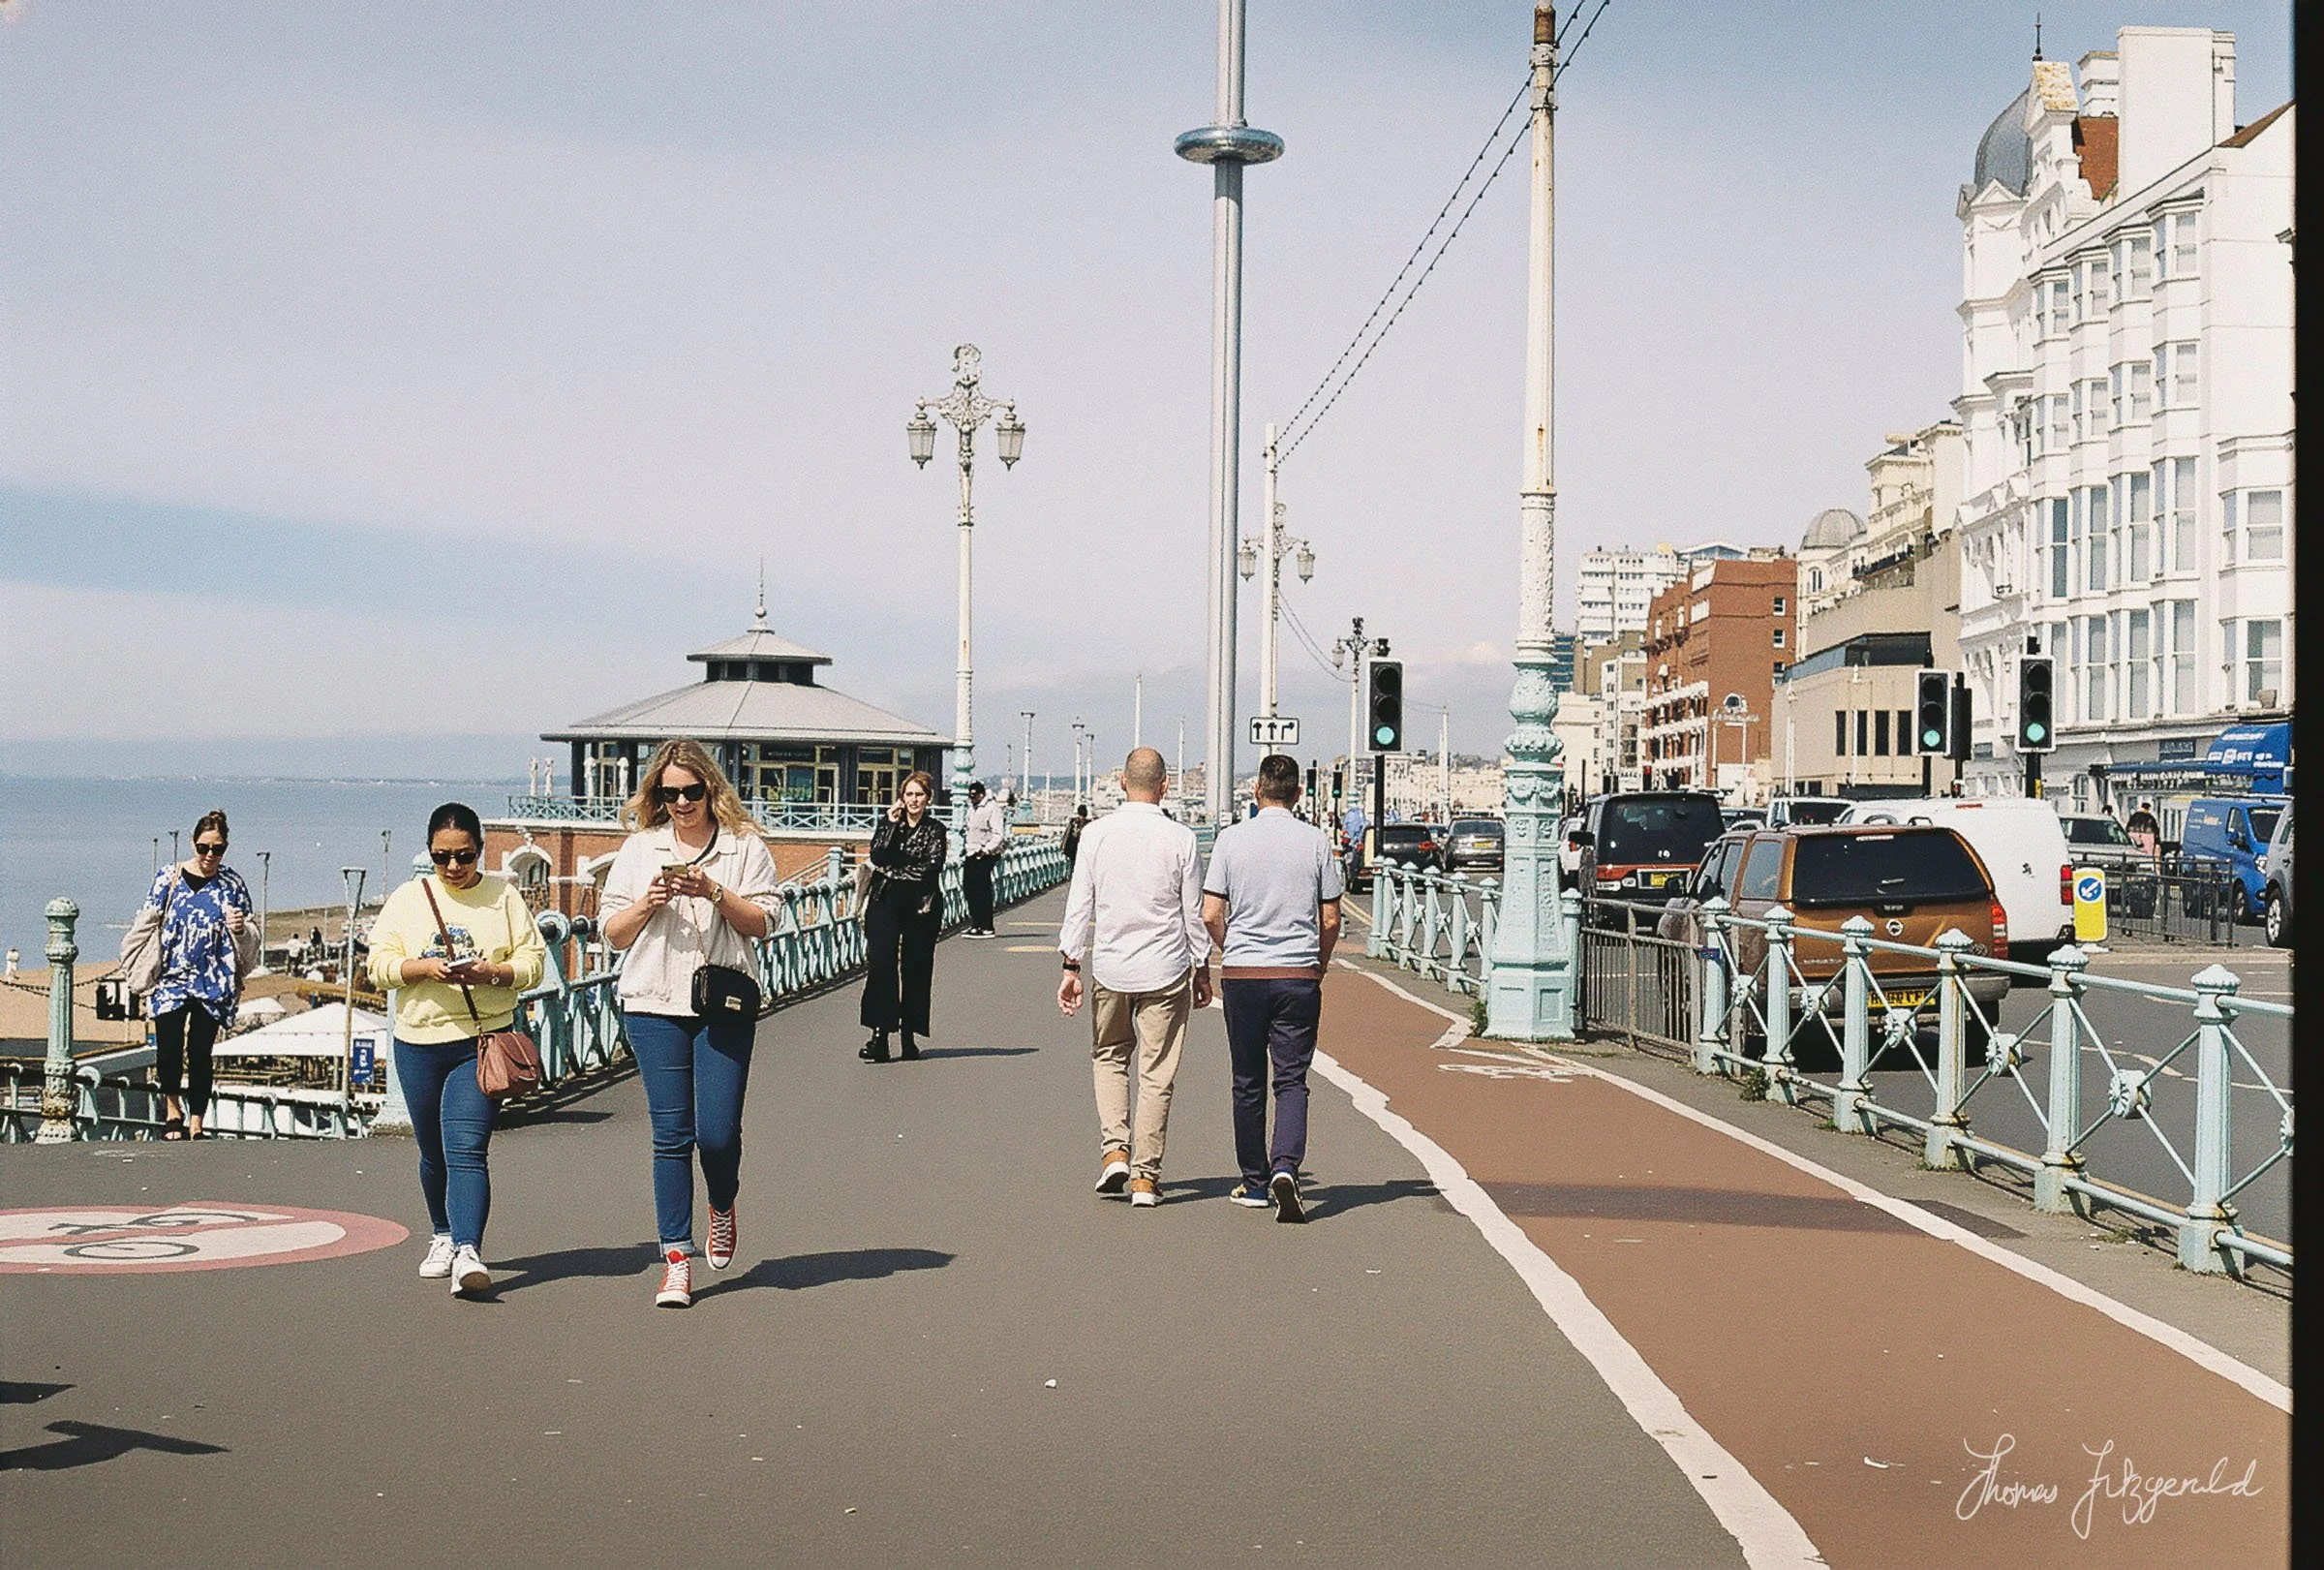
Enhancing Low-Quality Film Scans with this new Photoshop Beta Feature
One of the mildly frustrating things about shooting film in 2025, apart from the cost, is getting your negatives scanned. Most labs will scan your film at the time of development, but the results are pretty terrible. They usually give you very low-resolution scans, with horrible noise reduction and sharpening turned up to eleven. These scans are mostly useless for anything except for previews. I have tried upscaling them and processing them in the past, to make them at least suitable for social media posts, but generally to no avail. Even using super resolution in Lightroom, the results aren’t great. Enter a new feature in the latest beta version of Photoshop.
I actually discovered this by doing something entirely different. I had been doing some graphics work in Photoshop and the usual pop-up welcome screen came up advertising the latest features, as I first fired up the software. One of these was “generative upscale”. This is different from Super Resolution and is currently designed more as a way to upscale very low-resolution files to something reasonable. It’s capped at eight megapixels at the moment, or around 4000 pixels.
I was curious to see how this would perform, so after I had finished my work, I fired up the beta version of Photoshop to try it out. If you don’t have this installed, the beta version of Photoshop is available to anyone. Simply go to the creative cloud application, go to the “Apps” tab and then select the beta subsection. Here you can select to install the Photoshop beta, along with other betas you may want to install!
Once I had started Photoshop I was looking for a low-resolution file to try and the first one I found while browsing my photo drive was some afore mentioned crappy film scans from the lab. That’s when I went: “hmmmm”….
To be honest, I wasn’t expecting much as I had previously tried super resolution on these, but the results weren’t anything spectacular. But this doesn’t seem to be using the same model as Super Resolution. The results were surprisingly good. Given the poor quality of the originals, I was very surprised at how good the results are. It’s not perfect, of course, but it makes the files from the lab much more useable.

*Now, one thing I must make clear. I’m not suggesting that this is an alternative for proper scans. I’m not even saying that this is something I would use a lot because it has issues. Furthermore, I’m writing about this more because it’s an interesting use of technology, and it’s a possible use case in the future when the bugs are ironed out (and there are a few). *
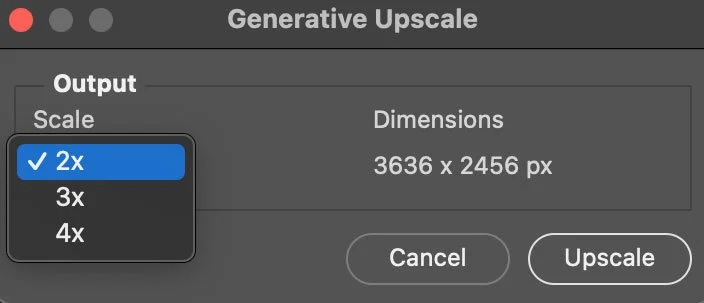
To use generative upscale, you open your image in Photoshop (beta) and then from the image menu choose: “Generative Upscale”. This opens a dialog box with pup-up menu allowing you to set the scale, in terms of a multiplier of the original resolution.
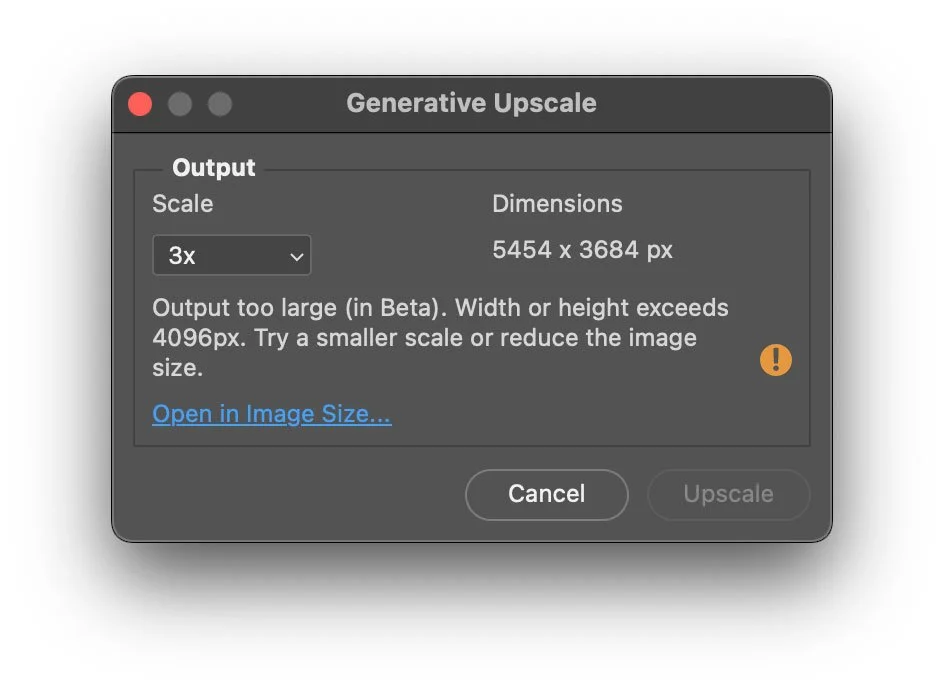
As this is still only a preview release, it is limited in resolution for now. So the multiplier you set needs to result in a file less than 4096 pixels. If you go over, it will give you a warning, and you need to set the next nearest smaller multiplier.
In the case of these images, I selected 2X, and then hit upscale. The software then does its AI trickery and upscales the image. It actually gives you the results in a new layered document. The top layer is the AI upscale and the bottom layer is just a normal upscale, and you can immediately see the difference.
Quick Walkthrough Video (Best Viewed Large) - Note this is mute
There are a couple of issues with using this new function in this manner, though.
Firstly, it creates a new file, so if you’re using it with Lightroom you’ll need a workaround for your workflow. I just save the PSD files into the same folder as the originals and then re-sync the folder in Lightroom.
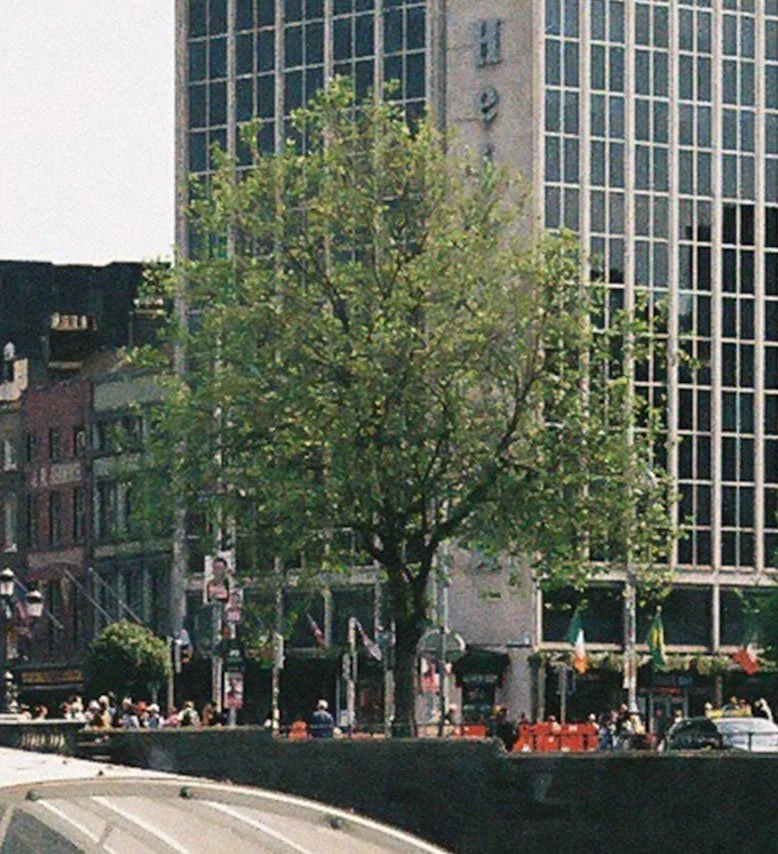
100% Crop - Before (Normal Upscale)
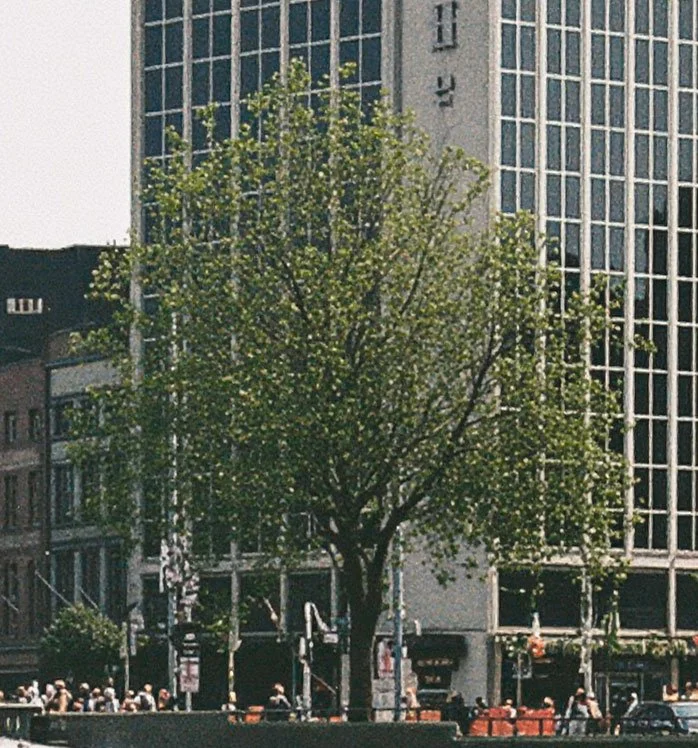
100% Crop - Tree After - Using Generative Upscale
Secondly, because it’s using generative AI, you can get some unpredictable results. It seems to be regenerating the whole scene based on the low res version. In my tests, I noticed a few interesting artefacts come up. It changed the pattern on a woman’s dress. On a photo of a stoney beach, it made the stones smaller and more uniform.
Thirdly, it sometimes reduces the contrast and makes some areas of flat detail bland and featureless. You can fix this a bit by tweaking things back in Lightroom (or in Photoshop) but this can be an issue.


Considering that this isn’t even remotely what someone considered the primary use case for this, the fact that it works so well, even if not perfect, is quite intriguing to me. If you have lab scans like this, try it and see what you think of the results. And of course, you can just try it on normal images too.
A few additional thoughts and setting expectations
I just wanted to clarify a few other things about using generative upscale on scans like this, that I know people will leave comments about.
The scans I started with are 1800 pixels, and I’m sure someone will point out that these should be high enough resolution for Social Media in the first place, especially something like Instagram. But at 1800 pixels the quality is bad, and even if you try to fix it, you’ll just make it worse. Moreover, while 1800 pixels might be the actual file resolution, the effective resolution is much lower. By upscaling and regenerating detail, you can then downsample the image and significantly improve the quality of the output.
Another point I wanted to make is about the scans in the first place. I’m sure some people are thinking:, “why not just get better scans”, or “why not scan them yourself”? Well, it’s not that easy. Of all the places here in Dublin (and the surrounding area) that do film development, only one does anything apart from the basic lab machine scans. And they’re very expensive. It might be more common in other countries, but here in Ireland, it’s very hard to get a decent scan professionally without it costing a fortune.
Scanning yourself is something I used to do with my old Canon film scanner. The results were great at times, but it needs third-party software that never really worked perfectly with it, especially for colour. Supporting it is getting harder and harder, and there are some issues with the scan head now too. It is over 20 years old (I think). Also, it’s USB 1.0 so it’s phenomenally slow.
I have been experimenting with camera scanning using Negative Lab Pro and that seems to be the way to go, but it’s tricky enough to set up, and you really need to have a permanent rostrum mount to do it right. I’m not there yet, unfortunately, but it’s something I’m looking at doing if I shoot more film. If you’re interested in this, here is an excellent YouTube channel I recommend following, as the photographer, Kyle McDougall has done a good series of videos on scanning using cameras.
Of course, a far bigger issue with shooting film is that it is getting more and more expensive all the time, to the point where it is becoming unaffordable for most people, unless you’re directly making money from it. But that’s another post for another day!