Long Exposure Night Shots with the Sony A6000
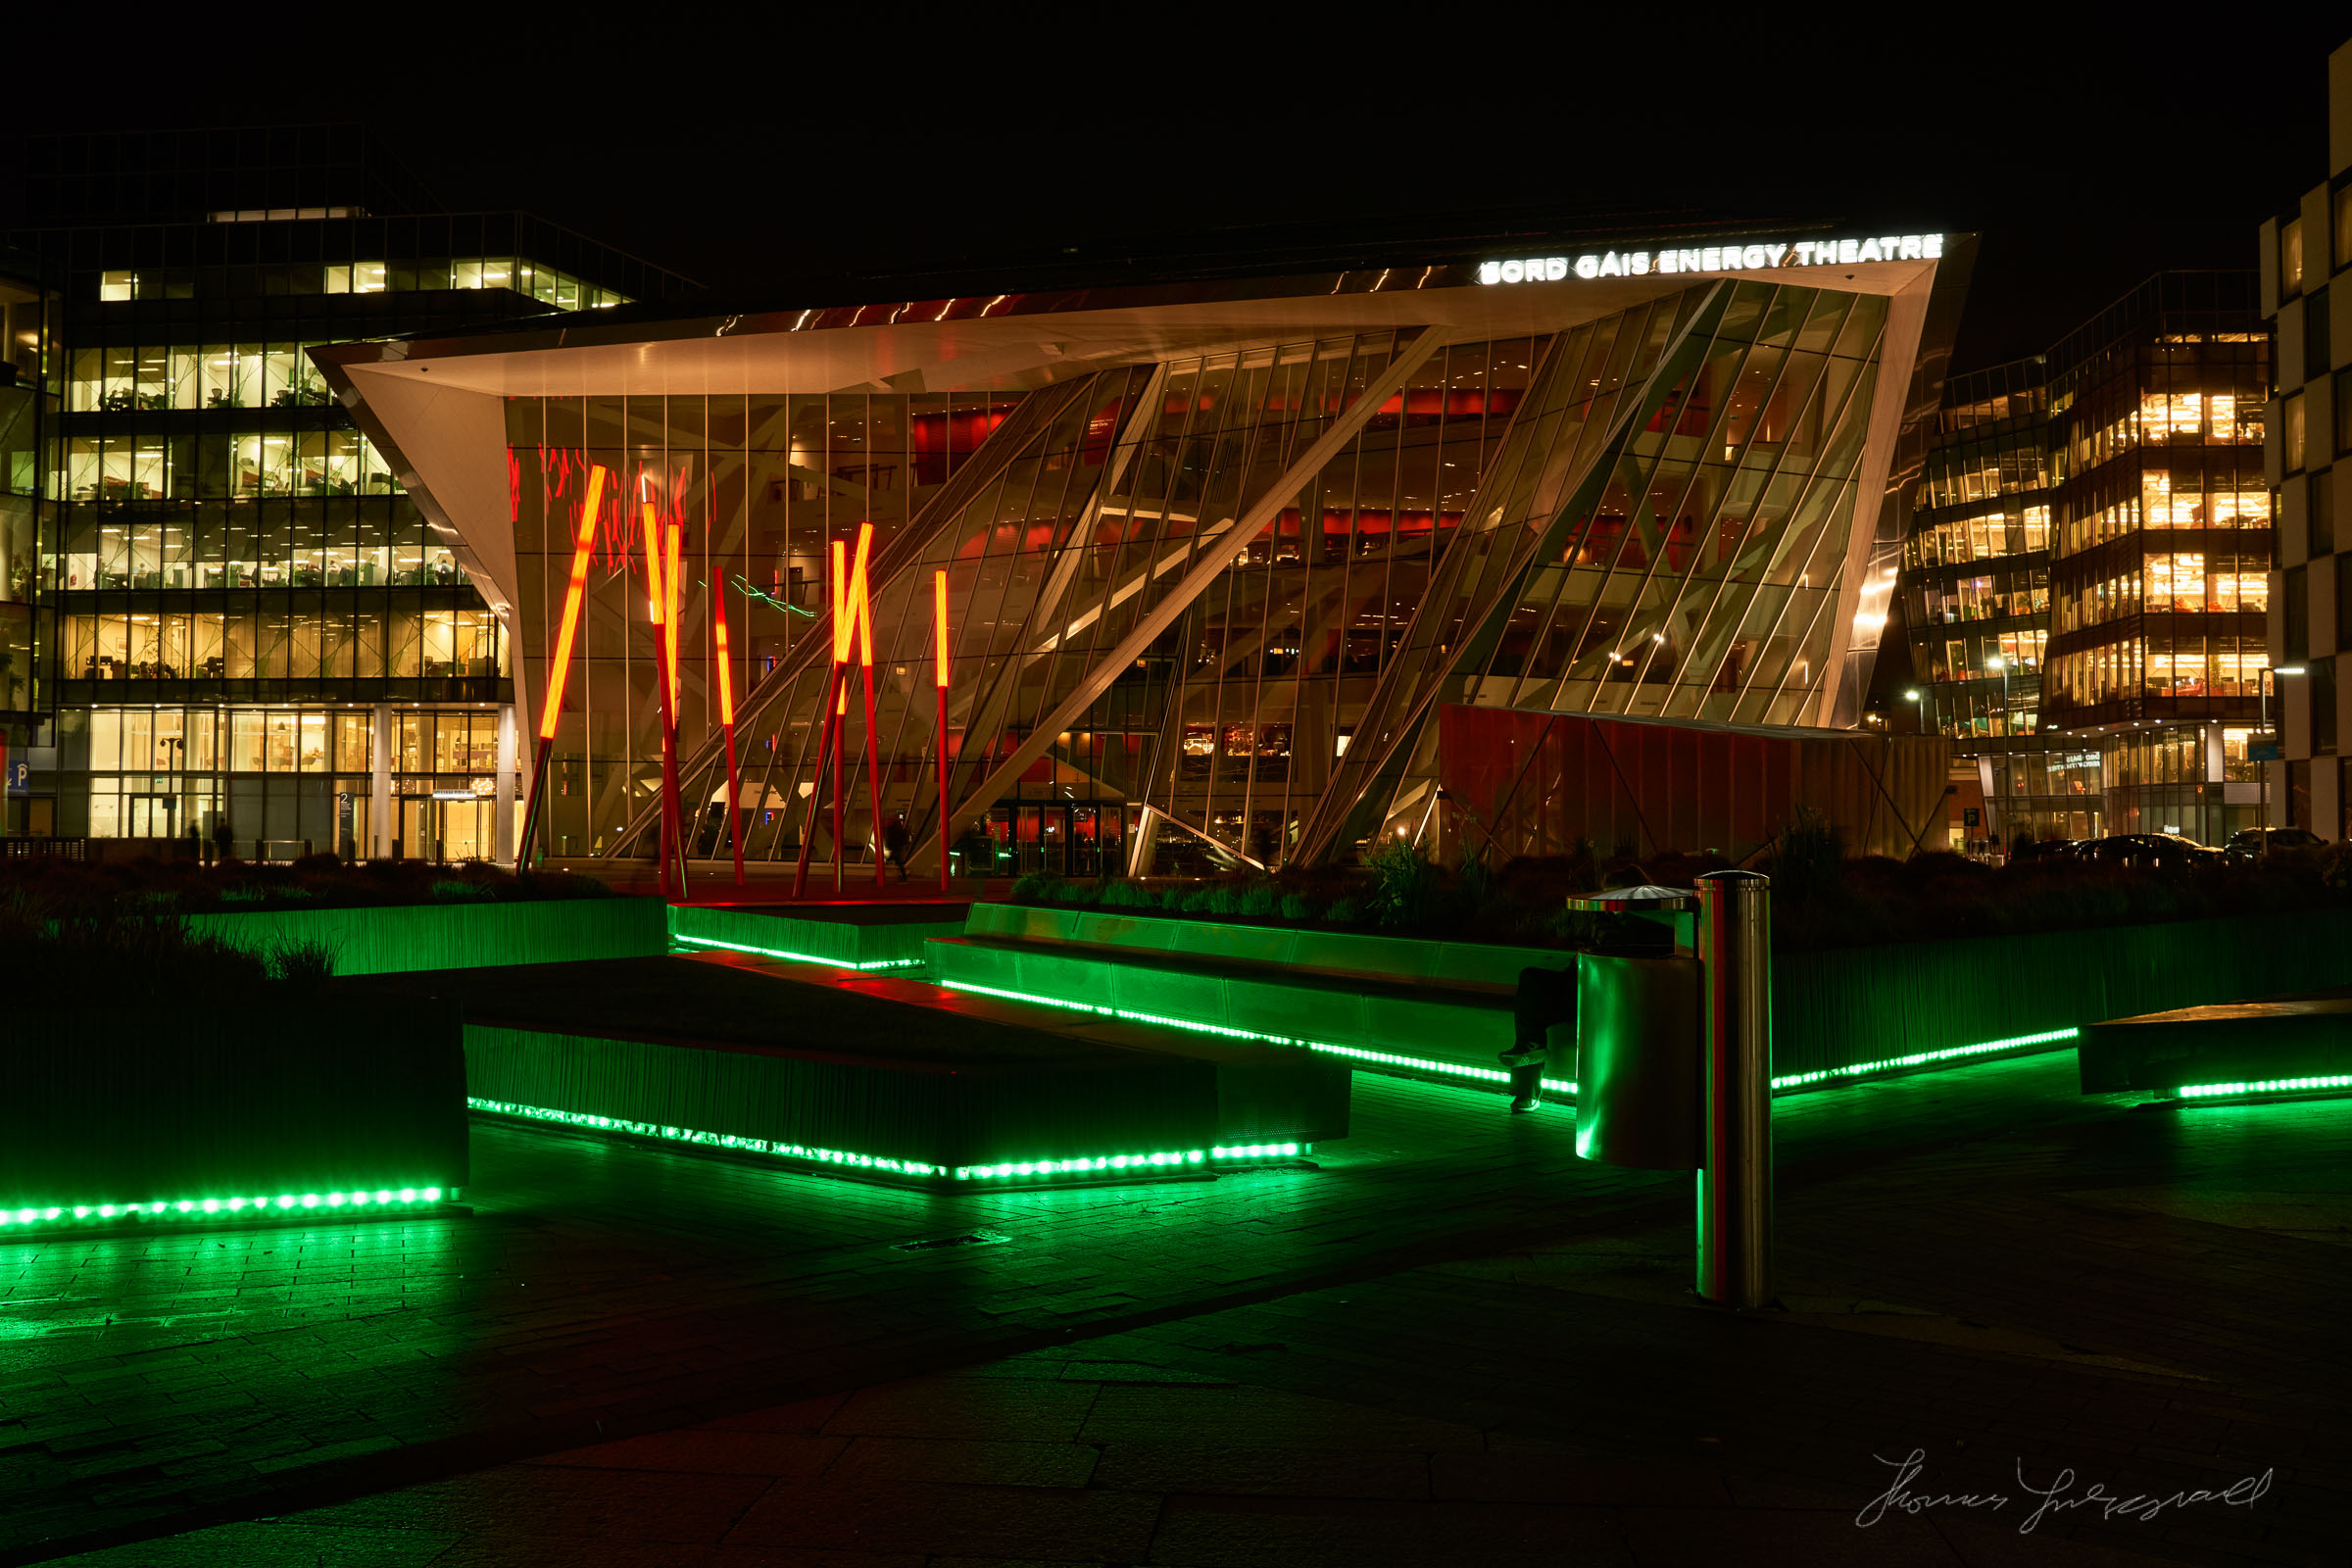
It's been a while since I've taken any night shots. It's not something I do that often, not for any particular reason (other than fear of getting mugged!) Anyway, over the weekend I had the chance to take some pictures of the Grand Canal area of Dublin City after dark. I had my Sony A6000 with me, along with a sigma 30mm and 19mm lens, and my somewhat ancient Manfrotto tripod.
Grand Canal dock is one of my favourite areas of the city. It has lots of modern architecture which is perfect for night shots. The glass facades and the unusual architecture combined with the artistic light installation make for a great subject.
It was actually the first time I've shot long exposure shots with the Sony A6000. It's actually pretty straight forward, and not much different than how you would approach it on any other camera. The fact that it's mirrorless helps in that you're always getting a view from what the sensor sees, so you have a rough idea of how the shot's going to look. I used aperture priority mode, in combination with the self timer and exposure combination and it worked perfectly.
There was one specific A6000 related issue with the shoot though. Because of the Sony's 16:9 screen, the image doesn't fill the frame, and when most of it is black anyway, it's hard to see the edge of the frame. This makes it's difficult to line up the shot using the screen, as it's hard to tell where the edges are. You can of course use the EVF to check, but it's another reason as to why I don't like Sony's decision to use a 16:9 screen on the A6000.
I was really happy with the results. The images are sharp and relatively clean, even though I did under-expose a bit to keep the highlights from blowing out too much. I did have some difficulties post processing these though. I found that the mages would posterise quite easily in Lightroom, especially if I tweaked the black levels much. I ended up going over to Capture One which seemed to handle the delicate gradients in the sky much better. From there I exported them as Tiffs back to Lightroom, and used Lightroom to export them with a watermark.
This showed up another unusual problem with Lightroom. You may or may not know this about Lightroom, but it uses two different colour profiles depending on what mode you're in. In the Library module it uses Adobe RGB but in the Develop Module it uses ProPhoto RGB. There normally shouldn't be any visible difference, but in with the Tiffs I had exported from Capture One, in the Library module there was significant banding in the sky, but when I switched to the develop module, that banding disappeared. The develop module is usually your reference for when this happens, as what you see there is what will get outputted, and luckily the output is fine, but it's one to watch out for.
I've had this problem in the past, and it's something that I really wish Adobe would fix. Originally the reason behind this is supposedly because the performance is greater with AdobeRGB, but surely improvements in processing power have rendered this moot at this point? Anyway, I'm getting sidetracked.
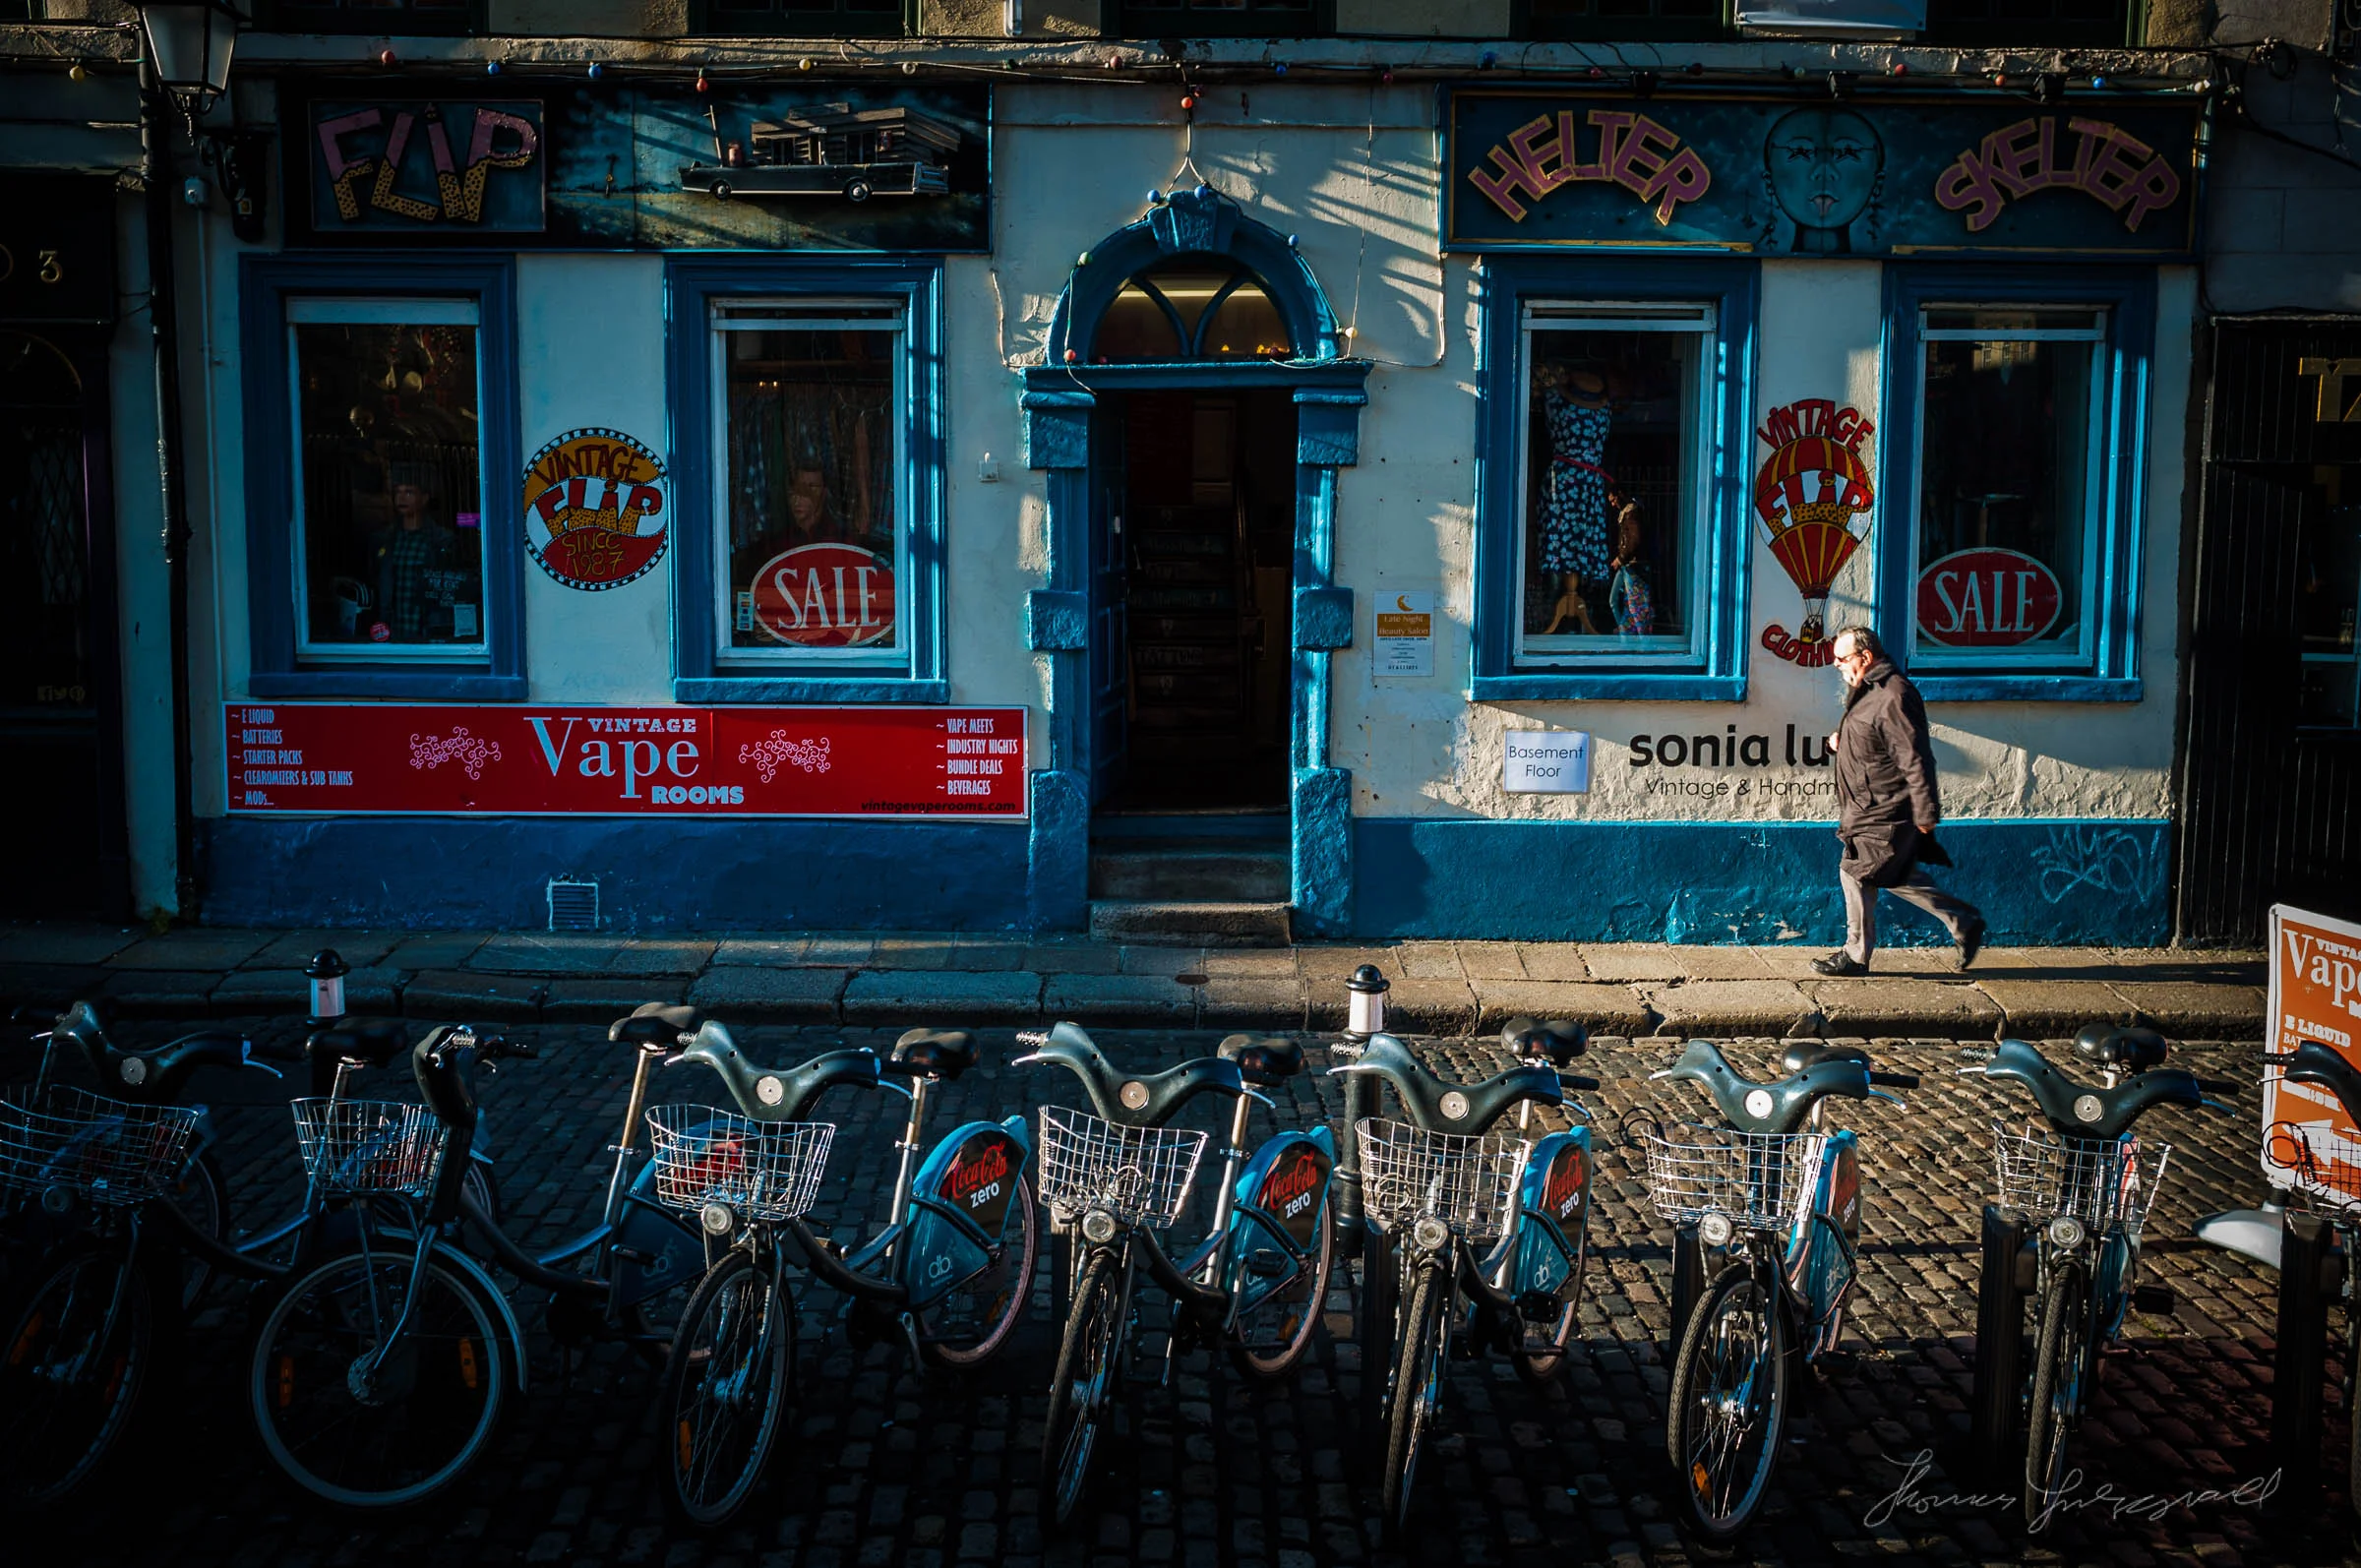
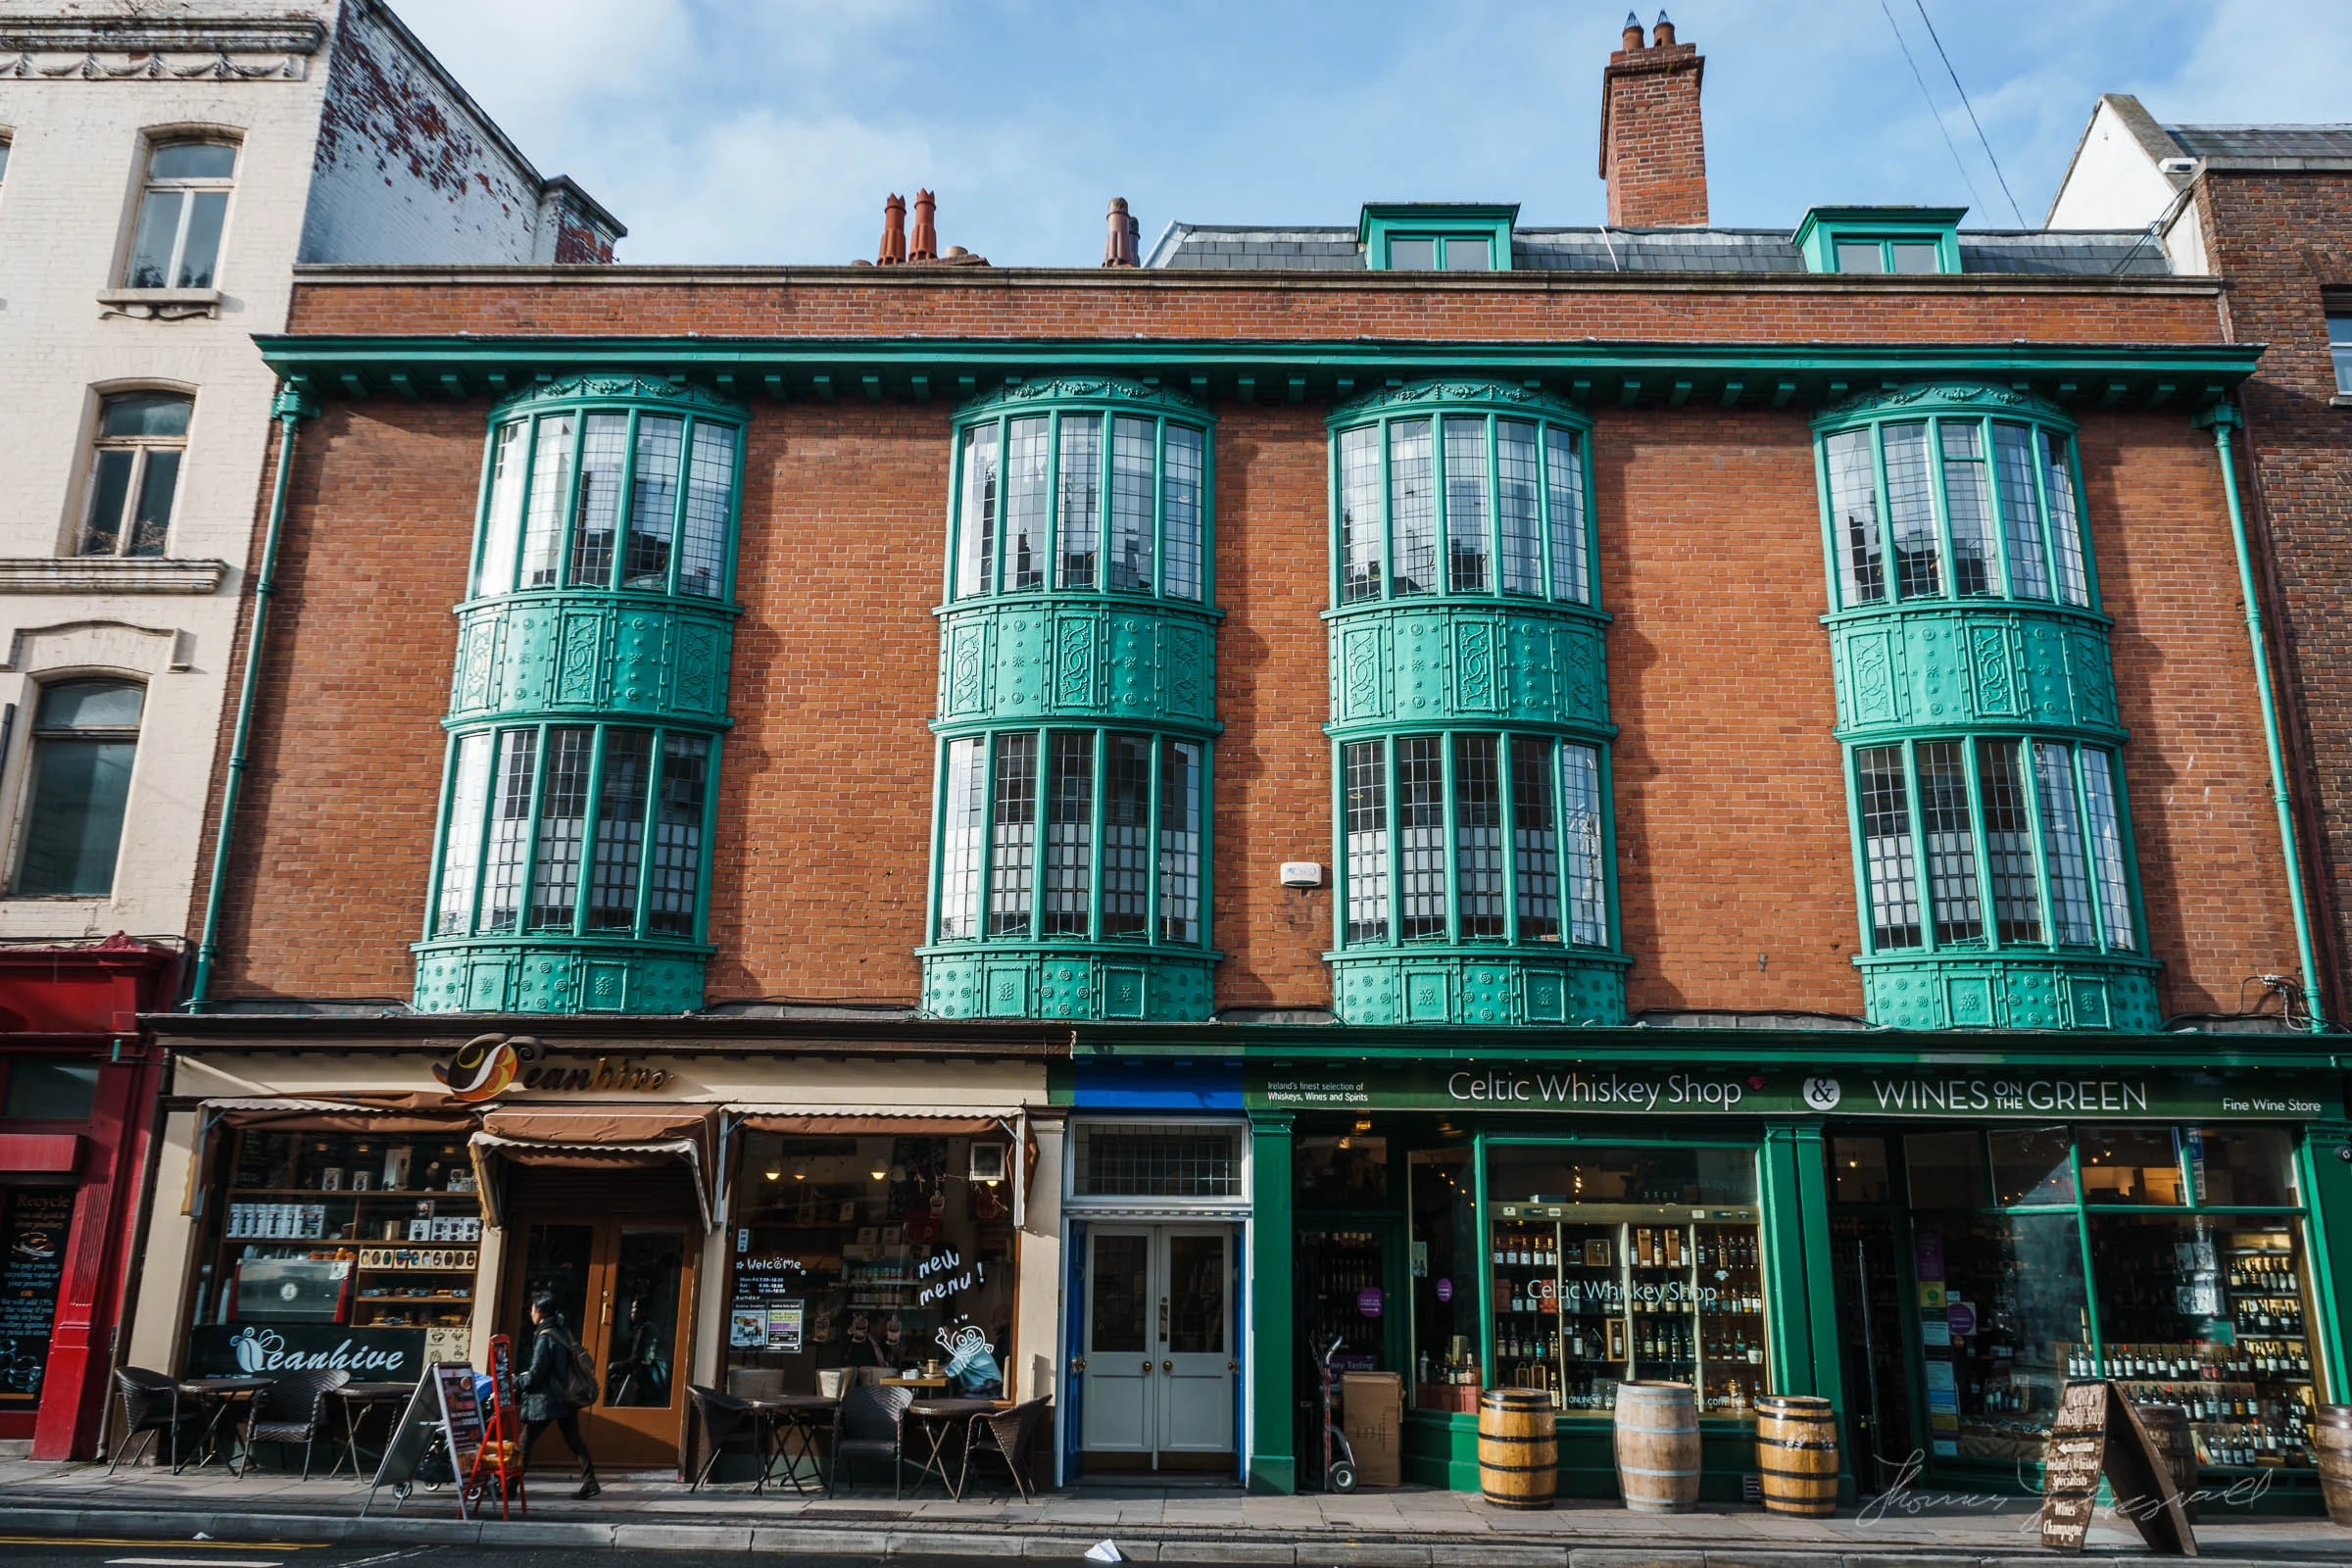
These shots were for my Streets of Dublin project, and are part of my new website for the ongoing series, so if you haven't seen it already, stop by and check it out. In the mean time, here are a few more shots from the shoot.
Help Support the Blog
If you want to get regular updates, and notices of occasional special offers, and discounts from my store, then please sign up for the Newsletter.
All of the work I do here, and the information on this blog is done entirely free of charge and takes up quite a bit of work. I want to spend more and more time on this blog, and offer more and more of this kind of information, tips and so on, so If you like what I'm doing here and want to show support, then you can do so by buying something from my Digital Download Store
I have Lightroom Presets, Photoshop ACR Presets, Textures and e-books all available for download.
If you're a Fuji X-Trans shooter and Lightroom user, check out my guide to post processing X-Trans files in Lightroom. I also have a guide for processing X-Trans files in Capture One

