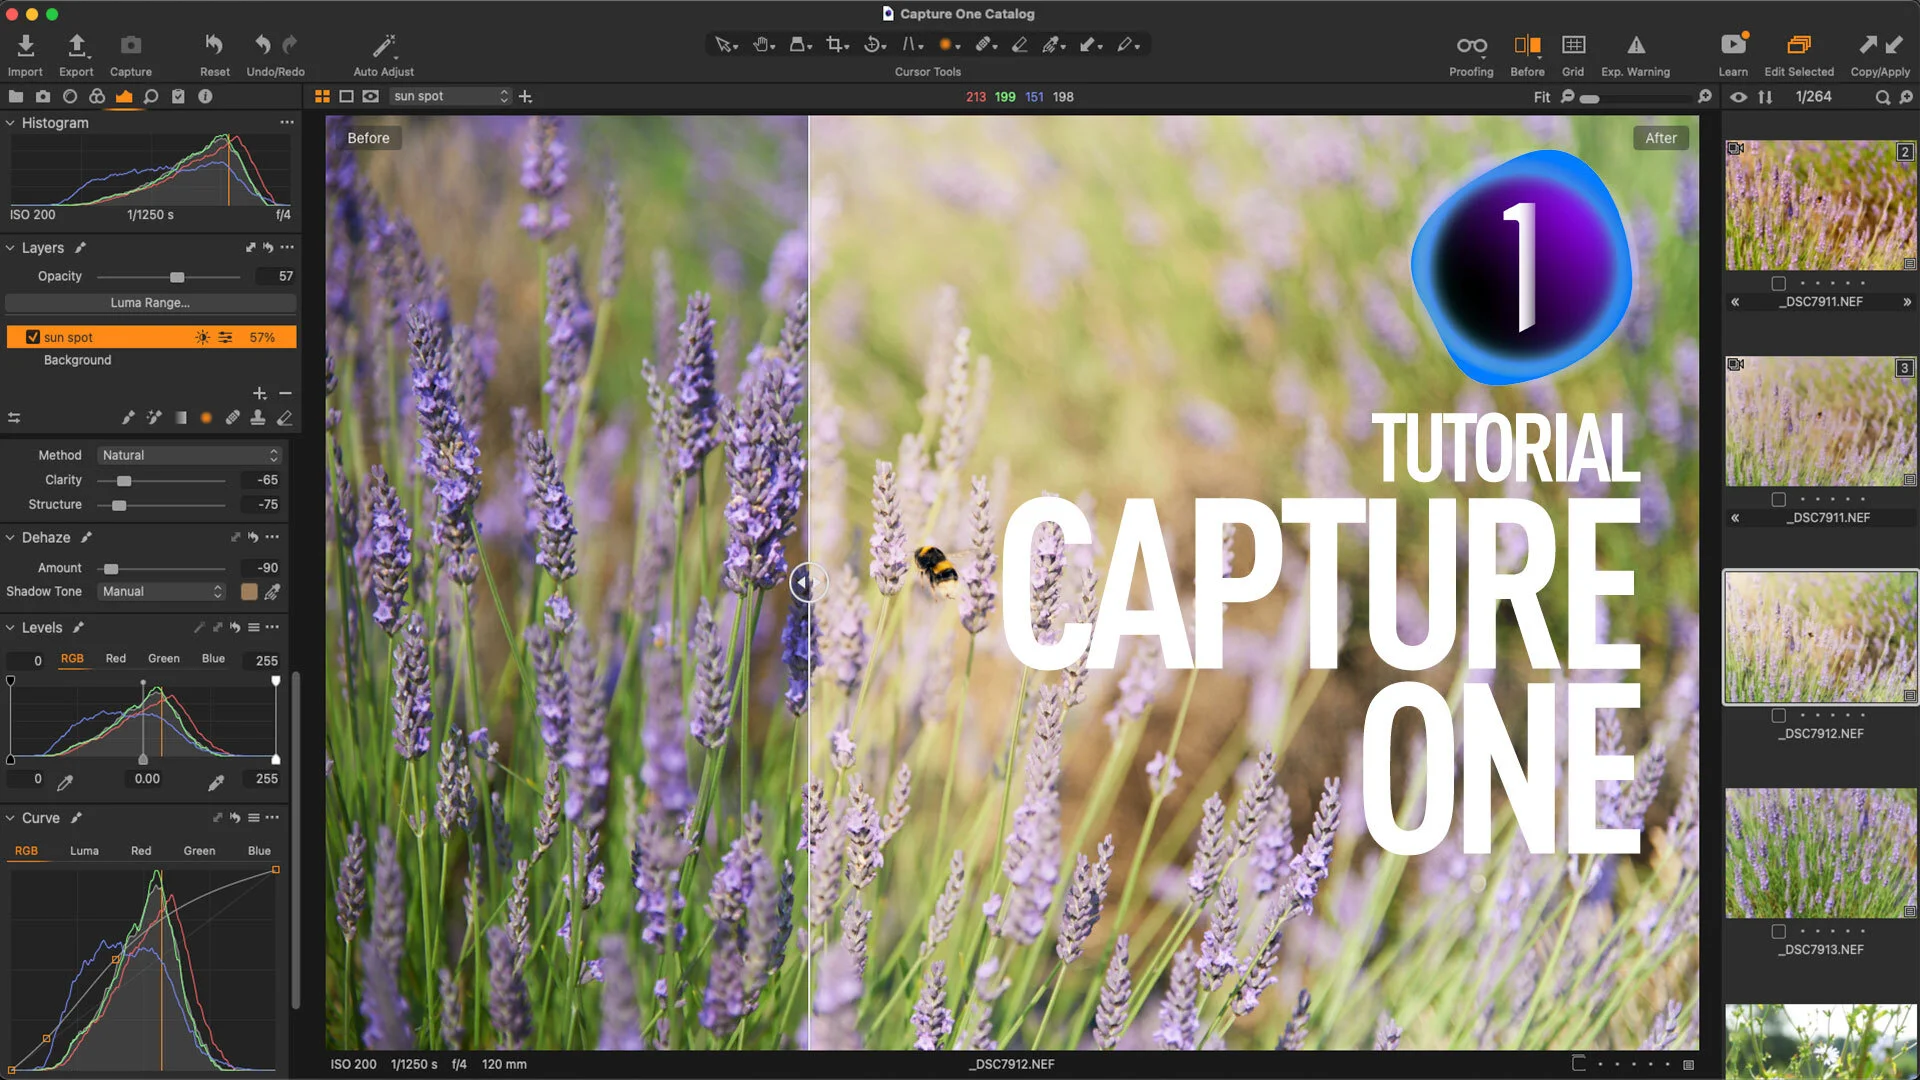
In this video, I show you some tips on how to use the Dehaze tool creatively in Capture One. By using a negative amount on Capture One’s dehaze slider and by tweaking the colour, I created a soft light effect.
All tagged Dehaze
Capture One 21 Dehaze Troubleshooting Tips
When Capture One 21 was released with the long-awaited Dehaze tool, I was a little disappointed with the results. However, having worked with it for a while now, I’ve come up with a few tips and suggestions for getting around the shortcomings of the feature. I still hope they improve it in future versions, but for now, here are some workarounds.
Video: Add Haze and Fog to an Image in Capture One
This video is a follow-up to the article I posted last week on the same topic. I had come up with a way to add haze using layers and a Luma mask in Capture One and I wanted to take it a bit further so I recorded a video showing you how to use the technique in a variety of situations.
A Quick Look at Lightroom's New Dehaze Tool
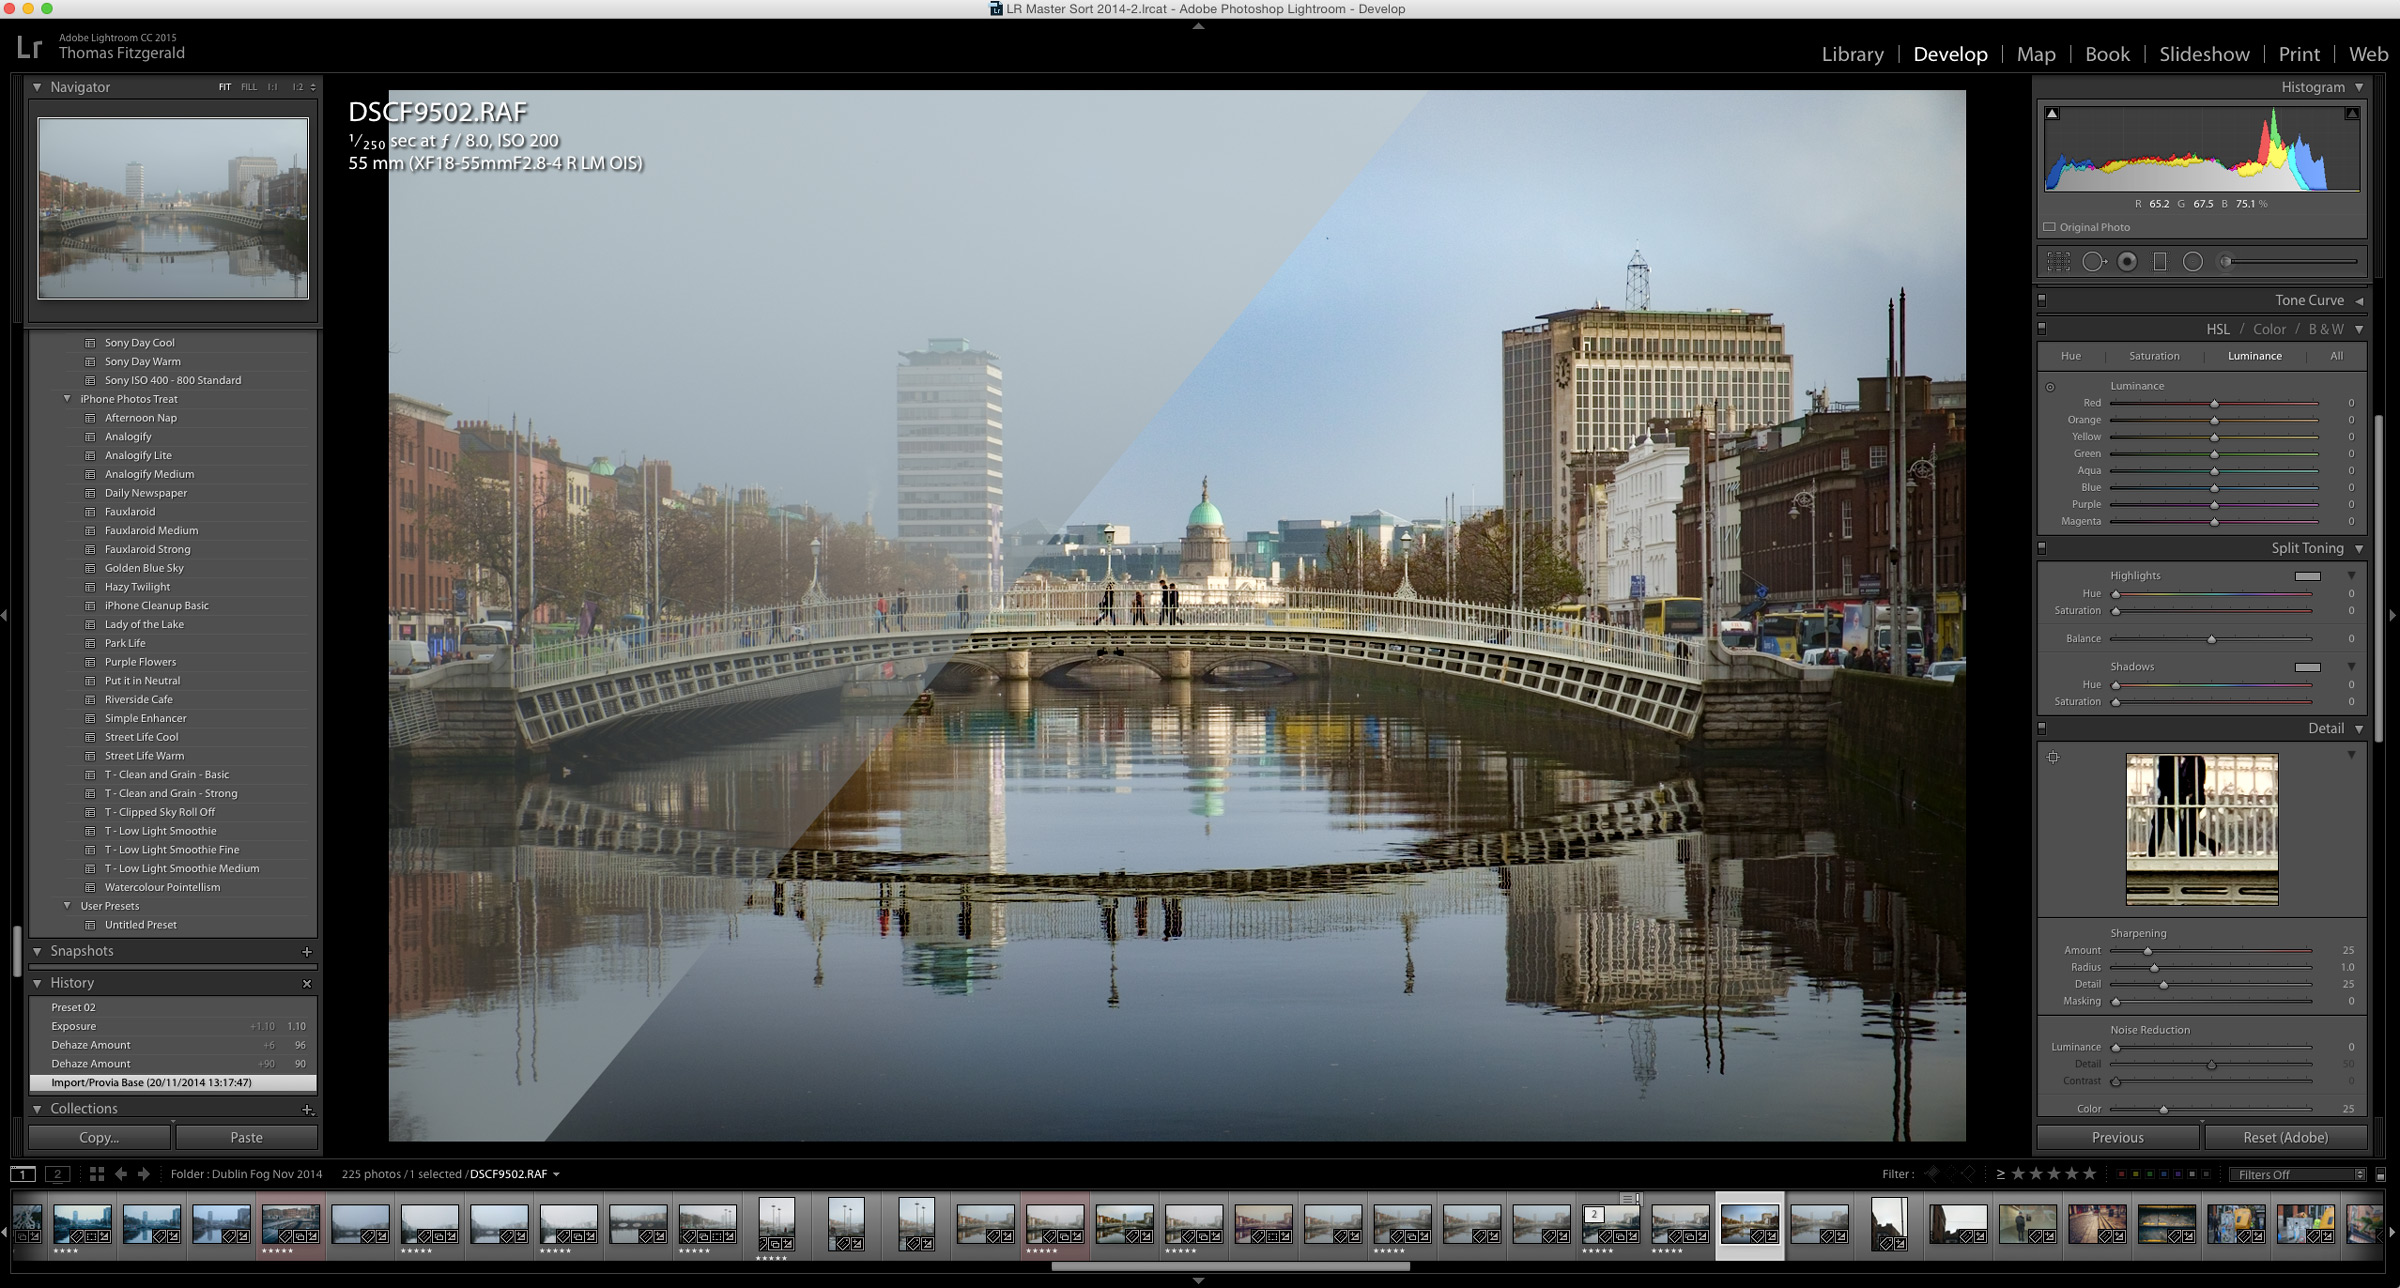
The signature feature of the recent Lightroom CC 2015.1 update was the addition of a new "Dehaze" tool. The purpose of this new function is pretty straight forward. It is designed to remove haze from your images. In operation it couldn't be simpler. A single slider has been added at the bottom of the effects panel called "Dehaze" and sliding this to the right causes Lightroom to do its magic.


