Using the Electronic Shutter on the X-Pro 2 for Street Shooting
With all the fuss recently about the Sony A9 and its electronic shutter, I thought I would try out the one on my X-Pro 2. I had dabbled with it before, but I always thought it was a bit of an odd experience, so I didn’t really do much with it. I had also read various reports of it introducing rolling shutter effects, so I hadn’t paid it much attention. However, I was out doing some street photography the other day, and so I thought that I might as well give it a try. I was pleasantly surprised.
Actually, I first got the idea when in a church. There was a beautiful ornate side alter in front of me and I wanted to take a picture without disturbing the other people in the church, so I thought of trying the electronic shutter. First of all, switching to it was easy because I have it added to my quick menu. I’m not sure why and why I added to the quick menu, but that’s another conversation.
Incidentally, if you didn’t know this already, you can quickly customise the quick menu by pressing and holding the q button on the back of the camera. This works for all the customisable buttons.
Once I activated it, I then wanted to turn all the camera noises off. Even with the electronic shutter activated, by default, the camera still makes a lot of noise. To turn the sounds off you simply go into the setup (spanner) menu and then to the sound options. Form here you can set the autofocus beep to silent and the shutter noise to low or silent.
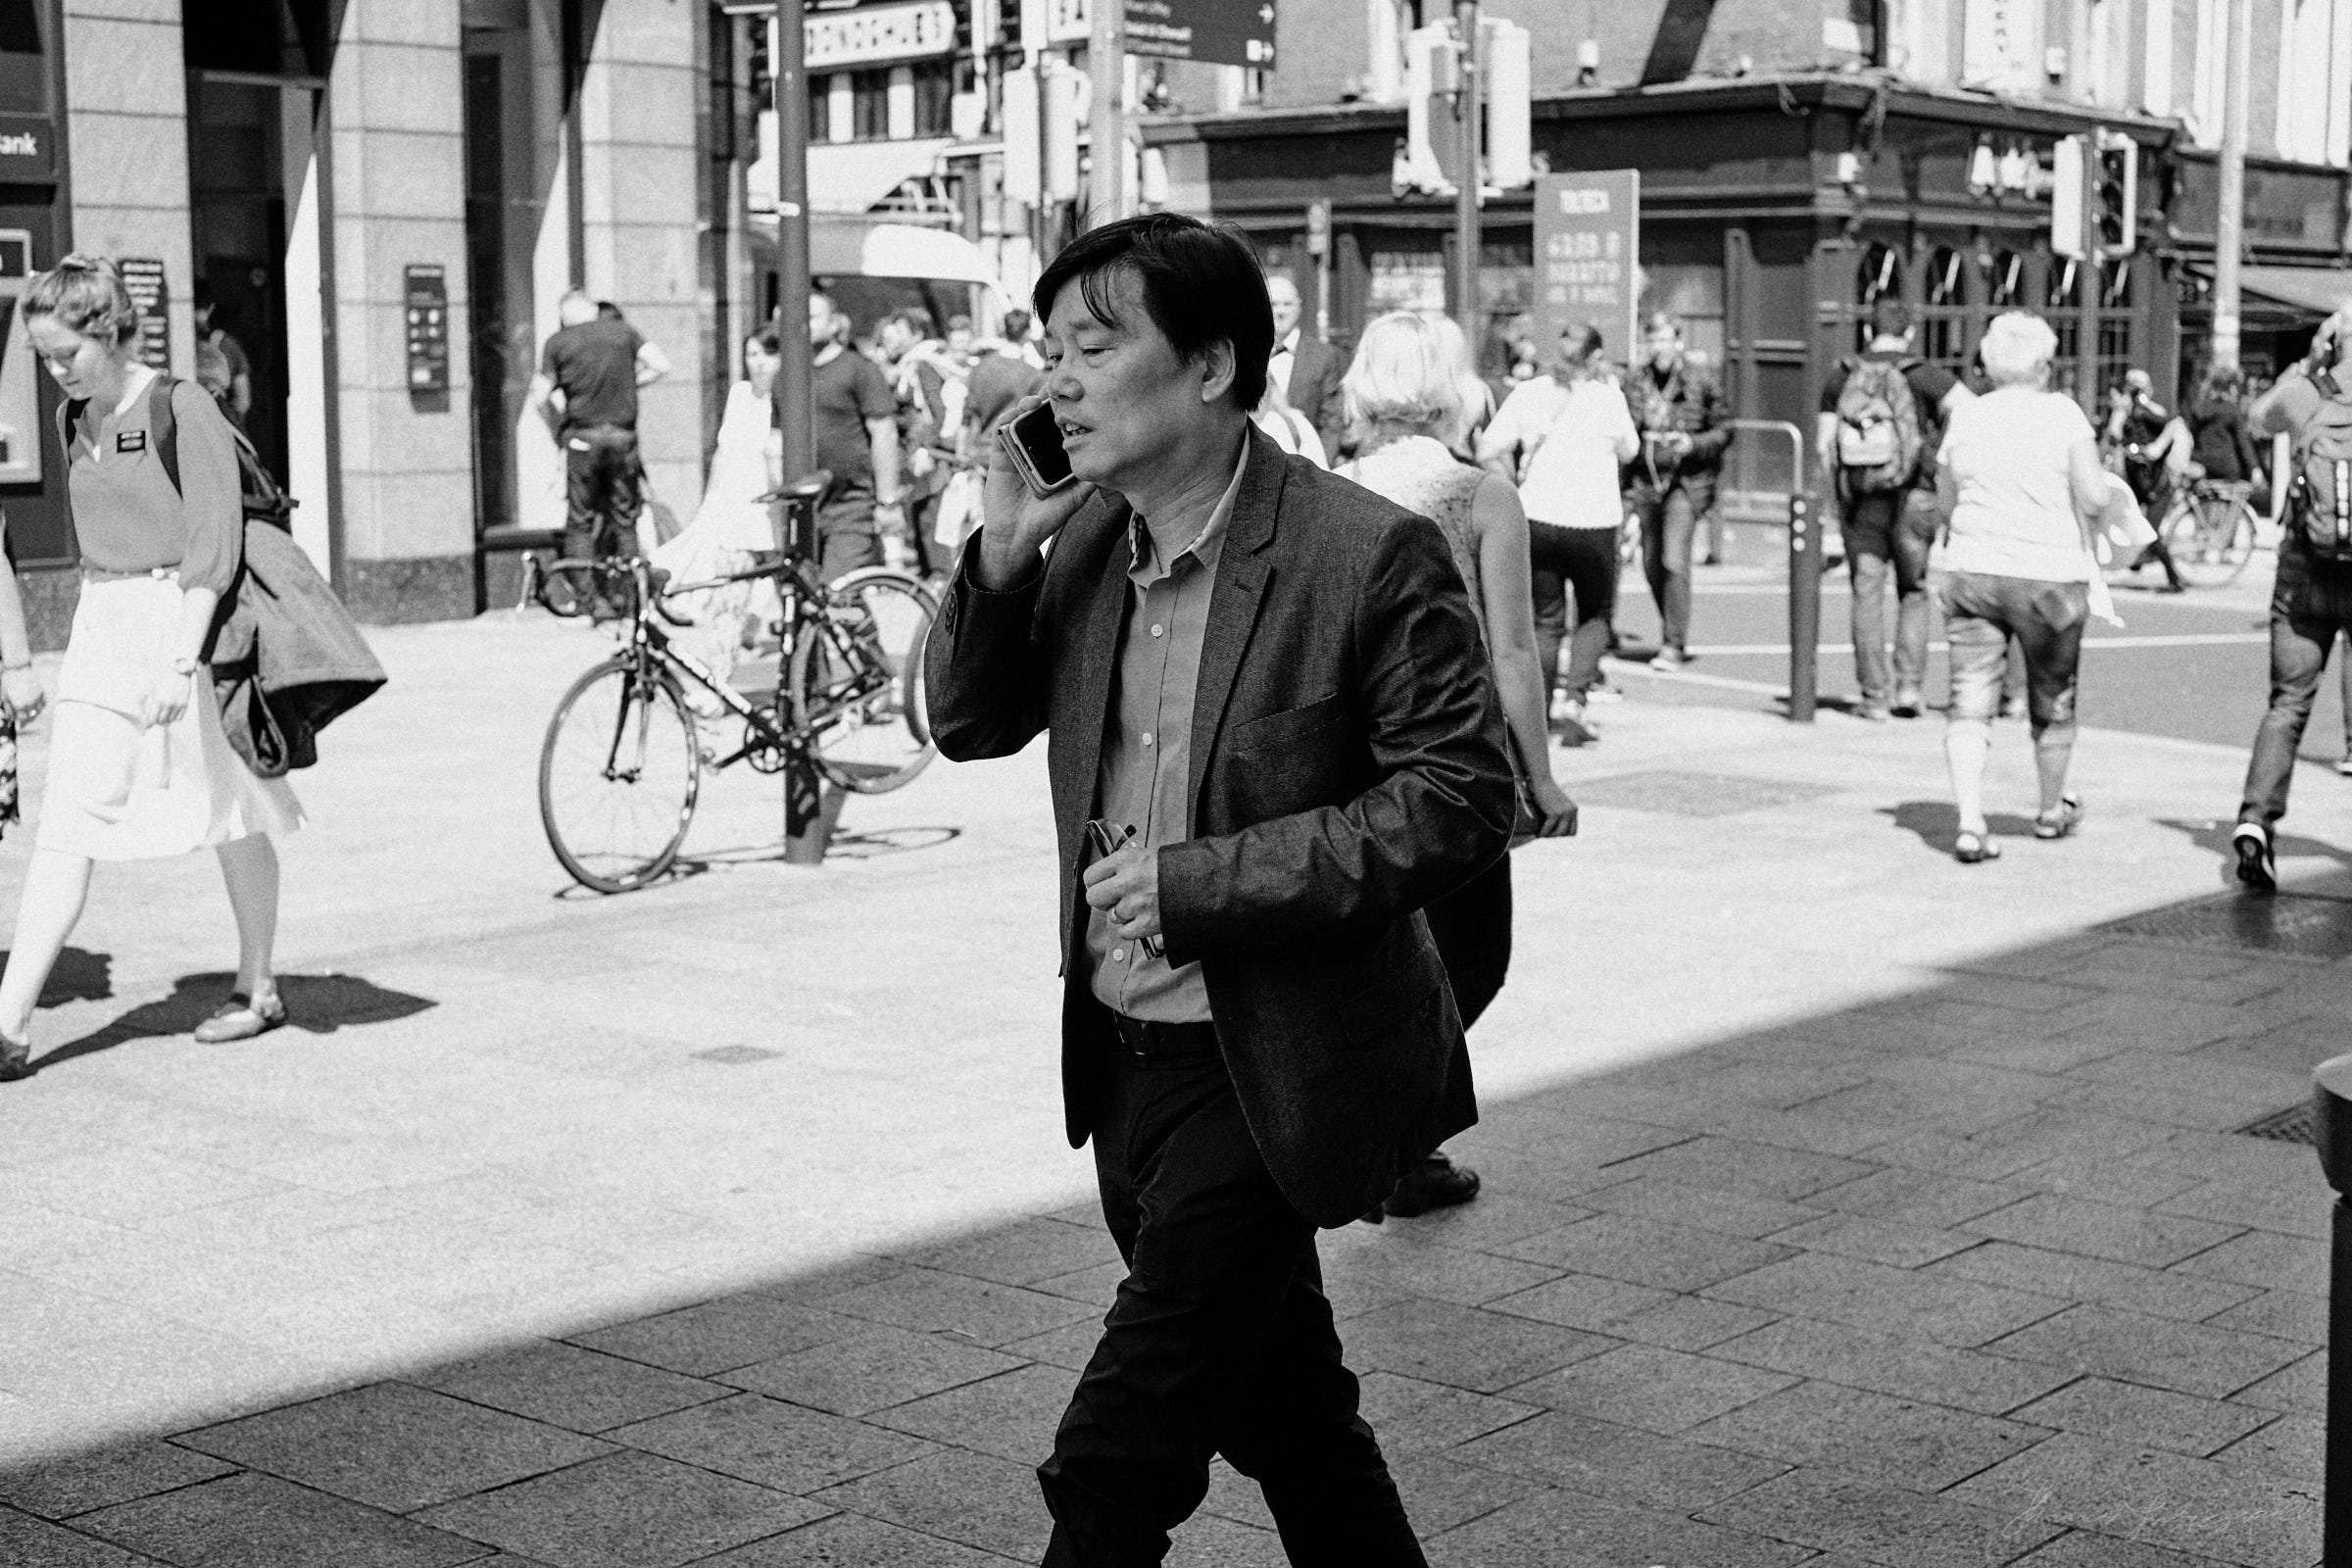
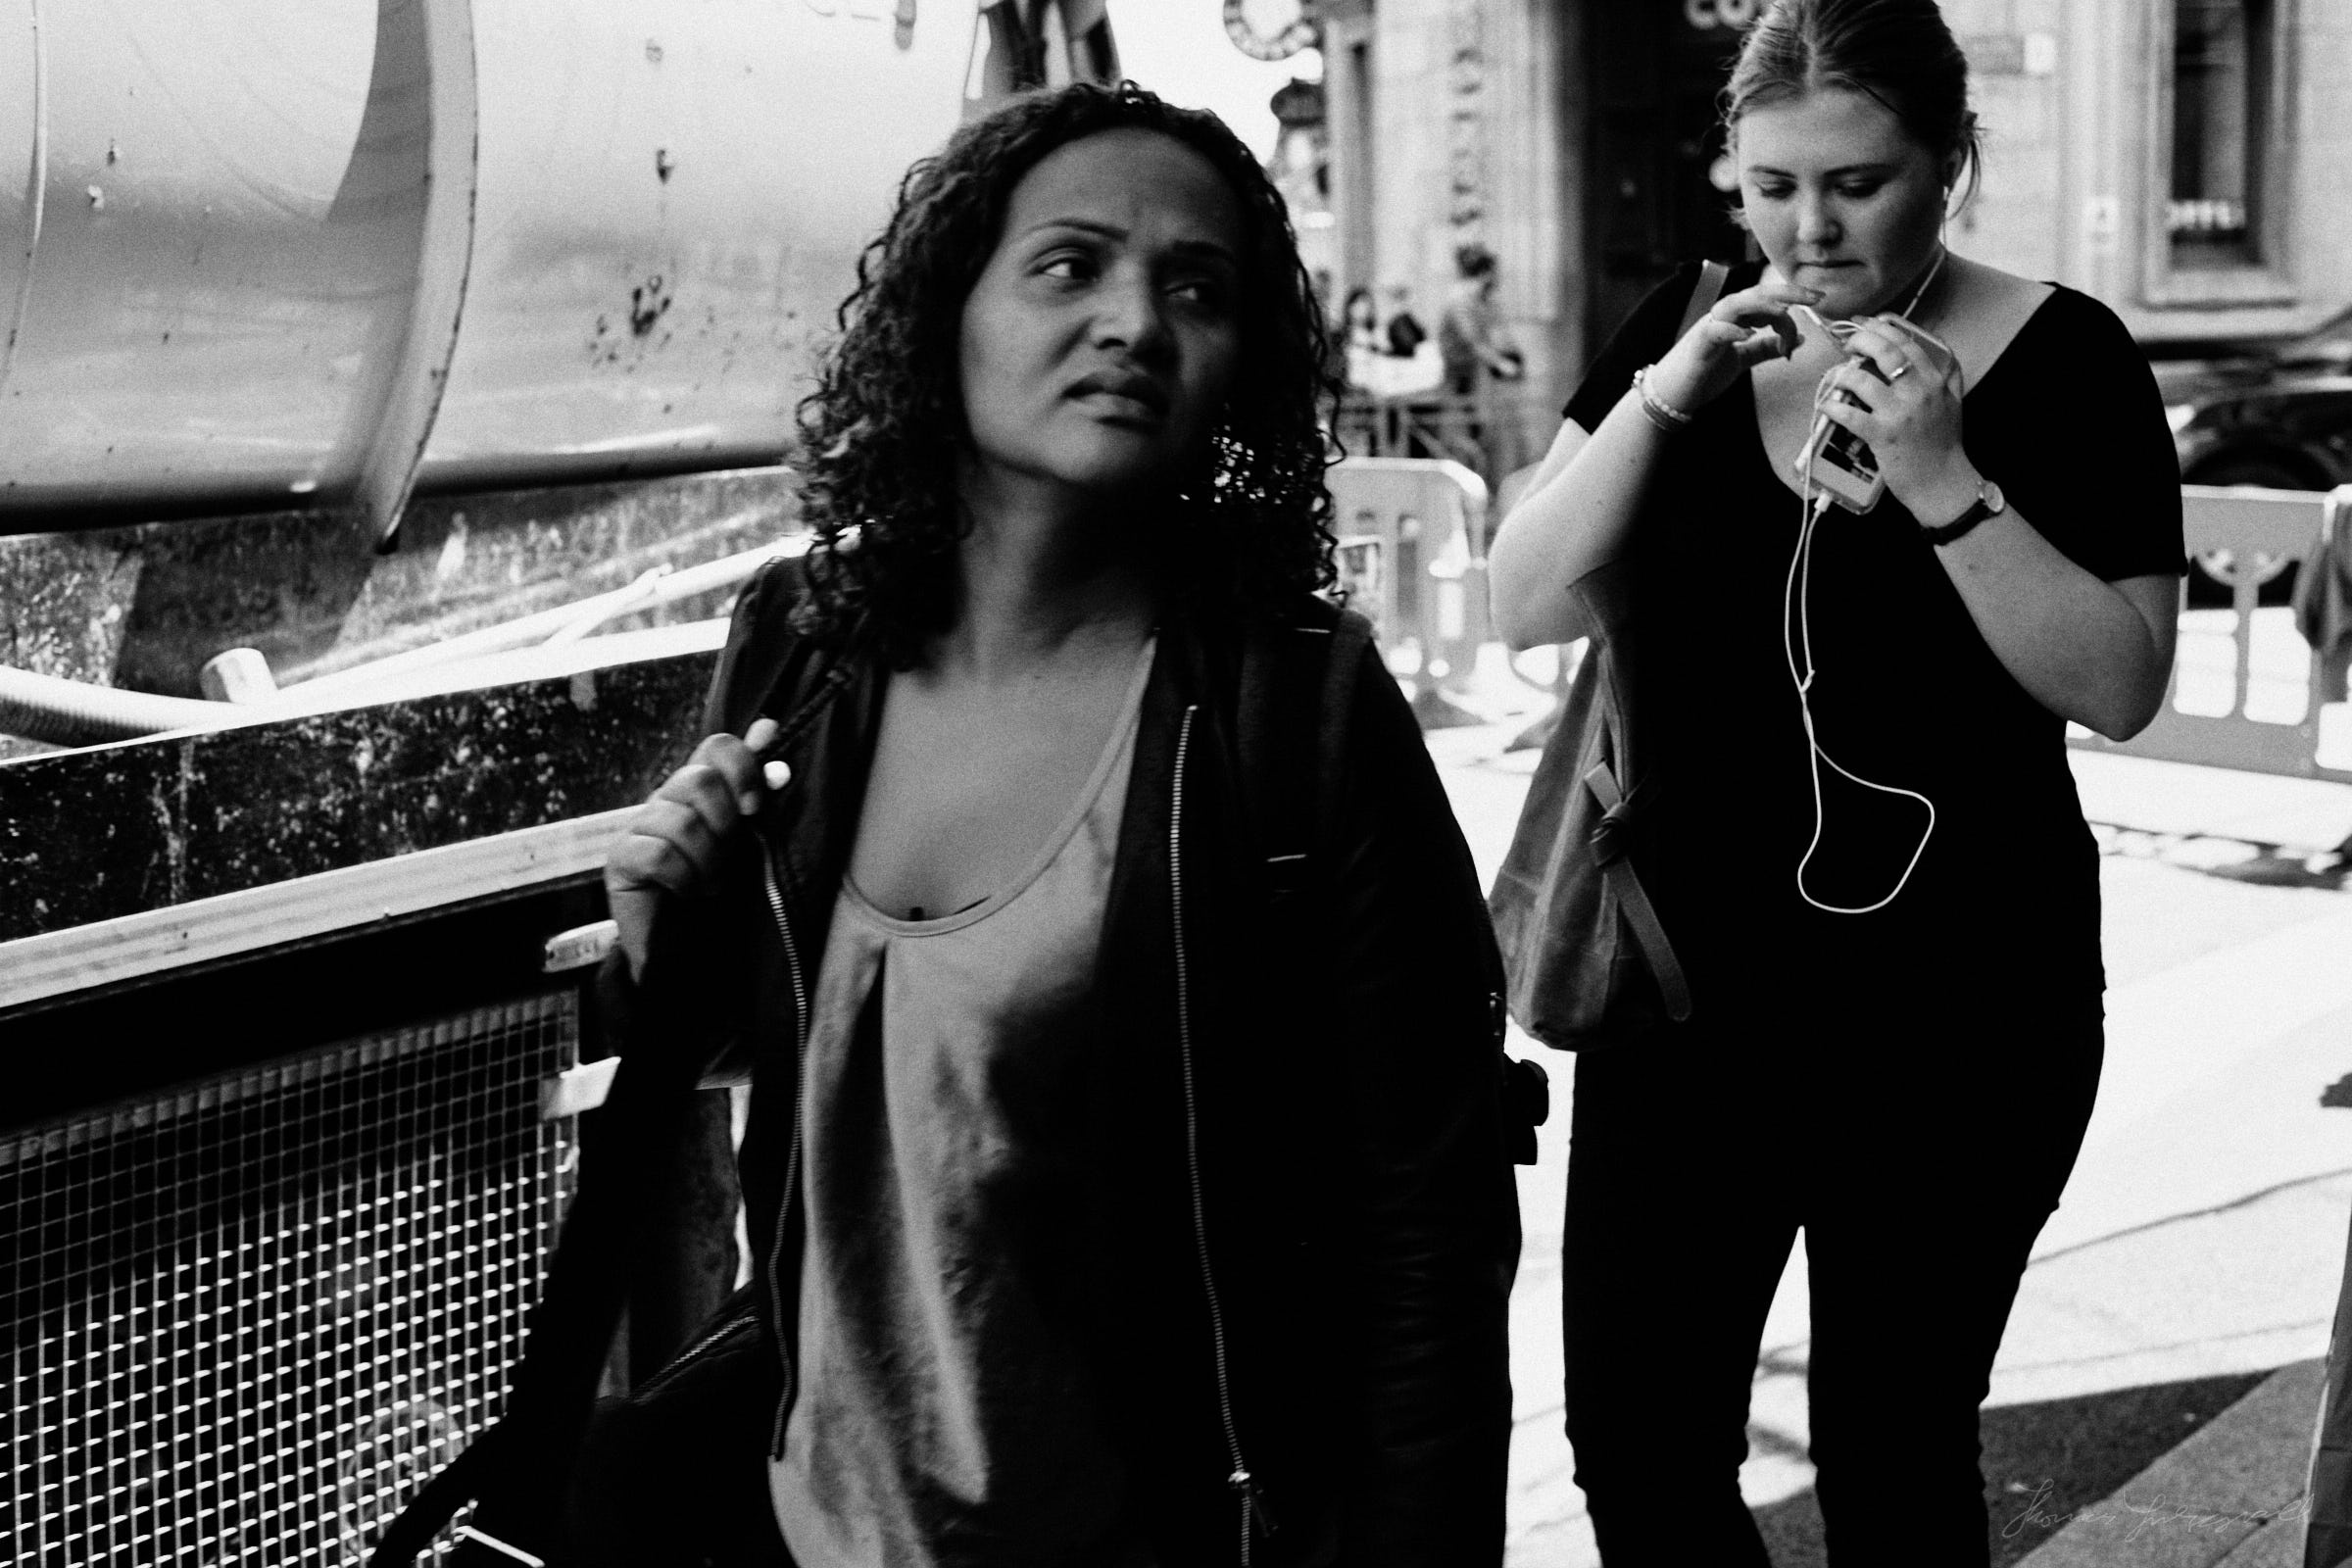
When you start shooting with the X-Pro2 in silent mode, it feels really weird. It’s like nothing is happening, but it is. On the street, this felt like a cloak of invisibility. I was taking pictures of people right in front of me, and they never noticed. I didn’t even think I was taking pictures. As for the results, I didn’t notice any rolling shutter artifacts, but I wasn’t really shooting any high speed subjects. For street shooting, it seems to work quite well, although I’ll need to do some more testing to see if there are no downsides.
Here are some results from my experimenting. They’re noting special, photographically speaking, but you also can’t tell the difference between the electronic shutter and the regular one. Images were processed using Capture One, and using my SilverLUX presets.
Help Support the Blog
I’m now on Patreon. If you like what I do here and find the information useful, then you can help by supporting me on Patreon. As well as helping keep this blog going with even more useful news, tips, tutorials and more, members also get special Patreon only perks. Stop by and check it out.
If you like this post then you can see more of my work on Instagram, Twitter and Facebook. I also have a YouTube channel that you might like. You should also check out my other Photography Project: The Streets of Dublin. If you want to get regular updates, and notices of occasional special offers, and discounts from my store, then please sign up for the Newsletter.
You can also show support by buying something from my from my Digital Download Store where I have Lightroom Presets, and e-books available for download. If you're a Fuji X-Trans shooter and Lightroom user, check out my guide to post processing X-Trans files in Lightroom. I also have a guides for processing X-Trans files in Capture One and Iridient Developer. For Sony Alpha shooters I have a new guide with tips on how to get the best from processing your A6000 Images in Lightroom.


