Phase One has started a new spring promotion for Capture One, and you can now get 25% off any new licence of either the Fujifilm or Sony versions of Capture One. This applies to both subscriptions and perpetual licences.

Thomas is a professional fine art photographer and writer specialising in photography related instructional books as well as travel writing and street photography.
All in Capture One
Phase One has started a new spring promotion for Capture One, and you can now get 25% off any new licence of either the Fujifilm or Sony versions of Capture One. This applies to both subscriptions and perpetual licences.
If you find that you’re constantly changing the same settings for every image in Capture One, then one way of remembering common settings in Capture One is to set new defaults. For most tool settings in Capture One, you can save defaults. These will be the settings that are then applied every time a new image is imported from the same make and model of camera. This can be very useful for things like sharpening and noise reduction, which you may want to change from the factory defaults. Rather than applying these changes every time, you can set new defaults.
Phase One has just released a new update for Capture One, which includes support for several new cameras, along with bug fixes and more. Of particular note is that Capture One now supports the new Fuji X-T4, which isn’t even widely available yet. Capture One and Fujifilm were keen to showcase this as evidence of the fruit of their partnership.
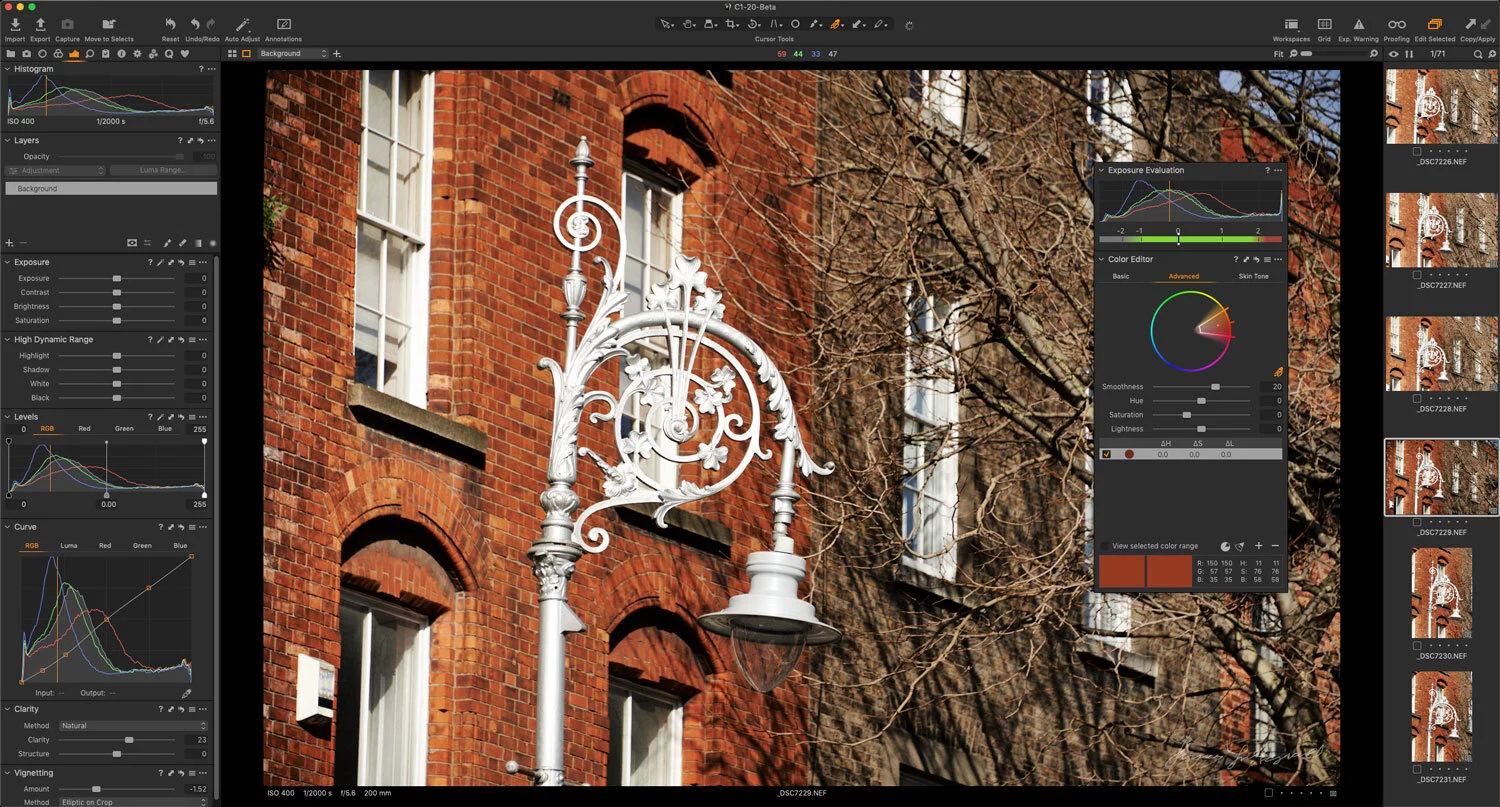
In this video I take you through my process of editing a landscape photo in Capture One, showing you the tools that I use and my thought process. The photo is one I took a while ago using my old Canon Eos 5 and it was a long exposure shot.
Just a quick update with some photo software related news. Specifically, there are some new styles out from Mastin Labs, and Capture One is having a deal on some of their styles in a limited edition bundle.
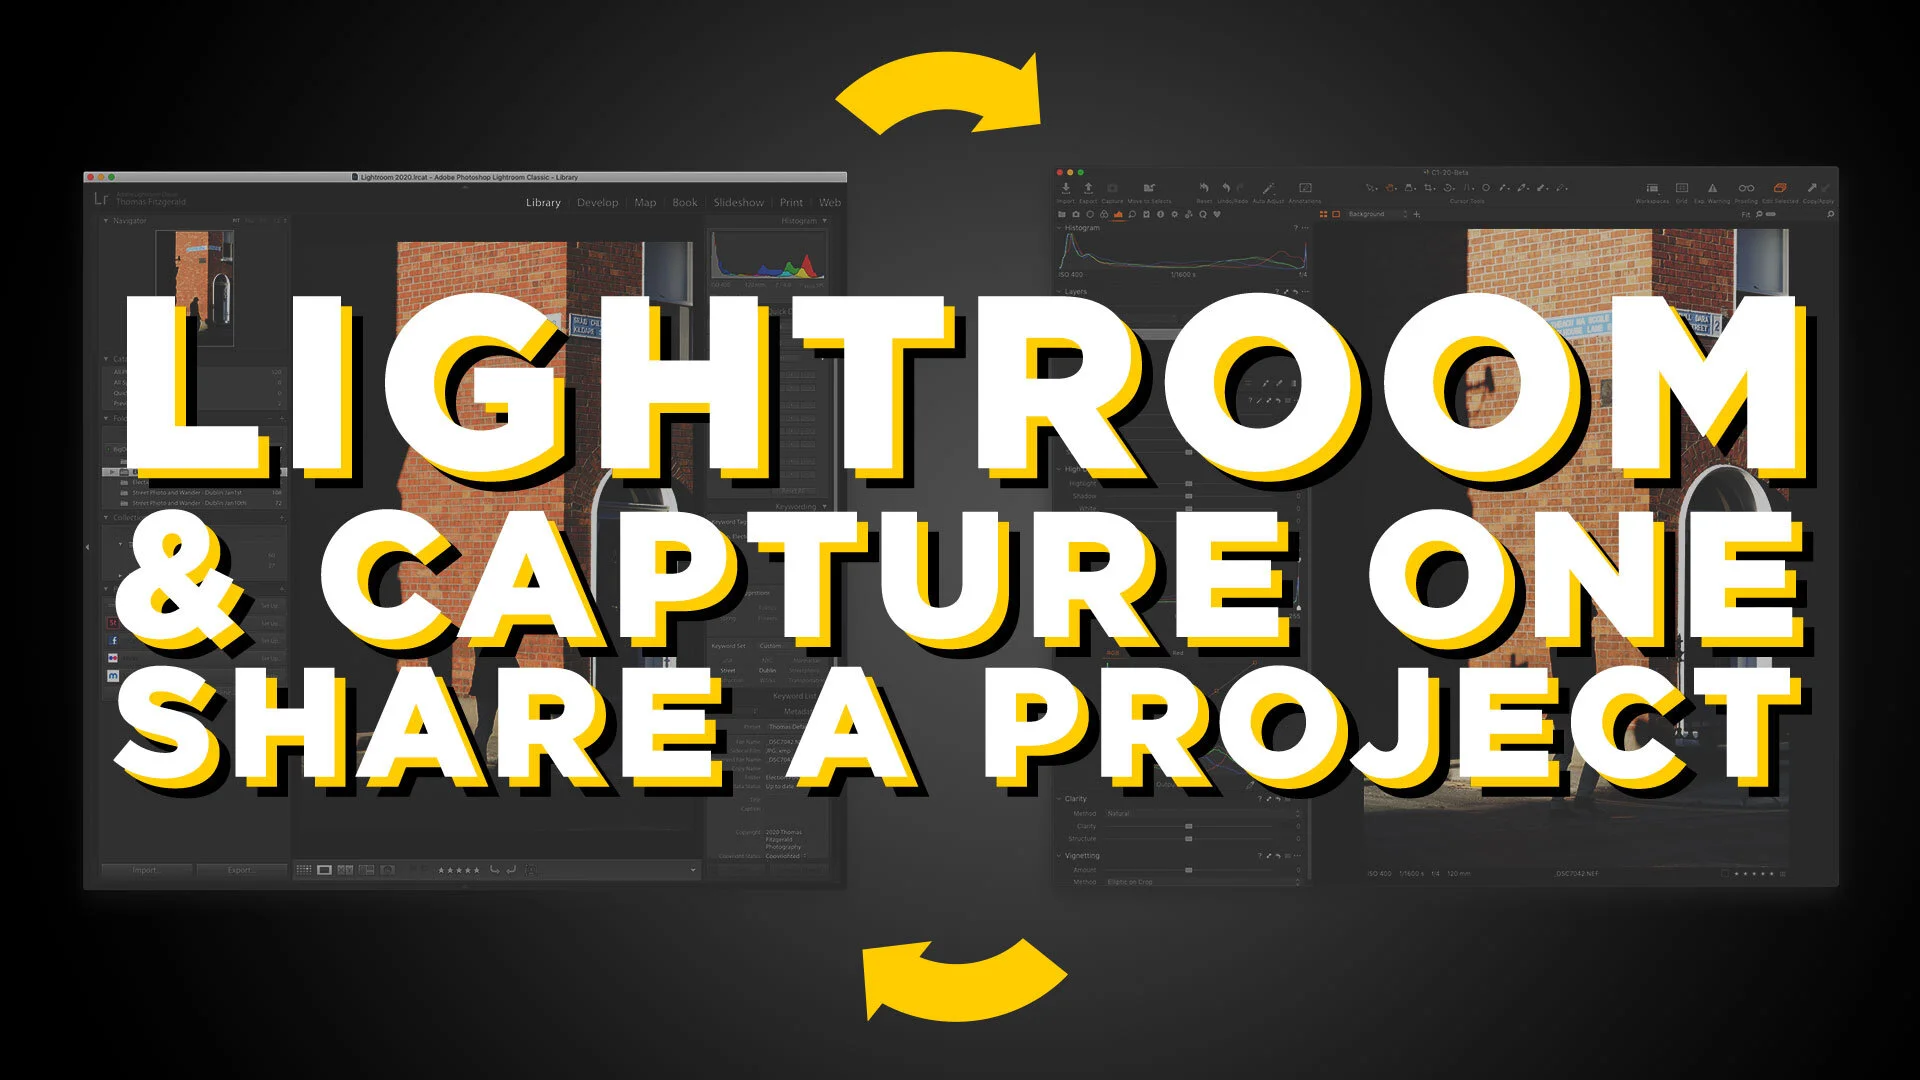
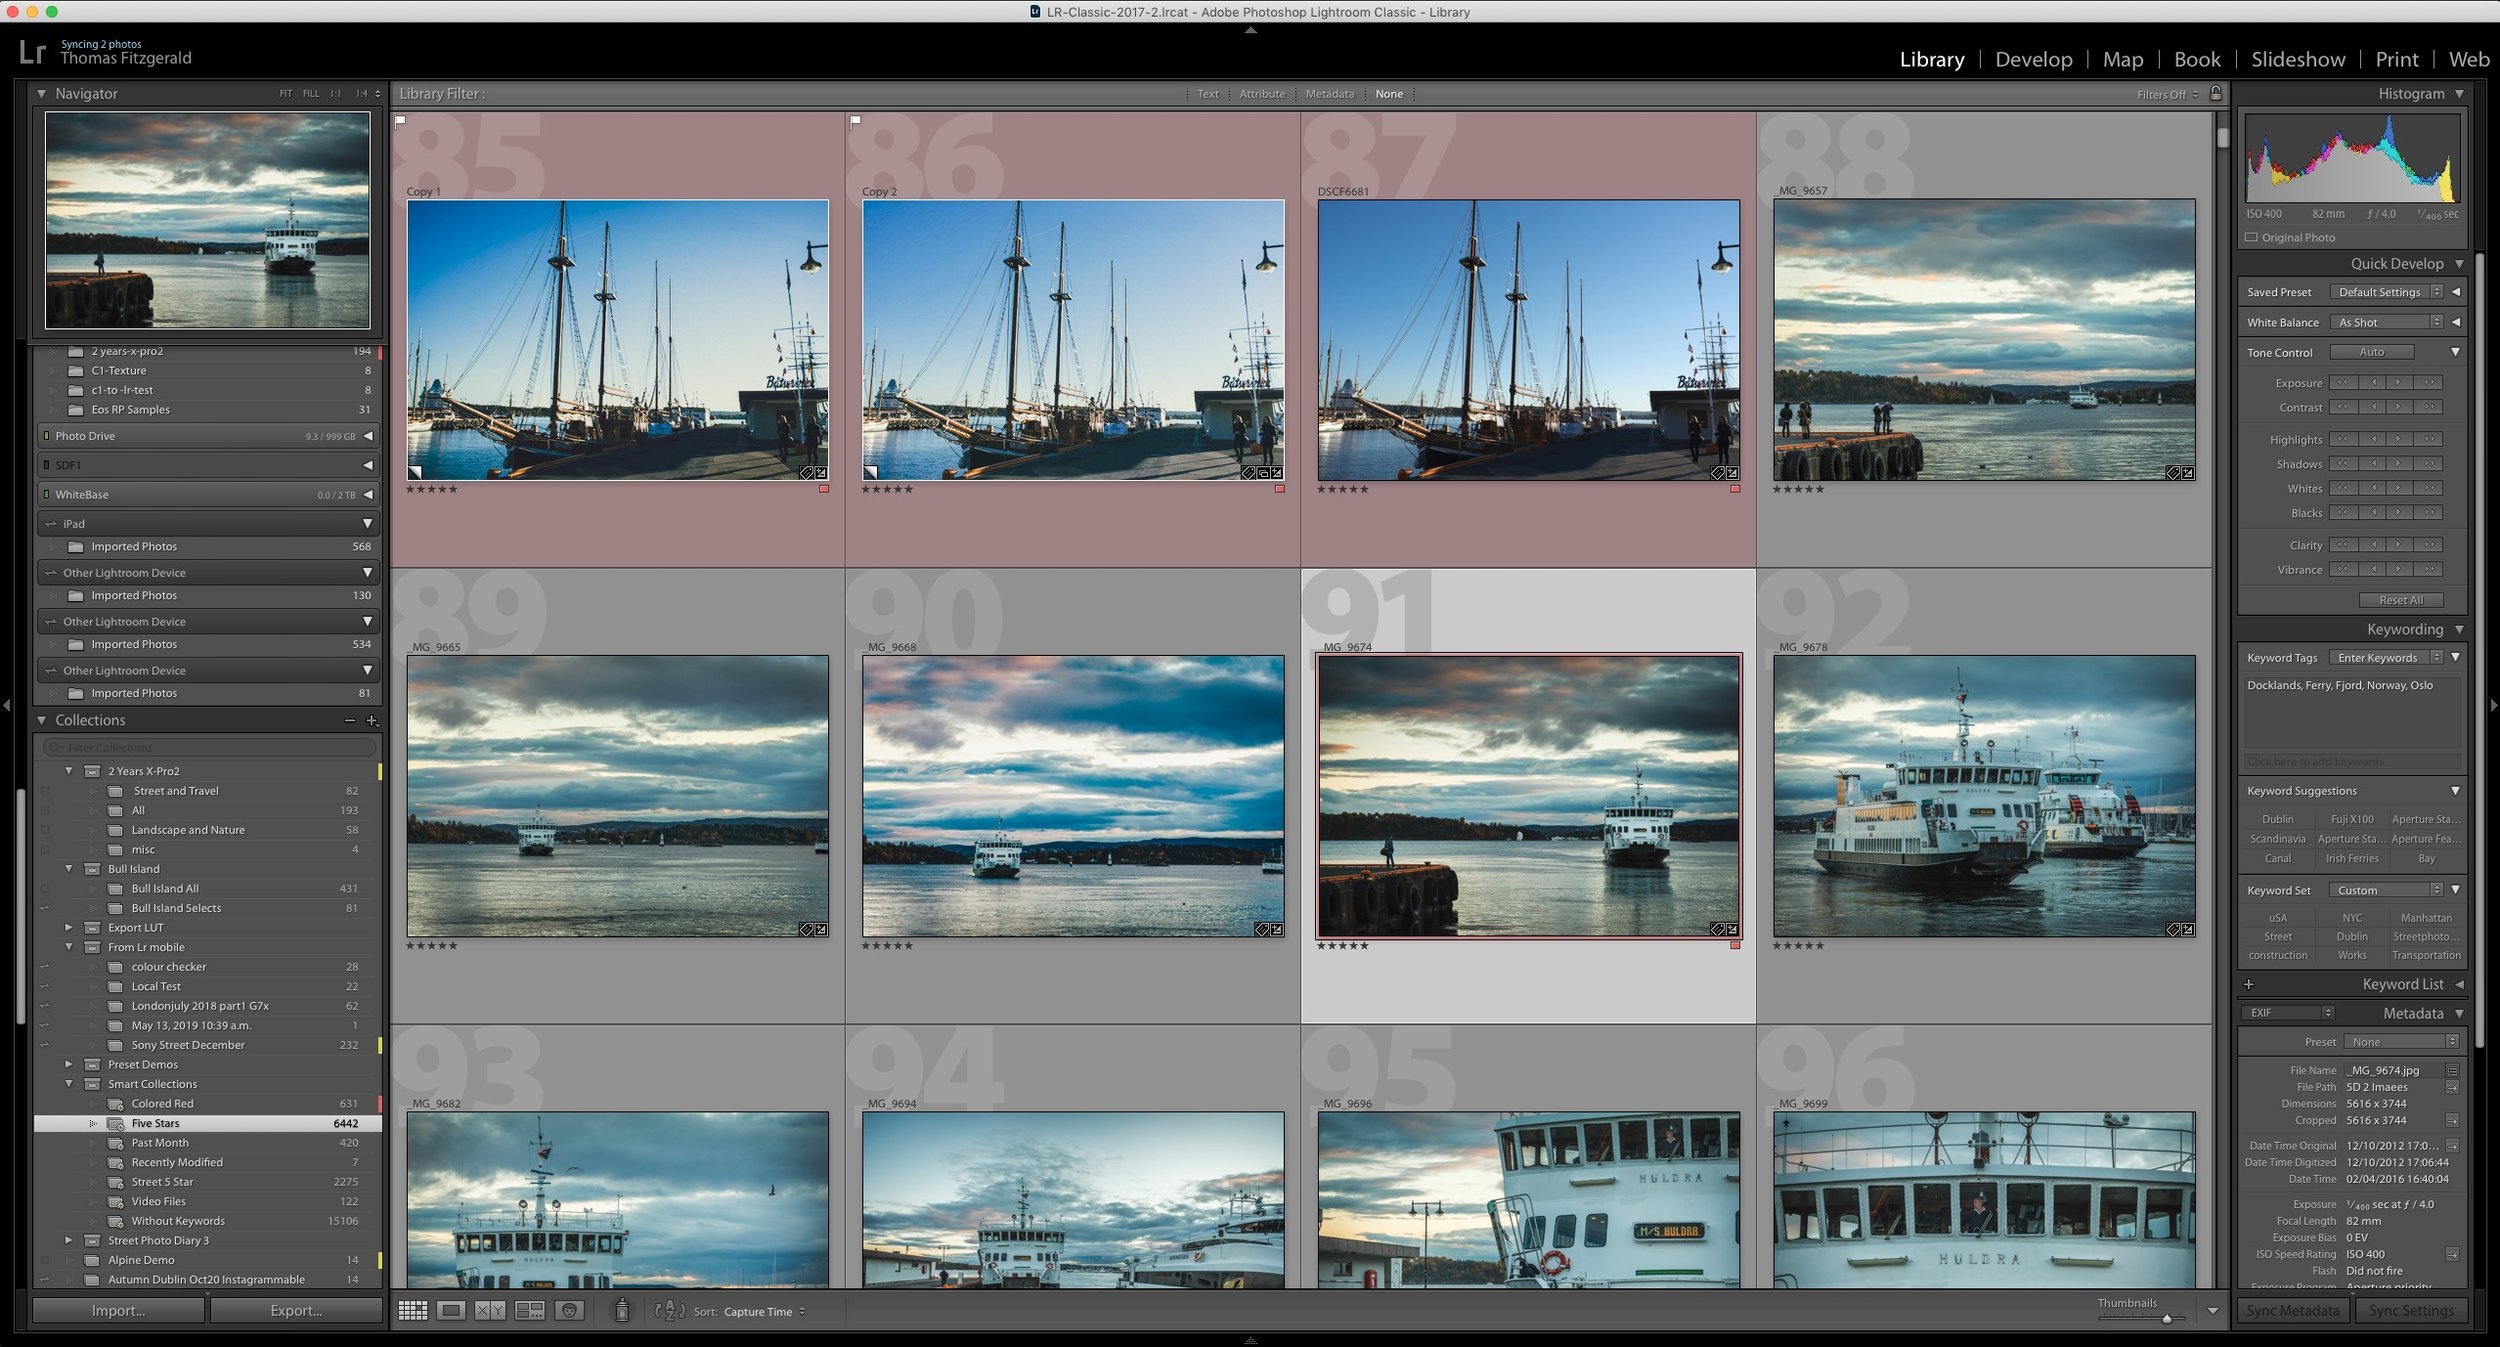
One of my Patreons (is that a word?) wanted to know if there was a workflow to rate and sort your photos in Lightroom and do your editing in Capture One. So I made a video to show you my workflow for doing this.
One of the features not available in Capture One that people often ask about is the ability to Merge HDR images. While there are third party options for merging images into an HDR file, such as Aurora HDR and Photomatix, none of these integrates particularly well with Capture One. Until now, that is. HDR Soft has released a beta version of Photomatix which has a Capture One plug-in, allowing you to merge images from Capture One, and it will re-import the finished file back once you've created your HDR.
One of the really useful features of Capture One is that you can completely customise the interface. This ranges from simple things like changing the toolbar, and re-ordering tools, to creating your own tool tabs and workspaces. In this video, we look at the many ways you can customise the Capture One interface, and create a custom tool tab to make it easier for someone switching from Lightroom.
With Christmas and the holiday season only day away, both Skylum and Phase One have some special deals on in time for the holidays. Skylum is offering 10% off the price of Luminar, and Phase One are offering a special bundle price on their style packs. All this month, I’ve been having a sale on my Style Packs too.
When Capture One 20 Was Released at the start of December 2019, one of the key new features was the revised HDR tool. Since the release, there has been a lot of commentary around this that indicates that there is a degree of confusion about the changes, and in particular how they relate to other software, or other tools within Capture One. In order to try and explain the differences, I wanted to take a deeper look at the revised HDR tool in Capture One 20.
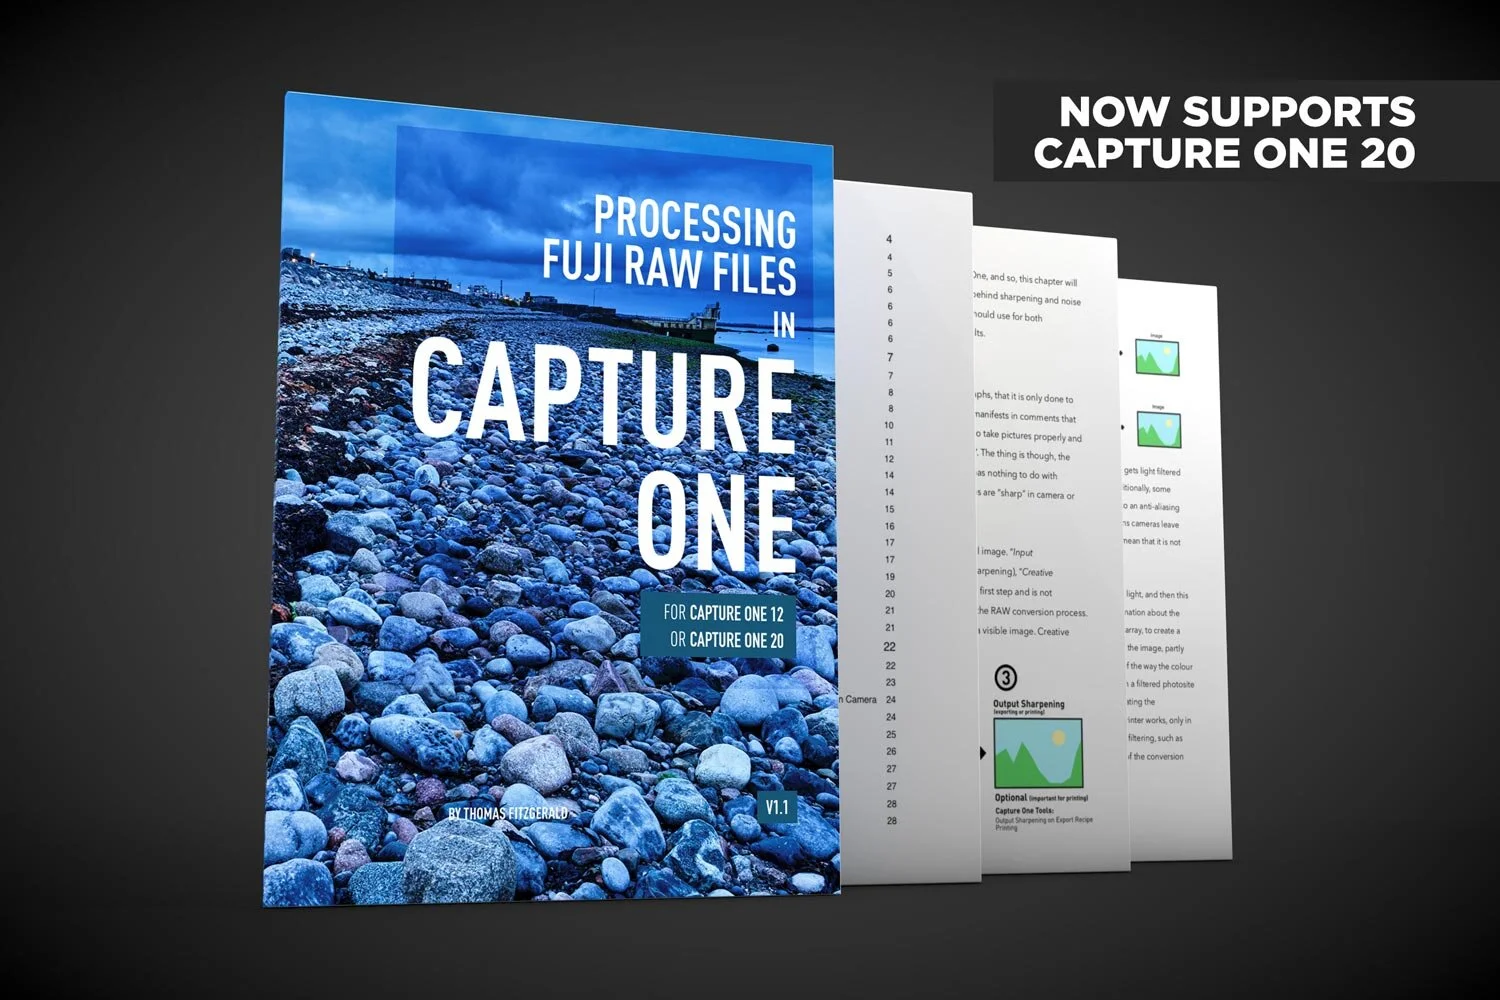
I’ve updated my Fuji Capture One guide to include preliminary support for Capture One 20. If you are a Fuji shooter using Capture One, the new version of my eBook now contains support for both Capture One 12 and Capture One 20.
Capture One 20 has just been released, and the newest version of Phase One’s Photo Editing Software comes with changes to the interface, improved and re-engineered tools, as well as some other improvements and features.
If you want to shoot RAW on your iPhone then it is important to properly process those RAW files. Because the camera app on an iPhone normally does a significant amount of processing, you will need to do this in software if you shoot RAW. While there are lots of applications that will process RAW files from an iPhone, I normally use Lightroom, but I wanted to see what kind of results you could get from Capture One too, and how best to process the images. After a lot of experimentation and trial and error, here are my results and recommendations.
While photo workflow applications like Lightroom or Capture One have been around for a while now, there are still some new users who are confused by how these applications work. One of the most common questions I see from beginners or people not familiar with this way of working is “how do I save in Lightroom?”, as there is no save function in the menu. To answer that and other questions, let’s take a look at how this class of “photo workflow” applications actually work.
Every now and then I like to download camera samples from DP Review to see how various cameras look, and how they perform in different software. (Because I’m a bit of a nerd for such things). I was recently having a look at raw files from the Canon Eos RP and I was looking at them in Lightroom and I though, these are kind of “meh”. Then I opened them in Capture One, and the difference was night and day. It was so significant that I though to myself, “what’s going on here?”
With Phase One having already announced Capture One 20, I wanted to just update you on what is happening with my current Capture One Fuji Guide. The guide, which was launched relatively recently, is currently written for Capture One 12.
There’s still time to use my discount code if you’re planning on getting Capture One. The code allows you to get 10% off any CaptureOne purchase, and if you buy any of the current versions of Capture One you will get a free upgrade to Capture One 20. This code also works on style packs.
A little while ago I made a video where I showed you how to create a dehaze effect in Capture One using layers and a few effects. The video was well-received, and lots of people wrote to me that they found it really useful. It was a little cumbersome however, and applying it still required a few steps. Well, now you can create it in one step thanks to a very useful script a reader sent me.