I’ve released a minor update to my X-Transformer guide that addresses some of the recent changes in the application. This is a free update to anyone who had previously bought the guide.
All in Lightroom
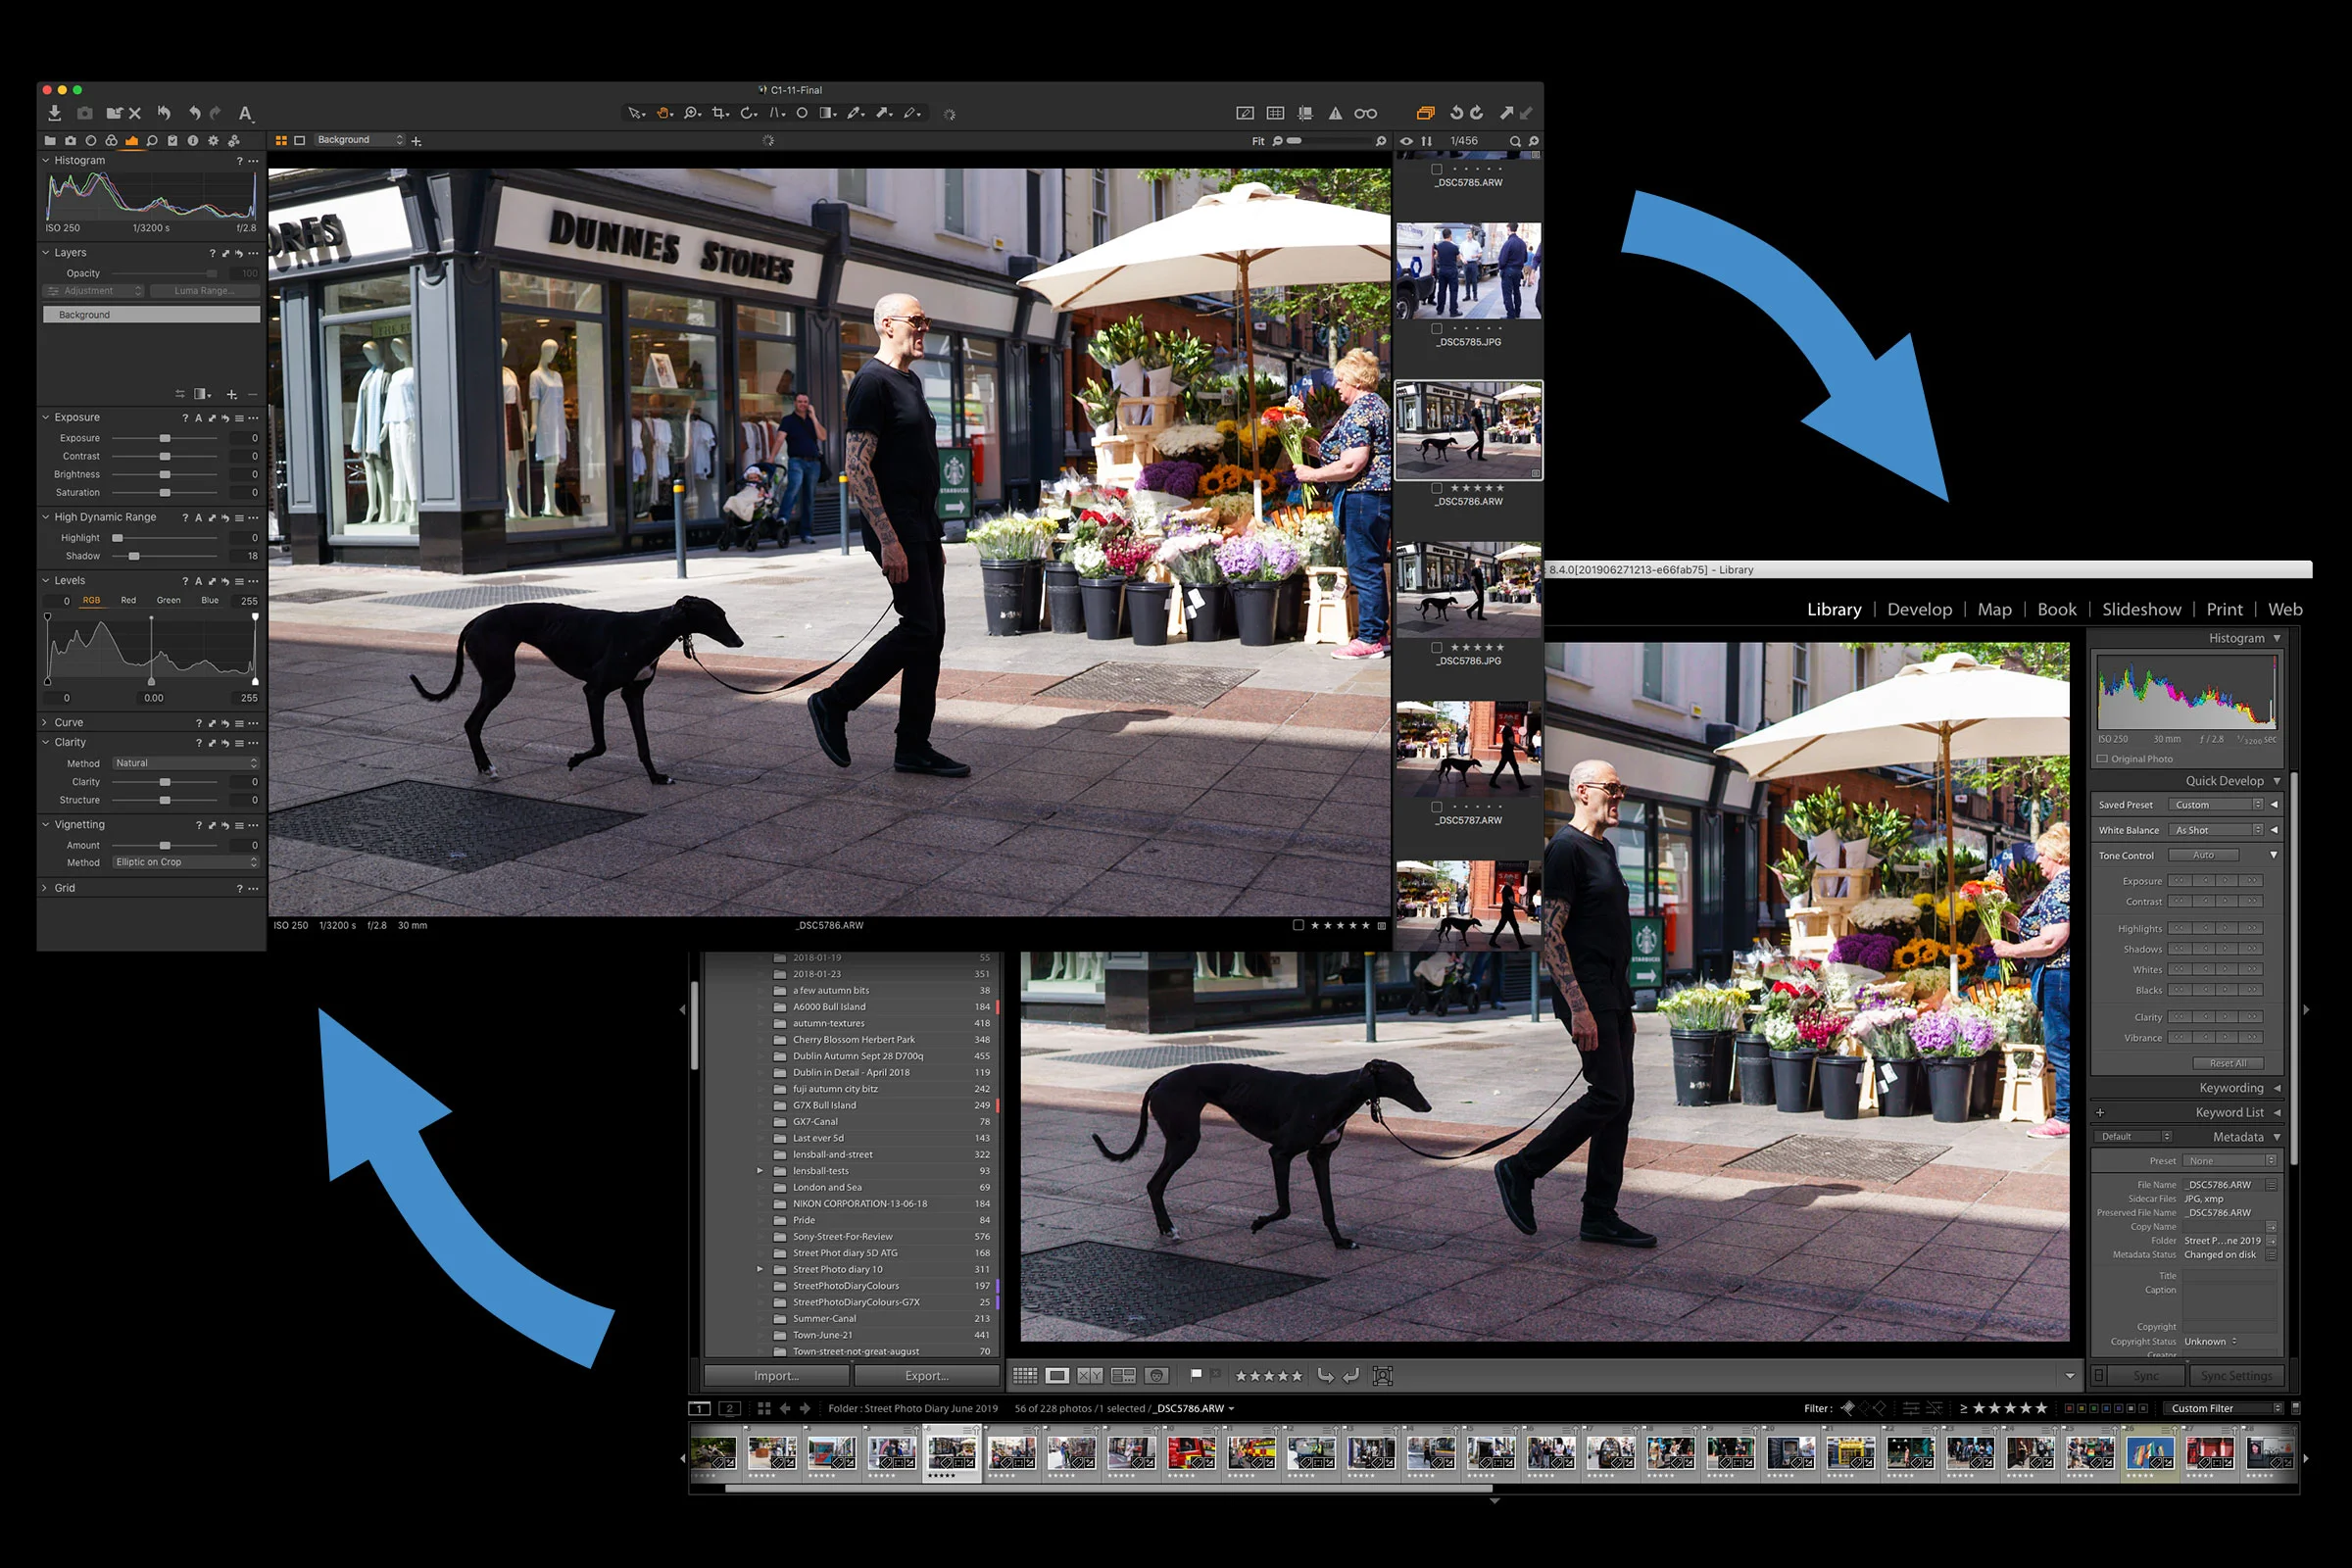
Share Folders of Images between Lightroom and Capture One and Keep Metadata Intact
If you are using both Lightroom and Capture One, there may be occasions when you want to try processing your images in both applications. This could be because you are still in the process of transitioning to Capture One, or you may just like using both applications. Whatever the reason, there are ways you can simplify the workflow of working with both applications, and in this post I’ll show you what to do.
Lightroom returns to the Mac App Store
After an extended period of not being available through Apple’s MacOS App Store, Lightroom has made a return. The changes to the Mac App Store that came about when Mojave was released last year, allowed Adobe to bring the software back along with the return of several other high profile apps, such as Microsoft Office, It’s available now for any compatible Mac running 10.8 or later. It should be noted that this version is Lightroom Desktop (I.e. the version based on the mobil eversion of Lightroom) and not Lightroom Classic.
Reduce Shadow Noise in Lightroom
Sometimes you can come across an image where the shadows are quite noisy, but there are still details in the mid tones or highlights that you don’t want to soften by applying too much overall noise reduction. You can actually just apply noise reduction to the shadows of an image in Lightroom by using a luminance mask. In this video I show you how to do this.
FilmLUX bundle now Available
I’ve just put together a new bundle of all of my FilmLUX presets on my store. This pack is a bundle of all of all three of the previous “Film LUX” set of Lightroom presets, and they’ve been updated to use the latest preset format and put together, in a single easy to install collection.
How to replicate Lightroom’s “Texture” in Luminar
The most recent recent release of Lightroom added a new slider called “Texture”. This function works like a version of clarity, only on a smaller radius and on more “medium” details. A lot of people have liked this new functionality, but for those with older versions of Lightroom, or who have ditched it all together, you can actually do the same thing in Luminar.
Lightroom May 2019 Updates (Lightroom Classic 8.3 Released)
Today Adobe rolls out a series of updates across the Lightroom portfolio of applications. Lightroom Classic is now at 8.3 and it contains quite a few bug fixes and performance enhancements, as well as several new features. The entire suite of Lightroom versions has been updated including the mobile and desktop versions. Here are some of the details.
An Unpopular View on Adobe’s Recent “Price Hike”
If you’re into photography at all, unless you’ve been sleeping under a rock (or stayed off the internet) you can’t help but have read about the recent “price hike” on Adobe’s Photography plan. Site after site reported that Adobe had “doubled” the price of its photography plan, which lead to cries and consternation from all corners of the internet. I was really in two minds as to whether to write about this or not, because I know this will be unpopular, and I will get lots of hate mail because of this. I was really angry and annoyed about this news. Not because of what Adobe did, but because of the way it was reported and the crazy carry on afterwards.
Do you still need to use X-Transformer?
Do you still need to use X-Transformer? That’s the question that I’ve been getting asked pretty regularly since Adobe launched “Enhance Details” in Lightroom and Camera Raw. The answer might seem like it should be straight forward, but it’s actually a little complicated and it depends on a few factors.
Film Lux 3 Now Available
Just a quick update on yesterday’s post: FilmLUX 3 is now available from my digital download store. FilmLUX 3 is a set of presets for Lightroom 8 or later and Photoshop CC 2019 or later. It was handcrafted by carefully studying the properties of various film stocks and creating my own version. It is designed to create a colour film look that is inspired by scanned film, although it isn’t intended to be a direct emulation of any particular film stock, but rather my own set of “virtual” films.
Film Lux 3 Coming Soon
It’s been a while since I released any Lightroom presets, but I’m happy to share some details of the next set that I’m working on. It’s another edition of my long running FilmLUX series, and I’m actually fairly proud of these. I wanted to create something that closely matched the feel of real film, without being over the top. I actually went through a lot of iterations before I came to this, and so, this is probably one of the sets that I’ve worked on the most.
My Fuji Lightroom Guide Updated
I have just released a minor upgrade to my Fuji Lightroom Guide. The book entitled “Workflow and Settings For Processing Fuji X-Trans images in Lightroom” has been updated to take into account some of the more recent changes to Lightroom, including some of the different terminology and so on. It also adds mention of newer 26mp X-Trans cameras.
iPhone XR Camera + Lightroom Mobile
For the longest time I’ve been using an iPhone 6 plus. It has served me well. In fact one of the first photos I took with that phone was actually featured in Apple’s first “Shot on iPhone” campaign when it originally started, and I’ve been using it ever since. I never got around to upgrading for various reasons, but lately I felt that it was maybe time to stop trying to use the ageing device.
Adobe Finally Improves Fuji X-Trans RAW conversion in Lightroom with "Enhance Details".
Ever since Fuji released its first X-Trans camera, and Adobe added support, many of us who have shot Fuji over the years have been unhappy with how Lightroom handles Fuji files. There are issues with the way it handles fine details, certain repeating textures and so called “worm artifacts”. People have been hoping that Adobe would eventually fix the problem, and turned to other solutions, such as Iridient X-Transformer. Others have switched away from Lightroom together to something like Capture One. Today, Adobe has released a new version of Lightroom which finally addresses the X-Trans issue. Well, sort of, as it’s probably not the solution that many were expecting.
An important Note About Preset Visibility in Lightroom 8.1
For the past few versions of Lightroom, Adobe has continued to refine the way Presets work in the develop module. In 8.1, there is yet another change, which may affect the way some of my Presets show up or work in Lightroom. Don’t worry though, most presets still work fine.
How To Set Your Own Develop Module Defaults in Lightroom
In this video I look at how to change the default settings for a particular camera in Lightroom, so new files will import with your chosen settings instead of Adobe’s defaults. This is useful if you want to set a different colour profile, lens corrections etc to be applied to every file when you import them.
Lightroom Classic 8 Released along with lots of other Adobe updates
Today Adobe is holding it’s “Max” conference, and the company officially announced a whole bunch of updates to the various creative cloud apps. I won’t go into everything here, but the ones that interest me the most, are the updates to Lightroom and Photoshop. I’m also pretty interested in the new Premiere Rush.
Some more examples of StreetLux in action
Last week I launched my latest set of presets for Lightroom, called StreetLux. The idea of StreetLux was to create a set of presets that worked to mimic the high contrast film look that is popular with some street photography enthusiasts. I had posted a few samples when I launched the set, but I wanted to get some more, so I went out specifically to shoot some.


