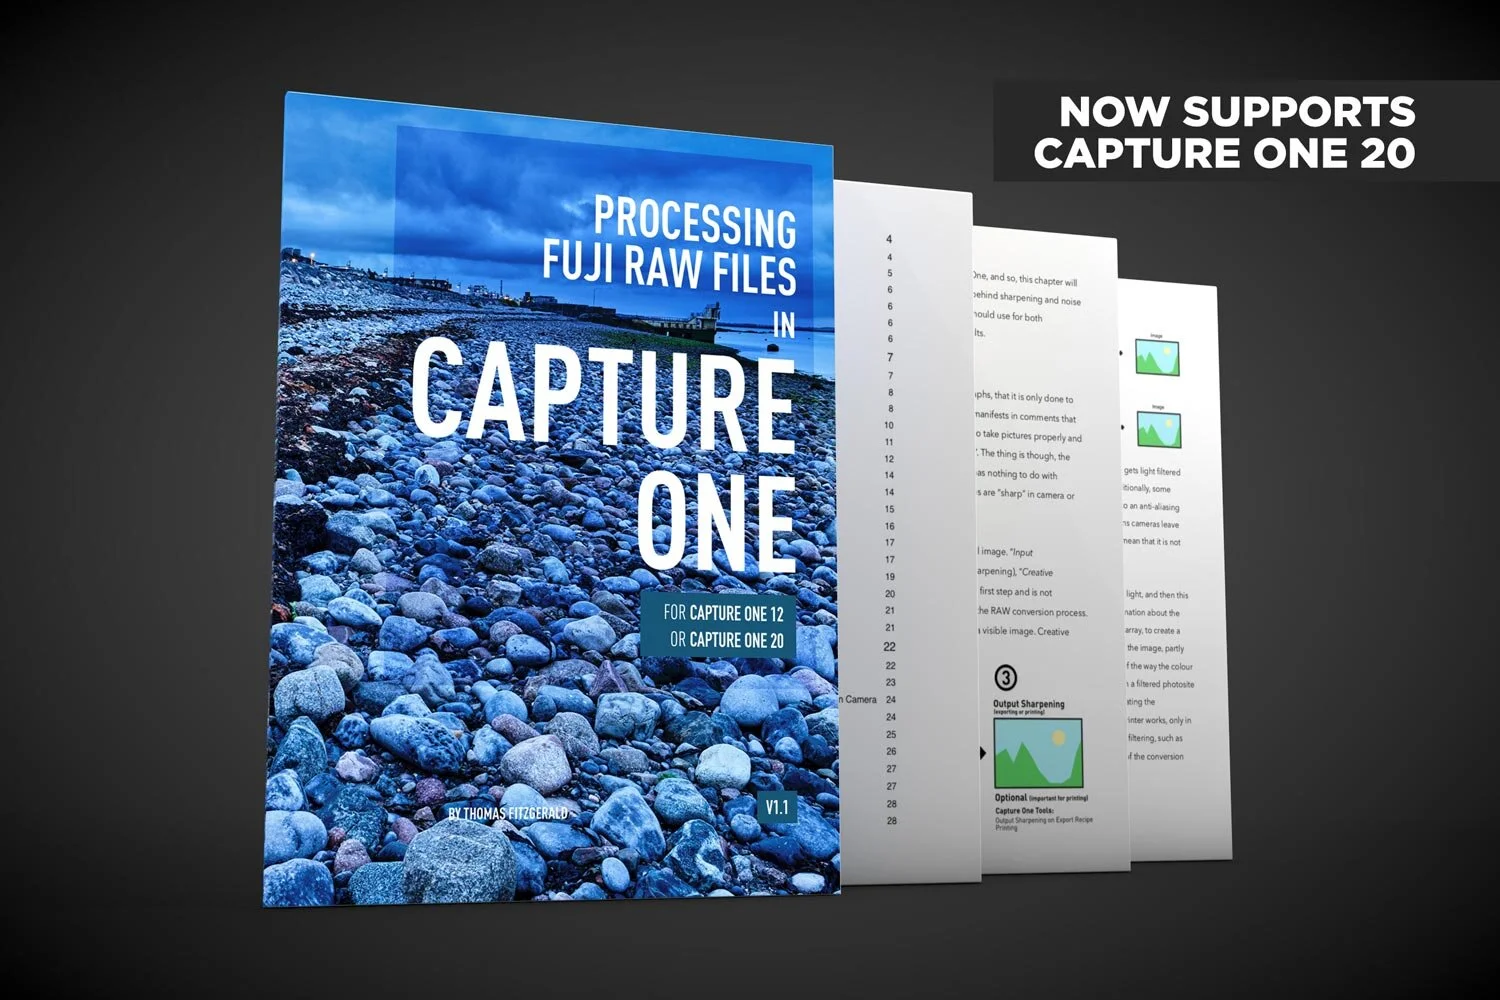
I’ve updated my Fuji Capture One guide to include preliminary support for Capture One 20. If you are a Fuji shooter using Capture One, the new version of my eBook now contains support for both Capture One 12 and Capture One 20.
Capture One 20 Review: New Features, Improved Tools and More
Capture One 20 has just been released, and the newest version of Phase One’s Photo Editing Software comes with changes to the interface, improved and re-engineered tools, as well as some other improvements and features.
My Fuji X-Pro 2 is Dead
My X-Pro 2 is not well. I went out to shoot some autumn scenes with it a few weeks ago, and after taking about 20 photos, the camera started acting weird. The screen started breaking up and then the camera completely froze. I couldn’t even turn it off, and I had to take the battery out. I left it out for a little while and put it back in and it worked again for another 10 shots or so, then it started again.
Skylum Black Friday Deals on Luminar
Skylum software has announced a number special bundle offers for Black Friday. These include Luminar 4 and a bundle of Bonuses. You can choose from one of three bundles
My settings for Processing iPhone RAW Photos in Capture One
If you want to shoot RAW on your iPhone then it is important to properly process those RAW files. Because the camera app on an iPhone normally does a significant amount of processing, you will need to do this in software if you shoot RAW. While there are lots of applications that will process RAW files from an iPhone, I normally use Lightroom, but I wanted to see what kind of results you could get from Capture One too, and how best to process the images. After a lot of experimentation and trial and error, here are my results and recommendations.
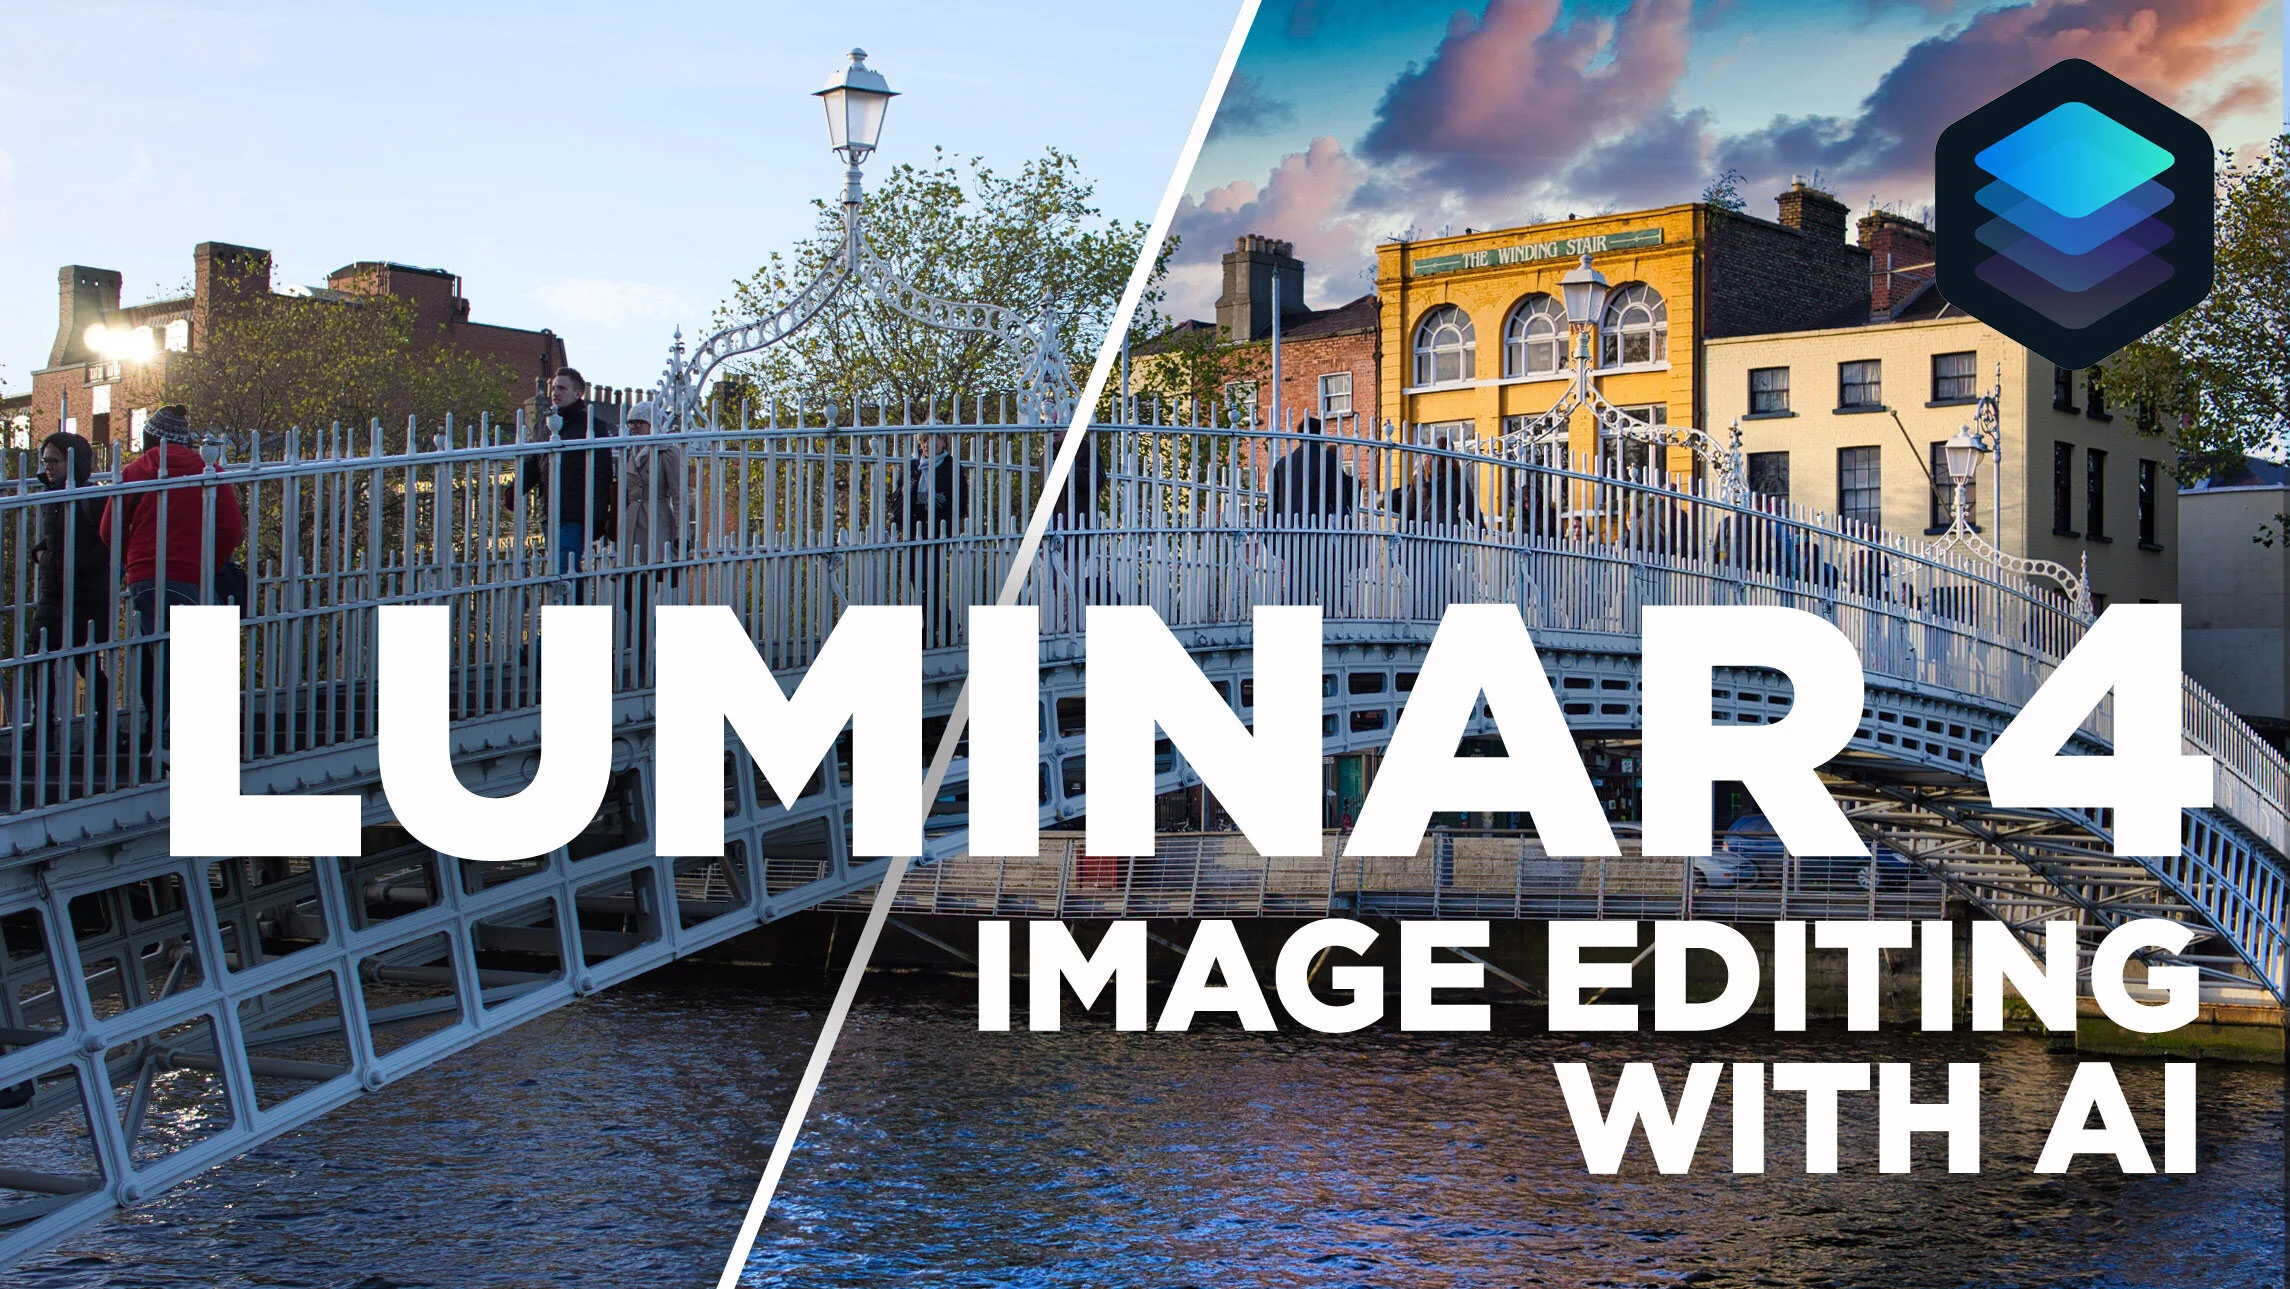
Image Editing using AI in Luminar 4
In this video, I take a look at editing an image in the newly released Luminar 4 and show you how to edit your image with just a couple of sliders using the AI tools in the software. I also look at some of the other new features and the changed interface in Luminar 4.
How do I “Save” in Lightroom or Capture One? How Photo Workflow Applications Work - A Guide for Beginners.
While photo workflow applications like Lightroom or Capture One have been around for a while now, there are still some new users who are confused by how these applications work. One of the most common questions I see from beginners or people not familiar with this way of working is “how do I save in Lightroom?”, as there is no save function in the menu. To answer that and other questions, let’s take a look at how this class of “photo workflow” applications actually work.
Luminar 4 Review
It’s weird writing a review of something that a lot of people have been talking about for quite some time now. Luminar 4 was pre-announced a while ago now, and the company has been drip feeding information about it to the public. Lots of people including myself have already shared details on some of the new features, the new interface and so on, so what’s left to review? Well, I wanted to wait until the software was actually released to put all the disparate threads together and talk about the application as a whole. So with that in mind, here are my impressions of Luminar 4, its new feature and what it is like to use.
Luminar 4 Now Available
It seems like it was ages ago when Luminar 4 was first announced, but the software is now finally available. The new version of Luminar includes a new interface, and new AI-driven tools and is now available to order, and download from the Skylum Website. I will have a full review of the software later today but for now here are the details of the release.
Capture One Style Pack Sale
For the rest of November I’m having a special Autumn sale on all of my Capture One Style Packs. The normal price of €15 has been dropped to €10 for the rest of November (until the 2nd December 2019) so you can get the styles for a third off the regular price.
Canon Eos RP Raw files Are Impressive In Capture One (Compared to Lightroom)
Every now and then I like to download camera samples from DP Review to see how various cameras look, and how they perform in different software. (Because I’m a bit of a nerd for such things). I was recently having a look at raw files from the Canon Eos RP and I was looking at them in Lightroom and I though, these are kind of “meh”. Then I opened them in Capture One, and the difference was night and day. It was so significant that I though to myself, “what’s going on here?”
Rebooting my Patreon Page - New Benefits and New Options
A little over a year ago, I started an experiment to see if I could partially fund this website and my YouTube channel through Patreon. When I first started it, I’ll admit that I didn’t really know what I was doing, and so for the first few months I floundered. Now that I’ve been doing it for a while, it’s time to re-launch it, with more benefits, more tiers and a better experience.
Adobe shows off direct import for Lightroom on iPad
One of the most frustrating things about working with Lightroom on an iPad is having to import images to the camera roll first before then importing them to Lightroom. Luckily, thanks to changes in iOS 13 this should soon be at an end. Adobe published a video showing an upcoming change to Lightroom on iPad which will allow direct importing of photos.
How to Sync Full Res Images instead of Smart Previews from Lightroom Classic
When Adobe first introduced the syncing feature in Lightroom, which let you sync to its cloud services, it only synced smart previews, and at the time this wasn’t a big deal, as there was limits to what you could do on the mobile applications. Now, many versions later and Lightroom has become a whole eco system, and the mobile versions are much more powerful. We now also have the desktop version of the mobile applications, so it is odd that Lightroom Classic is still stuck syncing only smart previews. But what if you want full res versions that you can edit on another device but still synced to your classic library? Well, there is a workaround.
About my Capture One Fuji Guide and Capture One 20
With Phase One having already announced Capture One 20, I wanted to just update you on what is happening with my current Capture One Fuji Guide. The guide, which was launched relatively recently, is currently written for Capture One 12.
VSCO Film alternatives
Since VSCCO Film was discontinued at the start of this year, I’ve been looking for alternatives to recommend to people who want to create a realistic film effect. While I do have some film like presets of my own, they are mostly designed as an artistic interpretation of film. For those looking for accurate and highly regarded film simulations for Lightroom, there are a couple of solutions.
K&F Concept ND Filter Review
In this second part of my review of K&F Concept’s new filters, I look at the two Variable ND filters the company sent me to try out. Both filters are variable neutral density filters, and they were of two different ranges of ND. To test them out, I set out to try capturing some long exposures in a large park near to where I live.
K&F Concept Polarising and UV Filter Review
K&F sent me some of their new filters to review. They included a polarising filter, a UV filter and two different Variable ND filters. In this post, I’m going to look at the first two, a circular polariser and a UV filter.


