Fuji Colour Profile Presets for Lightroom to help speed up your workflow.
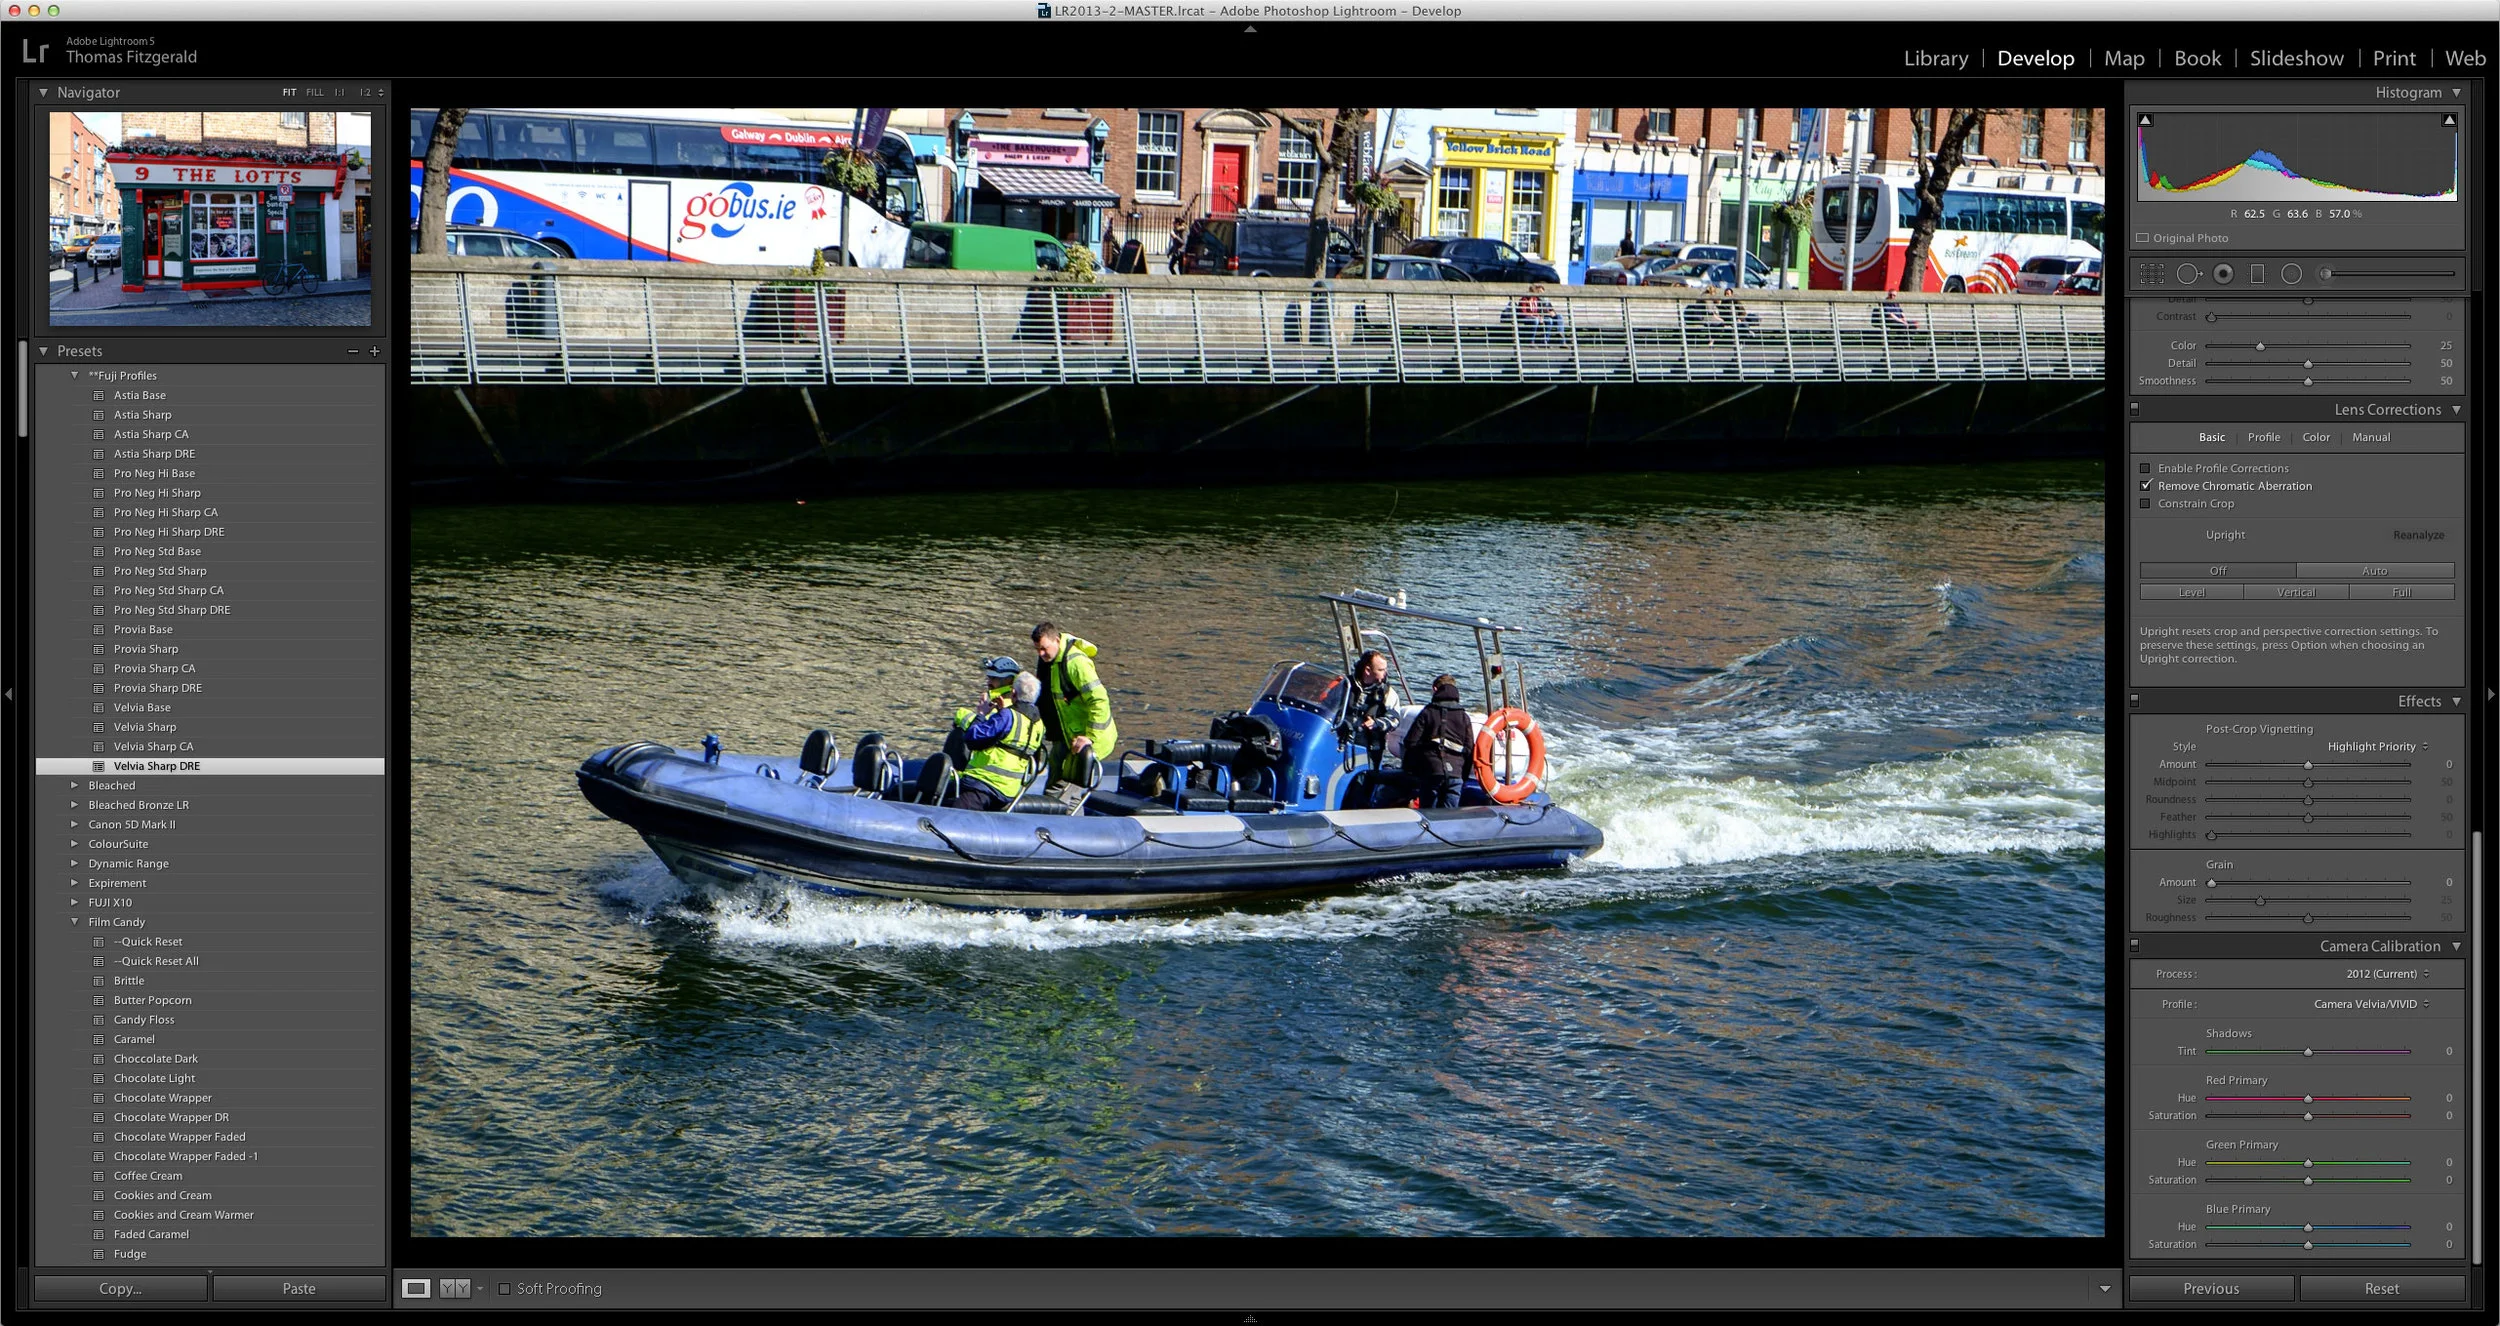
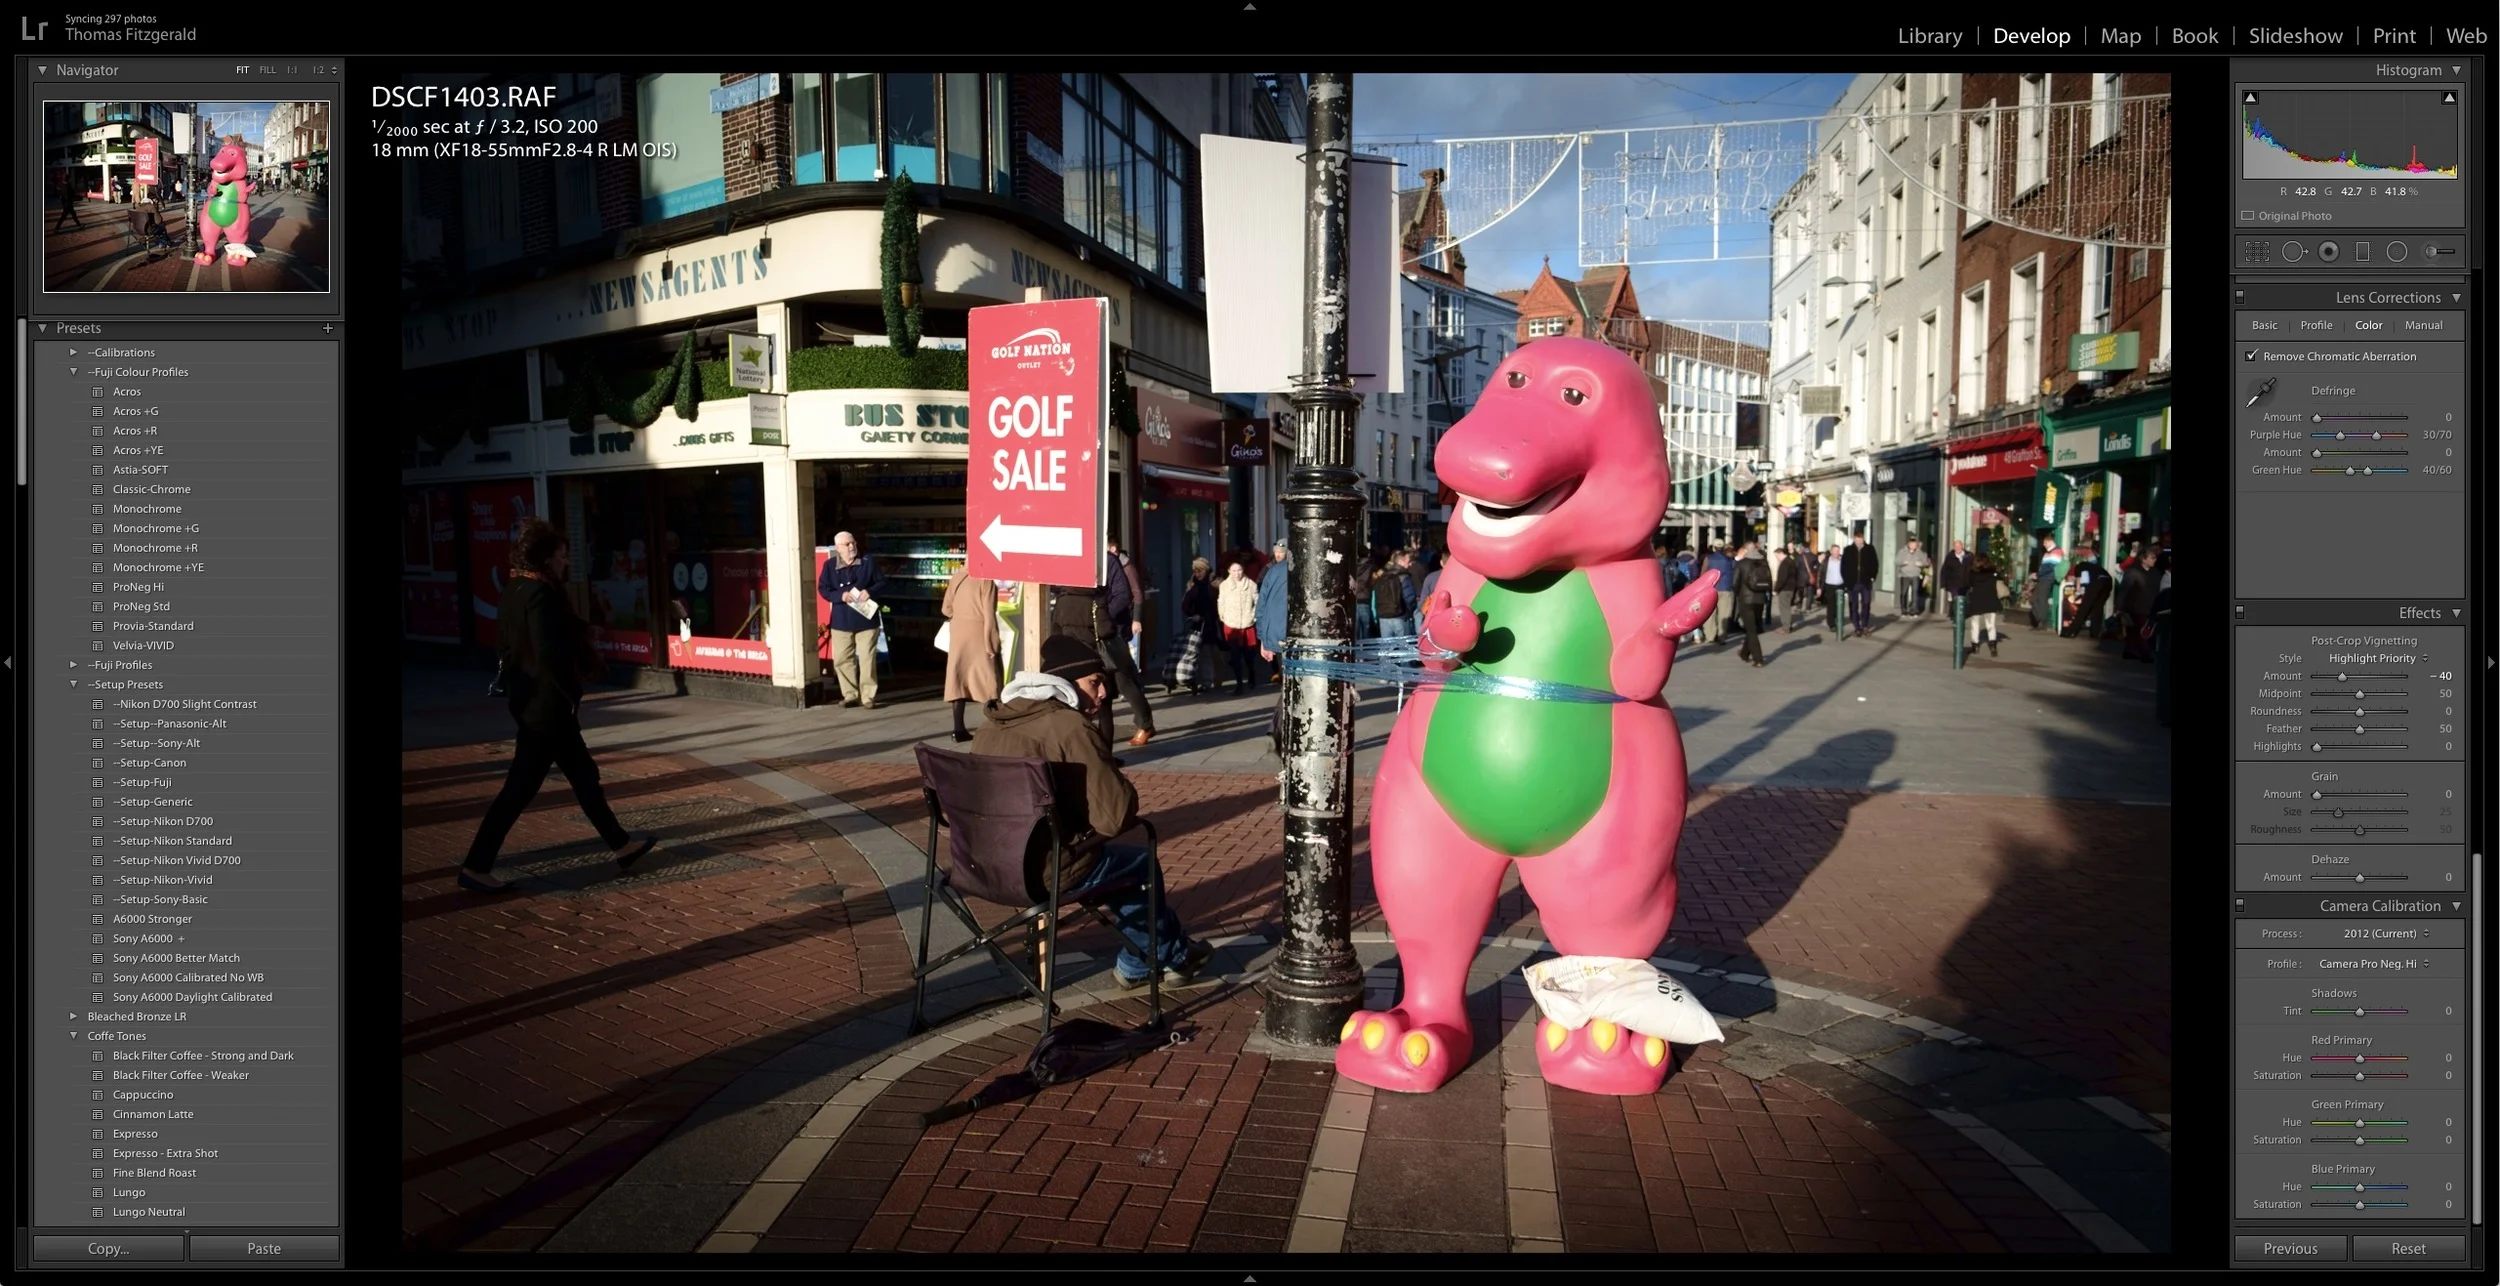
Now that Lightroom has added colour profiles for Fuji’s x-series of cameras, you may want to use them regularly in your processing. Rather than having to go down to the calibration menu each time and find the profile in the list (which can be quite long if you have VSCO installed) I’ve created a set of presets for each of the main profiles. This way you just have to click on the relevant preset.
To take it a step further I’ve added a few variations of each one for common tasks, again to help speed up ones workflow. The four variations are:
- Base: Just the profile applied
- Sharp: With added sharpening from my Fuji sharpening presets.
- Sharp CA: With sharpening and Chromatic Aberration reduction turned on.
- Sharp DRE: With all of the above, and some highlight and shadow manipulation as well as some tweaking of the tone curve and clarity for a little extra oomph.
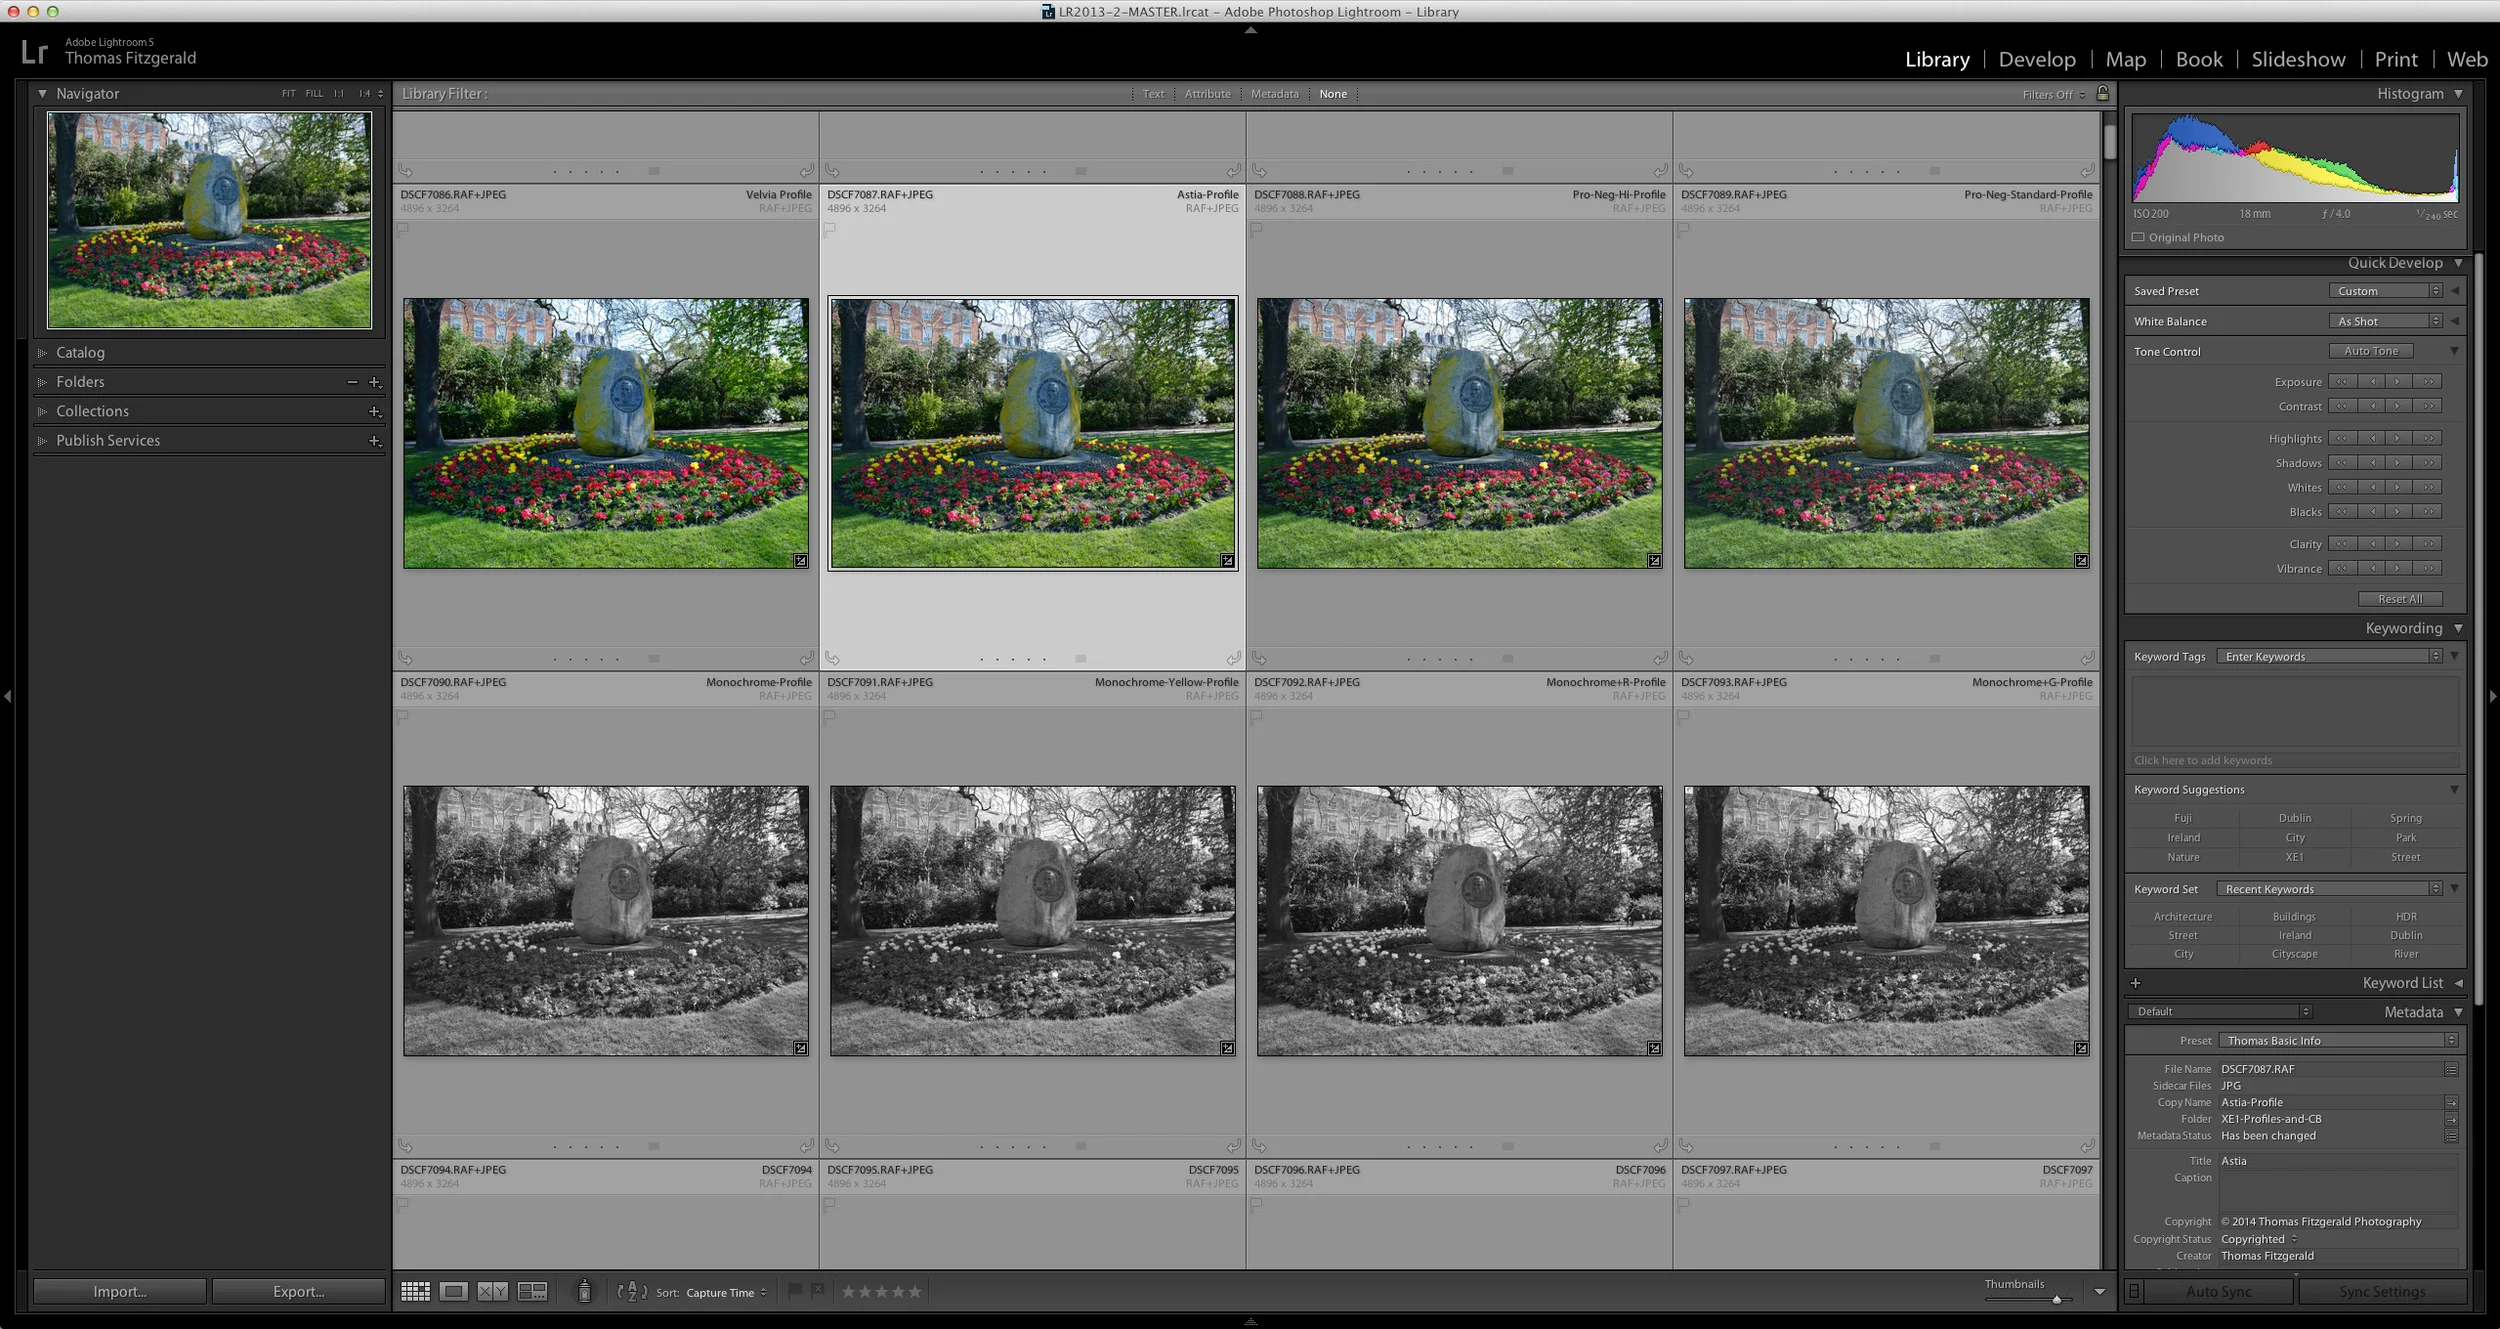
I’ve just created versions for the colour looks. I haven’t done the black and white ones, because personally, I have better ways to make black and white images. These are just workflow tools to help you get started, they’re not meant as magical fixes for your images
(I know that is obvious but I got email complaints when I posted the sharpening presets because all they did was sharpen - I kid you not!)
To download the free presets click here.
If you’re not sure how to install Lightroom presets, I have a guide here. (This is meant for the premium presets, but the procedure is the same). I’m offering these as is, as a gesture to the community, and I can’t offer support I’m afraid, but I’ll do my best to answer any questions in the comments. These are pretty straight forward though, so their use should be fairly obvious.
Please Help Support This Site
I am a fine art Photographer and do not shoot commercially. If you like what you read here and want to help support the site, then please consider buying a Print, checking out my new Lightroom Presets


