

Photo Editing, Tutorials, Photography News, and More
This blog covers a range of topics from Lightroom, Photoshop, Capture One, Fujifilm, Canon, Nikon, iPhone Photography, and more. If you want to see more of my actual photography work, visit my Portfolio and Photo Journal blog.

Tips on Tricky Sky Replacements with Luminar & Photoshop
Luminar’s best-known party trick is its AI Sky Replacement, whether you love it or hate it, but it occasionally doesn’t work properly. I was recently playing around with an image from my archive, and I came across such a situation. Here’s the method I used to get around the problem.
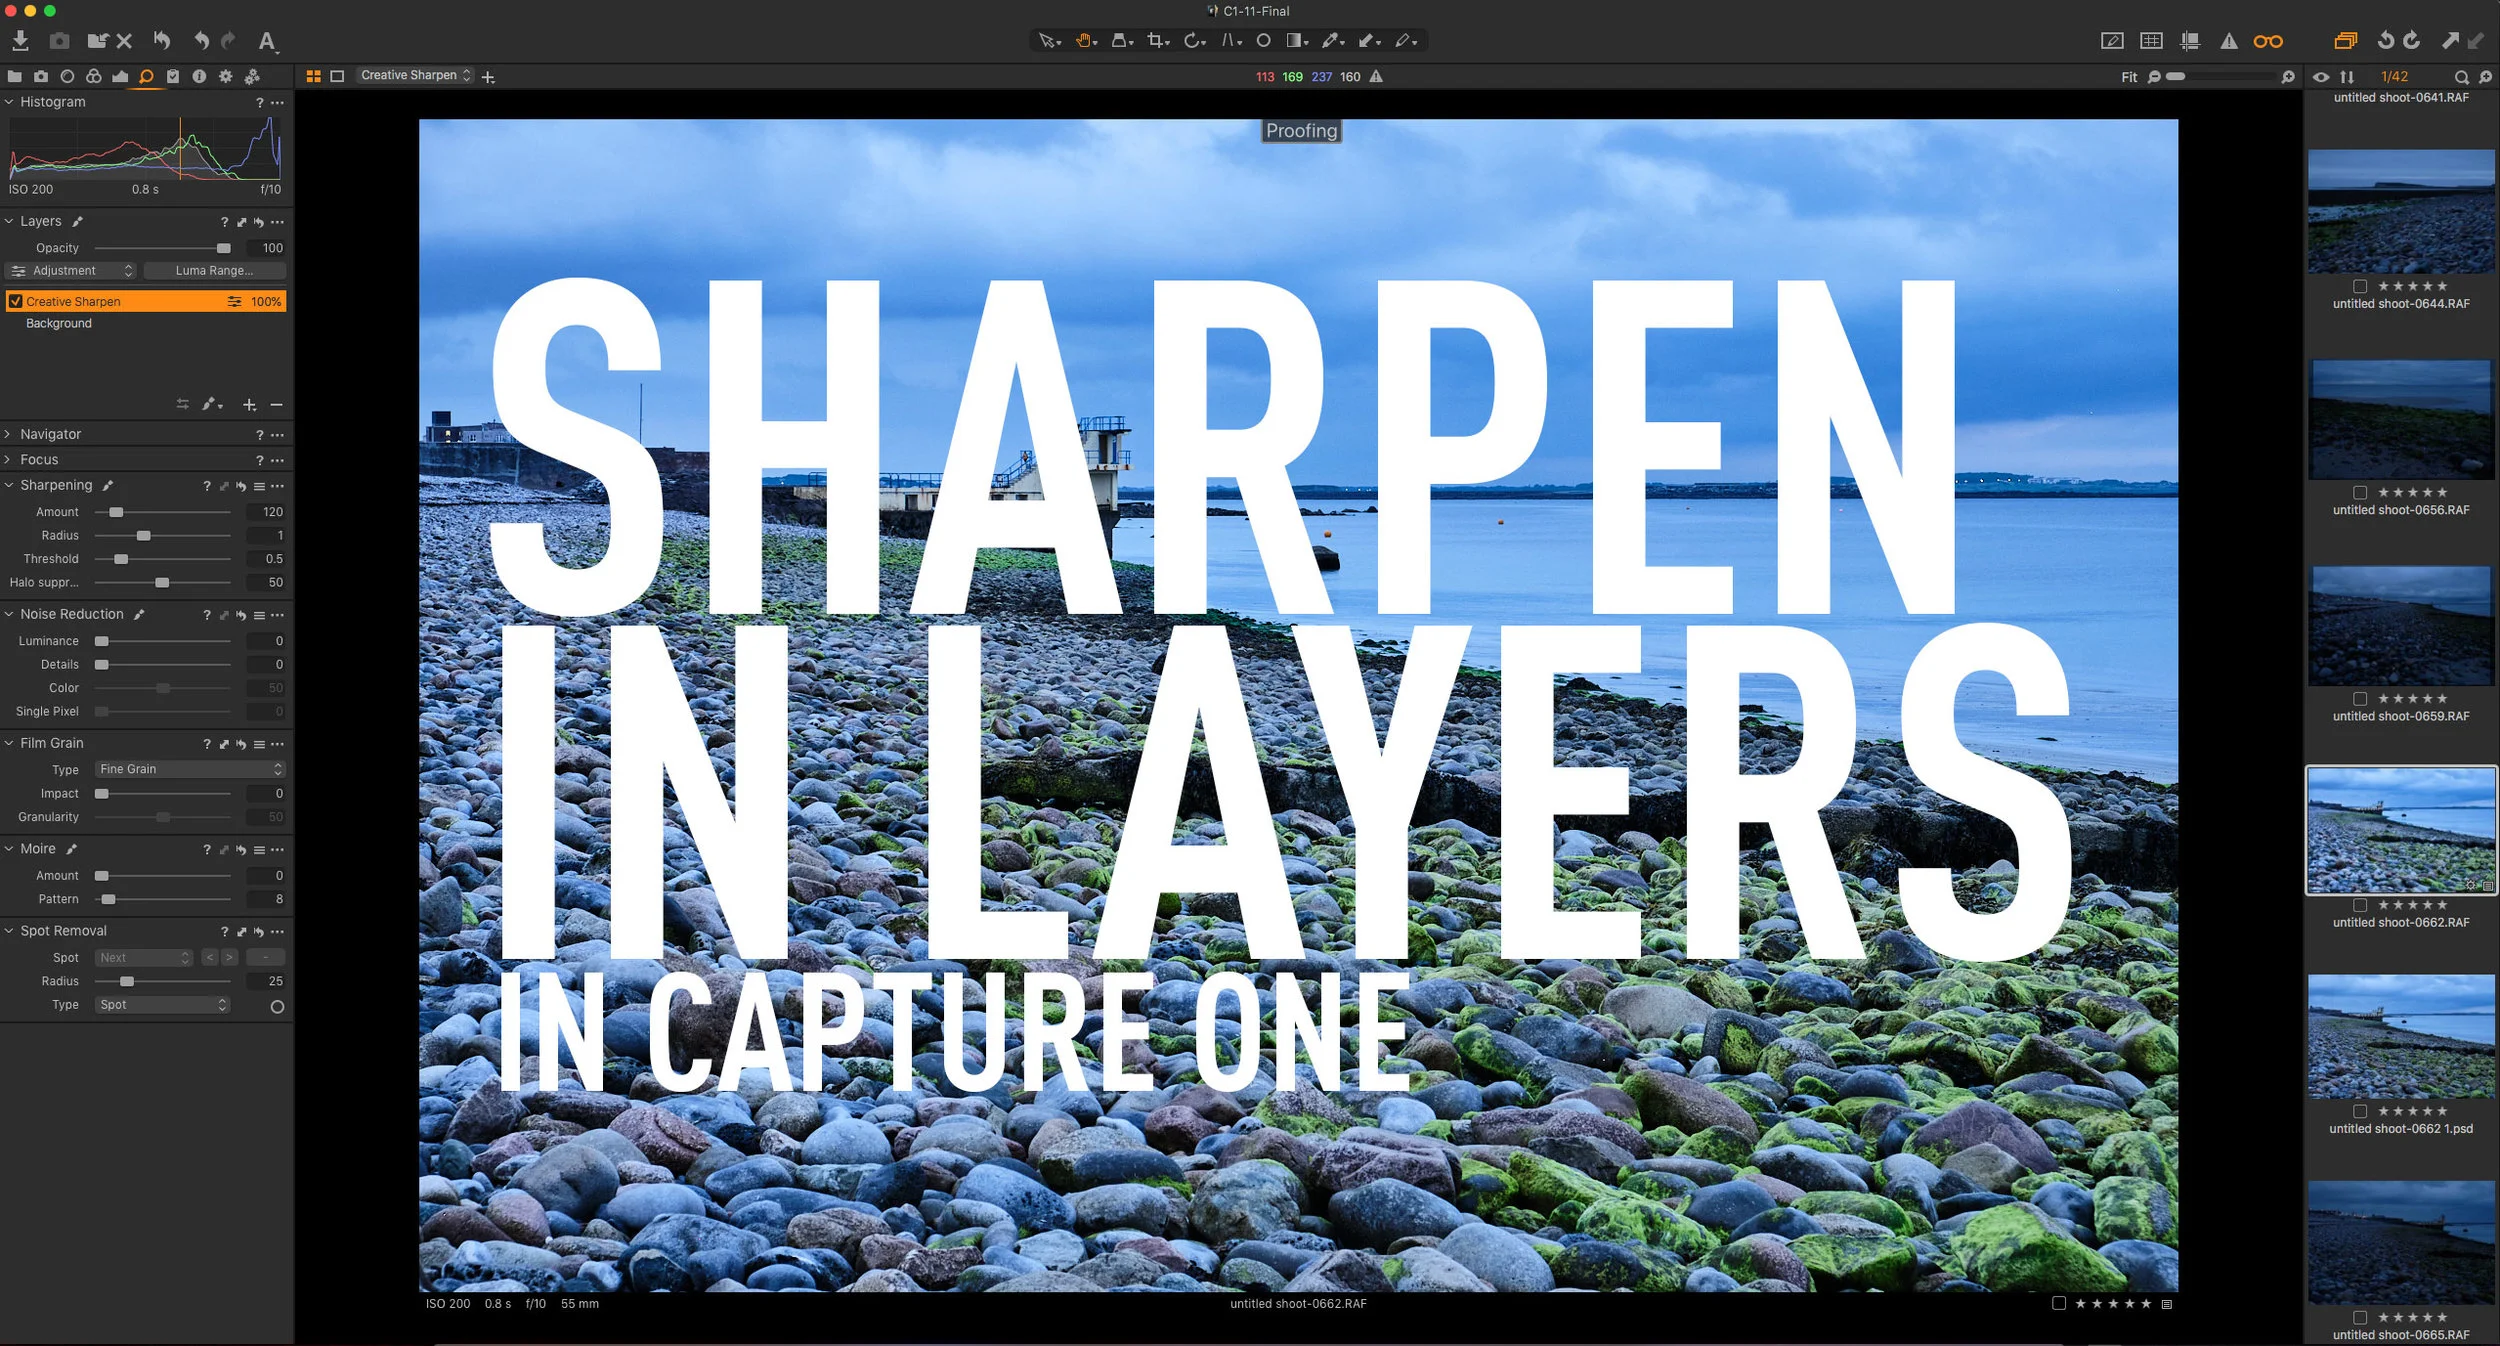
Use Layers to Separate Sharpening Workflows in Capture One
When you are working with RAW files in any software, an important part of the conversion process is sharpening. Sharpening must be done to compensate for the inherent softness that is a part of the raw conversion process. I’ve discussed this before, but there are times when you need to do additional sharpening on top of the RAW level sharpening. While some software separates the RAW sharpening pass, most just have the one set of overall sharpening controls. In Capture One, you can use layers to split your workflow when you need to do more creative sharpening.

A Super Quick Photoshop Camera RAW Hidden Feature Tip
If you ever need to open a RAW file in Photoshop using Camera RAW I recently saw a demo featuring a feature that is sort of hidden, but is really useful. This is possibly a little bit technical, but the tip basically allows you to open a RAW file as a smart object without explicitly choosing the option to open as a smart object.

Video: Using Luminar as a preset in Aurora HDR
If you’re using Aurora HDR to create an HDR image, but want to do more work with it than you can manage in Aurora alone, then you can send the image to Luminar. Rather than saving it as a standard file and then manually opening it in Luminar, you can actually use Aurora HDR’s built-in plug-in system to send the image directly to Luminar.

Applying Lightroom’s Auto Settings to Multiple Images
I recently wrote about and made a video demonstrating Lightroom’s new AI-based automatic settings. If you haven’t seen it already, Lightroom now uses artificial intelligence when applying its automatic settings, and it’s much improved over the previous incarnation. However, after I had talked about that a reader sent me an interesting question: “How do you sync this auto option across multiple images?”. At first, I thought you would just use the synchronisation button at the bottom of the develop module, but it turns out, it’s not that straightforward. There are a few ways to do it, but they require a little work to find.

My Current Opinions on Available Raw conversion Software (For Fuji Shooters)
Because I have written a lot on various different software applications regarding raw conversion for Fuji shooters, I often get asked what I think is the best option. This is a difficult question, as they all have their pros and cons. In the past, I have done various breakdowns explaining what I see as the advantages and disadvantages of each. I’ve tried to avoid giving my own take, as I know people’s needs and opinions are different. However, I still get regularly asked, and just today I got another request for an opinion. So here it goes…

The Best way to use Luminar with Capture One
If you’ve been following this blog for a while now, you probably know that I’m a big fan of Macphun’s Luminar. It works great as a plug-in for Lightroom, but if you’re using Capture One it gets a bit more complicated. While you can use it as an external editor with Capture One, getting it to round-trip properly can be a bit tricky. There is however a simple solution to the problem and that is to use Photoshop as a intermediate.

Aurora HDR 2018 Coming Soon. Windows Version to Be Released
Macphun has announced that the next version of Aurora HDR is soon to be released (in September) and it will feature some significant changes, including a new interface design, and more importantly, for the first time, a Windows version.

Luminar as a Nik Software Alternative
Last week Google announced that it would no longer update the Nik software suite that it acquired some time ago. The Nik collection has long been a staple of many photographers over the years and it offered some excellent tools for both creating black and white images with Silver Efex Pro, and also for enhancing colour images with Colour Efex. I have been using the software since it was owned by an independent company, and I even paid the full price for it back in the day. While I’m sad to see it go, I hadn’t been using it for a while anyway, as my main go-to plug in now is MacPhun’s Luminar.

Enhancing Images with Luminar
I’ve talked about MacPhun’s Luminar here before. Specifically I discussed it in the context of the software being a new RAW converter, and I talked about the possibilities it offers. However, there’s another way to use the application, which also works really well, and that’s as a plug-in. You can use it as a plug-in for either Photoshop or Lightroom, and it offers a lot of functionality. Recently I was using it on an actual project, and so I thought that I’d discuss what I did and how I used the software.

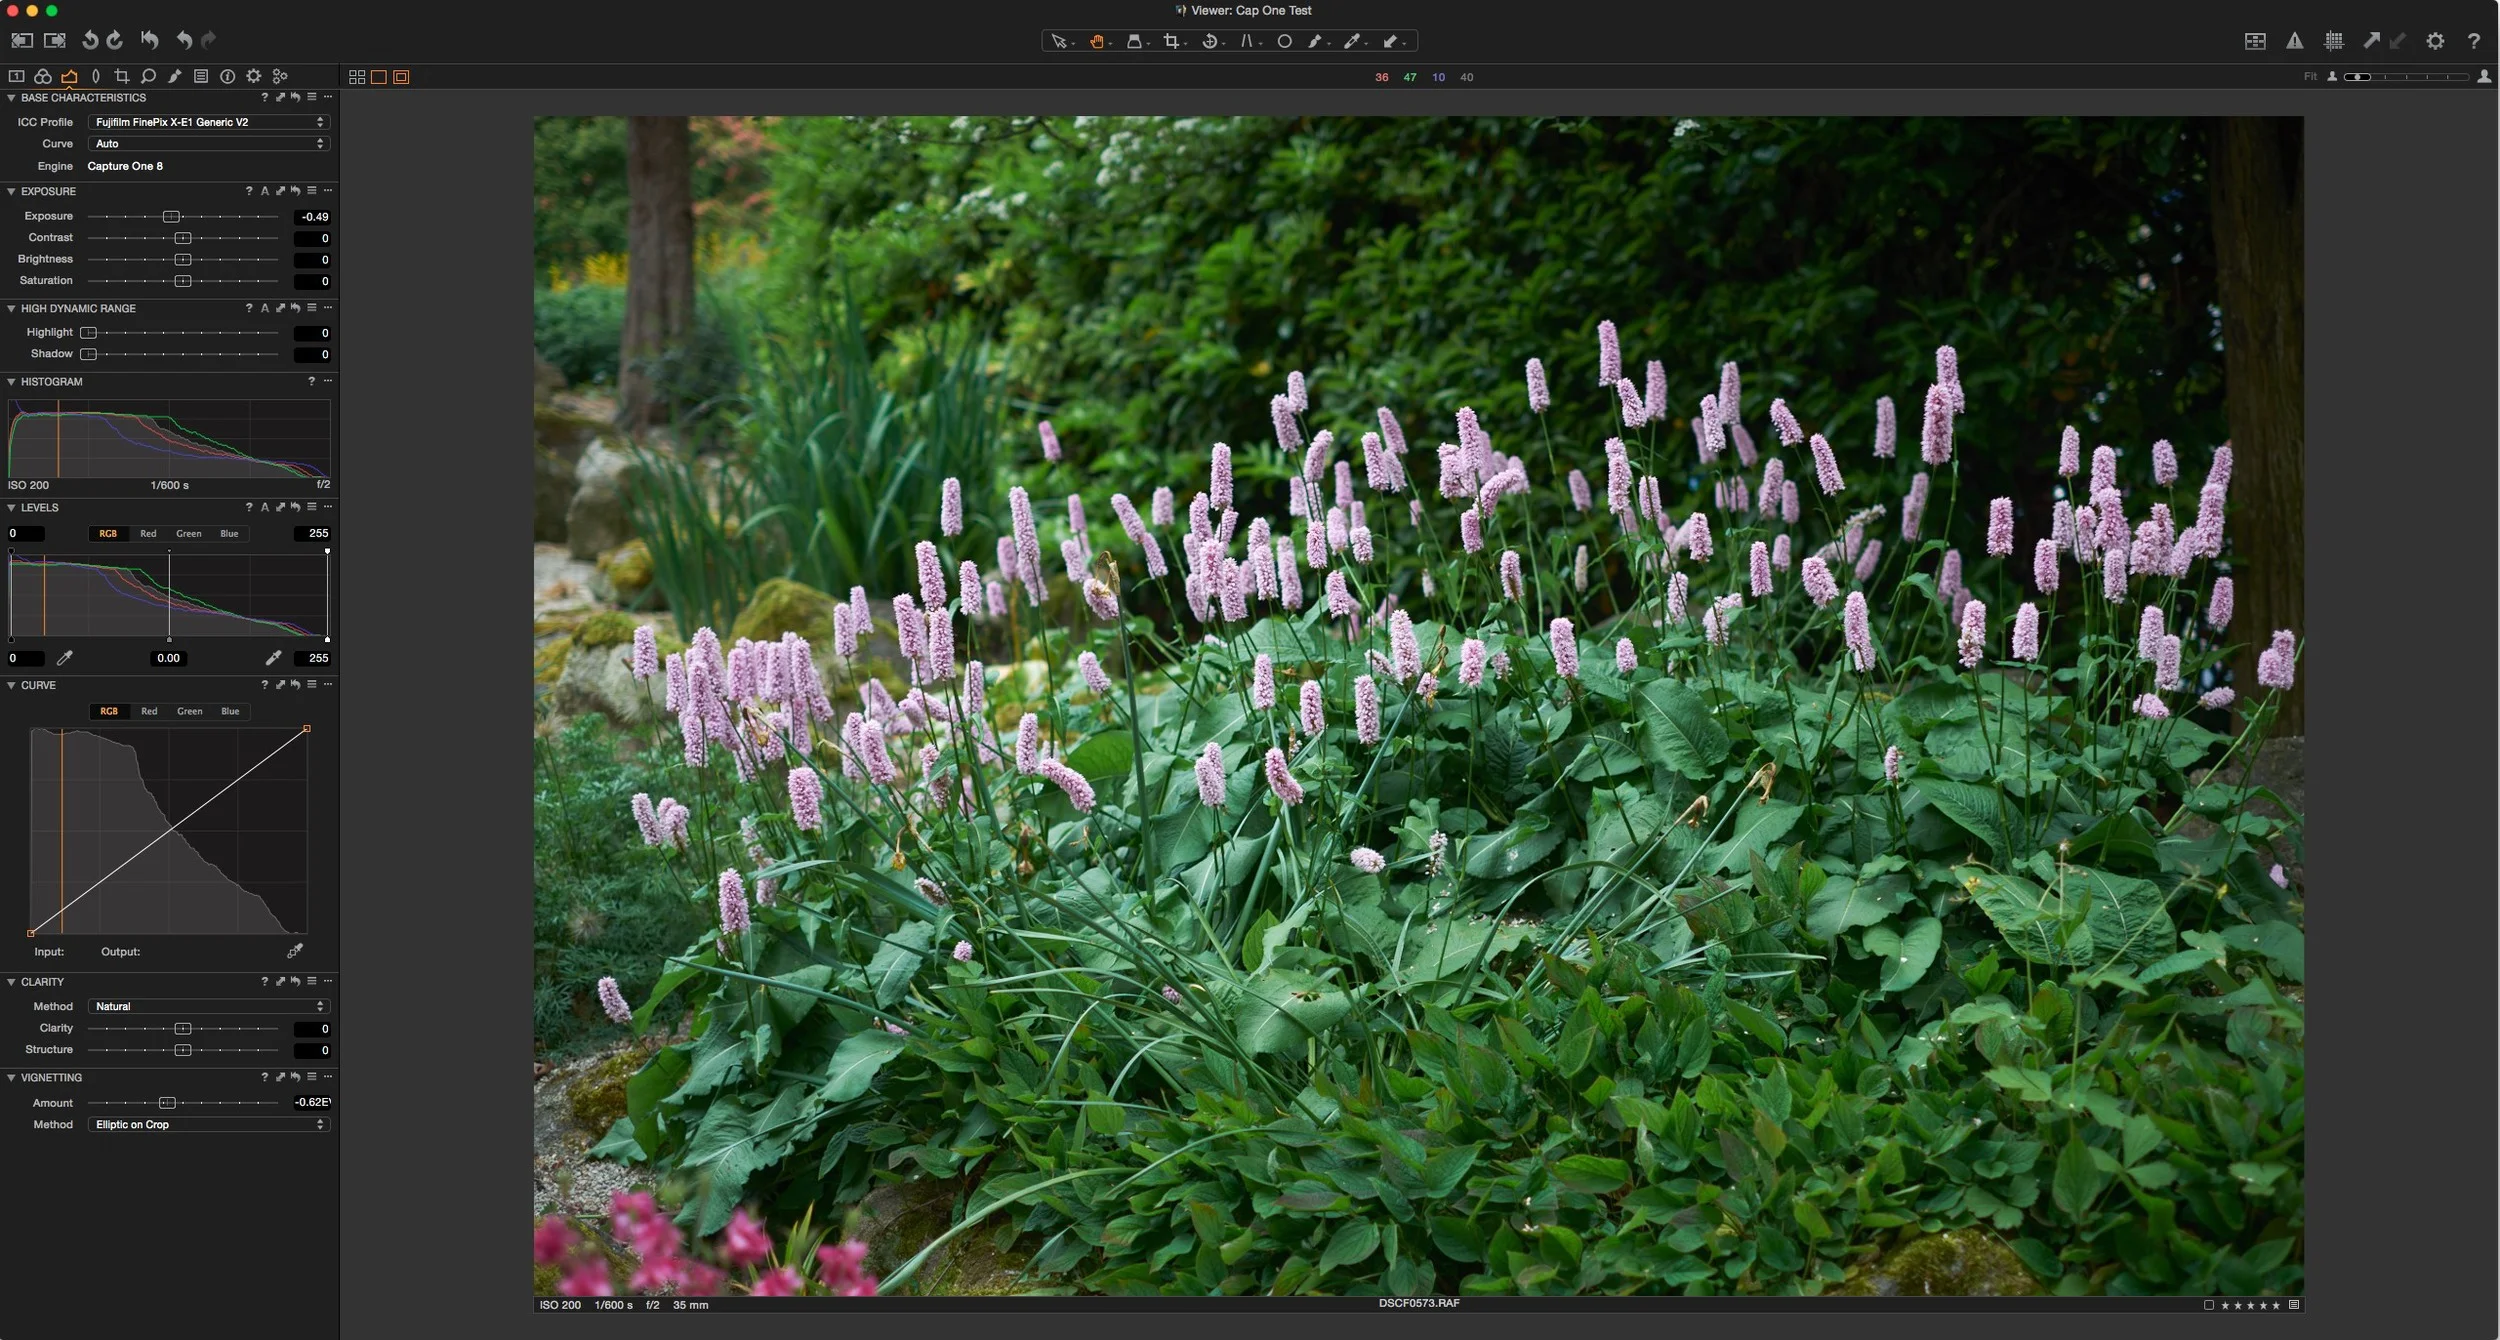
Capture One Pro 10 - A First Look for Fuji X-Trans Users
Capture one has long been a rival to Lightroom, and I’ve been suggesting its use for Fuji X-Trans shooters for some time. However, Capture One Pro 9 seemed to be lacking in the quality of its conversions for X-Pro2 users and there were a number of issues holding it back. Today, Phase One launched a new version, Capture One Pro 10, and I’m happy to say that those issues are gone.
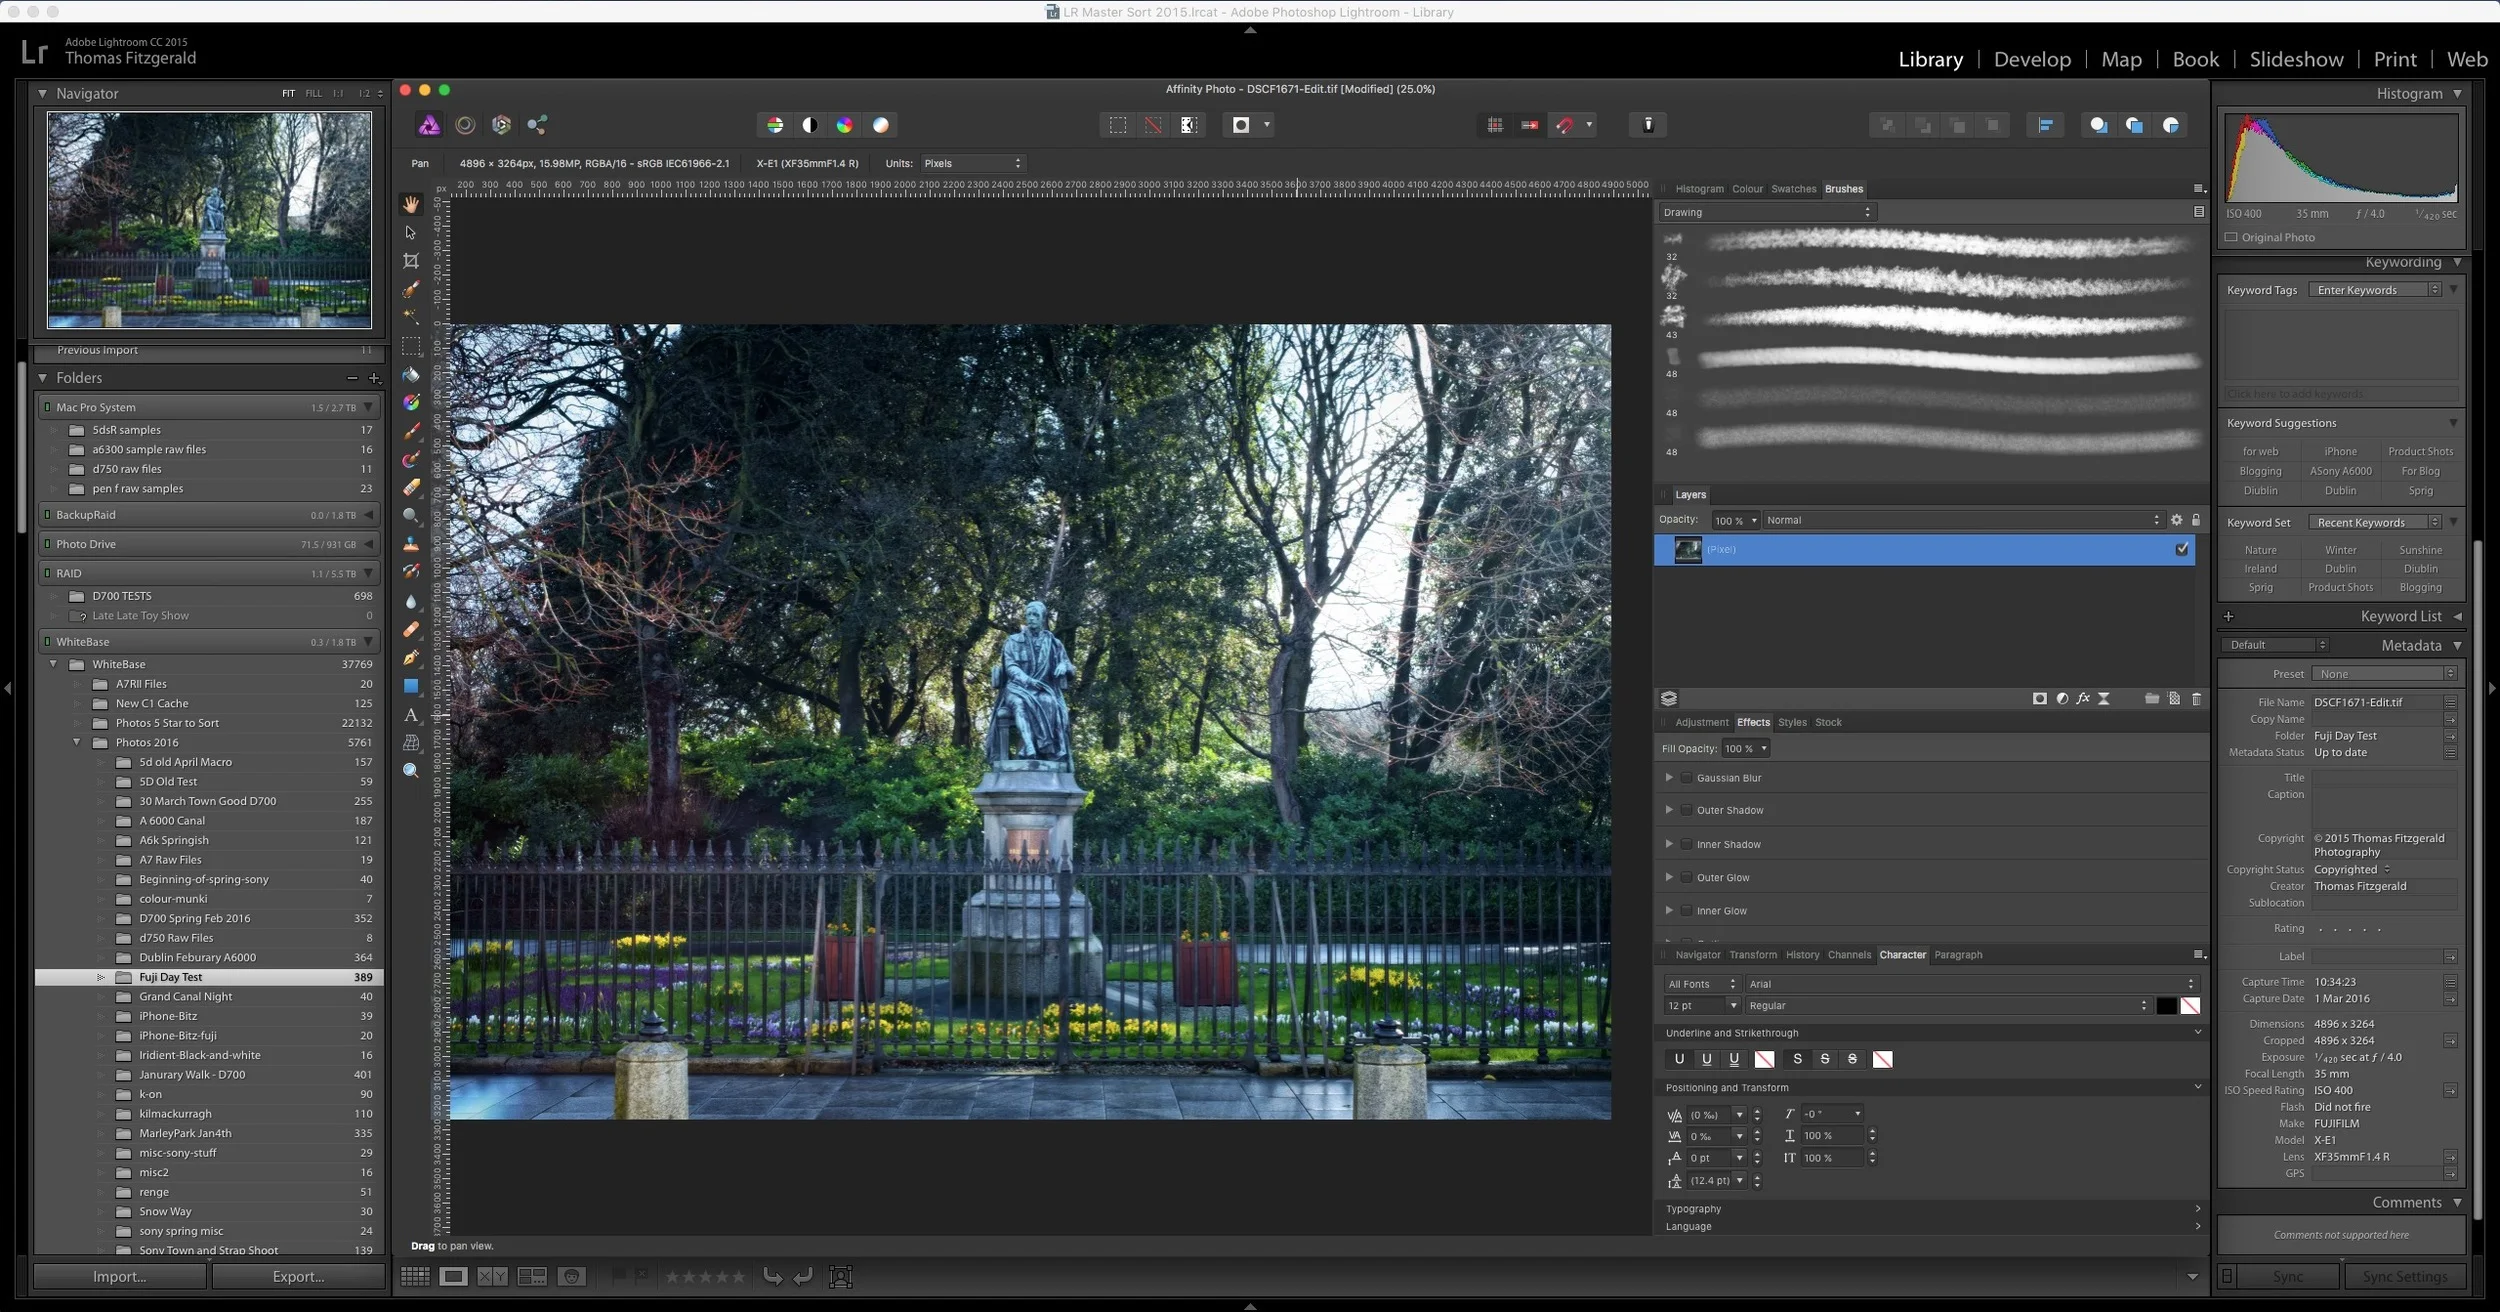
How to use Affinity Photo as an External editor for Lightroom
I briefly covered Affinity Photo in a previous post, and it is an excellent Photoshop alternative. I've been using it more and more lately, and that includes using it in conjunction with Lightroom as an external editor. This is pretty easy to set up but there are a few limitations unfortunately. However, there are significant advantages to using the software in lieu of Photoshop. In this post I'll show you how to set up Affinity Photo to work as an external editor, and I'll discuss some of the limitations and advantages of using Affinity Photo with Lightroom.

London's Borough Market: Processing DSLR images on an iPhone with VSCO Cam via Apple Photos on the Mac!
Ok, that headline is a bit of a mouthful, but it’s better than some of the others I’ve been thinking about for this post. Basically, I’ve been doing something that’s probably a bit silly from a workflow point of view, but is actually a bit of fun and is producing some interesting results. Basically, I’ve been using VSCO Cam on the iPhone to process some of the images I shot in London on my Nikon D700.
Capture One 8.3 Released
Wow, Phase one is really churning out the updates to Capture One. the latest version has just been released, and it adds a few new features to its already extensive list, as well as adding support for new cameras including the company’s own recently released Phase One XF medium format camera.
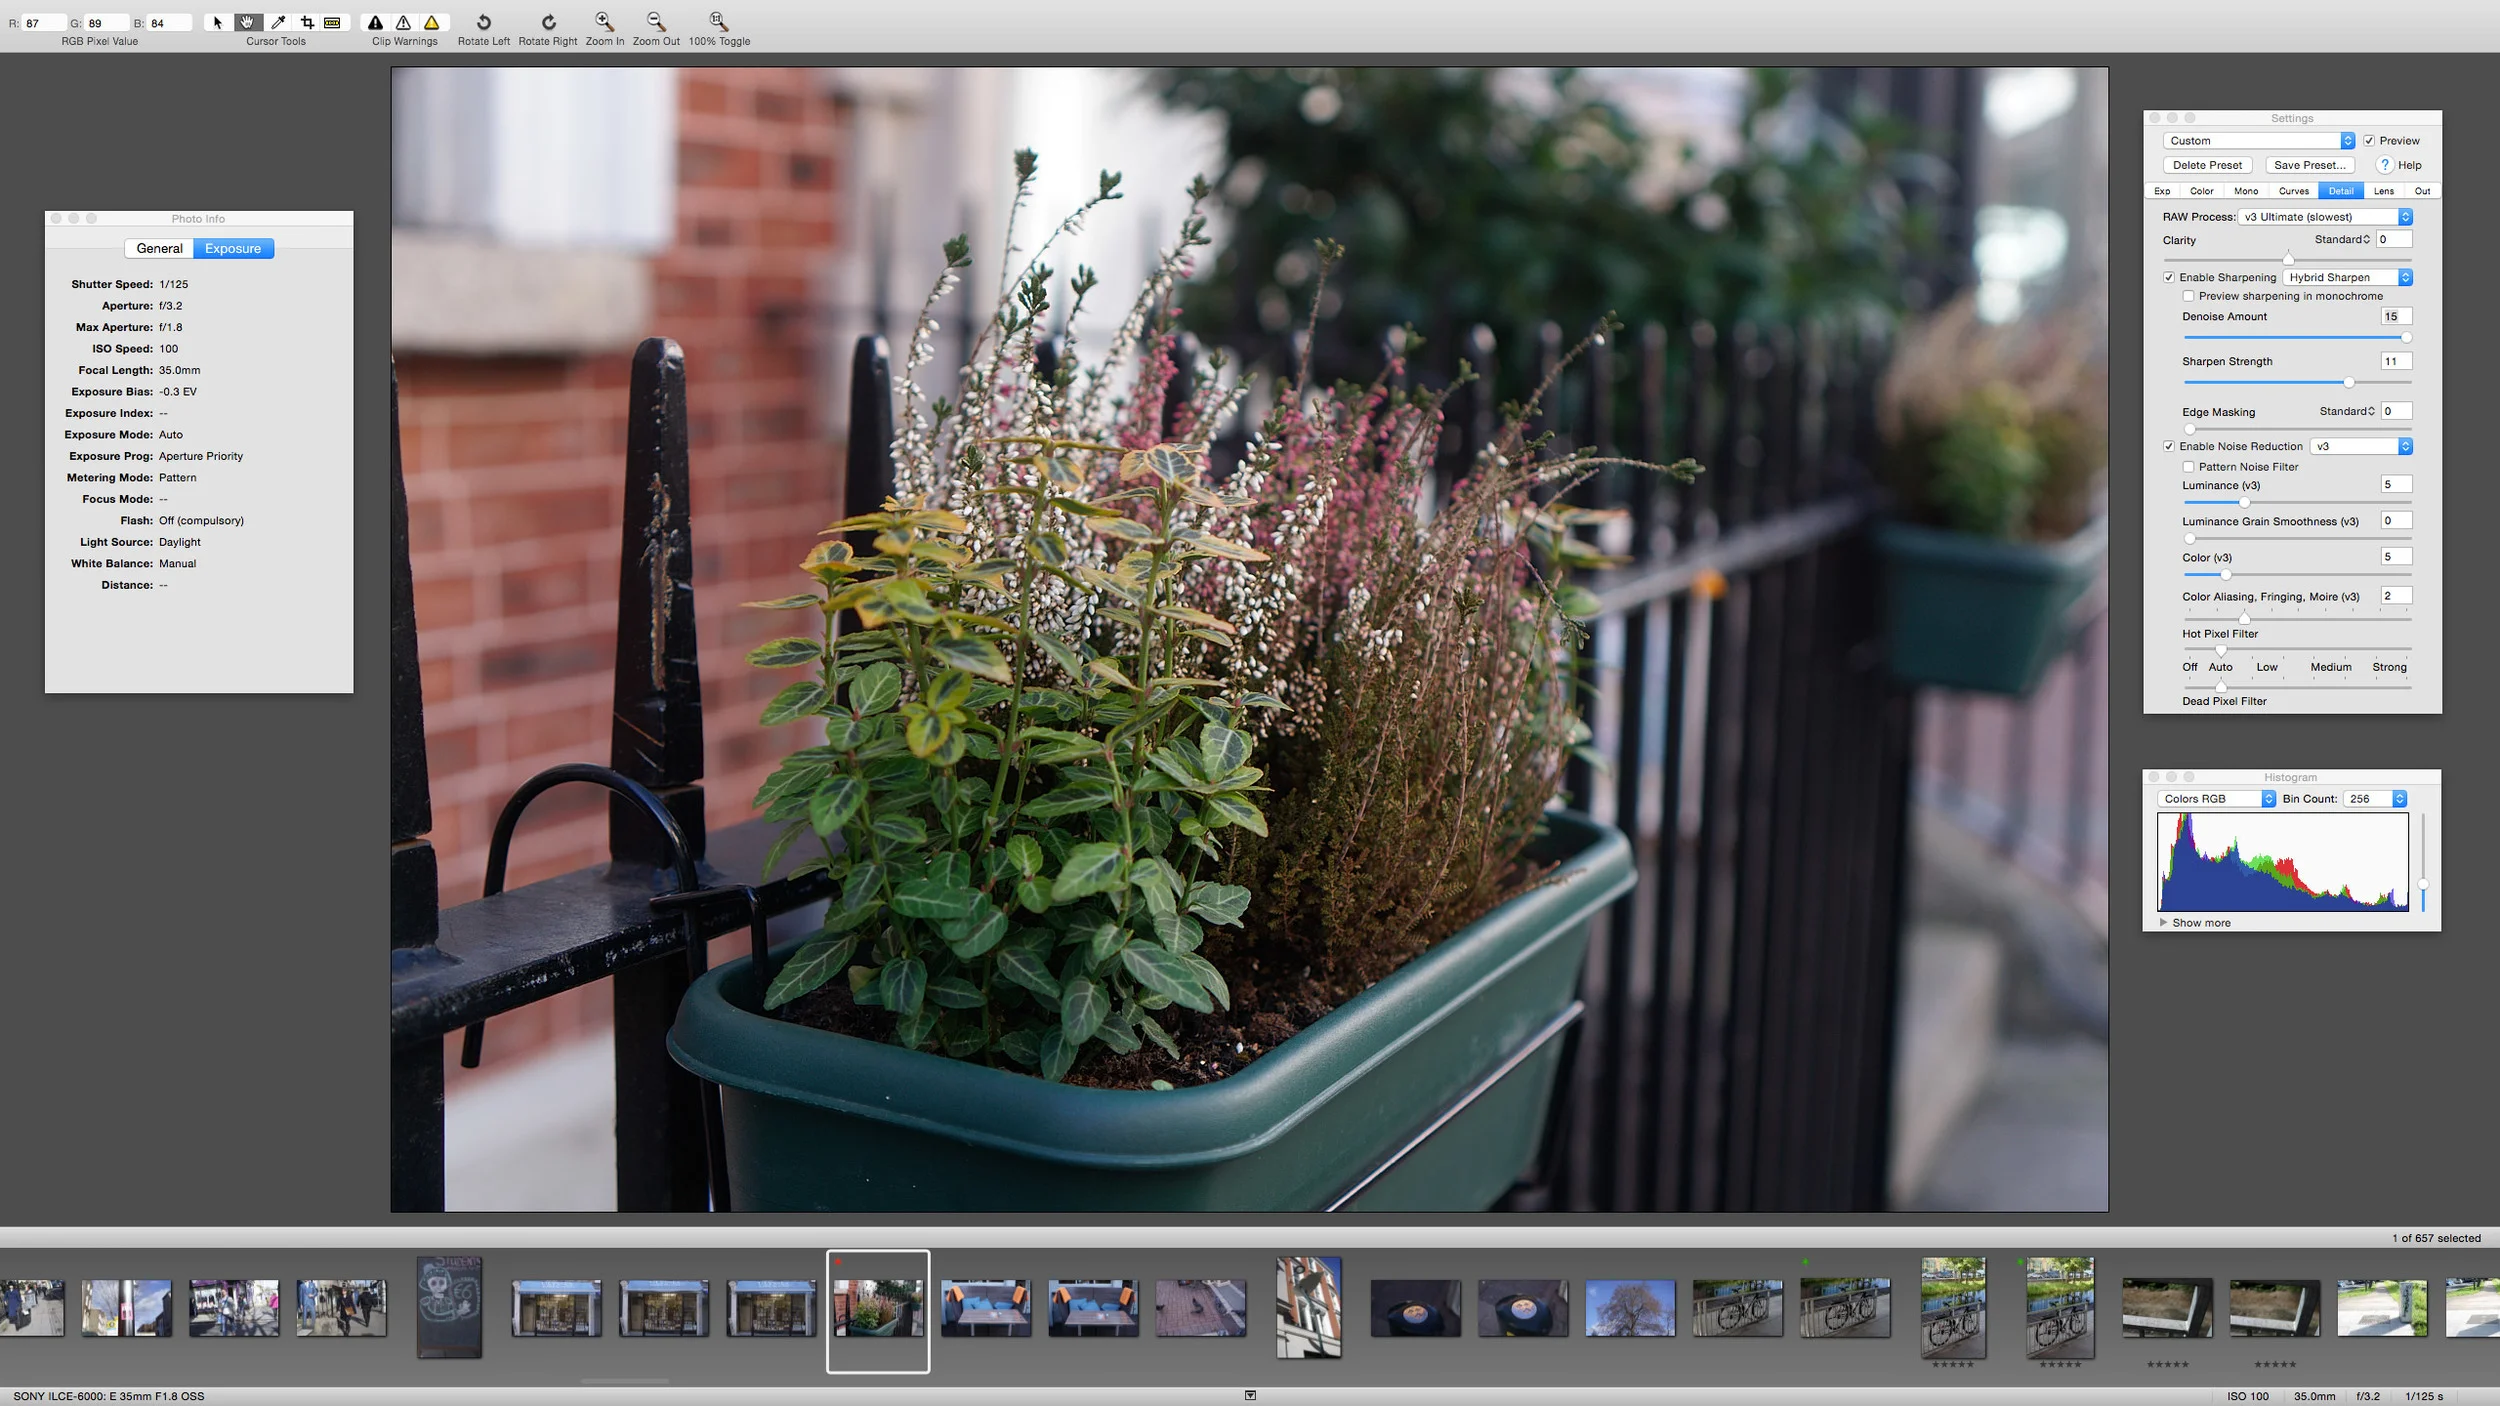
Iridient Developer 3 Released
Iridient digital has released a major upgrade to it’s Raw Processing software Iridient Developer. I’ve covered this software numerous times on the blog, in particular in relation to it’s ability to decode Fuji X-Trans files. Version 3 is a significant upgrade over version 2 and has a lot of new features in it. The update has addressed most of the (few) criticisms that I’ve had of the software in the past, and it now has a lot of functionality for processing images.