How to use Affinity Photo as an External editor for Lightroom
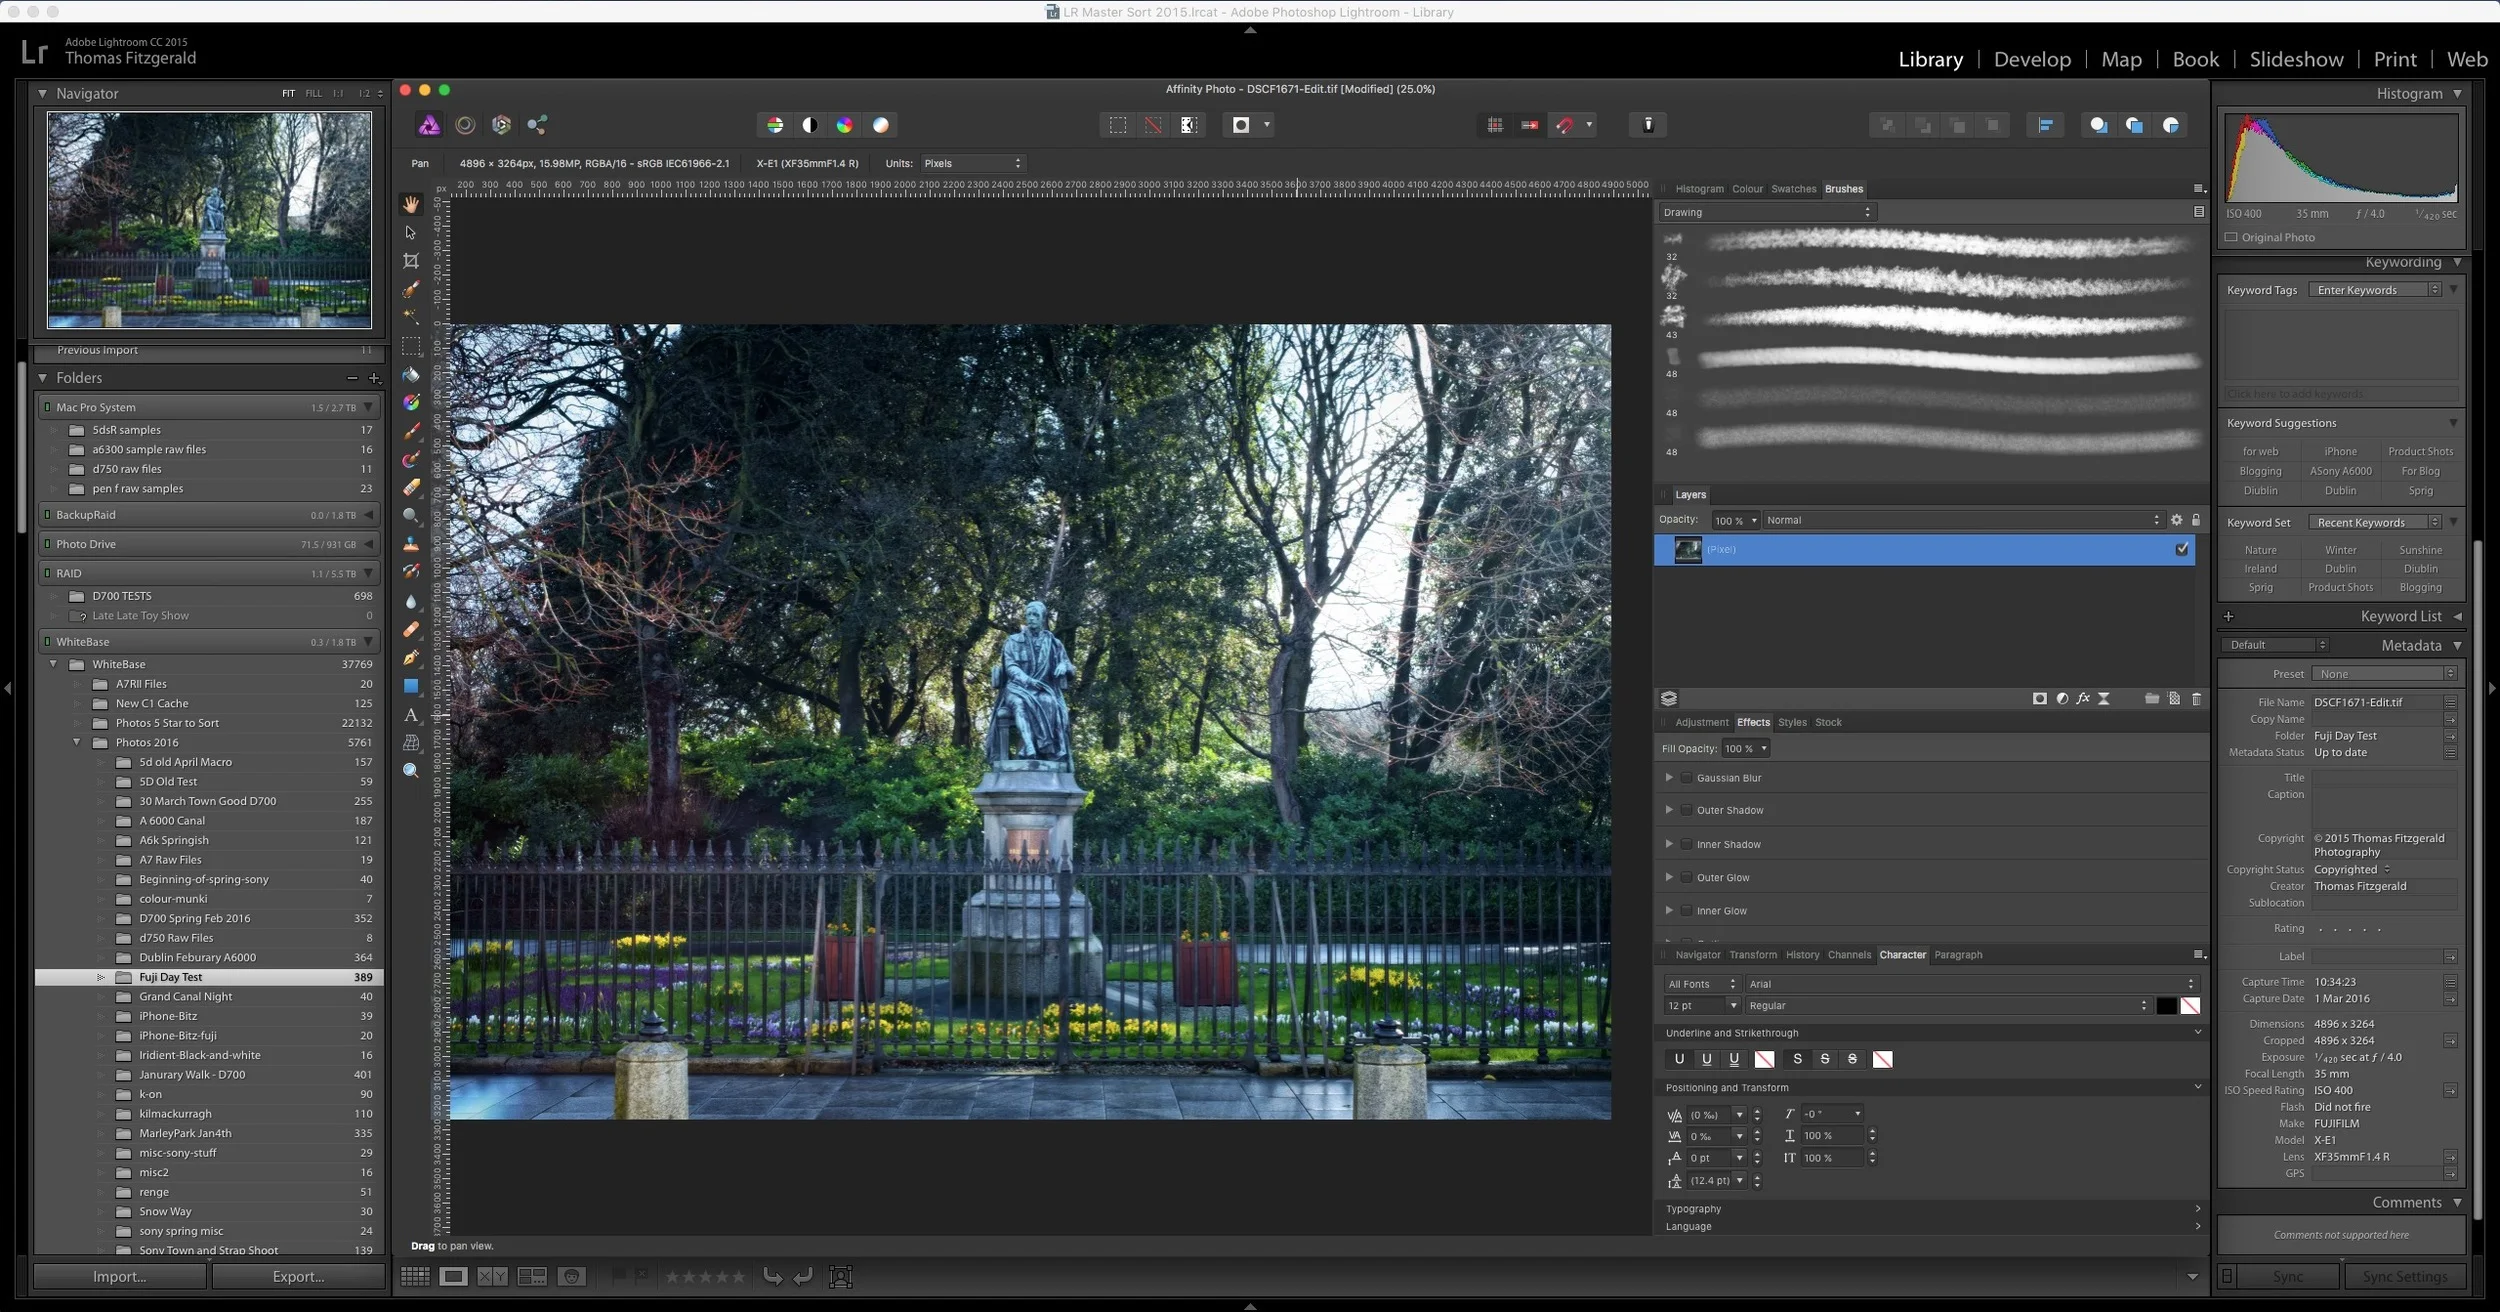
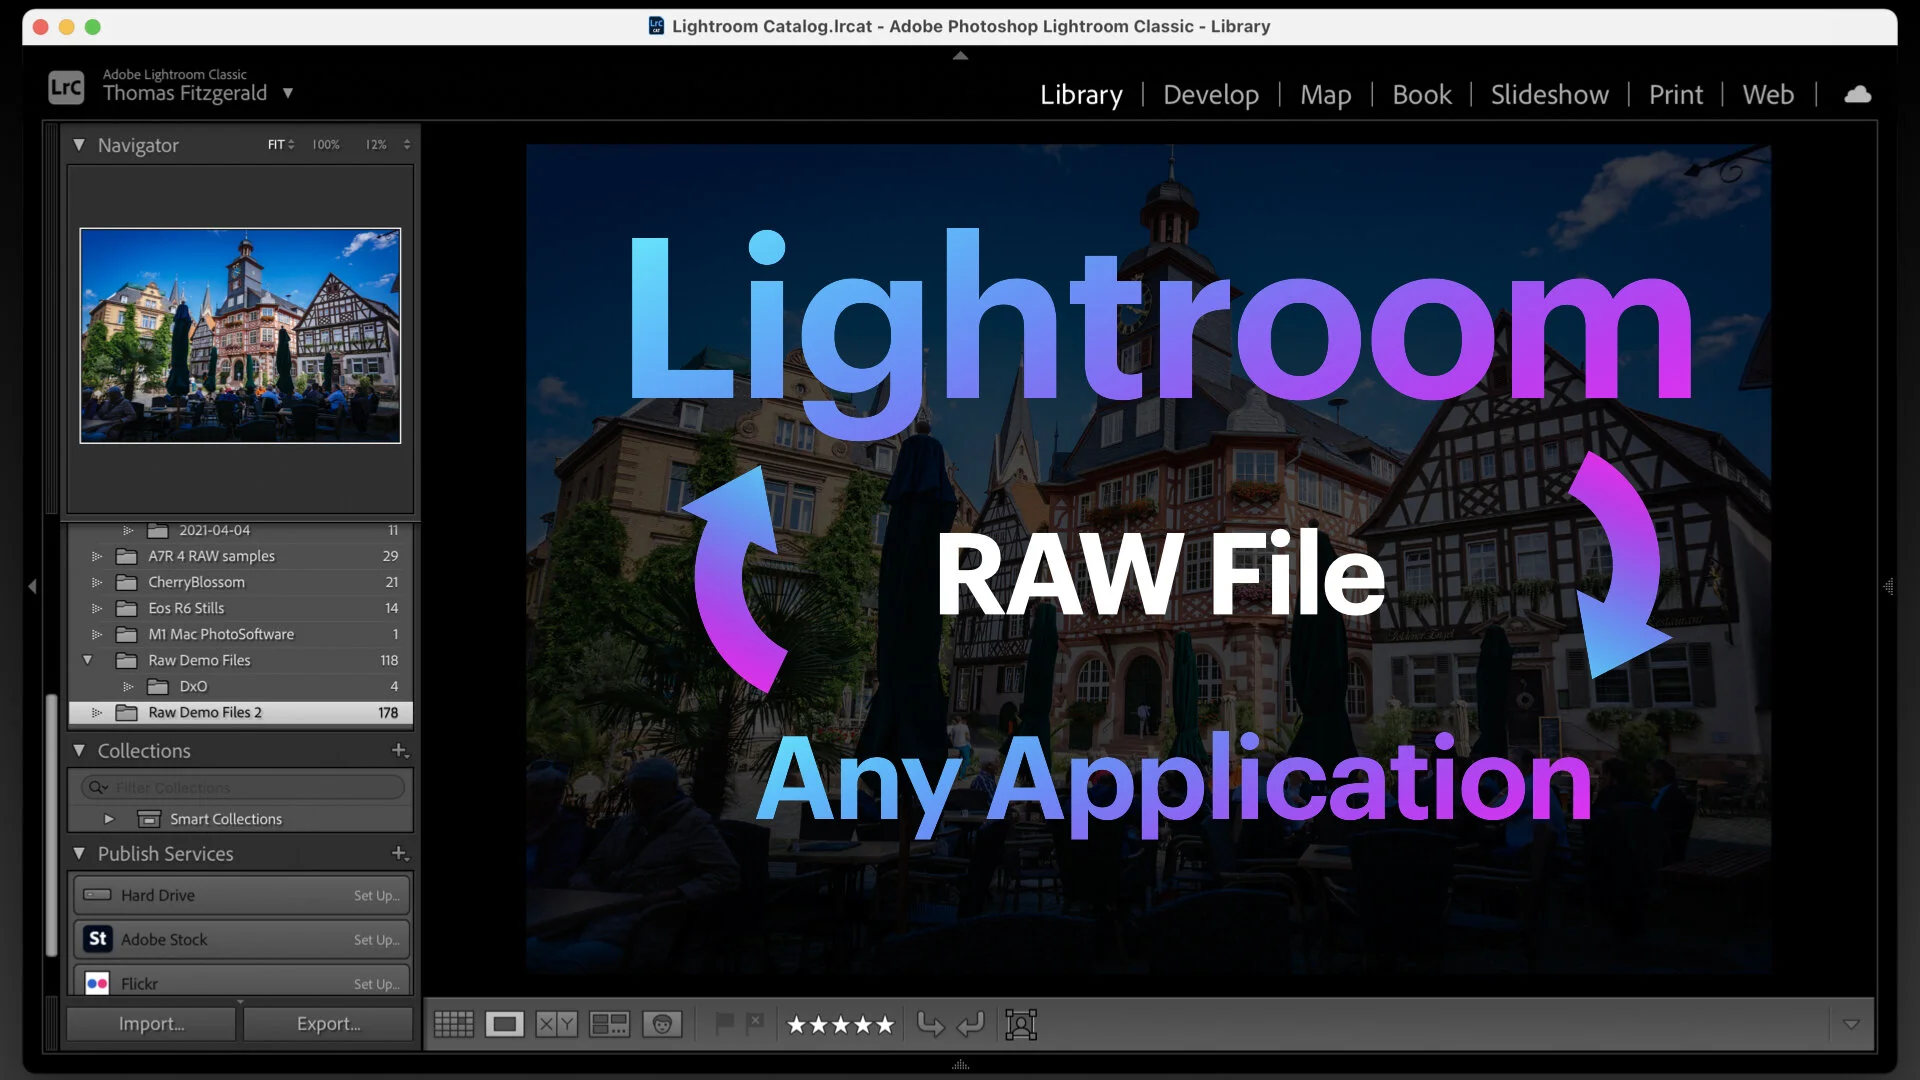
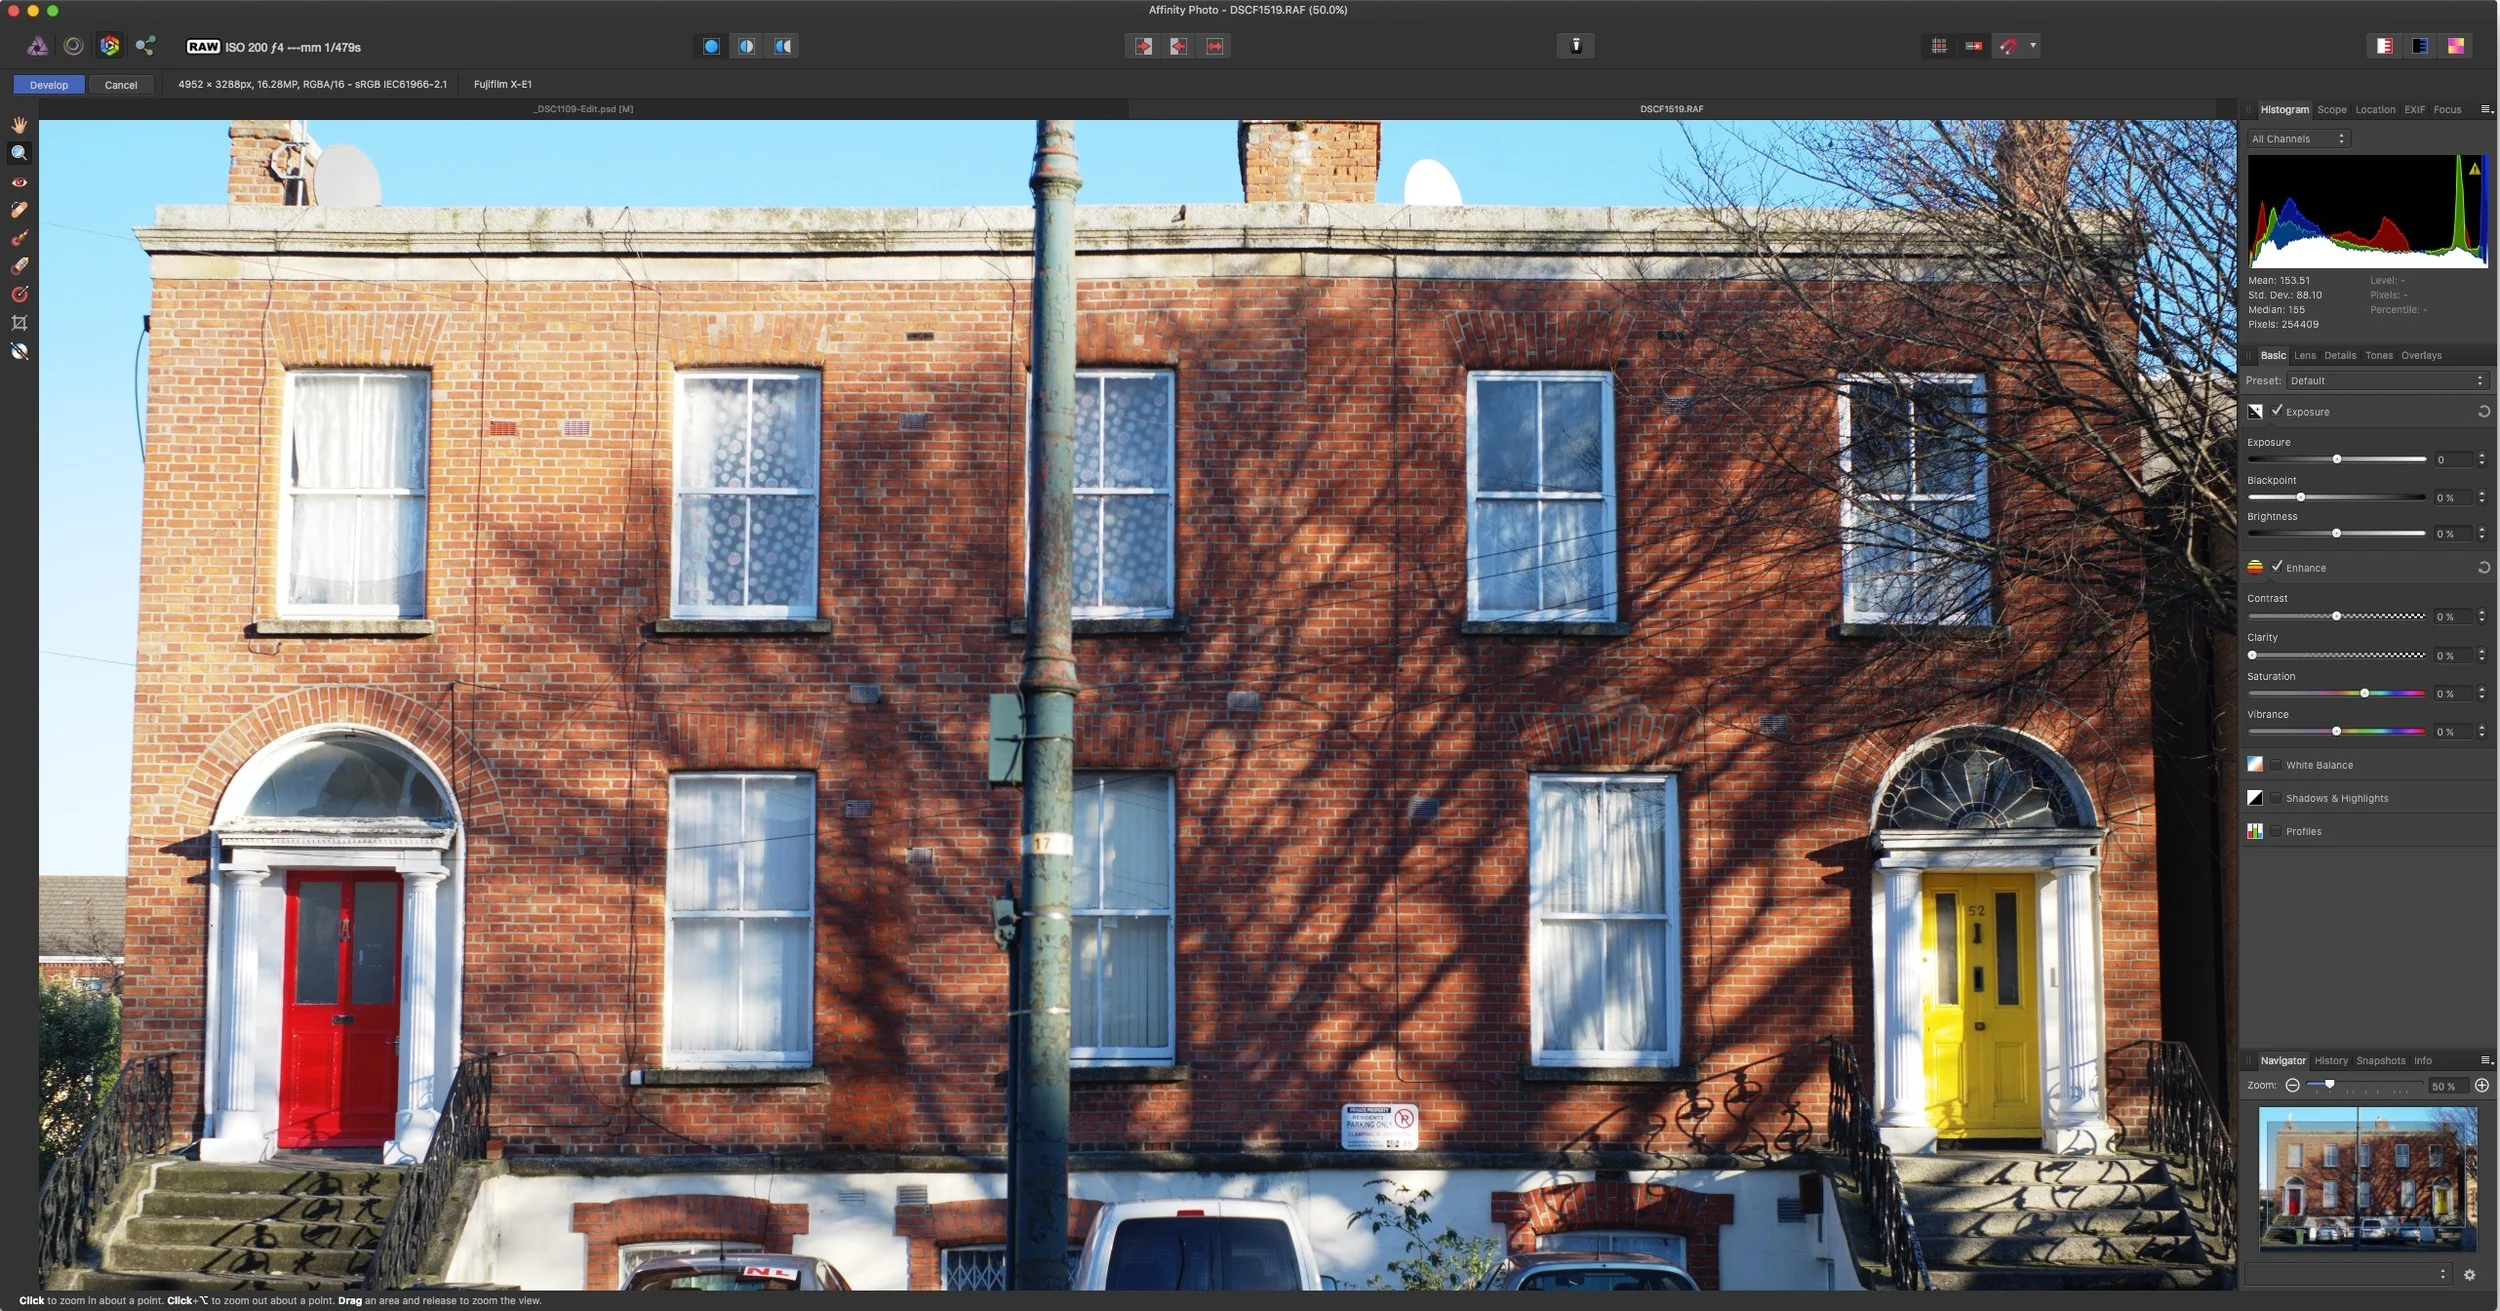
I briefly covered Affinity Photo in a previous post, and it is an excellent Photoshop alternative. I've been using it more and more lately, and that includes using it in conjunction with Lightroom as an external editor. This is pretty easy to set up but there are a few limitations unfortunately. However, there are significant advantages to using the software in lieu of Photoshop. In this post I'll show you how to set up Affinity Photo to work as an external editor, and I'll discuss some of the limitations and advantages of using Affinity Photo with Lightroom.
Setting up Affinity Photo to work as an External Editor
Setting up the Affinity Photo to work as an external editor is pretty straight forward. If you've done this before for any other application then the process is the same. If not, here are the steps to follow:
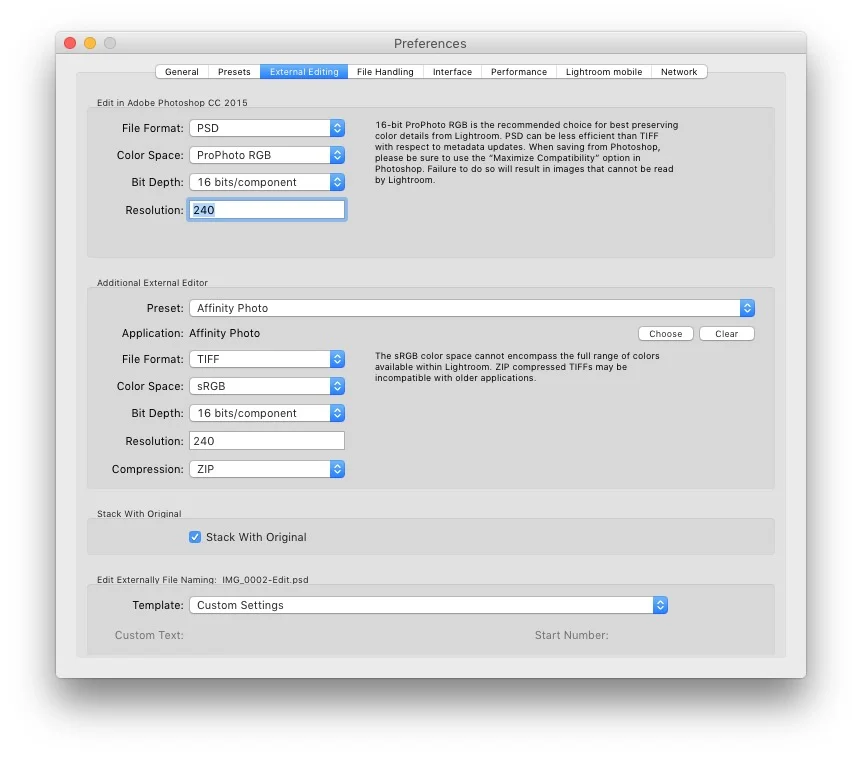
- From the Lightroom Menu (on a Mac, or Edit on a PC) Choose: Preferences
- Go to the External Editing tab
- Under the Additional External Editor section of the window, beside the entry for Application, click the button labelled “Choose”
- From the file dialog that opens, navigate to your applications folder if you’re not already there, and select the Affinity Photo application.
- Click Choose to close the window.
- The rest of the options should be set with the defaults. You may want to change a few of these, but if you are happy with the way they are set, then skip ahead to step 13.
- You need to leave the format as Tiff, although this should work just as well with Jpeg. There are issues with PSD at the moment.
- For colour space, I would suggest setting it to ProPhotoRGB or Adobe RGB
- I would suggest changing the bit depth to 16 bit. If you want the maximum quality, you will want it to be 16 bit, however, if you’re short on disk space, you can leave it at 8 bit.
- You can leave resolution at 240 or change it if you would prefer. This won't actually scale the file, just set the DPI it would print at.
- For compression, it doesn’t really matter, but if you want to save some space set it to Zip.
- Once you’ve set the necessary settings, you can save them as a new preset by clicking on the Preset pop up menu, and choosing: Save Current Settings as New Preset
- Give the new preset a name, for example “Affinity Photo” and click the button labelled “Create”.
Once you've set this up, you can send a photo to Affinity photo at any time by right (control) clicking on an image and choosing Edit In > Affinity Photo. This will then open a dialog that will ask if you want to Edit a copy with Lightroom Adjustments, Edit a Copy or Edit the Original. The dialog will also give you the option to overwrite the image settings you set earlier.
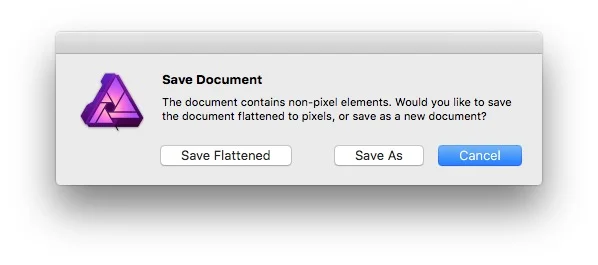
Once you've edited your image in Affinity photo, and you want to send it back to Lightroom you need to choose Save from the file menu or by pressing Command + S. This will ask you to save a flattened version of your file. If not, you'll have to save as which will save it in the native Affinity Photo format.
Limitations & Advantages
The biggest limitation when using it this way, you really can't save layered files back to Lightroom. This may or may not be a deal breaker for using the software. While affinity Photo does support layered Photoshop files, it won't "save" a photoshop file back. You have to go through the process of exporting it, and trying to write over the edited version sent from photoshop. it will work, but it's messy and can lead to issues.
With that in mind you may be wondering what the advantages are to using Affinity Photo over Photoshop. Well, there's one really, but it's a big one: Speed. Affinity Photo is very fast. If you're making simple edits, there's a good chance that you will open the software, make your edits and save them again in the time it would have taken Photoshop to launch.
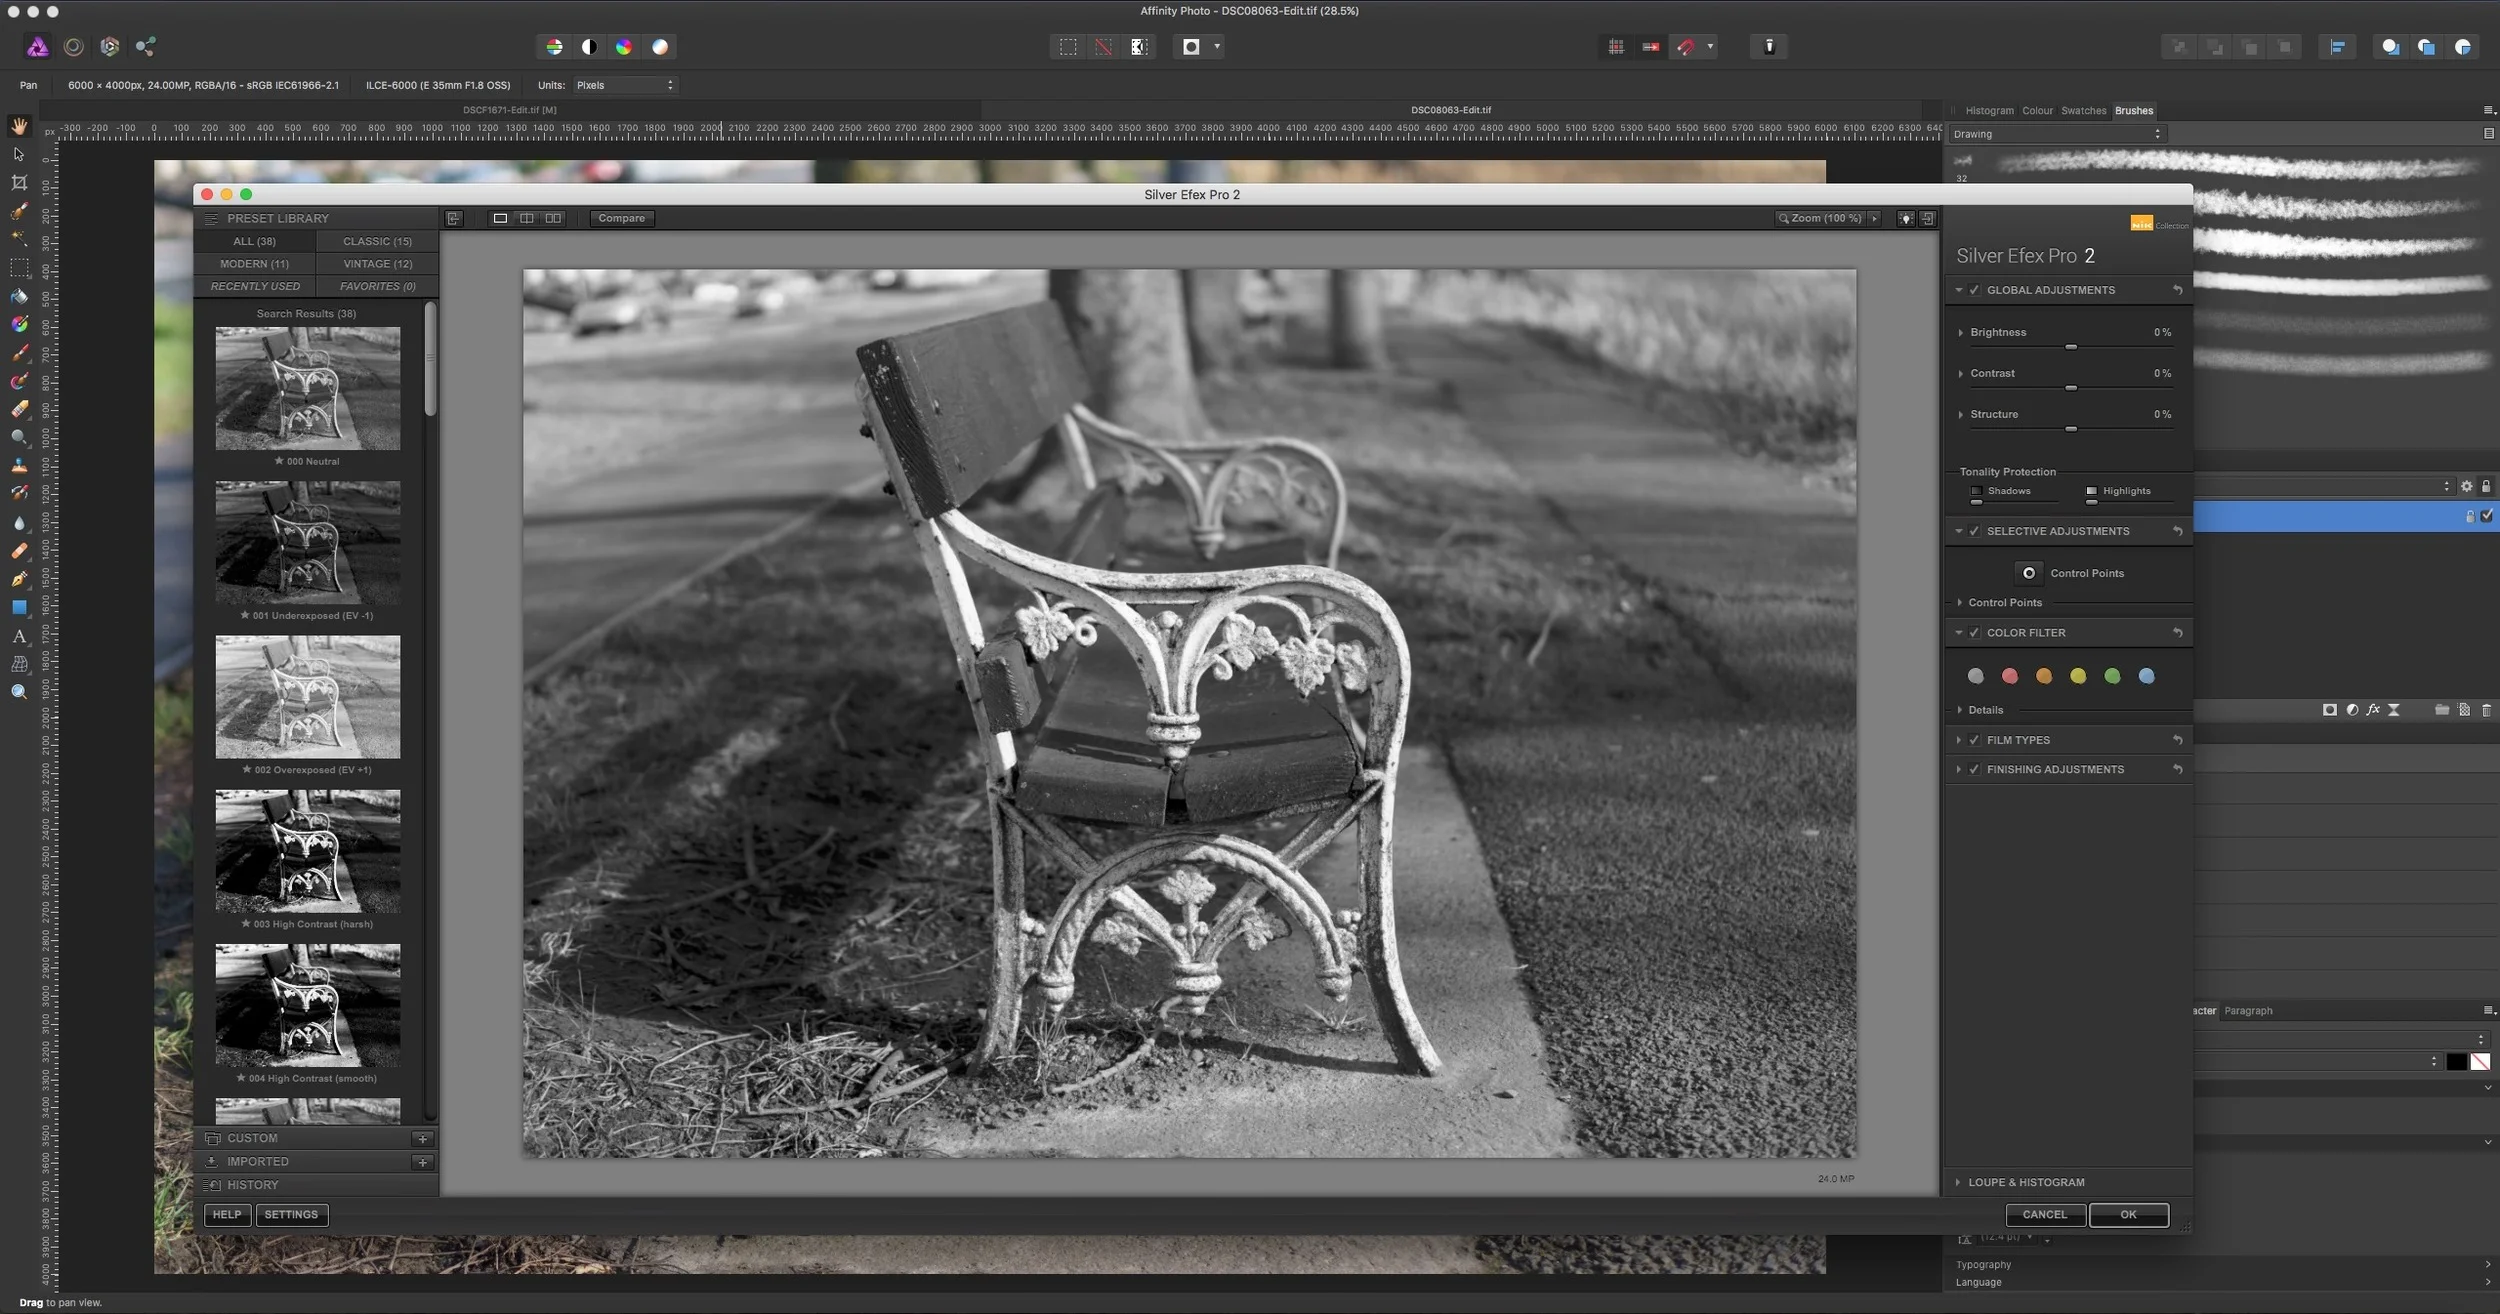
I use it all the time now when I know I don't really need to keep a layered version. You can always save the flattened version back to Lightroom, and then save the layered version in the Affinity Photo format to another folder to keep, just in case you need it again.
Incidentally, the ads I've made on this site for the last few sets of my presets (specifically: Coffee Tones, MonoLux and QuickLux 2) were all made with Affinity Photo. I'm really enjoying using the software as it's so fast and responsive. While it still lacks some key features, it's a very useful application, especially if you've been feeling frustrated by Photoshop's bloat lately. Having said that, I still revert to Photoshop for more complicated projects. For now.
Help Support the Blog
If you want to get regular updates, and notices of occasional special offers, and discounts from my store, then please sign up for the Newsletter.
All of the work I do here, and the information on this blog is done entirely free of charge and takes up quite a bit of work. I want to spend more and more time on this blog, and offer more and more of this kind of information, tips and so on, so If you like what I'm doing here and want to show support, then you can do so by buying something from my Digital Download Store
I have Lightroom Presets, Photoshop ACR Presets, Textures and e-books all available for download.
If you're a Fuji X-Trans shooter and Lightroom user, check out my guide to post processing X-Trans files in Lightroom. I also have a guide for processing X-Trans files in Capture One

