This is kind of a nerdy tip, but it’s actually a really useful thing to understand. Here’s the premise - you’re using Lightroom as your main way of organising your photos, but you want to use some other application to edit your raw file for whatever reason, and bring the result back into Lightroom. If you use the edit with function in Lightroom, you will only send a Tiff or PSD file rather than a RAW file, so unless the application to which you want to send it has a plug in, there isn’t an easy workflow. Or is there?
All tagged Affinity Photo
Video: Stitching Panoramas with Capture One and Affinity Photo
I’ve had quite a few requests lately for tips on how to use Affinity Photo with Capture One for merging panoramas, and so I created a quick tutorial to show you my workflow for merging Panoramas using these two applications.
A Closer Look at Affinity Photo 1.5 for Fuji Raw Processing
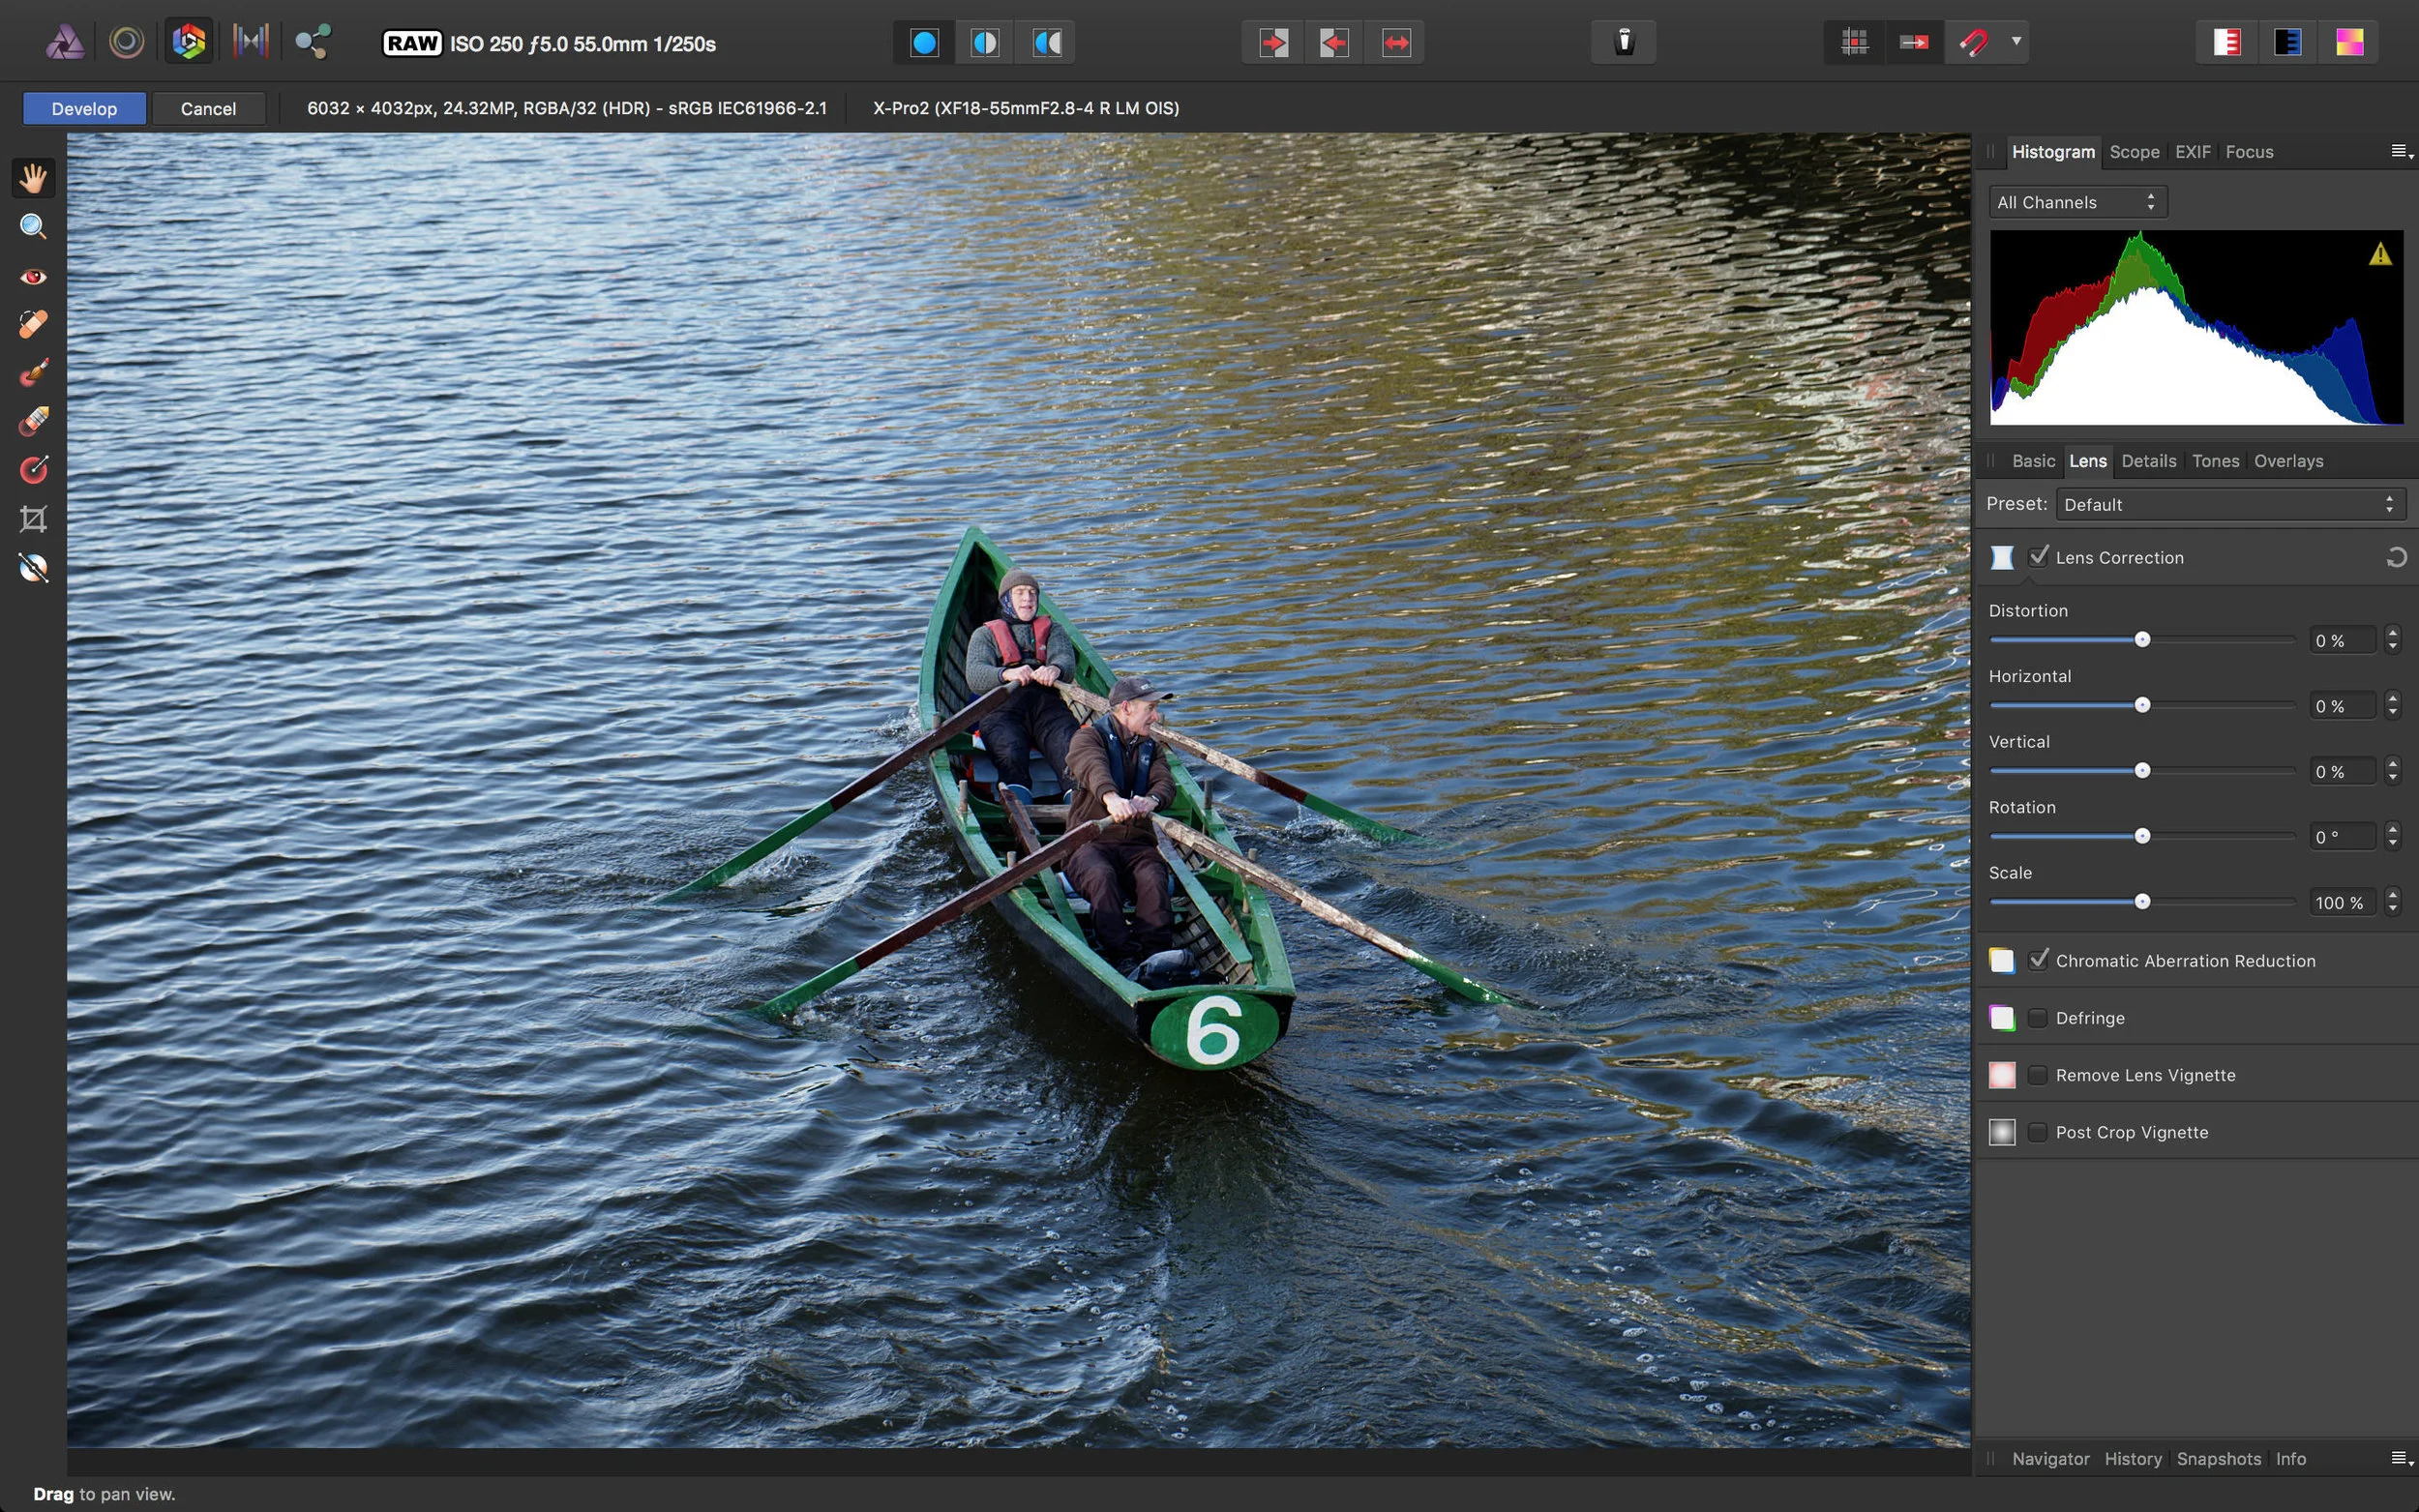
While I’ve talked about Affinity photo before at various times, and I’ve briefly covered the application for processing Fuji Raw files, I realised that I haven’t really looked at it in depth. In fact, a reader recently emailed me about it, and it was only then that I realised that I hadn’t explored the application’s RAW processing in detail.
One Fuji X-Pro 2 Image - 7 Different Raw Converters
I was recently working on a photo of Dublin’s famous Ha’Penny bridge that I had taken with my X-Pro 2 and an idea came to me. I was processing the image in Lightroom, and I wanted to see what it would look like in different converters. As I’ve written so much about it, and as I had an image that I was working on for a real world project, I thought that while I was at it, I should try a whole bunch of different converters and see what kind of results I got.
Affinity Photo 1.5 is Going to be Great
The next version of Affinity Photo, due for release fairly soon, has a pretty impressive feature release. The company has released a “release candidate” beta for existing customers along with a long list of improvements. There is a lot on it, and they’ve really listened to customer feedback. I’m trying the beta now and I’ll report back if anything stands out, but for now, here’s some highlights from the release notes about some of the feature’s that I’m most excited about.
How to Edit X-Pro 2 Raw Files in Affinity Photo
Affinity Photo is one of the more interesting Photoshop competitors out there, and it has a powerful feature set. I find myself using it more and more for various tasks, and its speed makes it a very useful software tool to have in your arsenal. The software has its own raw processing engine, and while it hasn’t ben updated to include X-Pro 2 support yet, you can still open and edit X-Pro 2 raw files with the software thanks to a semi hidden feature.
Corner Pinning in Affinity Photo
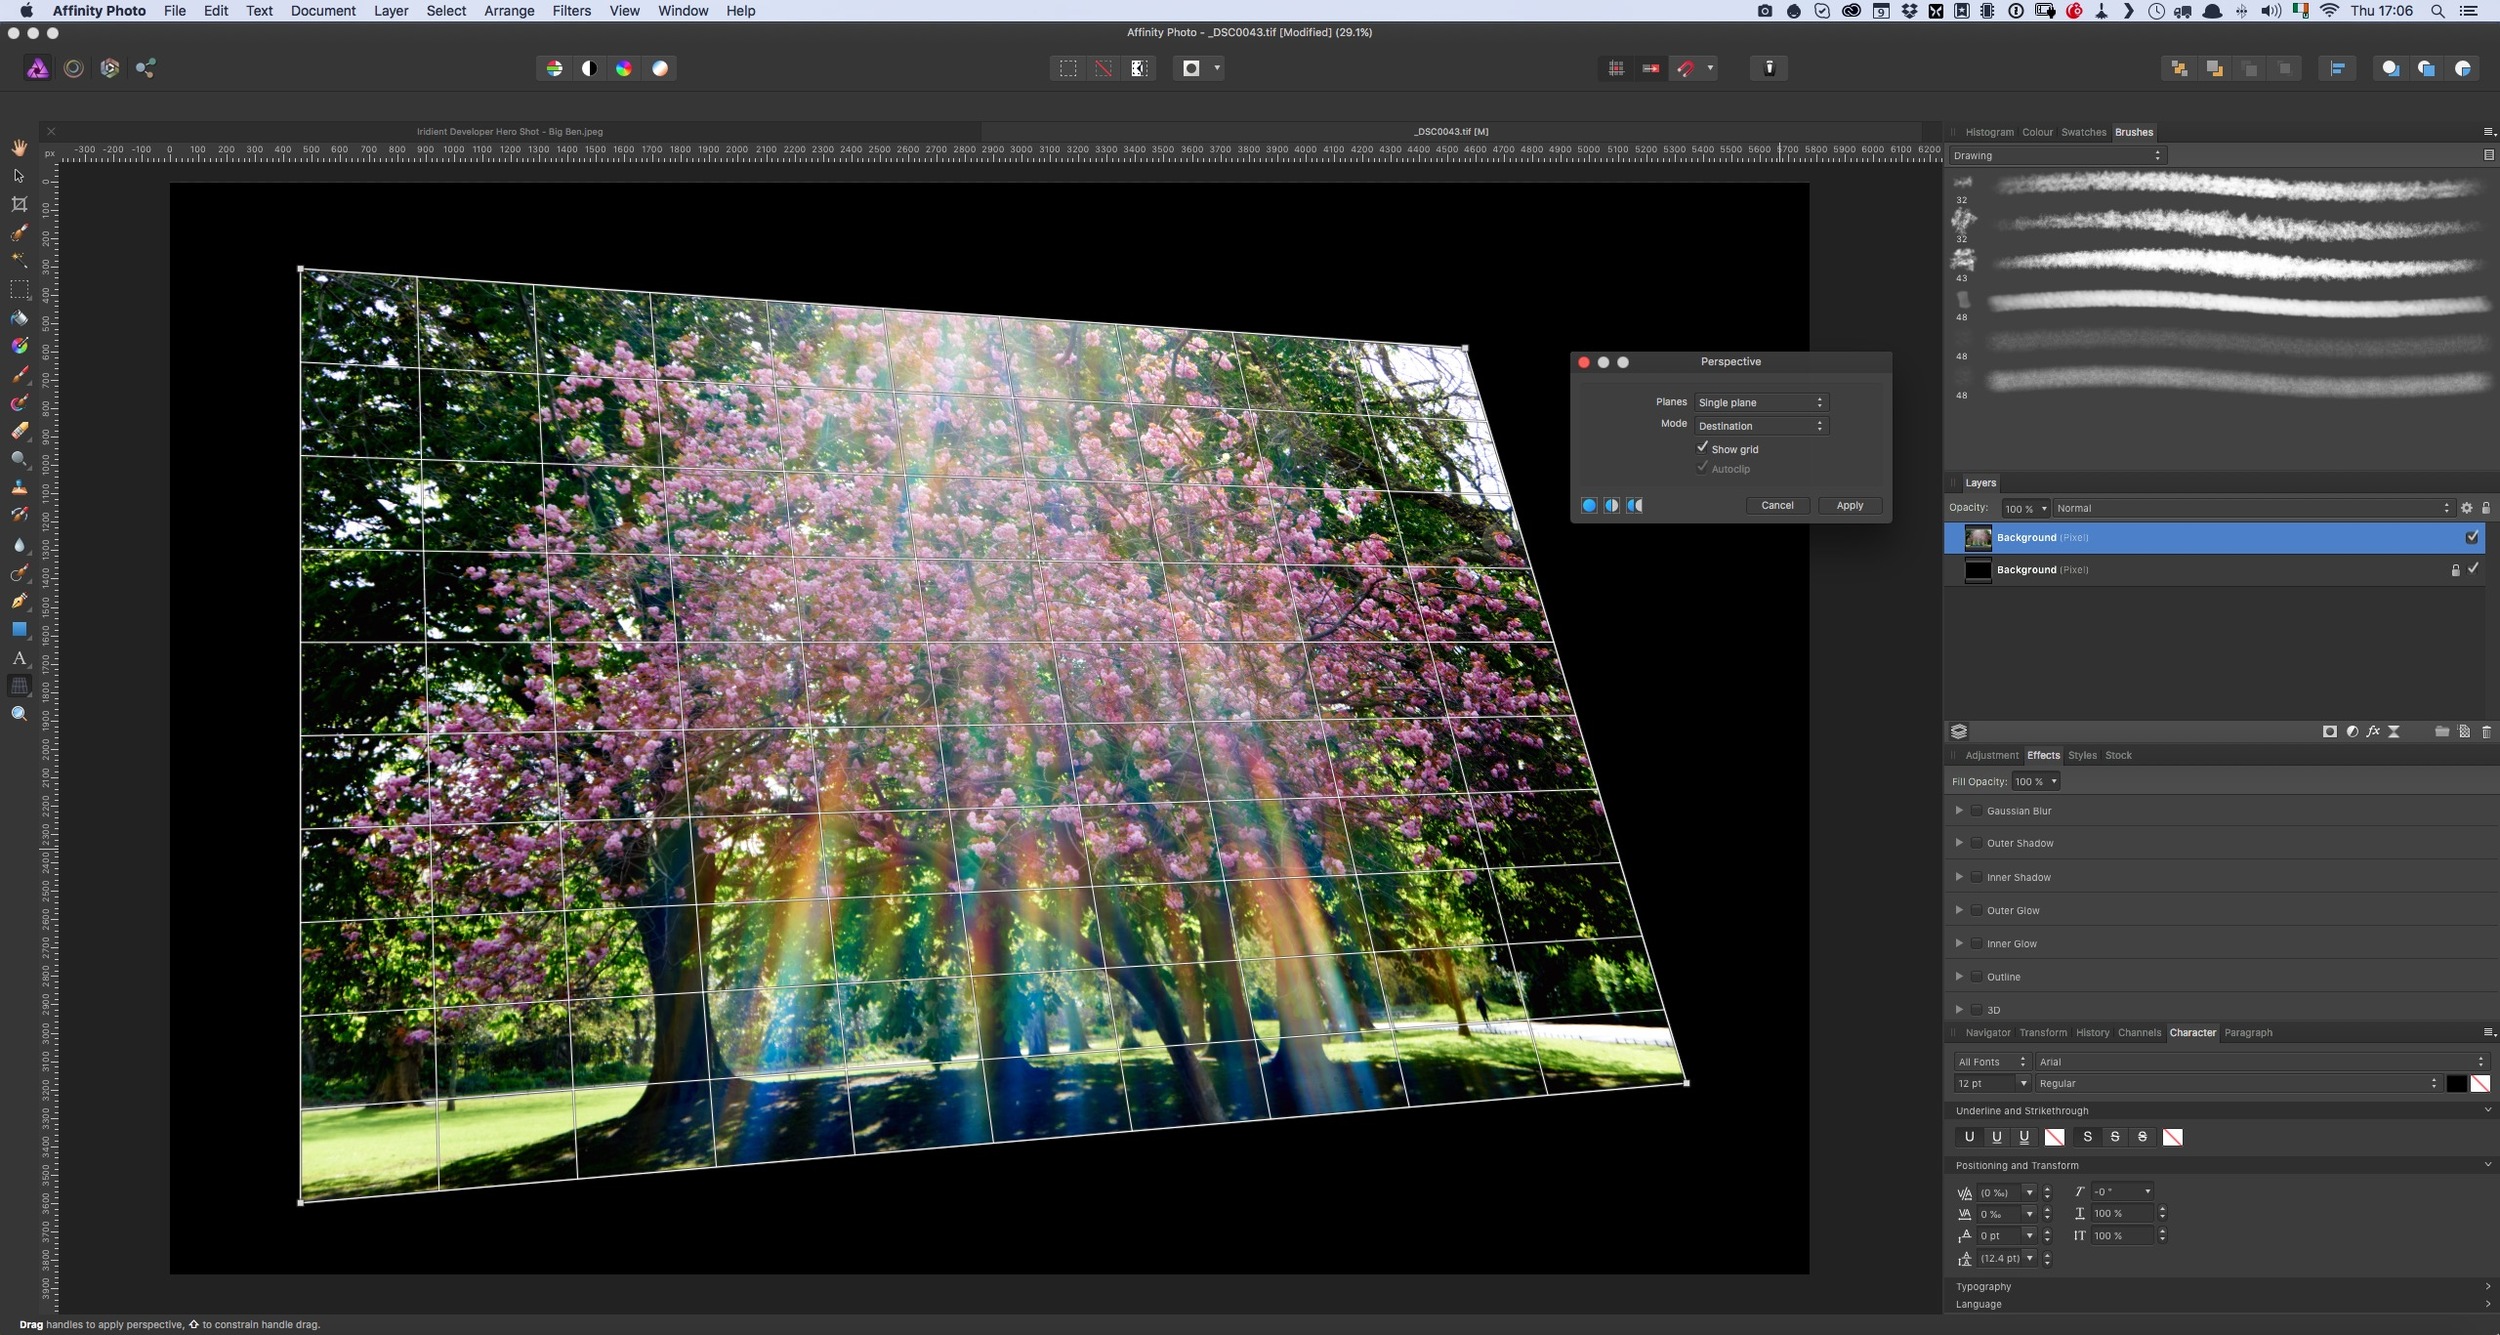
Here's a quick tip for Affinity Photo users. If you're used to photoshop, then you've probably used the warp functions in the transform tool. This goes by many names. Coming from the video world, we often referred to it as "corner pinning" but you may also know it as perspective distorting, or tapering or something like that. Anyway, in Photoshop it is part of the free transform tool, however in Affinity Photo there is a different way to access this functionality.
How to use Affinity Photo as an External editor for Lightroom
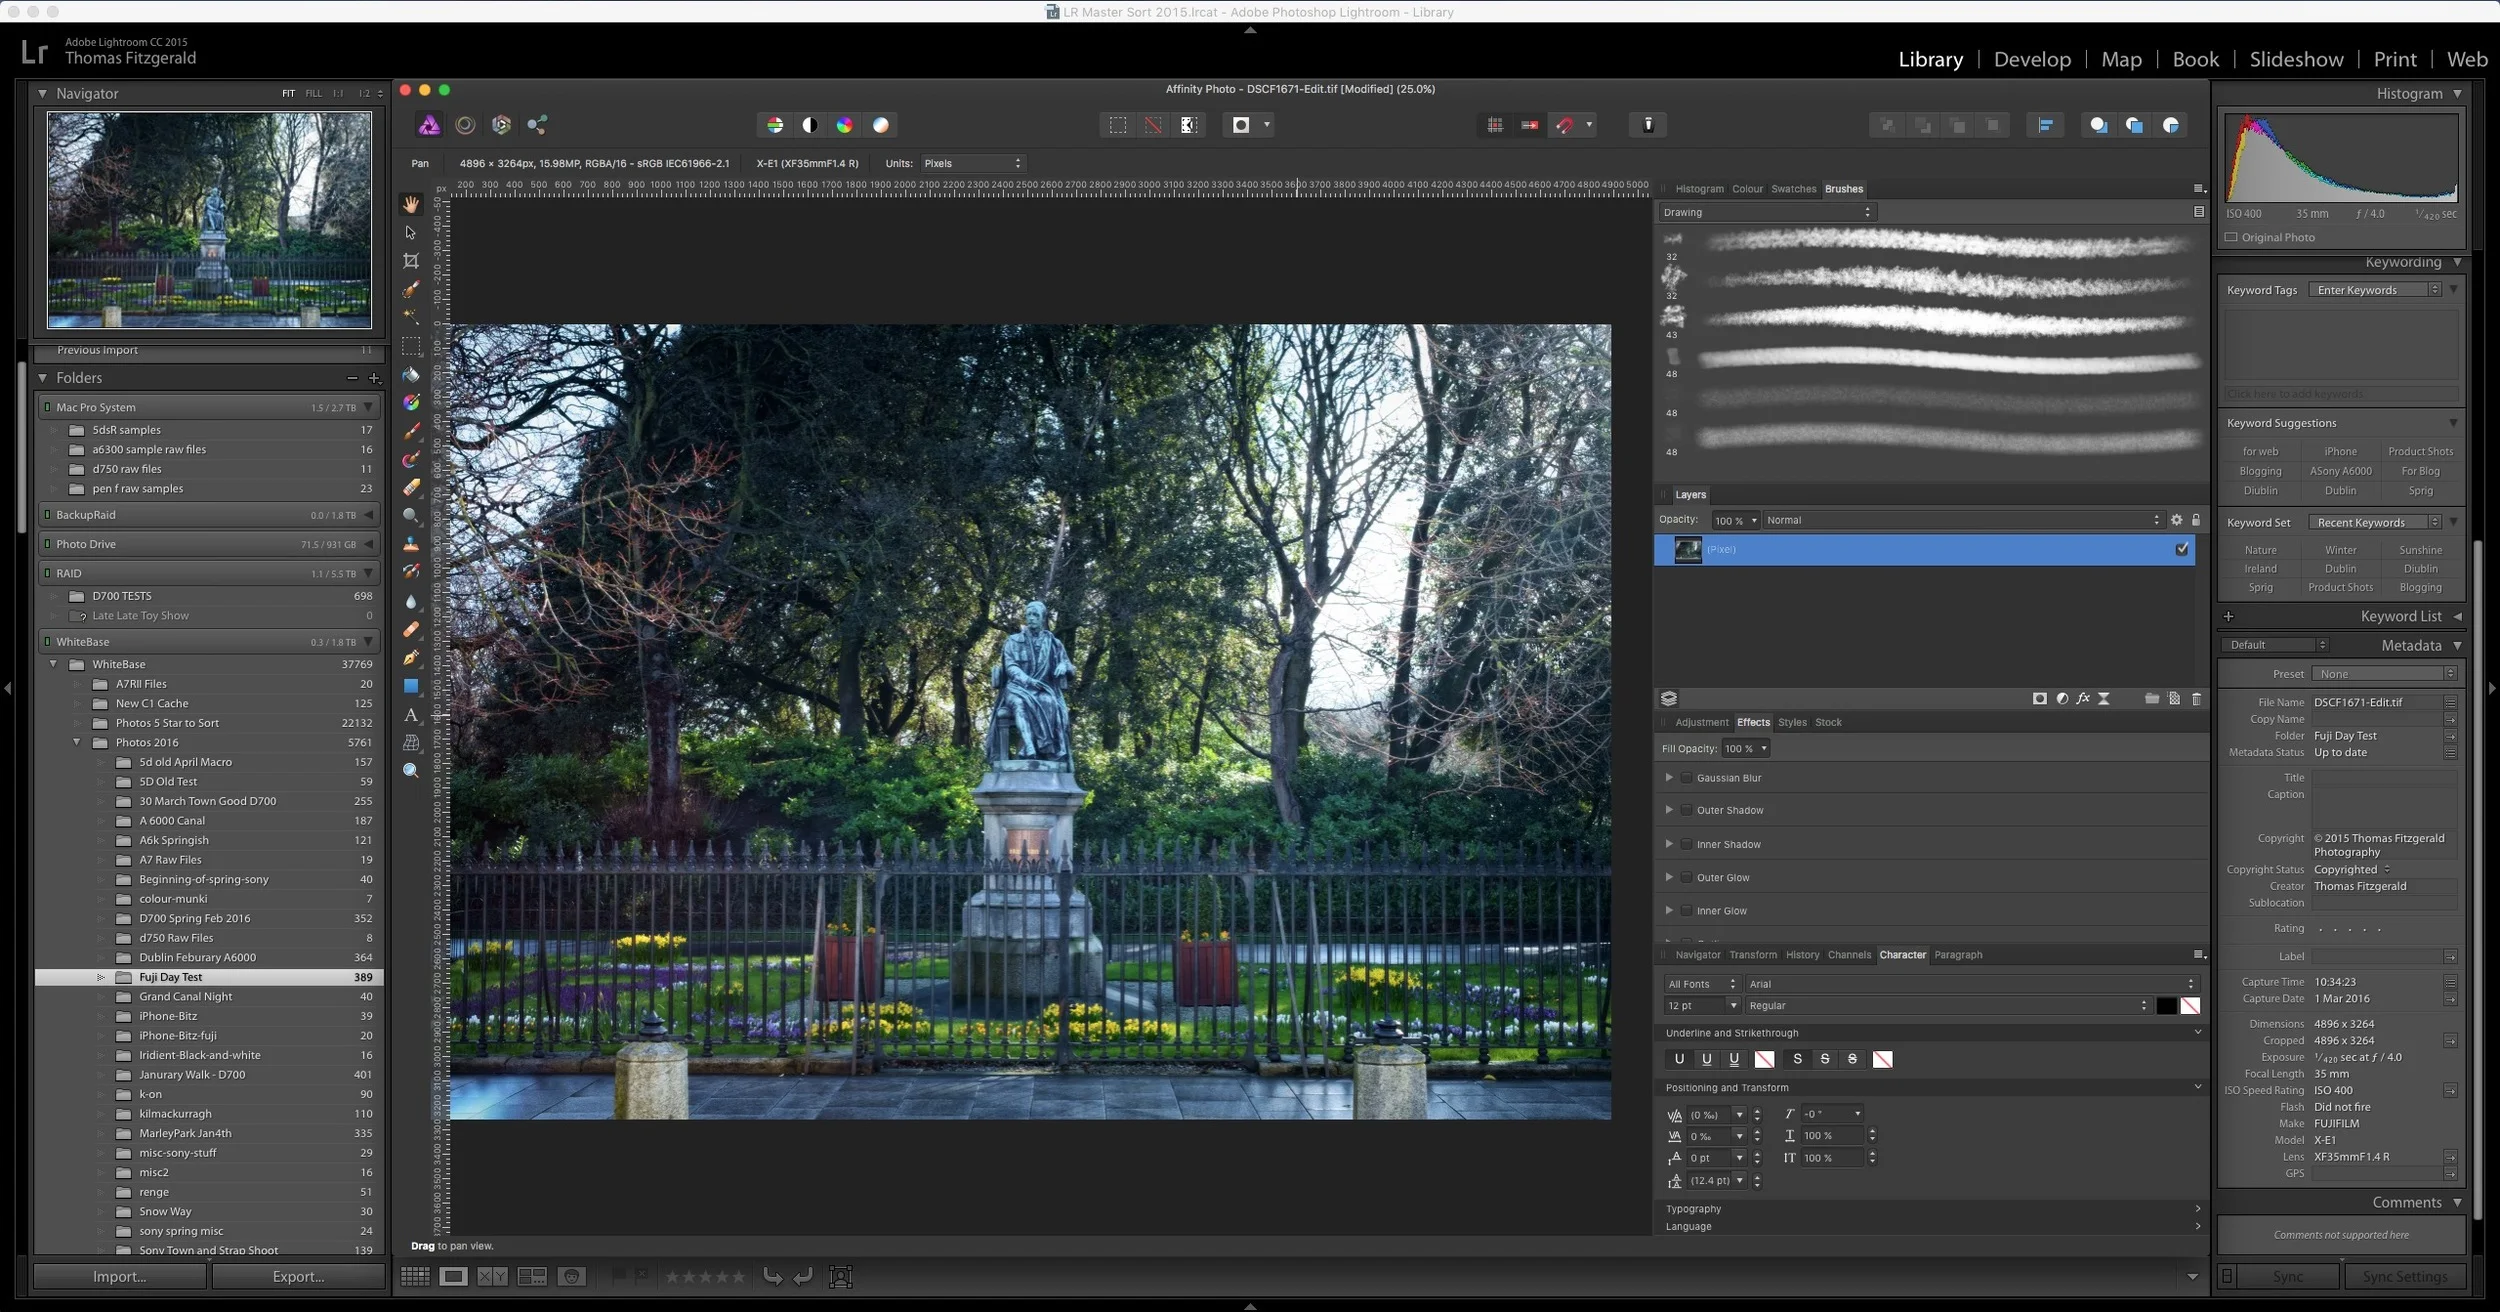
I briefly covered Affinity Photo in a previous post, and it is an excellent Photoshop alternative. I've been using it more and more lately, and that includes using it in conjunction with Lightroom as an external editor. This is pretty easy to set up but there are a few limitations unfortunately. However, there are significant advantages to using the software in lieu of Photoshop. In this post I'll show you how to set up Affinity Photo to work as an external editor, and I'll discuss some of the limitations and advantages of using Affinity Photo with Lightroom.


