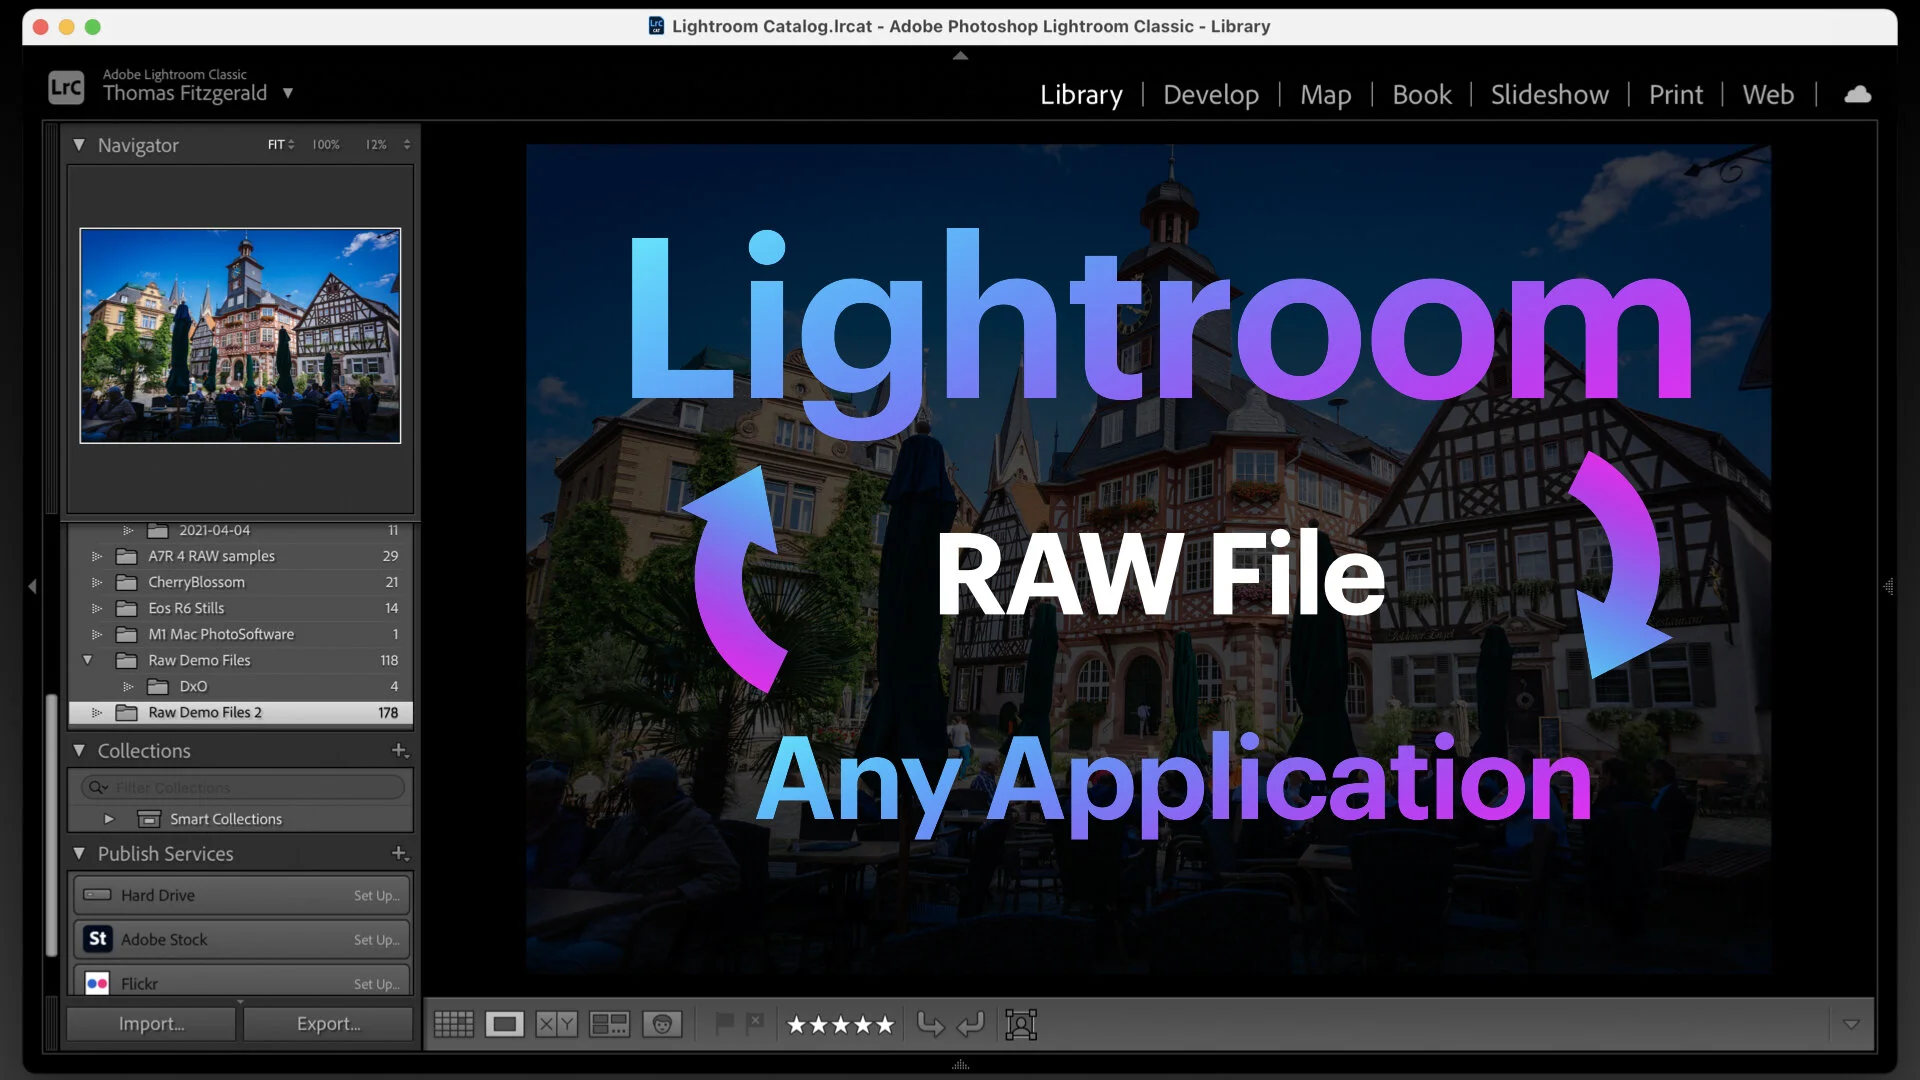
How to roundtrip a Raw file from Lightroom to any application
This is kind of a nerdy tip, but it’s actually a really useful thing to understand. Here’s the premise - you’re using Lightroom as your main way of organising your photos, but you want to use some other application to edit your raw file for whatever reason, and bring the result back into Lightroom. If you use the edit with function in Lightroom, you will only send a Tiff or PSD file rather than a RAW file, so unless the application to which you want to send it has a plug in, there isn’t an easy workflow. Or is there?
Well, there’s actually a relatively straightforward technique to roundtrip a raw file to another application and import the result back, and you can use the steps of this technique for a variety of things. So where doe we start?
This tip has two parts. Firstly, how to get a raw file from Lightroom to another application, and secondly, how to get the resulting processed file back into Lightroom. Just as a side point, there is a plug in that does this, but I’m going to show you a workflow that doesn’t require you to buy anything extra. You can of course do this manually too.
Step 1 - Sending a Raw File to another Application
To get a raw file from Lightroom to another application, you can’t unfortunately just set it up as an external editor as it will only send a Tiff, PSD, or Jpeg depending on your options. Some applications either use a trick where they search for a matching RAW file, or they have a special plug-in that allows you to send a RAW file, but if not, the solution is pretty simple. You can just drag and drop. Here’s what to do:
- Open the application to which you want to send the RAW file.
- Drag the image from Lightroom into the application’s icon on the dock (or Windows start bar).
This should cause the destination application to open the RAW file. I have heard from some people that this doesn’t always work on Windows, and if so, please let me know.
For example, say you wanted to open a photo in Affinity Photo, but you wanted to send the RAW file, rather than an edited Tiff, you simply open Affinity Photo, and drag the image onto the Affinity Photo app icon in the dock (on the Mac) or the Task Bar or open Window on Windows.
Sending it back to Lightroom
Once you’ve processed your file in the resulting application, and you want to send it back to Lightroom, there’s also a fairly easy way to do this. The trick is to save it into the same folder as the original, and then tell Lightroom to update that folder with the synchronise command. Here’s a step by step on what to do.
- Save your image as a Tiff, PSD or Jpeg file into the folder that the original RAW file came from. Some applications will automatically default to the folder the current file is from, however some may not. If it’s not easy to find it, you can get to it quickly by switching back to Lightroom, and right clicking on the file and choose “Show in Finder” (or Show in Windows Explorer)
- Switch back to Lightroom, and make sure you’re in the folder view for the image your editing. If you’re still viewing a collection, right click not he image and choose: Go To Folder in Library.
- Right Click on the Folder in the Library panel and choose: “Synchronise Folder”
- This should bring up a dialog that tells you how many files have changed and if you want to show the import window or not. It’s up to you if you want to turn this on or off, but it will save a bit of time if you leave it off.
- The image you edited should now import back into Lightroom, and depending on how you have your folder sorted, it should appear beside the original RAW file. The only thing you might have to do is manually add it back to any collections that you might have the image in.
Summary
While I know this isn’t a perfect workflow, it’s still quicker than manually exporting the file and then manually re-importing it and moving it back to the right location. Once you get used to it, it’s actually a quick enough process. The one other tip I would add, is that if you are planning on batch editing a few files, then I would wait till you’ve edited a number of them before syncing them back to Lightroom. The only downside to this method, is that some applications use their own file format which won’t be compatible with Lightroom, so you may need to save a native version to a backup folder if you want to maintain a layered or editable version.
You can use parts of this technique for different things too. For example, if you just want to edit a raw file in something else, but don’t necessarily want to send the resulting file back to Lightroom. Alternatively, you can open the RAW files directly from the finder but still put the results back into the same folder and sync back to Lightroom. The key points to learn are, that dragging and dropping an image from Lightroom opens the RAW file, and using the synchronise folder to import edited versions back into Lightroom.
Help Support the Blog
Patreon
If you like what you see here and you find this useful, then you can help support this blog and help me keep making great content like this [by supporting me on Patreon for as little as $1 a month.] There are a number of options available with different rewards, such as behind the scenes content, special Patreon only videos and more. Check out my [Patreon Page] for more details, and a big thanks to everyone already supporting this blog on Patreon.
Buy me a coffee!
If you’d rather not use Patreon, but still want to say thanks or help, then you can feed my caffeine habit and [buy me a coffee via PayPal with a one off donation to my PayPal tip jar].
Join our Facebook Group
If you want to discuss anything you’ve read here on my website, or saw on my youtube channel, or if you want to share images you’ve created using any of my techniques or presets, then [I’ve started a new Facebook Group] just for that.
Note that this post contains paid affiliate links. We get a small commission for purchases made through these links, which helps run this site.


