
Photo Editing, Tutorials, Photography News, and More
This blog covers a range of topics from Lightroom, Photoshop, Capture One, Fujifilm, Canon, Nikon, iPhone Photography, and more. If you want to see more of my actual photography work, visit my Portfolio and Photo Journal blog.
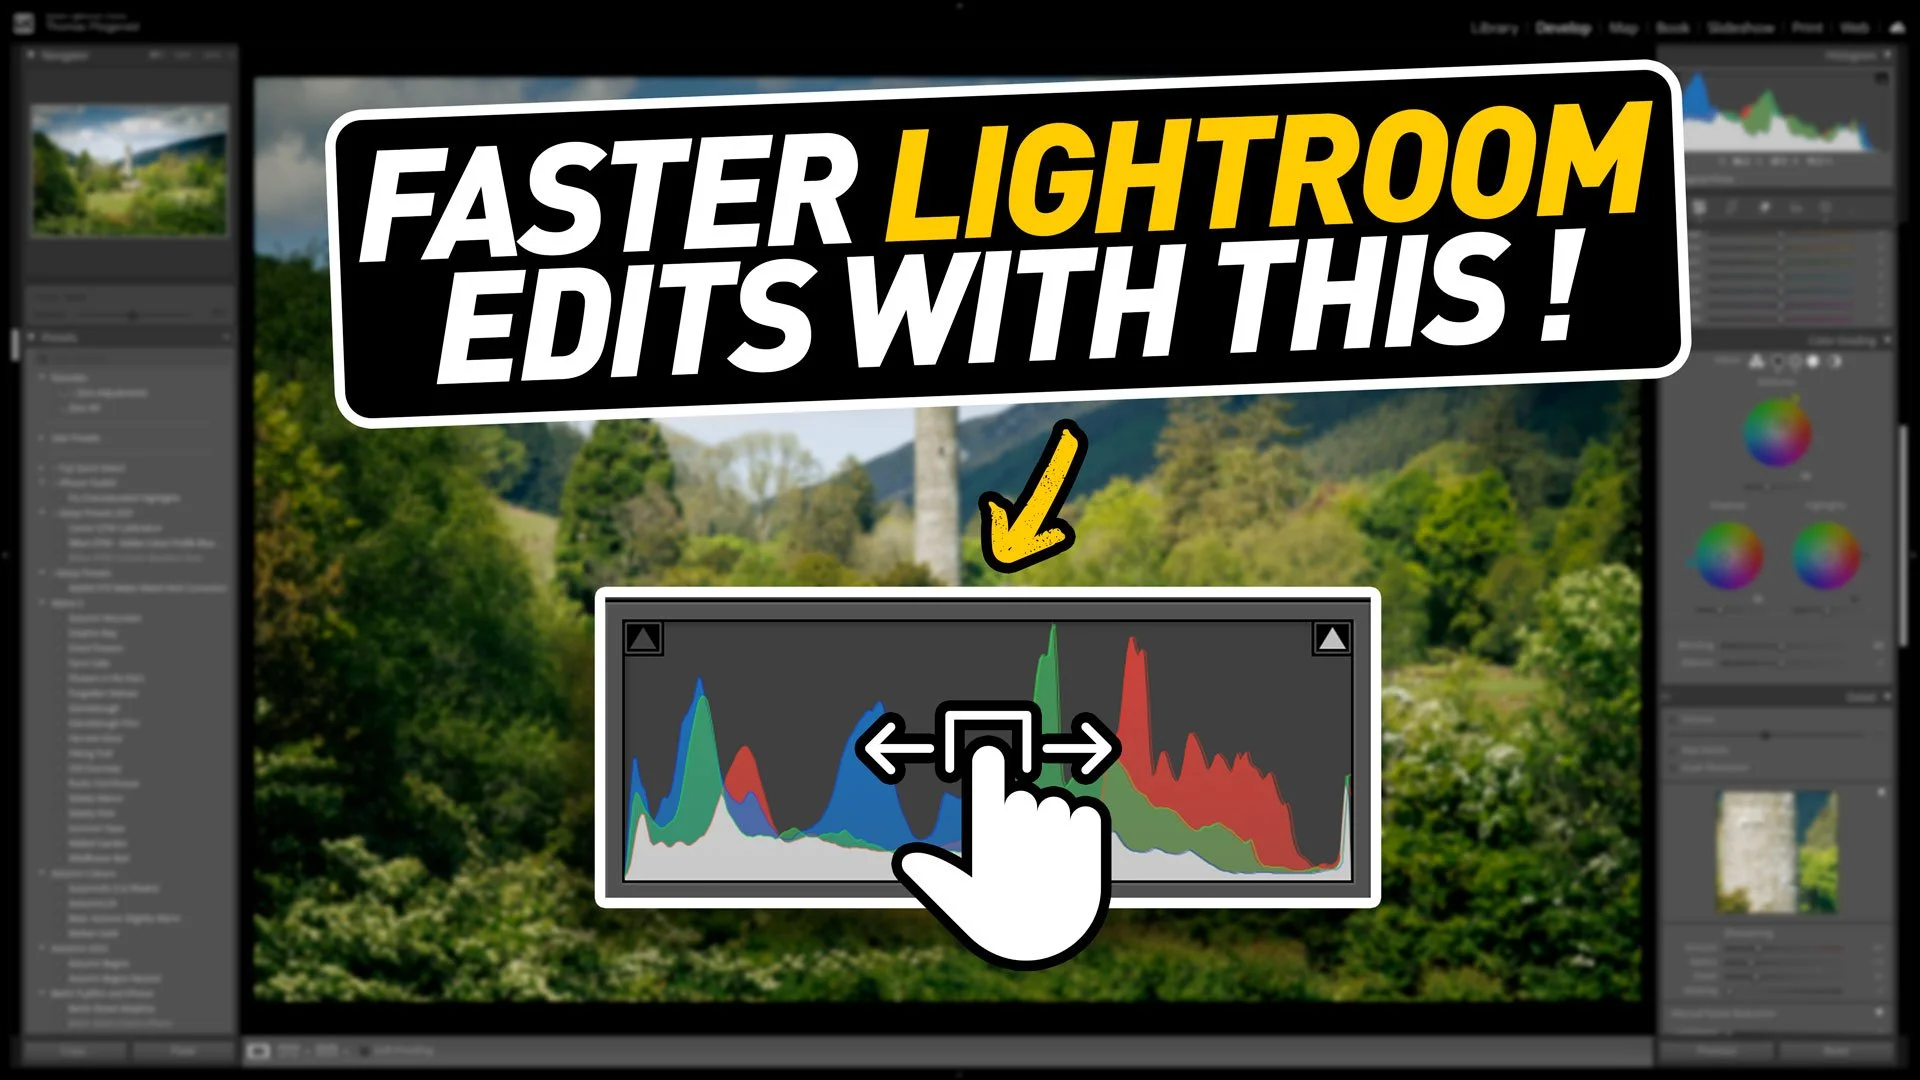
New Video: A Hidden(ish) Feature of Lightroom that will Seriously speed up Your Editing
When you’ve been using software for a long time you often pick up tricks and techniques and they become habits and you forget how you heard about them in the first place. I was recently editing an image for a friend in Lightroom as they watched, and when I did the technique in this video, they were surprised as they had no idea you could do that. I then realised that perhaps there is quite a few people out there who don’t know that you can do this either. That technique is editing by dragging the histogram.
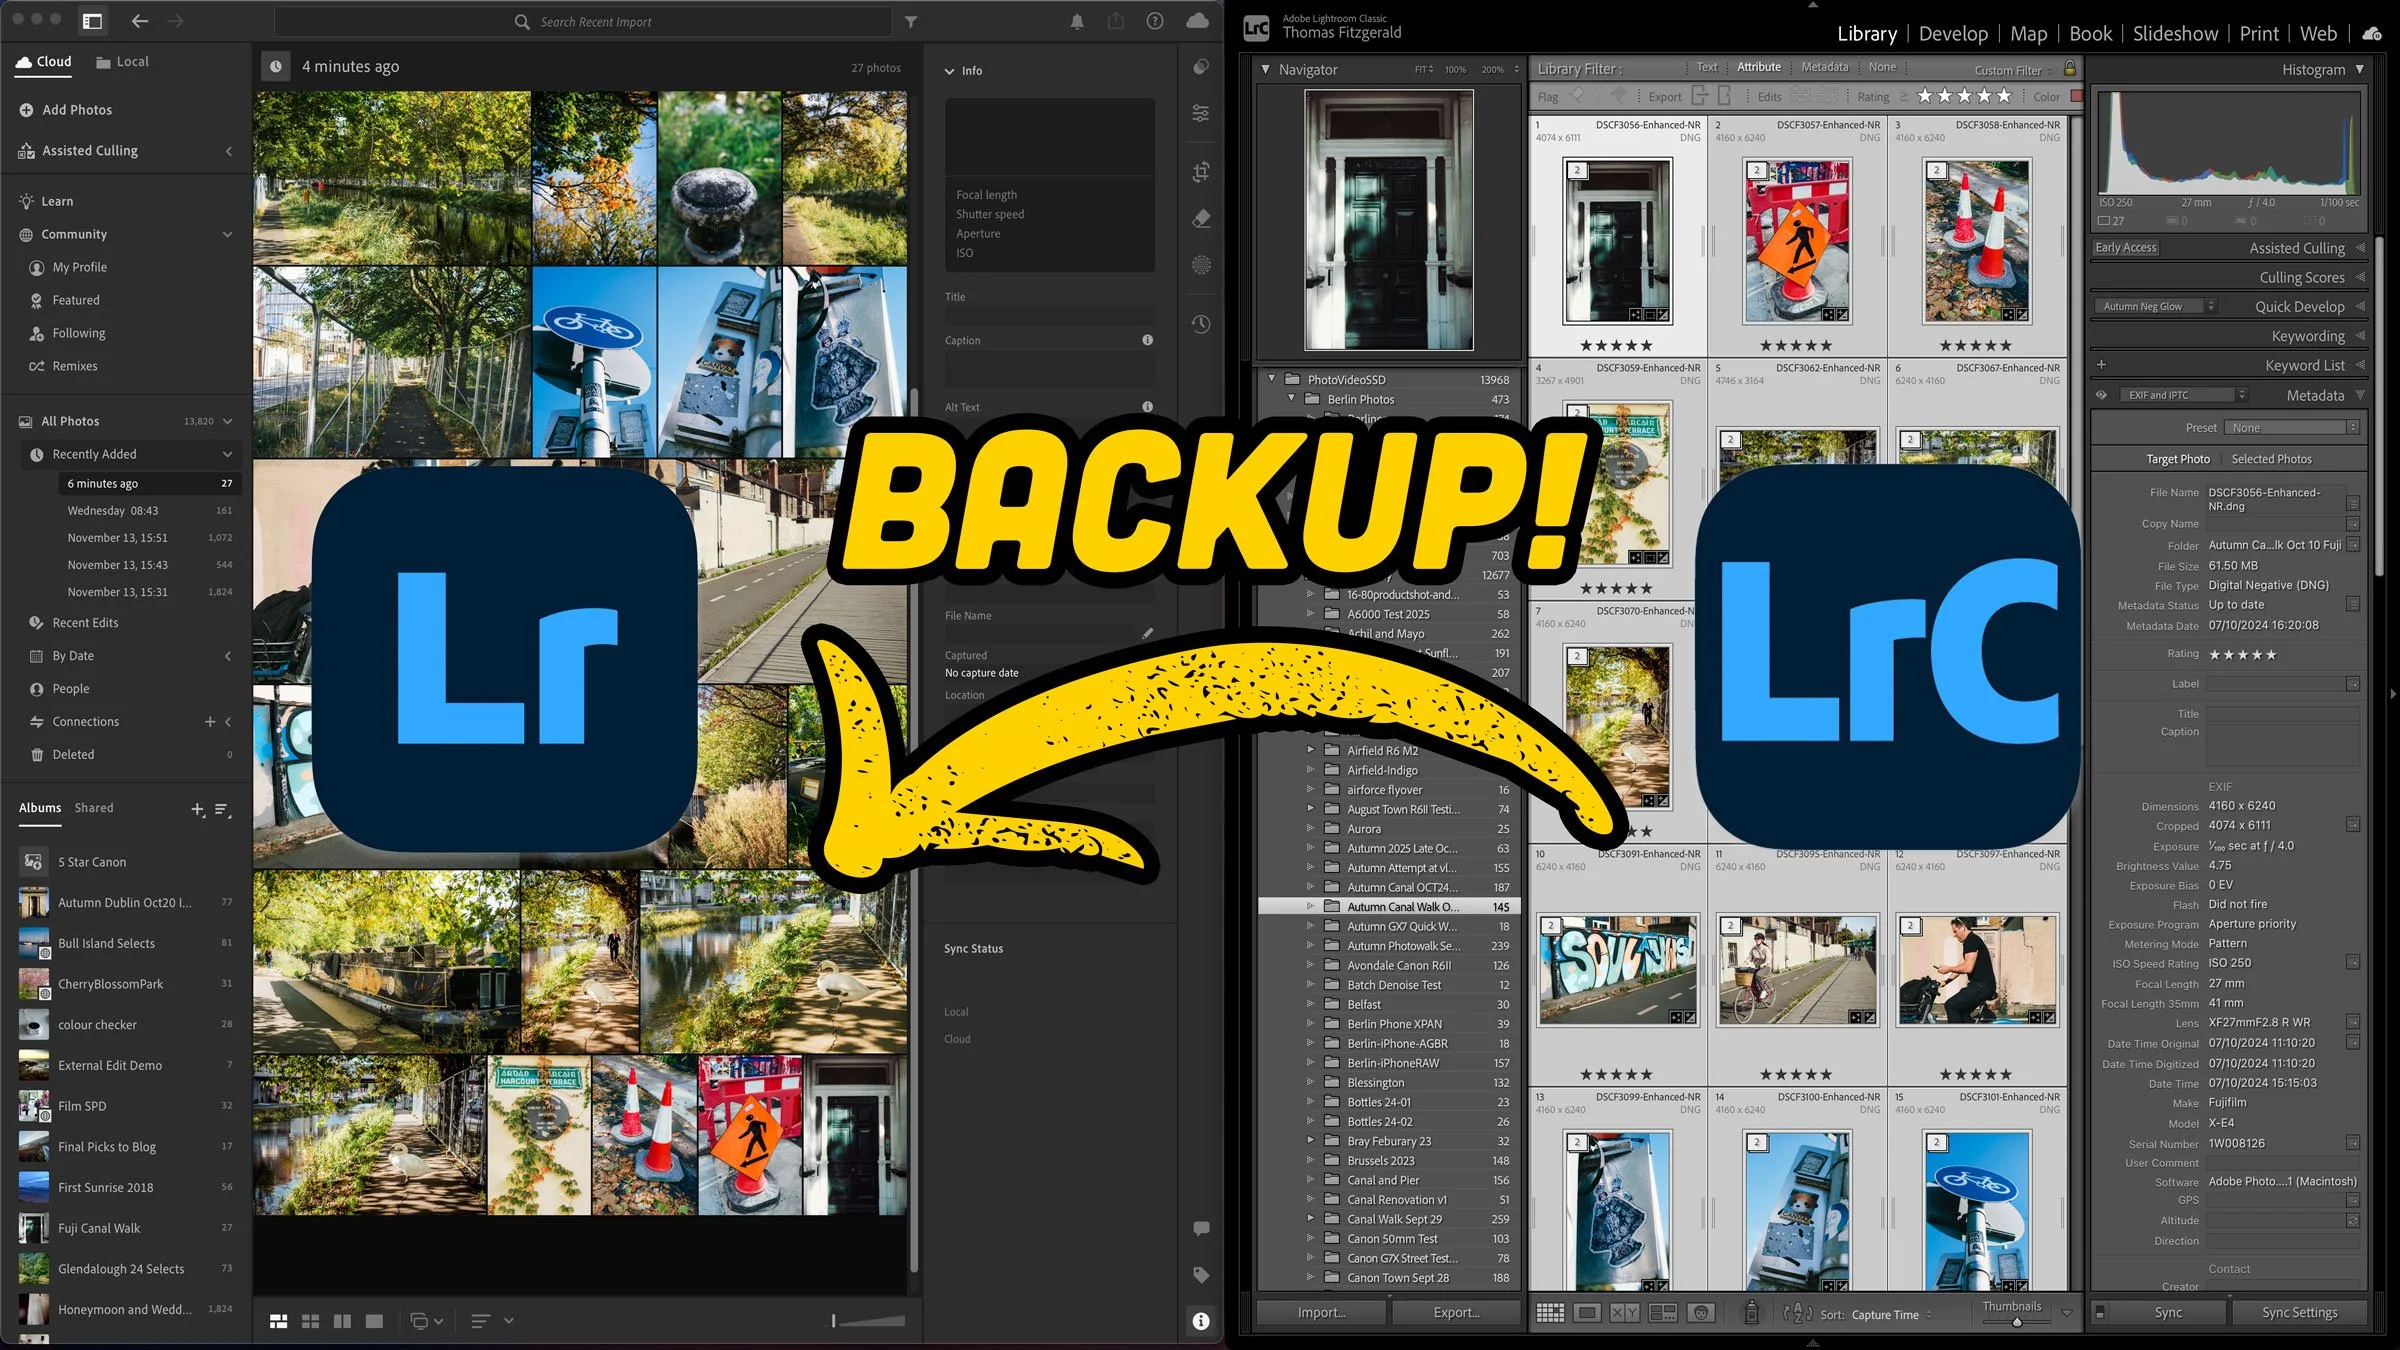
My Slightly Ridiculous Method of Backing up Photo Projects (using Lightroom Desktop and Apple Photos)
Recently, I had one of my backup hard drives fail on me, and it reminded me that my archiving and backup setup for my photography needs some work. While I do have a comprehensive solution for client work, my personal projects are in a somewhat precarious state. Ideally, you should have your important data backed up in at least three places, but I suspect many people don’t do that. However, it occurred to me that I actually have multiple cloud services that I probably don’t fully utilise, so after a little thinking I came up with a way to doubly and triple protect my work going forward. It involves using Apple Photos and Lightroom desktop.

Another Way to Avoid Clarity Halos in Lightroom. Well, Sort of.
If there’s one thing that really annoys me more than anything else about Lightroom, it’s the halo effect you get when you use the clarity slider. If you haven’t noticed this before, I apologise in advance for pointing it out to you, because once you see it, you can’t unseen it. Once I figured out what it was I see it everywhere online. I’ve been on a quest to find away around it, and I’ve already posted a video about this before. Now I’ve come up with another potential solution to the problem. Or at least a partial solution.
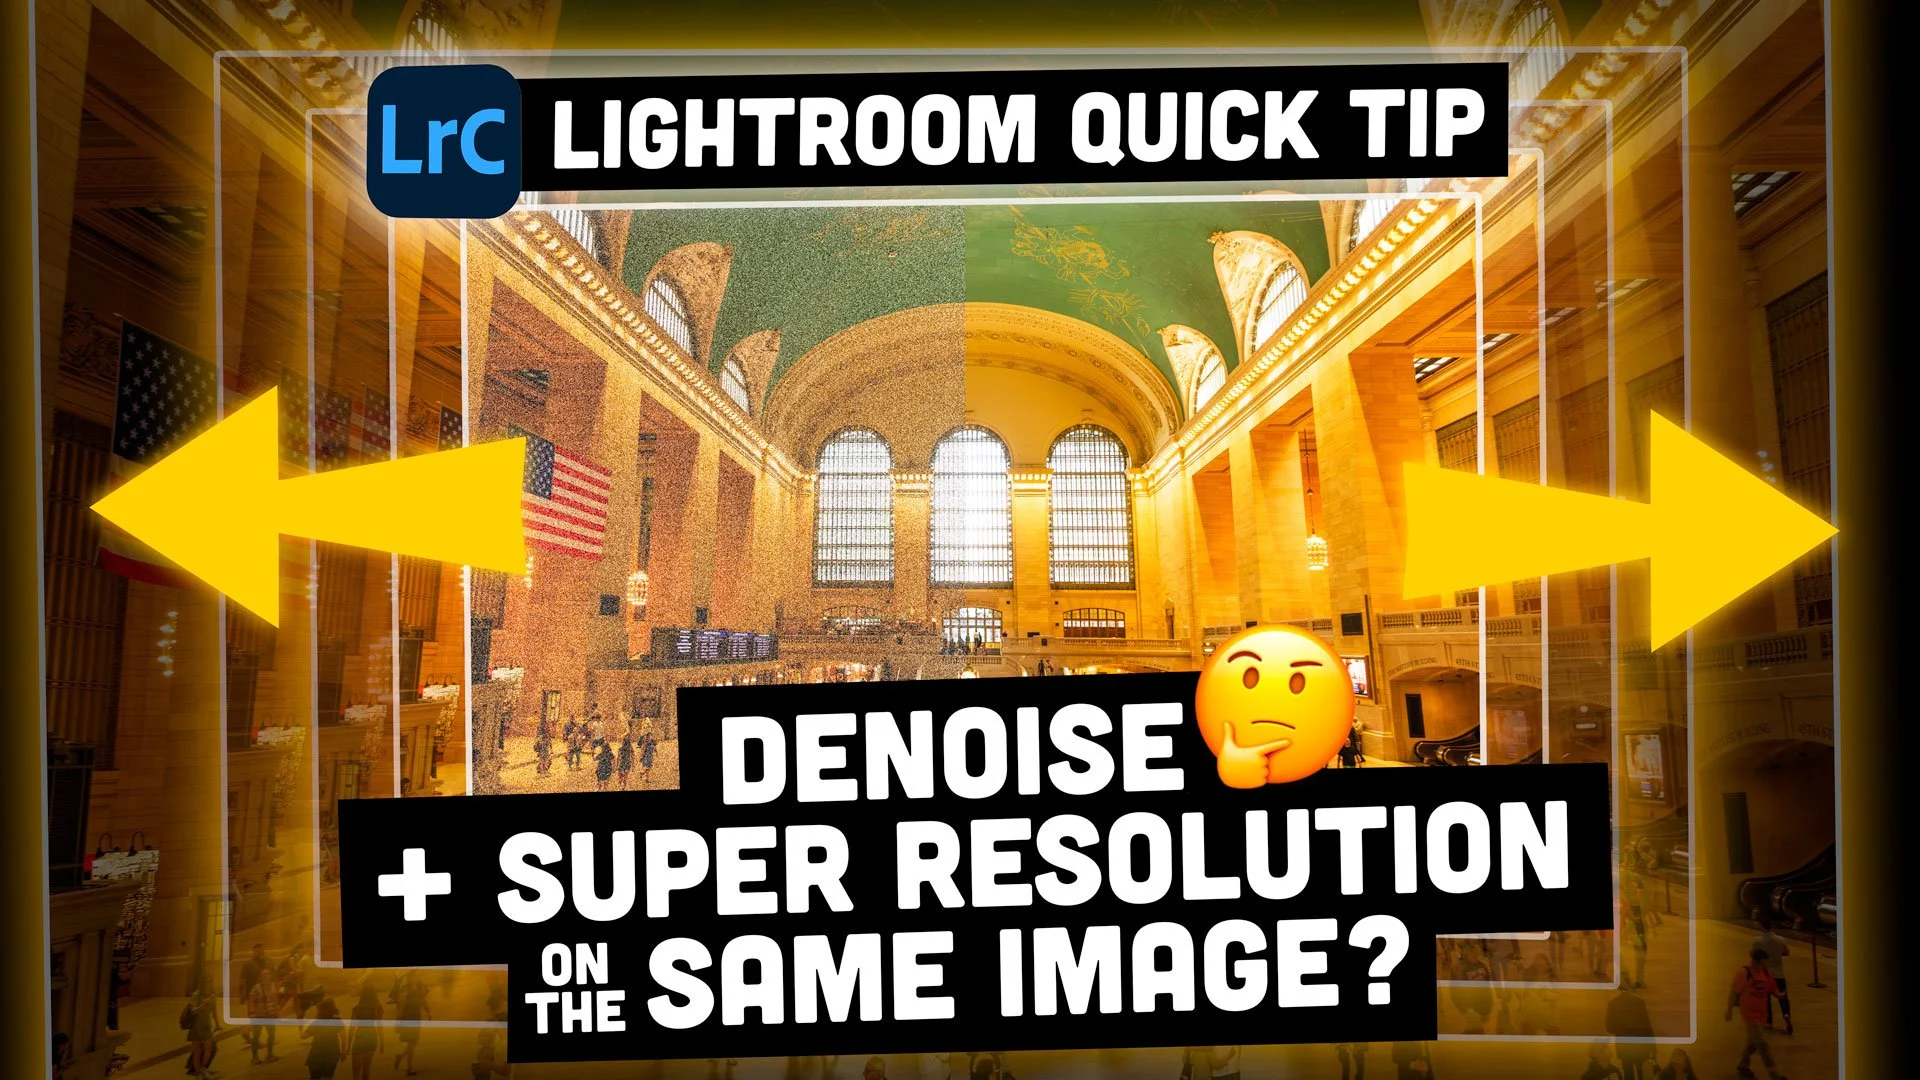
Lightroom Quick Tip - How to use Denoise and Super Resolution on the Same Image!
Two of the most impressive features added to Lightroom in recent years are the AI-based “Denoise” and “Super Resolution” features that live in the “Enhance” tool. Denoise has been something of a game-changer in particular. Unfortunately, though, you can’t use both of these functions on the same image. Or can you?

Lightroom trick - How to get an Overall Adjustments Amount Slider
This is a little trick I stumbled across the other day - almost by accident. I was working on editing a photo in Lightroom, and I had made quite a few edits, but I just couldn’t get it where I wanted it. I said to myself: “I wish there was a way I could just dial all the adjustments back a little”. Then it occurred to me - there actually is a way to do that. It requires a few steps and a little roundabout thinking, but it essentially gives you a way to adjust the overall amount of your adjustments with a single slider.

Cool Feature of the Nik Software Suite – Copy and Paste Nik Settings directly in Lightroom
With the recent release of the Nik 5 plug-in collection], I have been using the software a bit more lately, and one of the cool things in the suite, is something that you may not be aware of. I don’t think this is actually a new feature in version 5, as I believe this was in 4 too, but there is some pretty impressive Lightroom integration with the suite. Specifically, you can copy and apply settings for the Nik plug-ins to other images directly in Lightroom.

Levels in Lightroom? How and when to use levels rather than Contrast
So, way back when Lightroom first came out, many moons ago, one of the complaints from long time Photoshop users was that you couldn’t do a basic Levels adjustment in the software. Well, you actually can, and that is with the whites and blacks sliders. Adjusting the black and white sliders can be useful for a lot of things, but there’s one particular case that I think needs special mention. When working with low contrast scenes, it can be useful to adjust the contrast with a Levels adjustment rather than the contrast slider. Let me explain why.

Capture One Quick Tip - Don’t forget about Presets
Most people think of Styles when thinking about saving process recipes in Capture One. Styles let you save a wide range of settings into a file that can easily be recalled, and work great as both a time saver and for creating looks that you can apply to a photo. However, you shouldn’t forget about Capture One’s other recipe saving tool: presets.

How to do the “desaturate lows” cinematic grading technique in Lightroom
In colour grading for film and television, there is an age-old technique that is often used to make your footage look more cinematic or film like. The trick is to desaturate the shadow parts of an image. In fact, old versions of Final Cut (before FCPX) even had a specific plug-in for doing this called “desaturate lows”. In most modern colour grading and video editing tools, you have tools which let you control the saturation directly in relation to the brightness values in a scene, but in Lightroom, and other photo editing tools, this is one of the few tools you don’t have. Or do you?

Video: Use Negative Dehaze Creatively in Capture One to create a soft light effect
In this video, I show you some tips on how to use the Dehaze tool creatively in Capture One. By using a negative amount on Capture One’s dehaze slider and by tweaking the colour, I created a soft light effect.

How to use Super Resolution with Capture One
I’ve had a few readers ask me about using Adobe’s “Super Resolution” with Capture One. I had thought that this would be a relatively straight forward process, but unfortunately it seems to be a bit more involved that I first assumed. I had speculated that you could just open a DNG file created with Super Resolution in Capture One, but for whatever reason this doesn’t seem to work properly (more on this below). So, while you can’t use the DNG files directly, you can still use a Tiff or PSD. The workflow is a little more convoluted than perhaps it needs to be, but in this post, I’ll outline my suggested way of working with Super Resolution and Capture One.
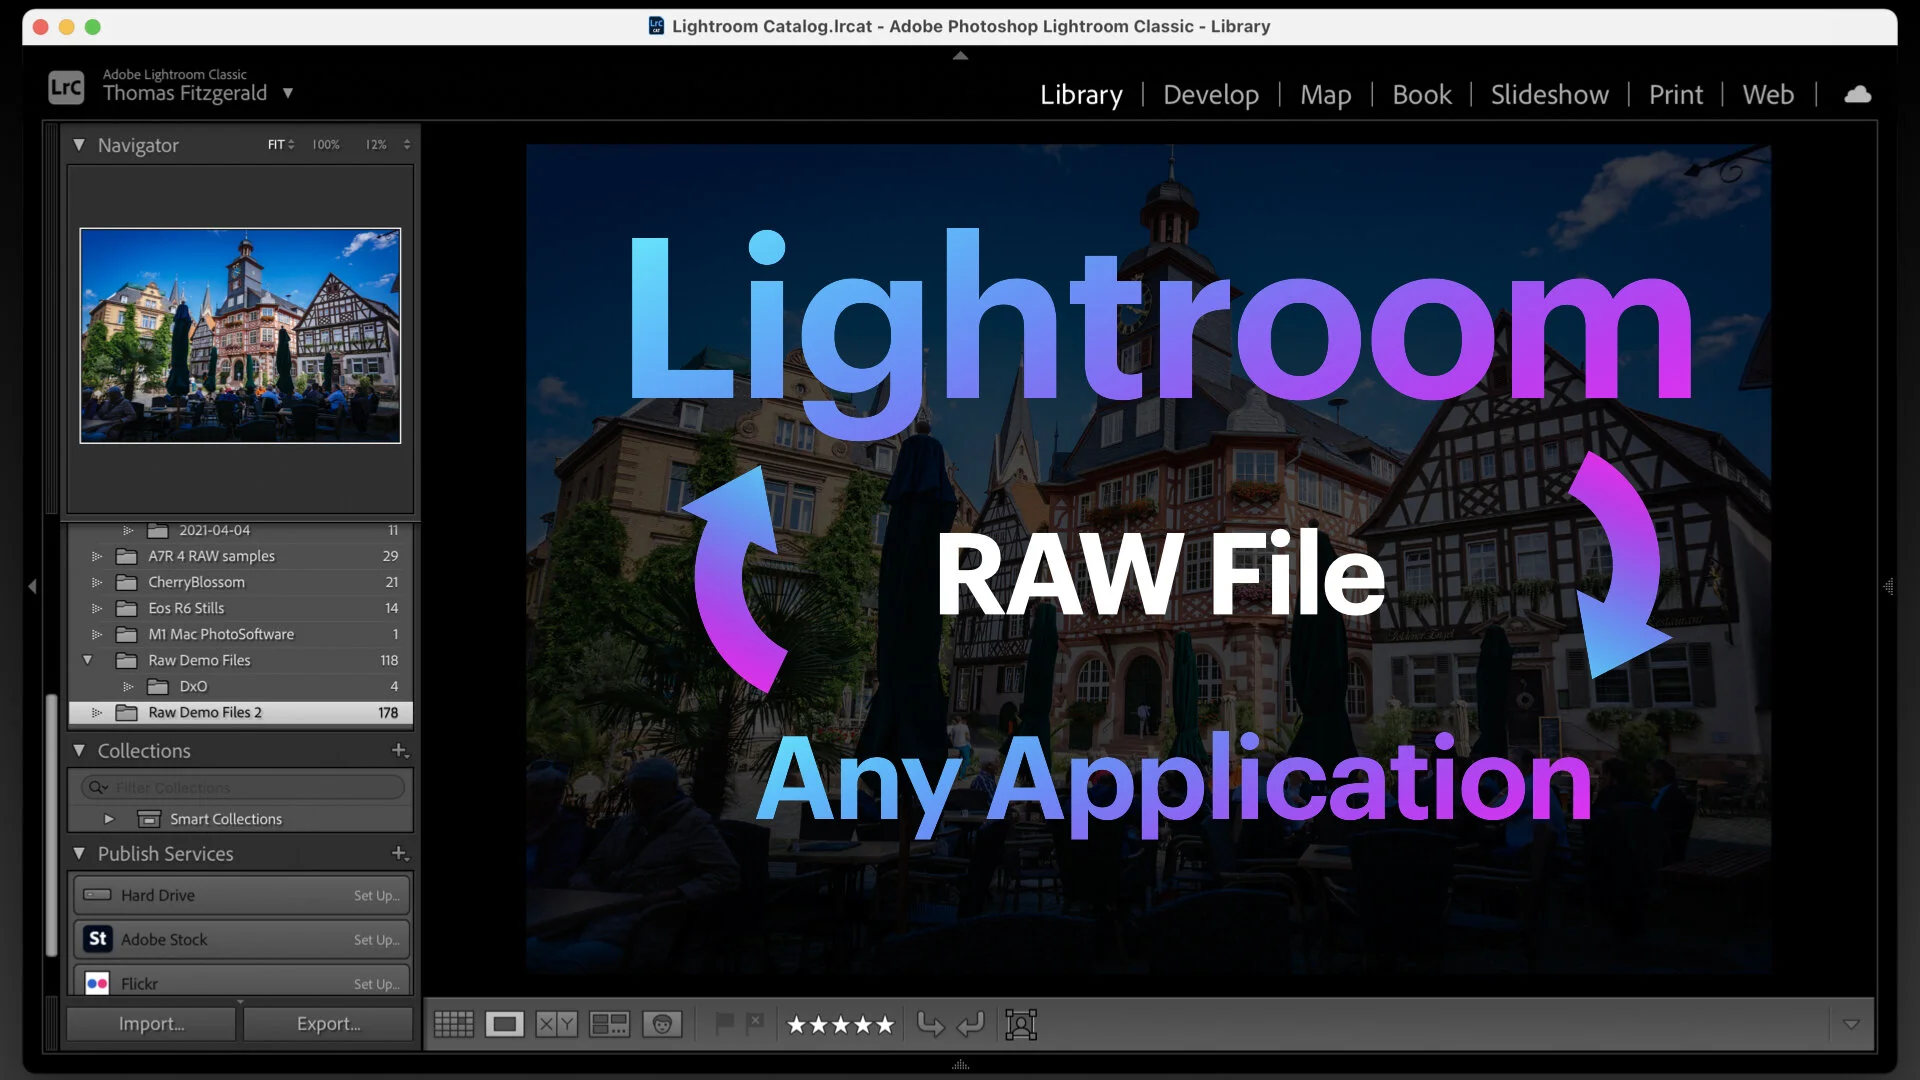
How to roundtrip a Raw file from Lightroom to any application
This is kind of a nerdy tip, but it’s actually a really useful thing to understand. Here’s the premise - you’re using Lightroom as your main way of organising your photos, but you want to use some other application to edit your raw file for whatever reason, and bring the result back into Lightroom. If you use the edit with function in Lightroom, you will only send a Tiff or PSD file rather than a RAW file, so unless the application to which you want to send it has a plug in, there isn’t an easy workflow. Or is there?
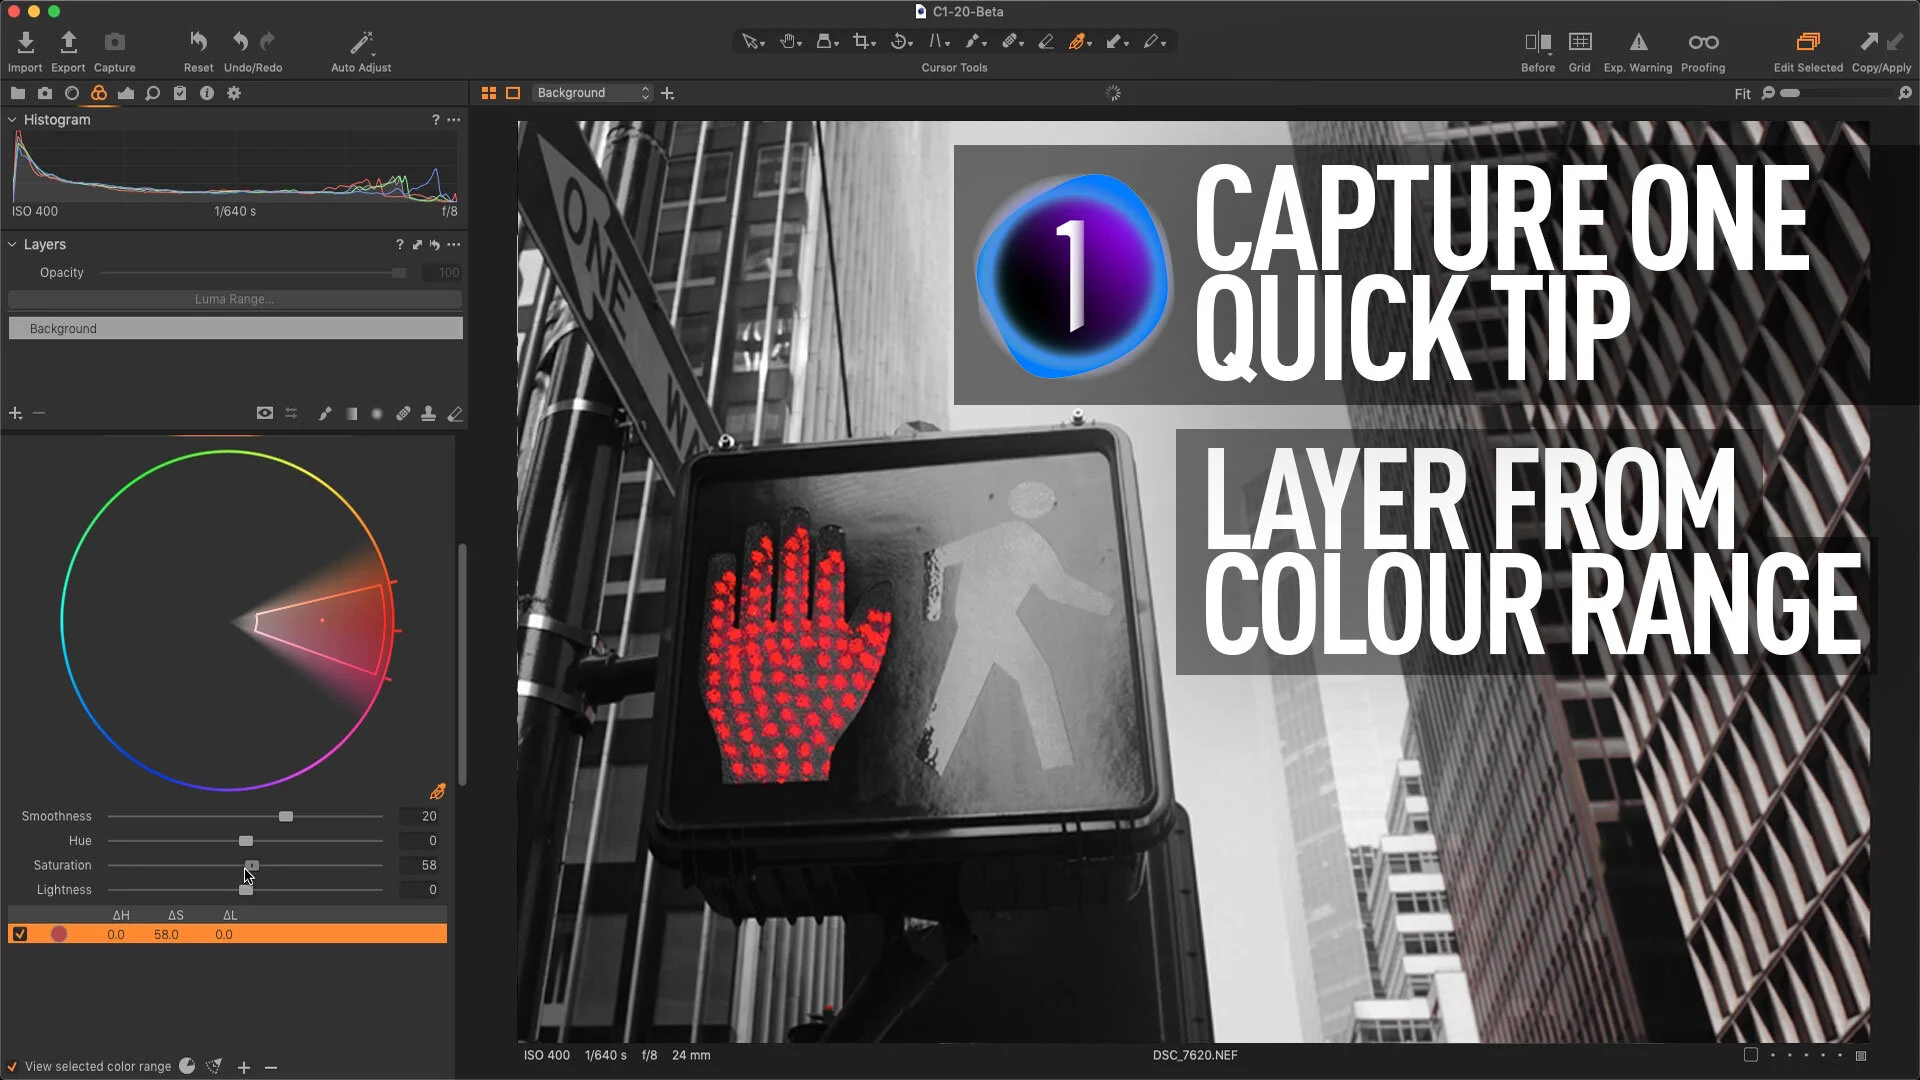
New Video: Capture One Quick Tip - Create Layer based on Colour Range
In this video, I show you how to use the colour editor to do basic colour keying and create a masked layer based on a selected colour range in Capture One.

All the different ways to add Contrast in Capture One
One of the things that I like the most about Capture One is the fact that there is often multiple ways of doing things. While it might be tempting to think of this as unnecessary, there is often enough subtle differences between methods, that it allows for a great degree of flexibility and control. Take contrast for example. By my count there are at least five different ways of adding contrast in Capture One, and I’m sure there are probably more.

Frame Photos for Instagram using Lightroom’s Print Module
If you post on Instagram, I’m sure you’ve come across the problem of getting your images to fit within the Instagram aspect ration. Instagram uses 5X4 (or 4X5) as the ratio for images posted to the platform, but most cameras shoot 6X4. There are many ways around this, such as cropping to the right ratio and making special Instagram versions. Another popular option is to fame your image in its default format inside a white frame that fits on Instagram. This is quite common, and I recently got a question from a reader asking if there was a way to do this from within Lightroom. There is, and it involves using the Print Module.