Rethinking How I Shoot and Process Fuji Jpegs
I know this might seem light a little bit of a strange thing to be covering, as it’s pretty much been something that people have been talking about since the X-Pro 1 first came out, but recently I’ve been taking another look at using Jpegs from my Fuji X-Pro2. This started as a bit of an experiment, but it’s blossomed into a full project for me. Let me explain.
My route to this came from two different sources. Firstly, I’ve been shooting a lot of film recently, and I really like certain aspects of shooting this way. Specifically, having the look “baked” into the image, to an extent. While there is still some work to do even with film, there’s a certain freedom that comes from having the film itself take care of the “look”. I was then reading something similar on a photo blog, about how a photographer likes to use the Fuji Jpegs, because they also have certain part of the look baked in. So I began experimenting and coming up with ideas, and that got me to where I am now, which is at the beginning of this project.
So what is the project? Well, it will be an upcoming guide, specifically on shooting and processing Fuji Jpegs. Now just a quick disclaimer: I know some people think that the Jpegs from Fuji cameras are better than RAW, but I don’t agree with that. I think part of that comes from the issues with Fuji RAWs and Lightroom. This isn’t going to be about replacing your RAW workflow. However, you can do some interesting things in-camera with Fuji jpegs, and by combining this with a little bit of post processing, you can achieve some different and unique effects. So I wanted to approach this subject that way. Its a little different, and I want to try and give a unique perspective on it.
The idea will be to highlight in-camera settings and offer some advice on post-processing. I think by combining the two approaches you can get a better result than just relying on the in-camera processing alone. I also plan to show you tricks tat you can do, by combining certain settings and doing things like deliberately over or under-exposing. I will also break the settings down into creative and technical, and offer a set of case studies with examples.
The final product is a good bit away though. I’m still in the research phase, and before I start going down the route of taking a lot of time to write this I wanted to gauge the interest in it first. To do that I thought I’d start by sharing some of the tips that I’ve discovered so far. This isn’t what the final guide will be like in any way, but rather a proof of concept for one very small part of it. I do cover JPEGS a little in my X-Trans Lightroom Guide, but this will be significantly more thorough and it will also cover software other than Ligthroom.
Technical vs Creative Settings
This may seem obvious, but getting everything right in-camera means that you need to, well, get it right. When shooting JPEG, you need to try and get it as close as possible to the finished result, but you should also leave yourself a little wiggle room. There are also some things that work better in post production than they do in-camera. This is because in the camera the on board processor has to do everything instantaneously, but in software, it can rely on greater processing and more resources. Specifically, noise reduction and sharpening can be better when applied in post production.
In this case, for the purposes of this explanation, I am going to treat these things the “technical” settings. For these, you can set them and leave them. Other options are more “creative” and need to be changed depending on the shot, and even though you may consider some of these “technical” too, I’m using that notion of “affects everything, vs, change for the scenario” to make the distinction in the description.
For the technical settings, I change the noise reduction and sharpening away from the defaults. For Noise reduction, I set it to as low as possible. On my X-Pro 2 this is set to -4. For sharpening I set it to -3. Now, I understand that some people might strongly disagree with these settings, but in my opinion, the defaults are too high. Even if you want something straight out of the camera, these are in my opinion, a bit too high and lead to some over-processing depending on the situation. Settings here down, gives you a much cleaner image. It’s also much easier to add sharpening in post production than it is to take it away. Obviously this will depend on the lens too, but in my opinion, the sharpening algorithm degrades the image too much, especially when turned up over 0. Again, you probably have your own opinion on this, and I know some people will “strongly” disagree with me on this, but that is what I think after carefully analysing the output.
Sharpening Jpegs in Lightroom
If you use these settings and you want to apply sharpening in post production, you can actually get away wth a reasonable amount, although you will still introduce some artifacts if you overdo it. The technical issue I see the most on people’s images on places like Flickr, is a often an egregious amount of over-sharpening. You actually don’t need too much. If you are going for a film like look, then the less you apply the better. Instead, you can add the perception of sharpness using grain or contrast, but still keep an organic smoothness to the image by not over-sharpening.
If you are using Lightroom to process your Jpegs, I have a few sharpening presets that you can use. These are just preliminary and experimental, but I’ve found that they work for me. If you want to reduce the amount of work that you do, then find the one that you like and apply it on import. They may actually be a bit high if anything.
In-camera trick: Creating the Bright Film Look in-Camera
One pf the things that I really like when seeing people’s film photos, is the bright film look. I’m sure that’s not the proper term, and It’s hard to describe, but it’s like the film is deliberately over-exposed, and everything is bright. I was trying to find a way to do this mostly in camera, and I’ve found an interesting approach. The result isn’t exactly the look I was going for, but it’s still an interesting result.
To start with, you need to set the DR to 400 and you need to be shooting at least ISO 800. You then need to set the highlight tone to -1 and the shadow tone to +1 (you may need to set this higher).
Then, even if it’s not overly bright or contrasty, you can experiment by deliberately over-exposing the shot. I was able to go up to +1.5 stops and still keep some highlight detail. This does of course greatly depend on the situation, so it requires some experimenting.
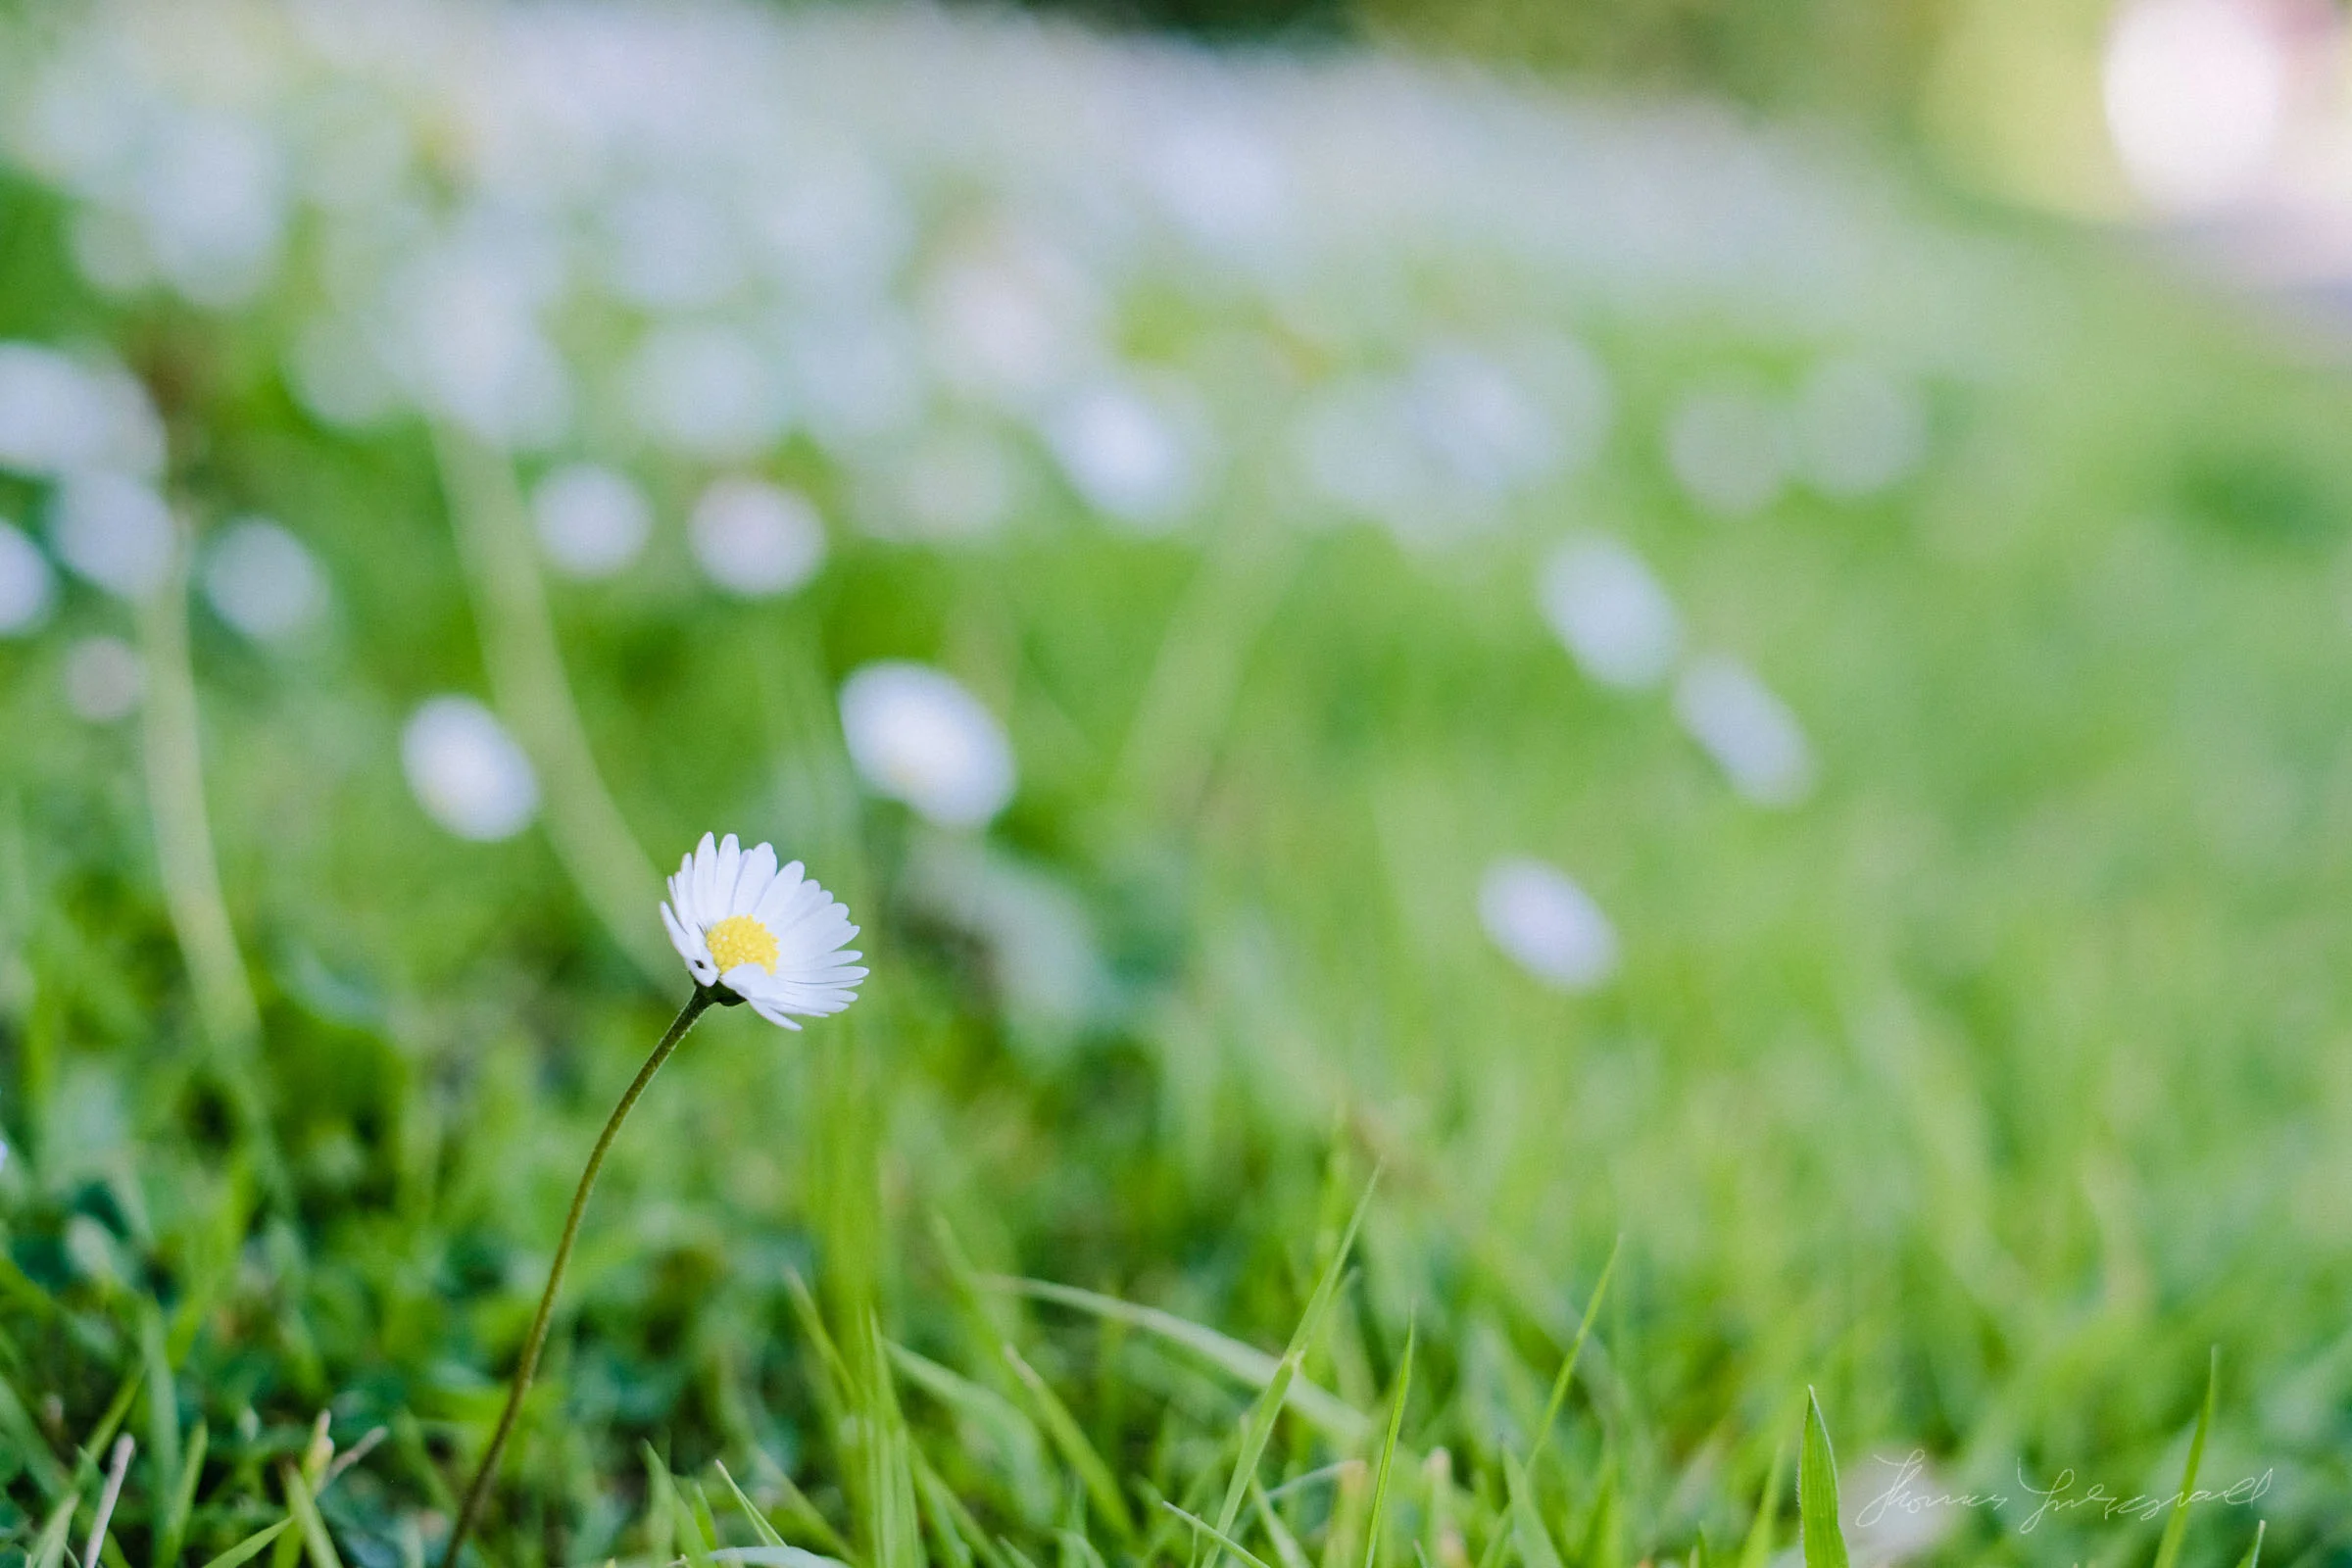
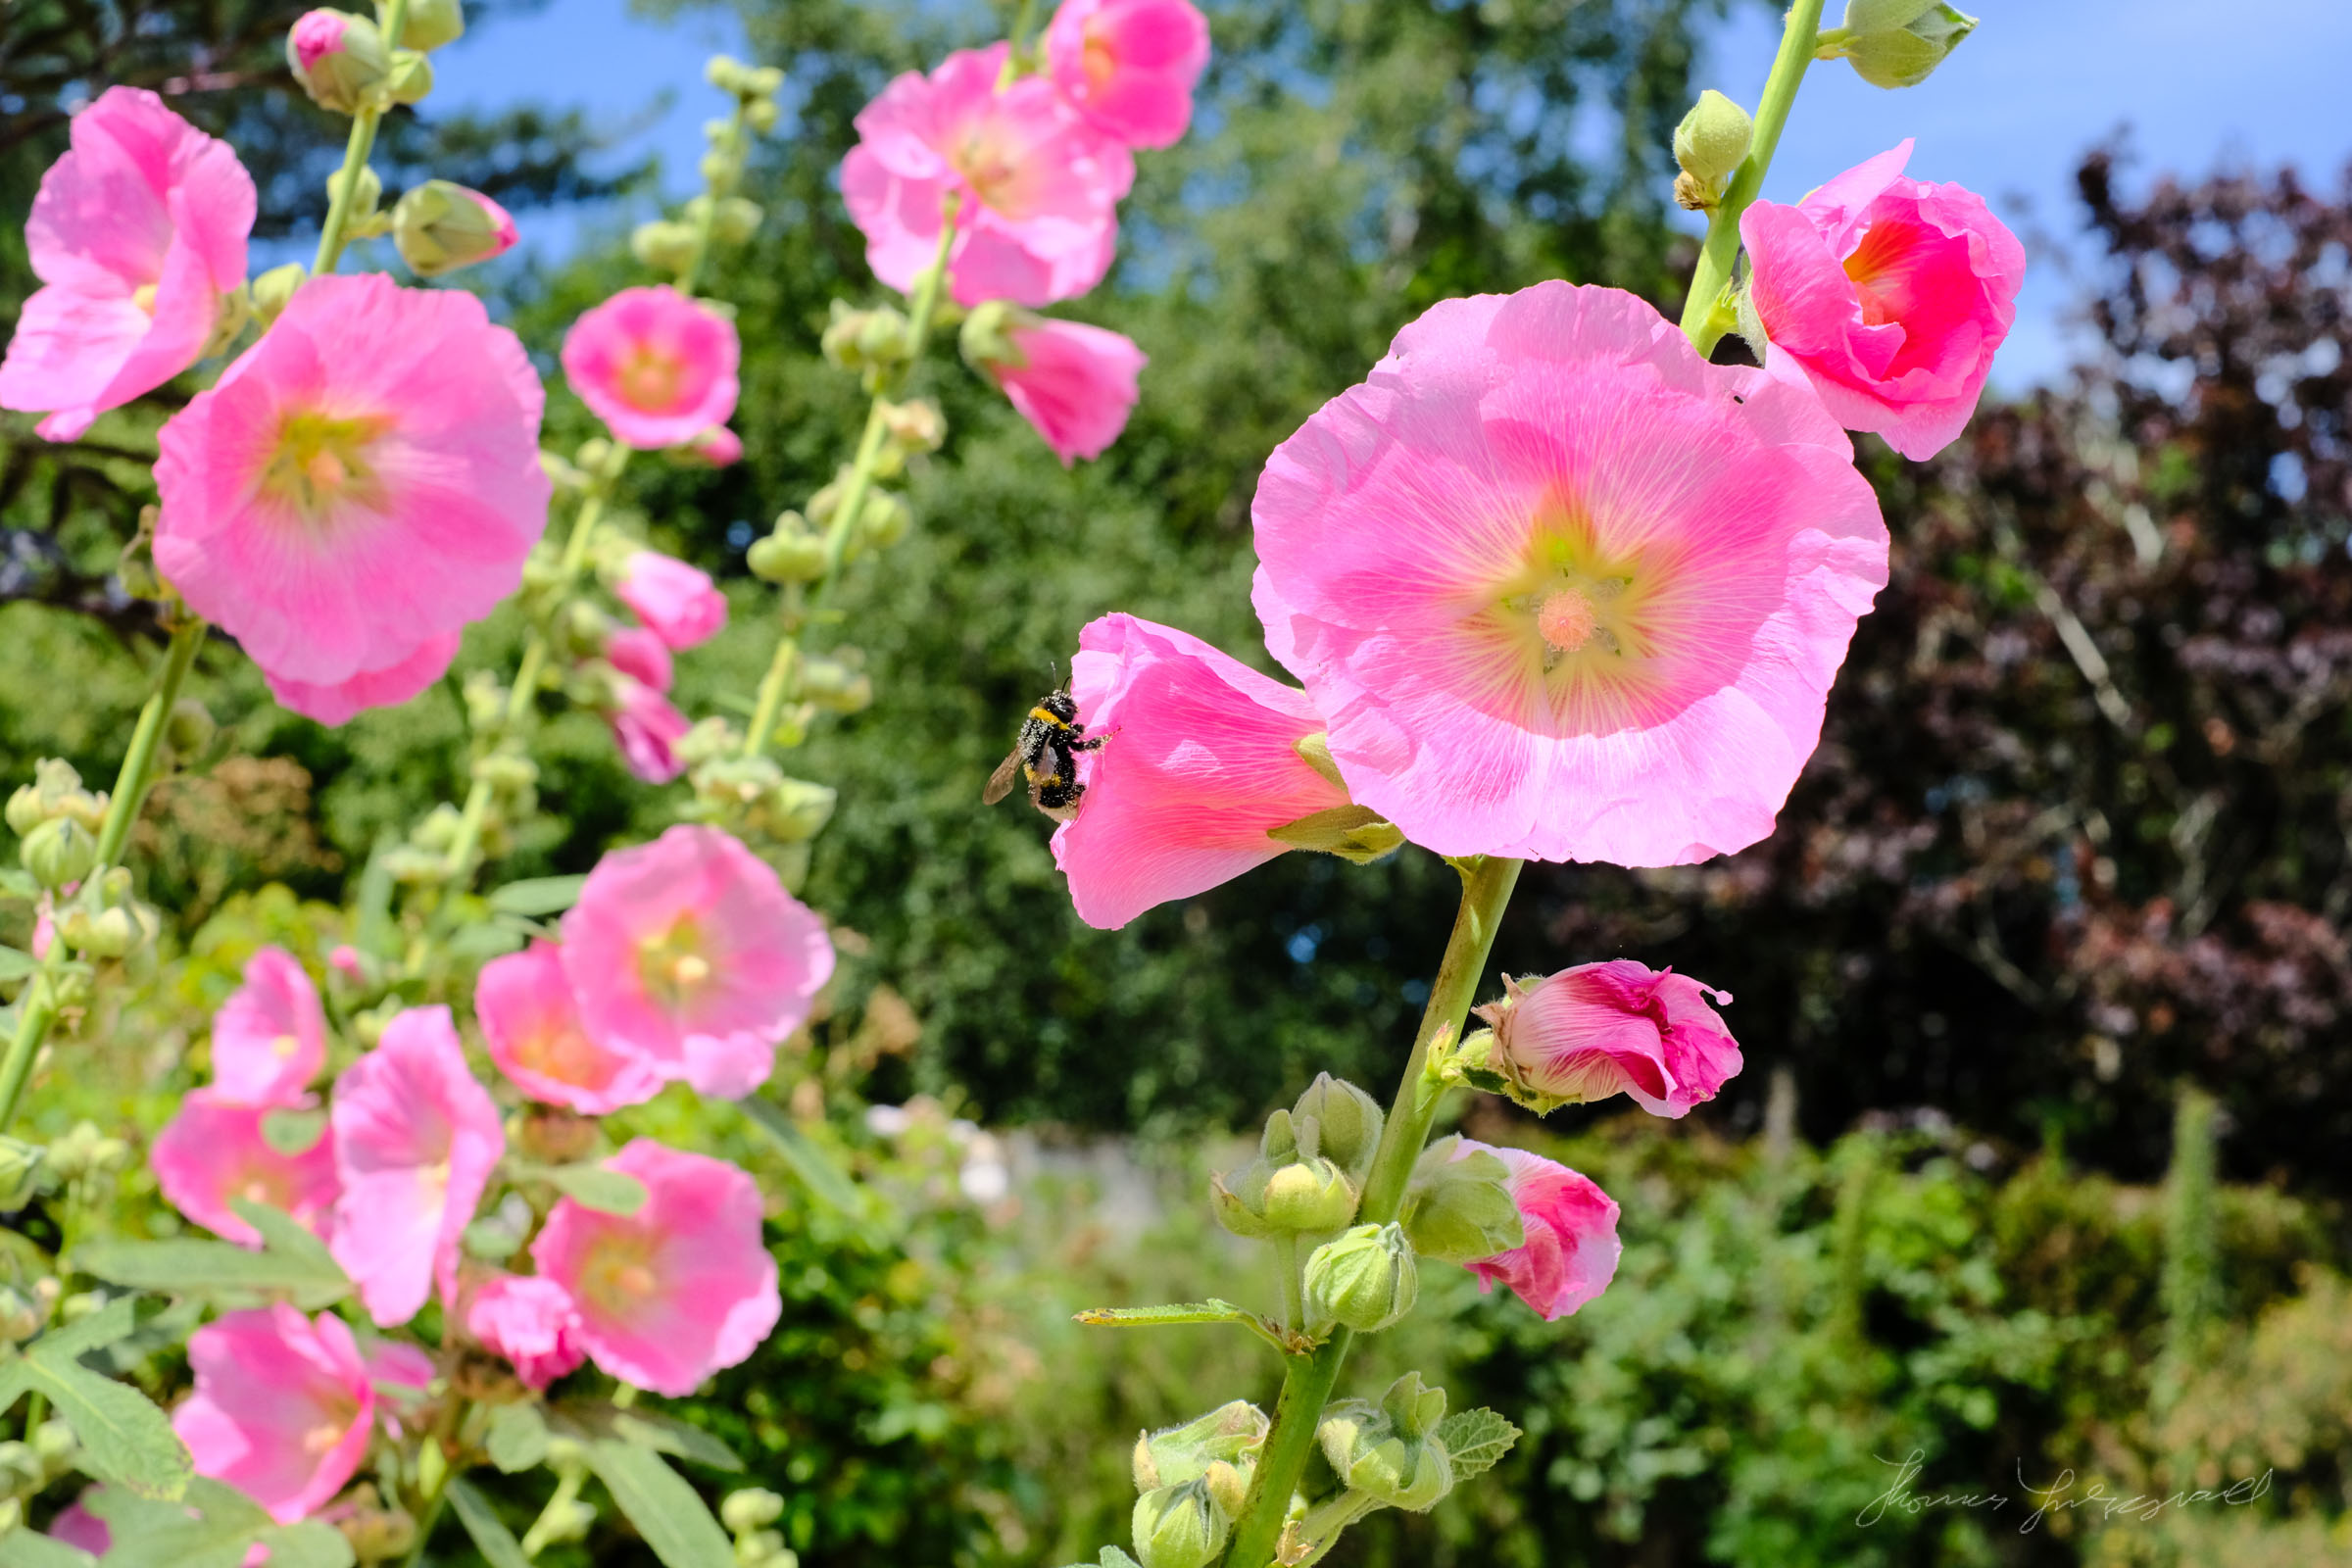
These are more or less straight out of the camera. For post, I did only a little to these, adding a tiny bit of grain in some cases and in some cases sharpness. You can also experiment with different looks or presets. If you’re using the VSCO presets on JPEG images, make sure to use the “standard” ones rather than the fuji specific ones. The film-simulation mode on the camera was set to either Velvia or Provia.
Just the beginning
This is just a tiny snippet of what I had in mind for this project. I will be covering other applications too, and it won’t be limited to Lightroom. If it’s something that interests you please let me know in the comments below. If you want to help, send me your suggestions. Writing a book takes time and money, so if you want to help with that, then please consider supporting me on Patreon. If this gets enough interest and does go ahead, I’ll be posting work in progress and regular updates on there too.
Help Support the Blog
I’m now on Patreon. If you like what I do here and find the information useful, then you can help by supporting me on Patreon. As well as helping keep this blog going with even more useful news, tips, tutorials and more, members also get special Patreon only perks. Stop by and check it out.
If you like this post then you can see more of my work on Instagram, Twitter and Facebook. I also have a YouTube channel that you might like. You should also check out my other Photography Project: The Streets of Dublin. If you want to get regular updates, and notices of occasional special offers, and discounts from my store, then please sign up for the Newsletter.
You can also show support by buying something from my from my Digital Download Store where I have Lightroom Presets, and e-books available for download. If you're a Fuji X-Trans shooter and Lightroom user, check out my guide to post processing X-Trans files in Lightroom. I also have a guides for processing X-Trans files in Capture One and Iridient Developer. For Sony Alpha shooters I have a new guide with tips on how to get the best from processing your A6000 Images in Lightroom.


