Sharpening and Noise Reduction Presets for Processing Sony Files in Capture One
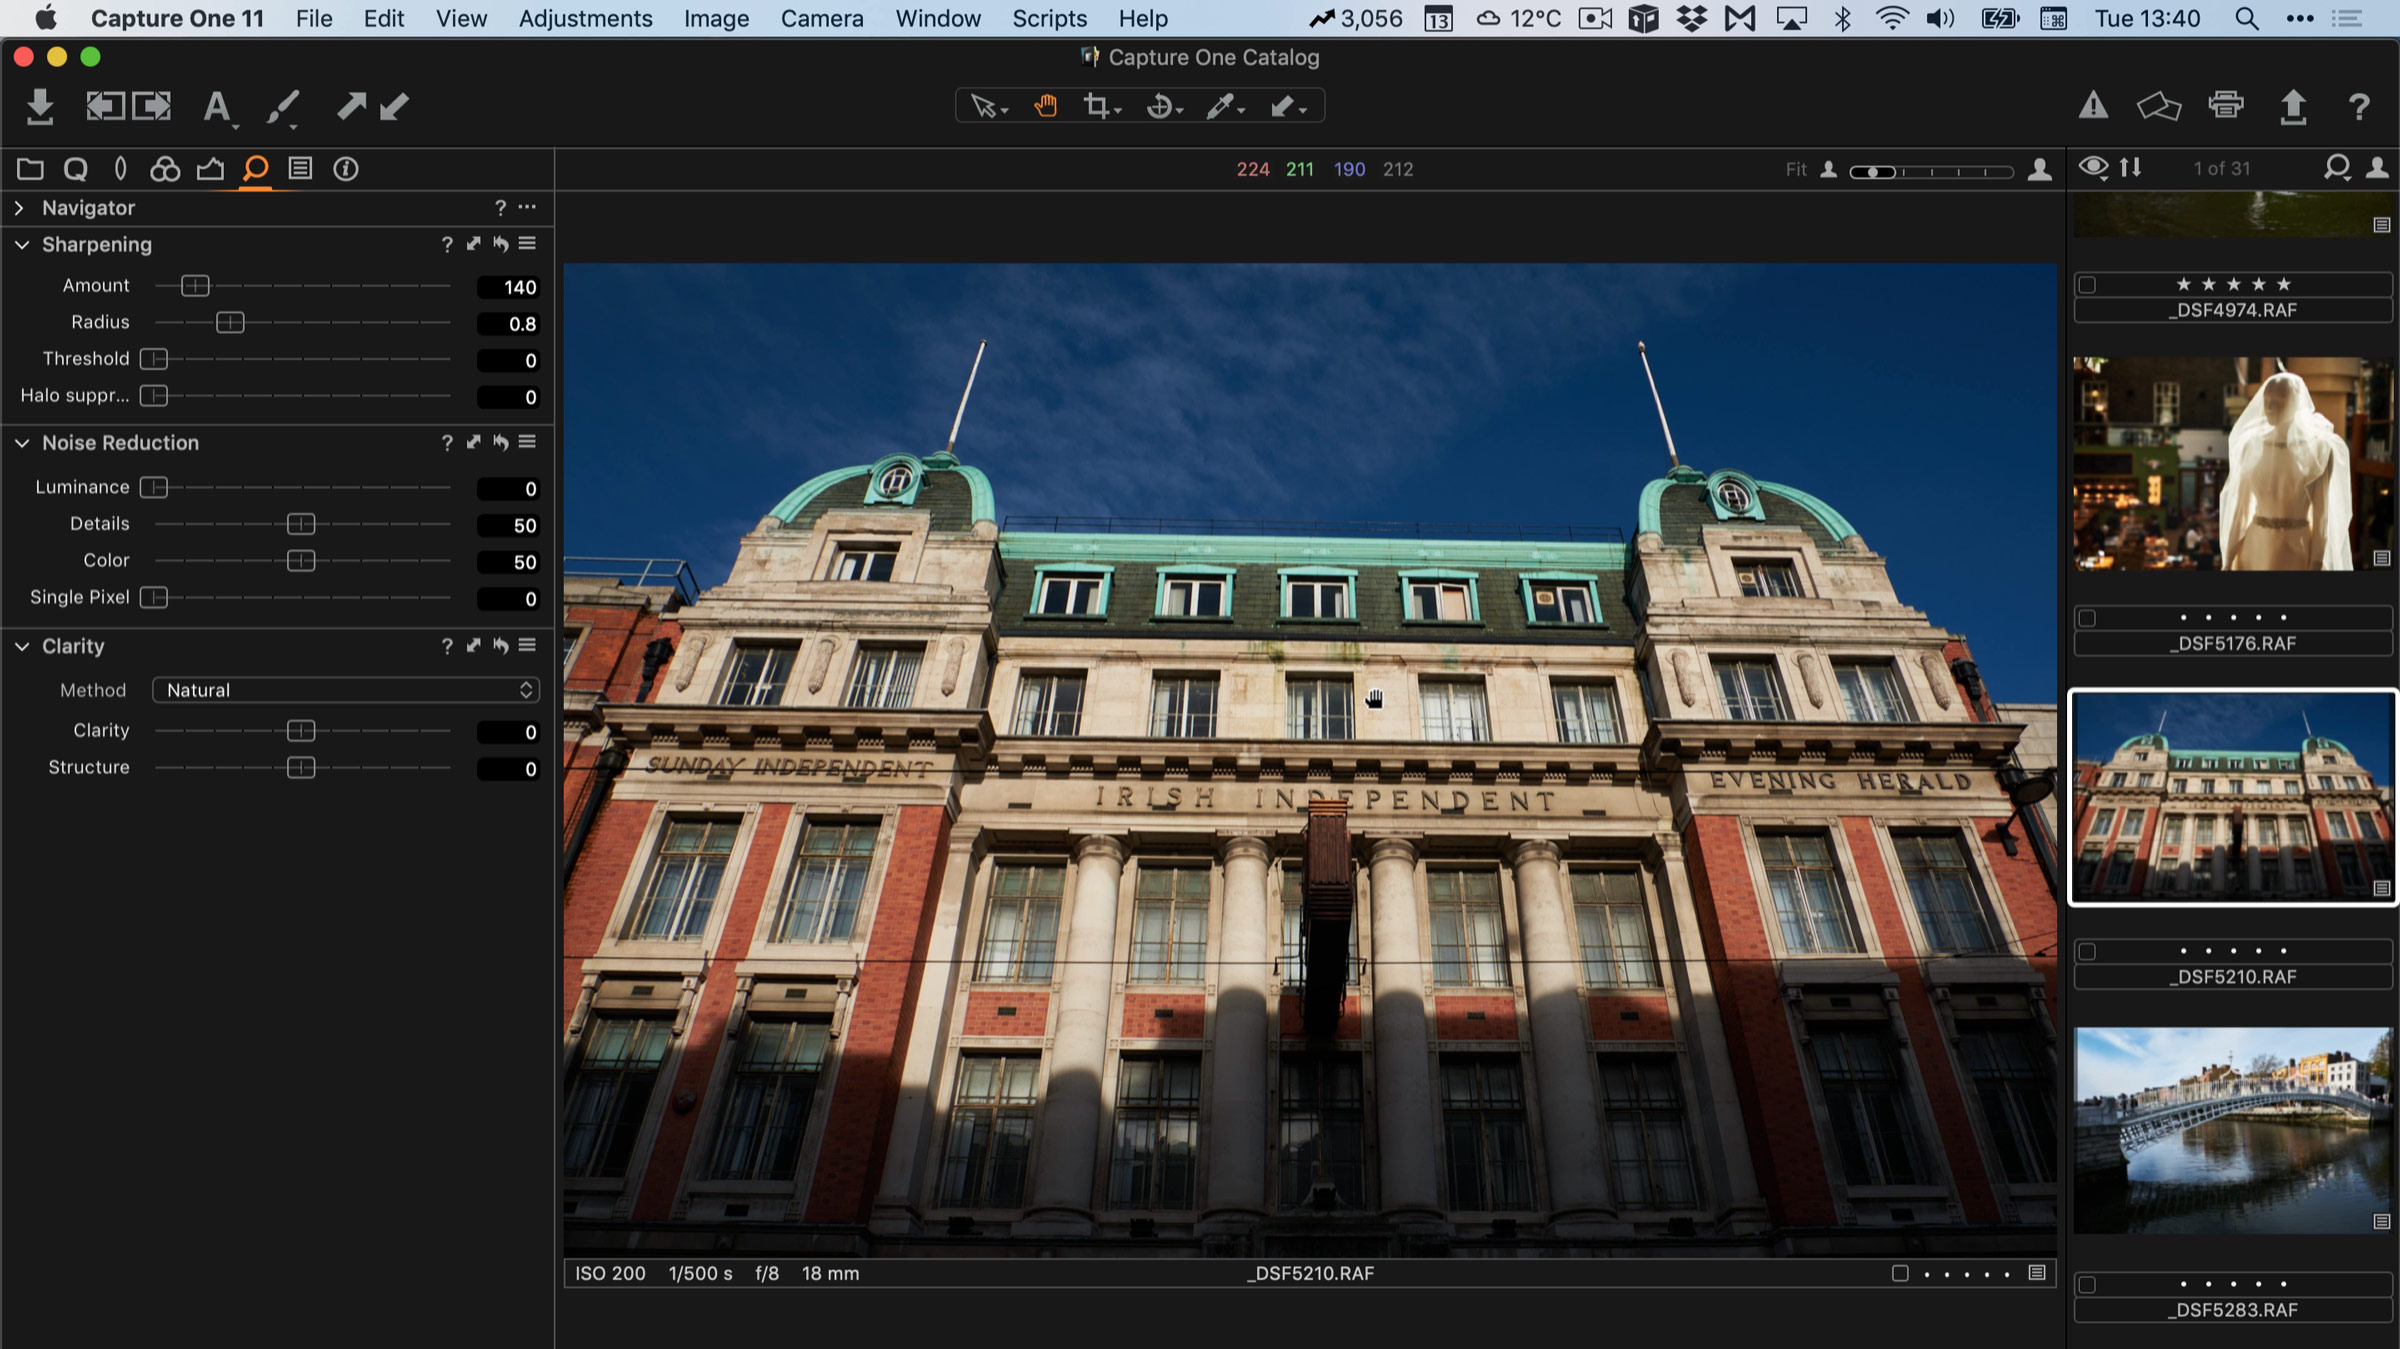
I recently posted a video to my YouTube channel about processing some Sony A6000 images in Capture One. In the video I mentioned some sharpening and noise reduction presets that I use. These should work with any Sony RAW file, so even those from the Sony A7 series or the A9. You can find links to download below, as well as the video itself.
Why change the defaults?
The reason that I use these settings rather than the defaults, is that in my opinion, the default sharpening and noise reduction settings produce an image that looks too “over processed”. I find the sharpening is a little to aggressive, and the noise reduction too high. Of course the results will depend on the image, and that’s why I have a range of settings. These are what I prefer, but everyone is different, so by all means try them for yourself. You can download the presets by clicking on the button below…
Installing the Presets
There is no easy way to install the presets, so you have to install them manually. Luckily this is fairly easy, and if you managed the styles you should be able to install the presets with no problem.
This uses the example of installing sharpening presets. For noise reduction presets, please just use “Noise Reduction” instead of “Sharpening”
I also have a video on how to install (for mac users) available here on YouTube. (This was actually for my SilverLux presets, but the process is the same. You just put them into the corresponding folder - in this case "Shatrpening" and "Noise Reduction"
On a Mac
- Quit Capture One
- Locate the files you just downloaded. Go into the Sharpening folder, and copy the contents of the folder and pressing Command + C or choosing Copy form the edit menu.
- Navigate to the following place in the finder. The easiest way to do this is go to the Finder and then from the Go menu choose Go To Folder. Then copy and paste the following path into the dialog that pops up.
~/Library/Application Support/Capture One/
And click ok.
- Once here, you may need to create folders if they don’t already exist. If you don't see the following folder: "Presets60" create it. Make sure to label this exactly. Now open this folder and if it doesn't already exist, create another folder inside this called: ”Sharpening”. If these folders already exist, just navigate inside them.
- Open this folder and paste the contents of the Sharpening folder from the download in here.
On a PC
- Quit Capture One
- Locate the files you just downloaded. Go into the Sharpening folder, and copy the contents of the directory selecting them all and pressing Ctrl + C or by right clicking on the directory and choosing copy.
- Navigate to the following place in the Windows Explorer.
C:\Users\username\AppData\Local\CaptureOne*
- Once here, you may need to create directories if they don't already exist. If you don't see the following directory: " Presets60" create it. Make sure to label this exactly. Now open this directory and create another folder inside this called: " Sharpening”. If these directories already exist, just navigate inside them.
- Open this directory and paste the contents of the Sharpening directory that you downloaded and copied earlier in here.
Repeat the process for the Noise Reduction presets. If the folder doesn’t exist make sure to label it “Noise Reduction”
_Note that if you're on a PC you may see a directory labelled " MacOSX" This is a special mac folder and you can just ignore it on the PC.
If you like these and find them useful, then you can say thanks by buying me a coffee through my PayPal Tip Jar, or alternatively, check out some of my other Capture One products on my Digital Download store.


