My Go-To Sharpening and Noise Reduction Starting Point Settings in Capture One for any Camera’s Raw Files
One of the things some people often like about Capture One when they first try it is that they find it gives them sharper images or more detail than other software. However, I also often see complaints that details can look pixelated and over-processed. Depending on your camera and the type of images you take, you may notice this too, especially with older images. In my opinion, Capture One’s defaults are set too high. Whenever I get a new camera, it often takes me a little time to get the settings just right, but in the following post, I’ll share the parameters I often use when in a hurry, or where I start with when dealing in a new camera.
Sharpening
Capture One has different default settings for different cameras. If you shoot with multiple cameras you will often find that if you bring them in at the default settings, they will have different numbers for the various sharpening and noise reduction settings. While some cameras look fine with the default parameters, in many cases, in my opinion, they will look over-sharpened or over processed. Personally, I don’t like the defaults that the engineers at Capture One have chosen, and often the first thing I do, is to change them.
The Three Most Important Things, and a quick primer on Sharpening
There are three things that you should always consider when working with sharpening settings, regardless of the software.
The first is that the term “Sharpening” is kind of a misnomer. The primary purpose of sharpening controls in RAW conversion software is not really to make your images sharper. Their main job isn’t to compensate for soft or out of focus images, although you can use them for that to an extent. The main purpose of sharpening controls is to compensate for the softening that occurs when RAW files are demosiaced, and for the softening that happens from anti-aliasing filters on cameras that have them. You can use them for additional “creative” sharpening too, but the main reason that we “sharpen” images is that it’s part of the raw conversion process.
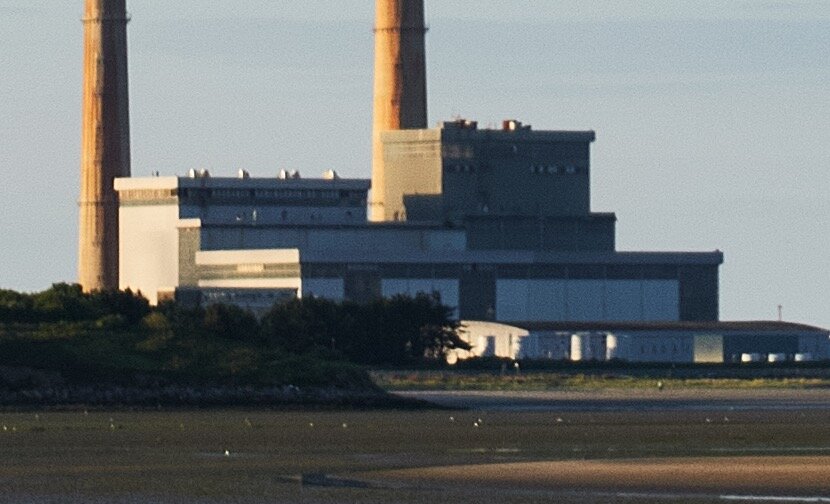
1:1 Crop. this is just soft because it was slightly out of focus. No amount of additional “Sharpening” will fix this. It will just add artefacts and noise to the image.
Secondly, you should always view your images at 100% (or 1:1) when adjusting sharpening settings. Before you complain about pixel peeping, this is because most Raw software doesn’t properly display an image when zoomed out. Some over anti-alias the image and it appears softer that it would when exported. Capture One is particularly bad at this, and I’ve been covered a work around for this in the past. This problem exists in Lightroom too, to a lesser extent.
Thirdly, don’t over-sharpen your images. This is the most common processing mistake people make. I hate those articles that are something like “The ten biggest mistakes photographers make…” but in the case of over sharpening I’ll make an exception. It’s something you see all the time, and it’s the quickest way to ruin an image. I think much of this comes from the confusion about why you sharpen images (see point 1) and from people cranking up the sharpening settings when zoomed out (point 2).
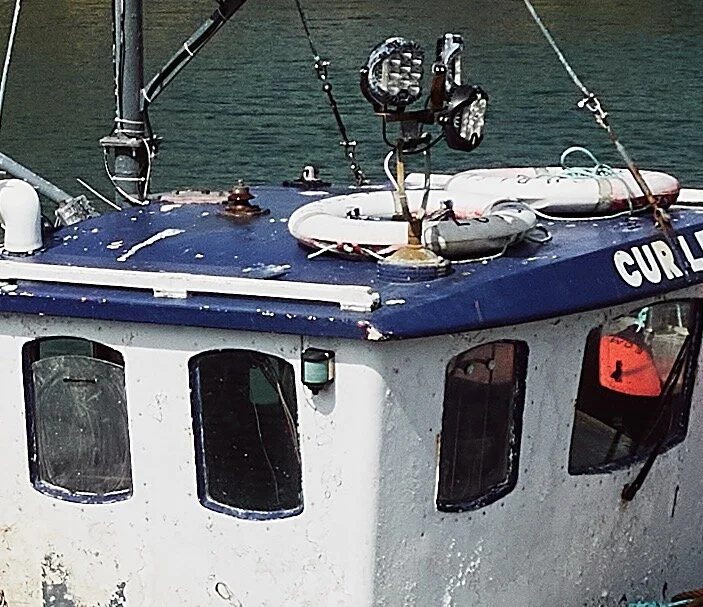
This is an example of over-sharpening. Please don’t do this to your photos !
I get that some of this is personal preference but speaking as both a photographer and a designer who has used lots of other peoples images for client work, with picky clients, if your image is over-sharpened, a client won’t be able to use it. Similarly, some people think that you should turn sharpening off altogether. Again, because I suspect this is because they think it is about sharpening images (My images are sharp already !! ) - but its not - it’s about compensating for the demosiacing. Turning sharpening off completely, may result in an unnecessarily soft image, that may also be unusable - although the difference is you can always add sharpening, but it’s difficult to take it away.
For more details on this topic, I wrote a post about it a while ago which you can find here: “Why you need to sharpen RAW files”
(Some software does a degree of sharpening at the raw conversion level without you having control over it, and in that case, you don’t necessarily need additional sharpening, but with Capture One this isn’t really the case)
Capture One Settings
Right, back to the main point of this. If you don’t like the defaults in Capture One, here’s what I suggest as a starting point. These settings are for a broad set of circumstances as a catch-all, but you may need to tweak depending on the circumstances and the individual camera. There are actually quite complex sharpening controls in Capture One, with additional options such as sharpening compensation for lens fall off, and “diffraction compensation” - and the whole topic of sharpening could fill a whole book, but in this post, I’m just dealing with the basics. Again, this is my starting point. I’ll have an explanation for these settings below.
- Sharpening Amount: 100
- Sharpening Radius: 1
- Sharpening Threshold: 0
- Halo Reduction 0
Sharpening Settings in Capture One
My reason behind these are as follows:
- The sharpening amount is often too high depending on the camera. This is particularly true of older camera. For my Nikon D700 this is the setting I use. However, I also find this works well with other newer cameras. My recently purchased Sony ZV-1 for example. It also seems to work well with some other Sony Cameras for some reason. You can always use this as a starting point and raise the settings if you thin it’s too low. For example, when working with my Sony A6000 Images I often use a value of 140.
- I use a radius of 1 as it leads to more natural looking details in some cameras. However, depending non the camera, a value of 0.8 might work better. For 24 and 26mp Fuji X-Trans cameras for example I recommend a value of 0.8. The same with some higher megapixel Sony cameras. Try the different values and see the difference it makes.
- For me, I don’t like the look that a threshold of 1 makes. Because threshold is a hard cut-off, rather than a soft fall-off, it can lead to some artefacting and processed looking images. The sacrifice is a little noise. If you’re using higher ISO images with a lot of noise, then bringing it back to a value of 1 might be necessary, but for “normal range” low ISO photos, my recommendation is to turn it down. Some of this is subtle, and you may not notice it. I think part of the reason that the default “Amount” is so high is to compensate for the effects of a higher threshold value, so when lowering or turning off the threshold, you generally need a smaller amount.
- You shouldn’t need the Halo Reduction if your sharpening isn’t too high, but if you do need to turn it up, then a little Halo Reduction can help with edge problems. However, this can be abused too, and too high a setting will lead to artefacts.
Noise Reduction
The Noise Reduction settings in Capture One go hand in hand with the sharpening settings. I used to recommend turning it off completely in Capture One, but the software actually changed its noise reduction technology a while ago, and so my recommendations changed because they improved it so much.
You can leave most settings the same as the defaults, but I do recommend turning the Luminance amount down. If you’re shooting with a APSC or Full Frame camera and you’re shooting at a low to medium ISO setting, you can probably turn this off altogether. Personally, I prefer a small amount of Luminance noise to a processed looking, completely clean image. You can however raise not back to a value of 20 or so if you still find the amount of noise reduction insufficient. On smaller 1 inch type sensors, I use a value of 25 for normal ISO images.
For higher ISO images (ISO 1000 and above) you can leave it at the default settings of 50, and for very high ISO images, you can turn it up further, but it will result in a loss of detail. For very noisy high ISO images, you should check out DXO Pure Raw if you’re having trouble balancing the settings, as it does an amazing job with noise reduction.
Conclusion
Every time I post an article on sharpening, I get a range of responses from people, some of which are angry “You don’t know what you’re talking about” comments form people who use crazy high settings or turn sharpening off completely. Some people prefer different looks and there is absolutely a degree of personal preference in settings. I personally prefer my images to look as natural and as un-processed as possible, while still being crisp. Some people will prefer a slightly more processed look (that the defaults give). My preference comes from having images rejected by clients and agencies for either too much or too little processing, and from years of working with clients, and their clients.
While there are personal preferences, some things are also just wrong, so be careful not to over-sharpen your image. Someone once wrote to me that I was full of it, because they said that anything less than a value of 400 in Capture One isn’t sharpened enough. If you’re using a value this high in Capture One, you’re doing something fundamentally wrong. Unfortunately this knowledge is getting lost in an internet where strong opinions are more valuable than experience, and I’m seeing more and more publications putting out hideously over-sharpened and over-processed images.
There is a lot more to sharpening than I’ve covered here, and I have lots of other articles on it. I’m always refining and changing my techniques, and learning the best methods. There are additional ways to add detail, and additional creative sharpening methods, such as high pass sharpening, structure, and clarity, but thats kind of a different topic. Similarly there are things like output sharpening, and print sharpening, but again thats a more complex topic. For now, if you find that your details look pixelated, or over-sharpened in Capture One try changing the defaults to the settings mentioned here, and see if you prefer the results.
Help Support the Blog
Try or Buy Capture One
If you don’t already have Capture One, you can download a 30 day trial now from the company’s website. If you do go to buy it, Capture One Pro is available in both subscription and perpetual licences available, in versions for all cameras, Fuji specific , Sony specific or Nikon specific. The Fuji, Sony and Nikon versions only open raw files from cameras of the respective manufacturers, but other than that, they are identical to the full version.
If you buy through the above links, we get a small commission, which helps run this site.
Check out my Capture One Style Packs
If you’re looking for some Film Effect, or black and White style packs for Capture One, check out my Capture One styles on my Gum Road Store.
Patreon
If you like what you see here and you find this useful, then you can help support this blog and help me keep making great content like this by supporting me on Patreon for as little as $1 a month. There are a number of options available with different rewards, such as behind the scenes content, special Patreon only videos and more. Check out my Patreon Page for more details, and a big thanks to everyone already supporting this blog on Patreon.
Buy me a coffee!
If you’d rather not use Patreon, but still want to say thanks or help, then you can feed my caffeine habit and buy me a coffee via PayPal with a one off donation to my PayPal tip jar.
Join our Facebook Group
If you want to discuss anything you’ve read here on my website, or saw on my youtube channel, or if you want to share images you’ve created using any of my techniques or presets, then I’ve started a new Facebook Group just for that.
Note that this post contains paid affiliate links. We get a small commission for purchases made through these links, which helps run this site.


