
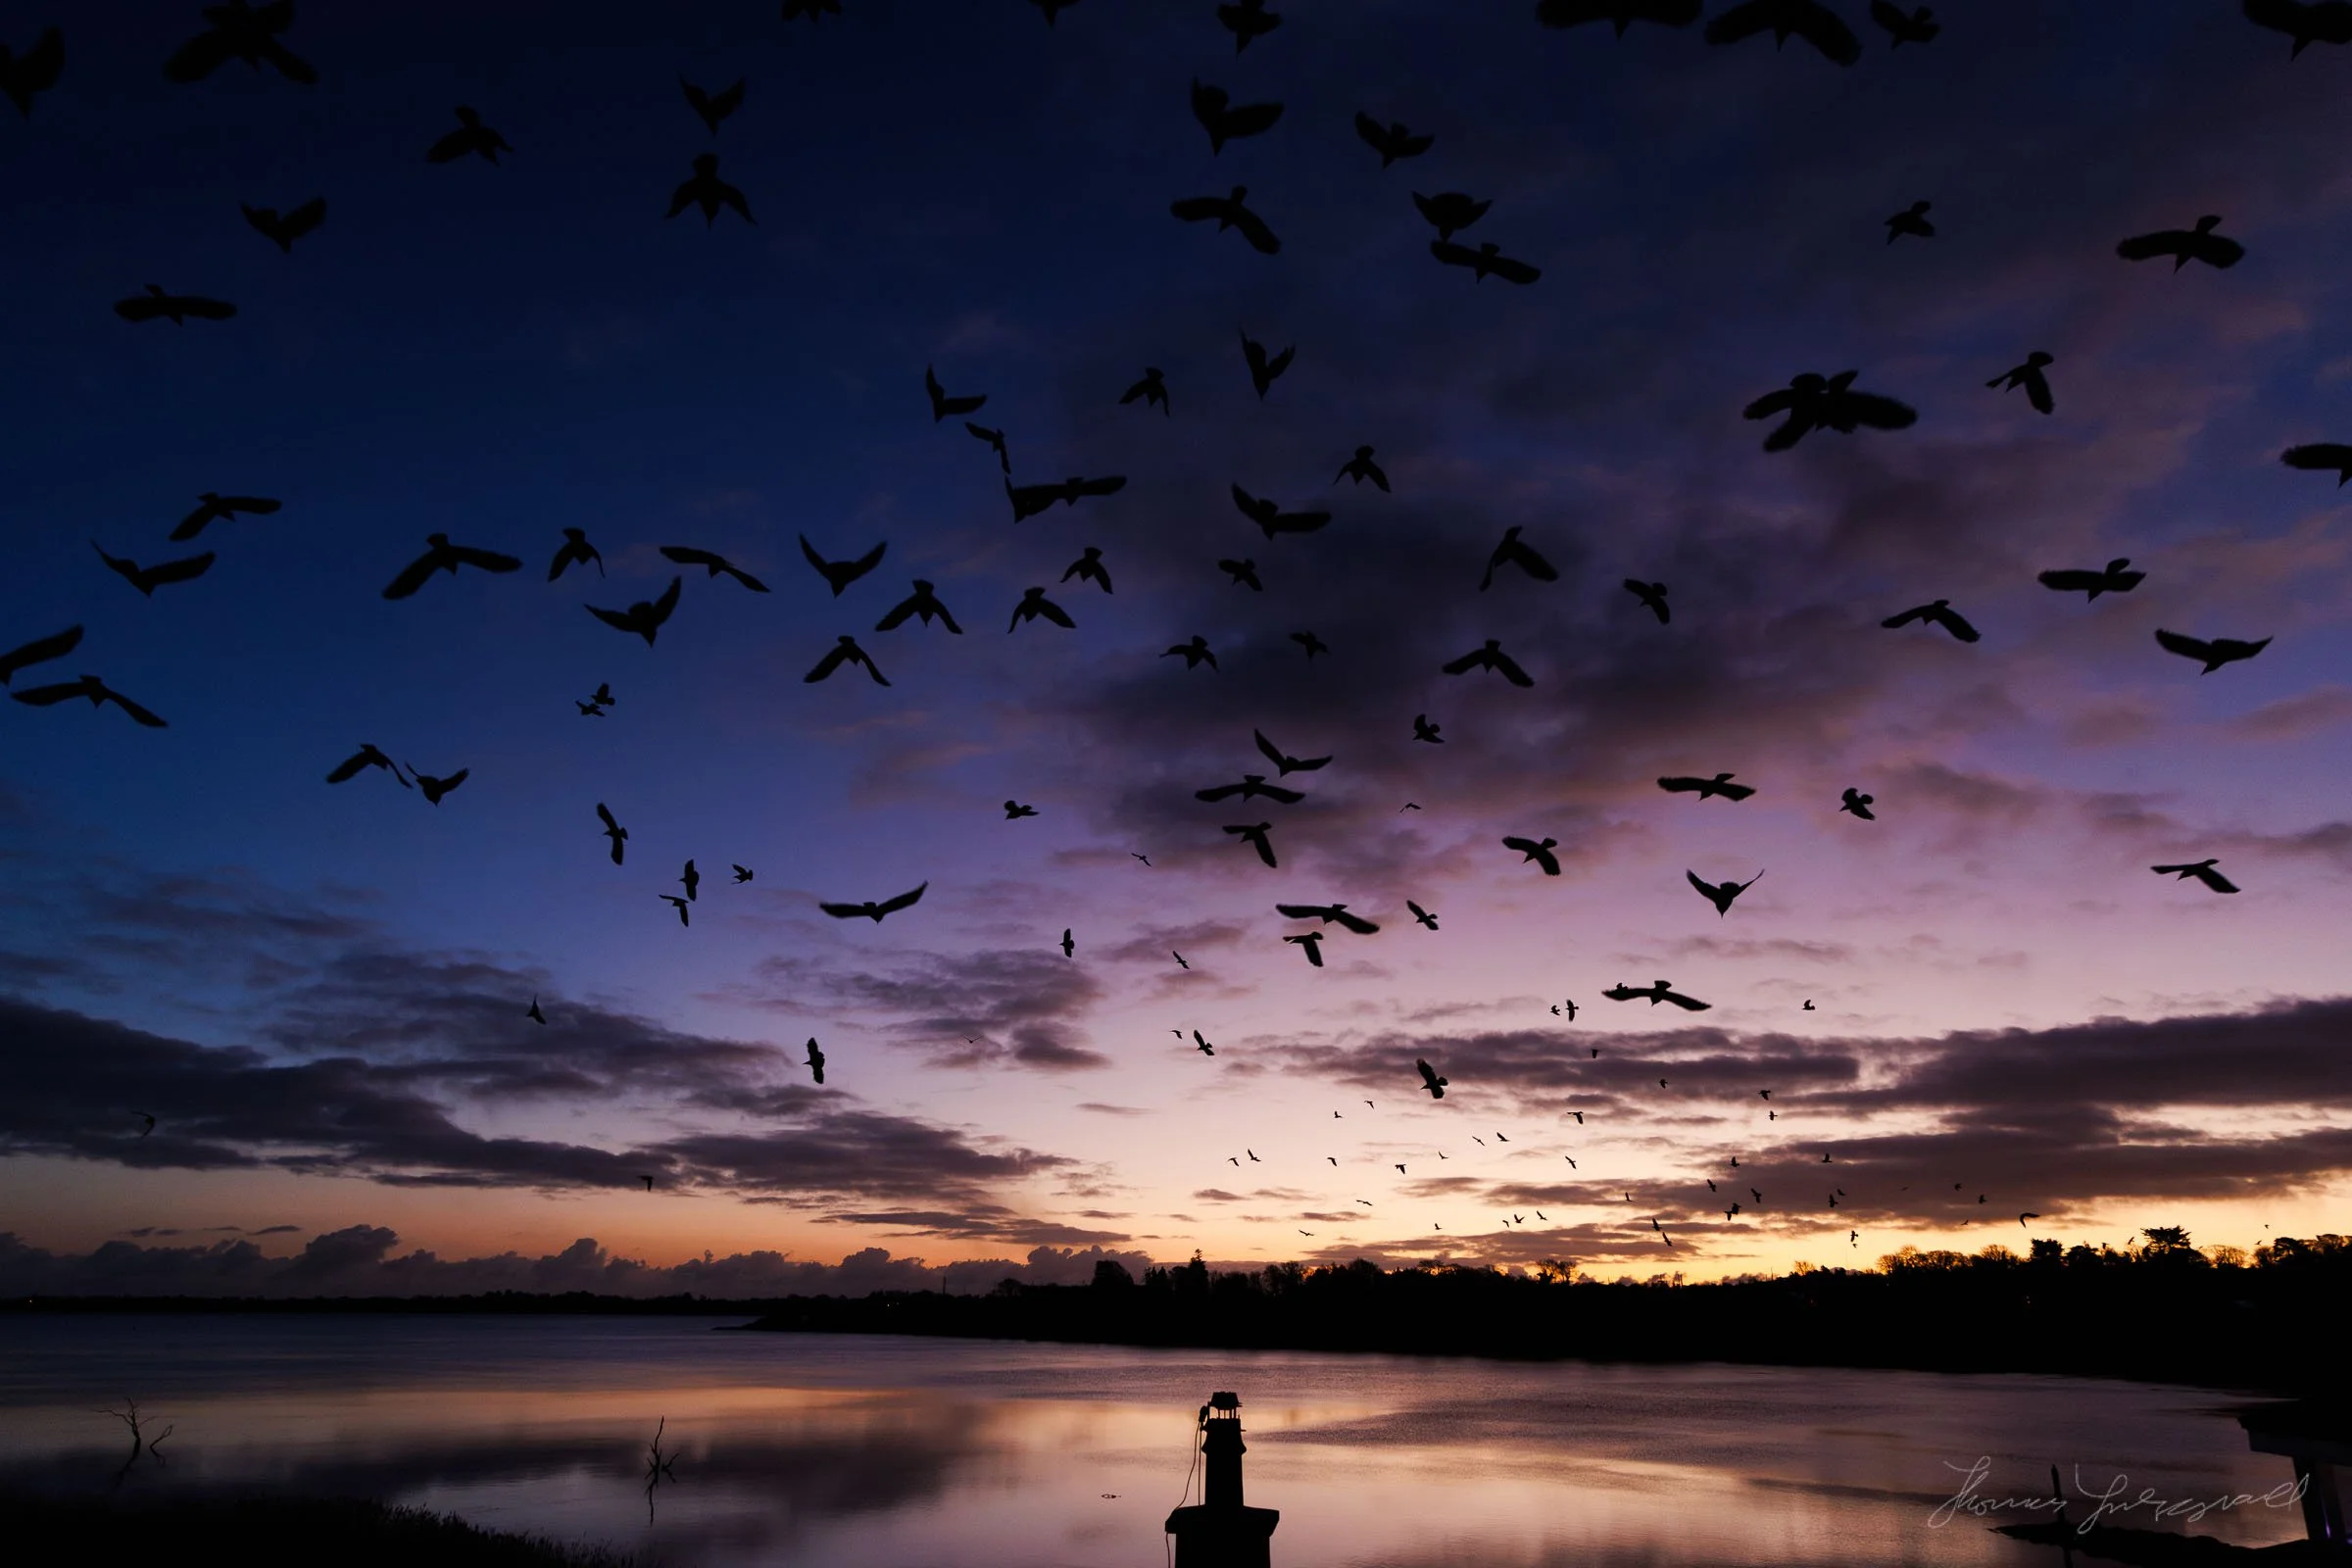
Photo Editing, Tutorials, Photography News, and More
This blog covers a range of topics from Lightroom, Photoshop, Capture One, Fujifilm, Canon, Nikon, iPhone Photography, and more. If you want to see more of my actual photography work, visit my Portfolio and Photo Journal blog.
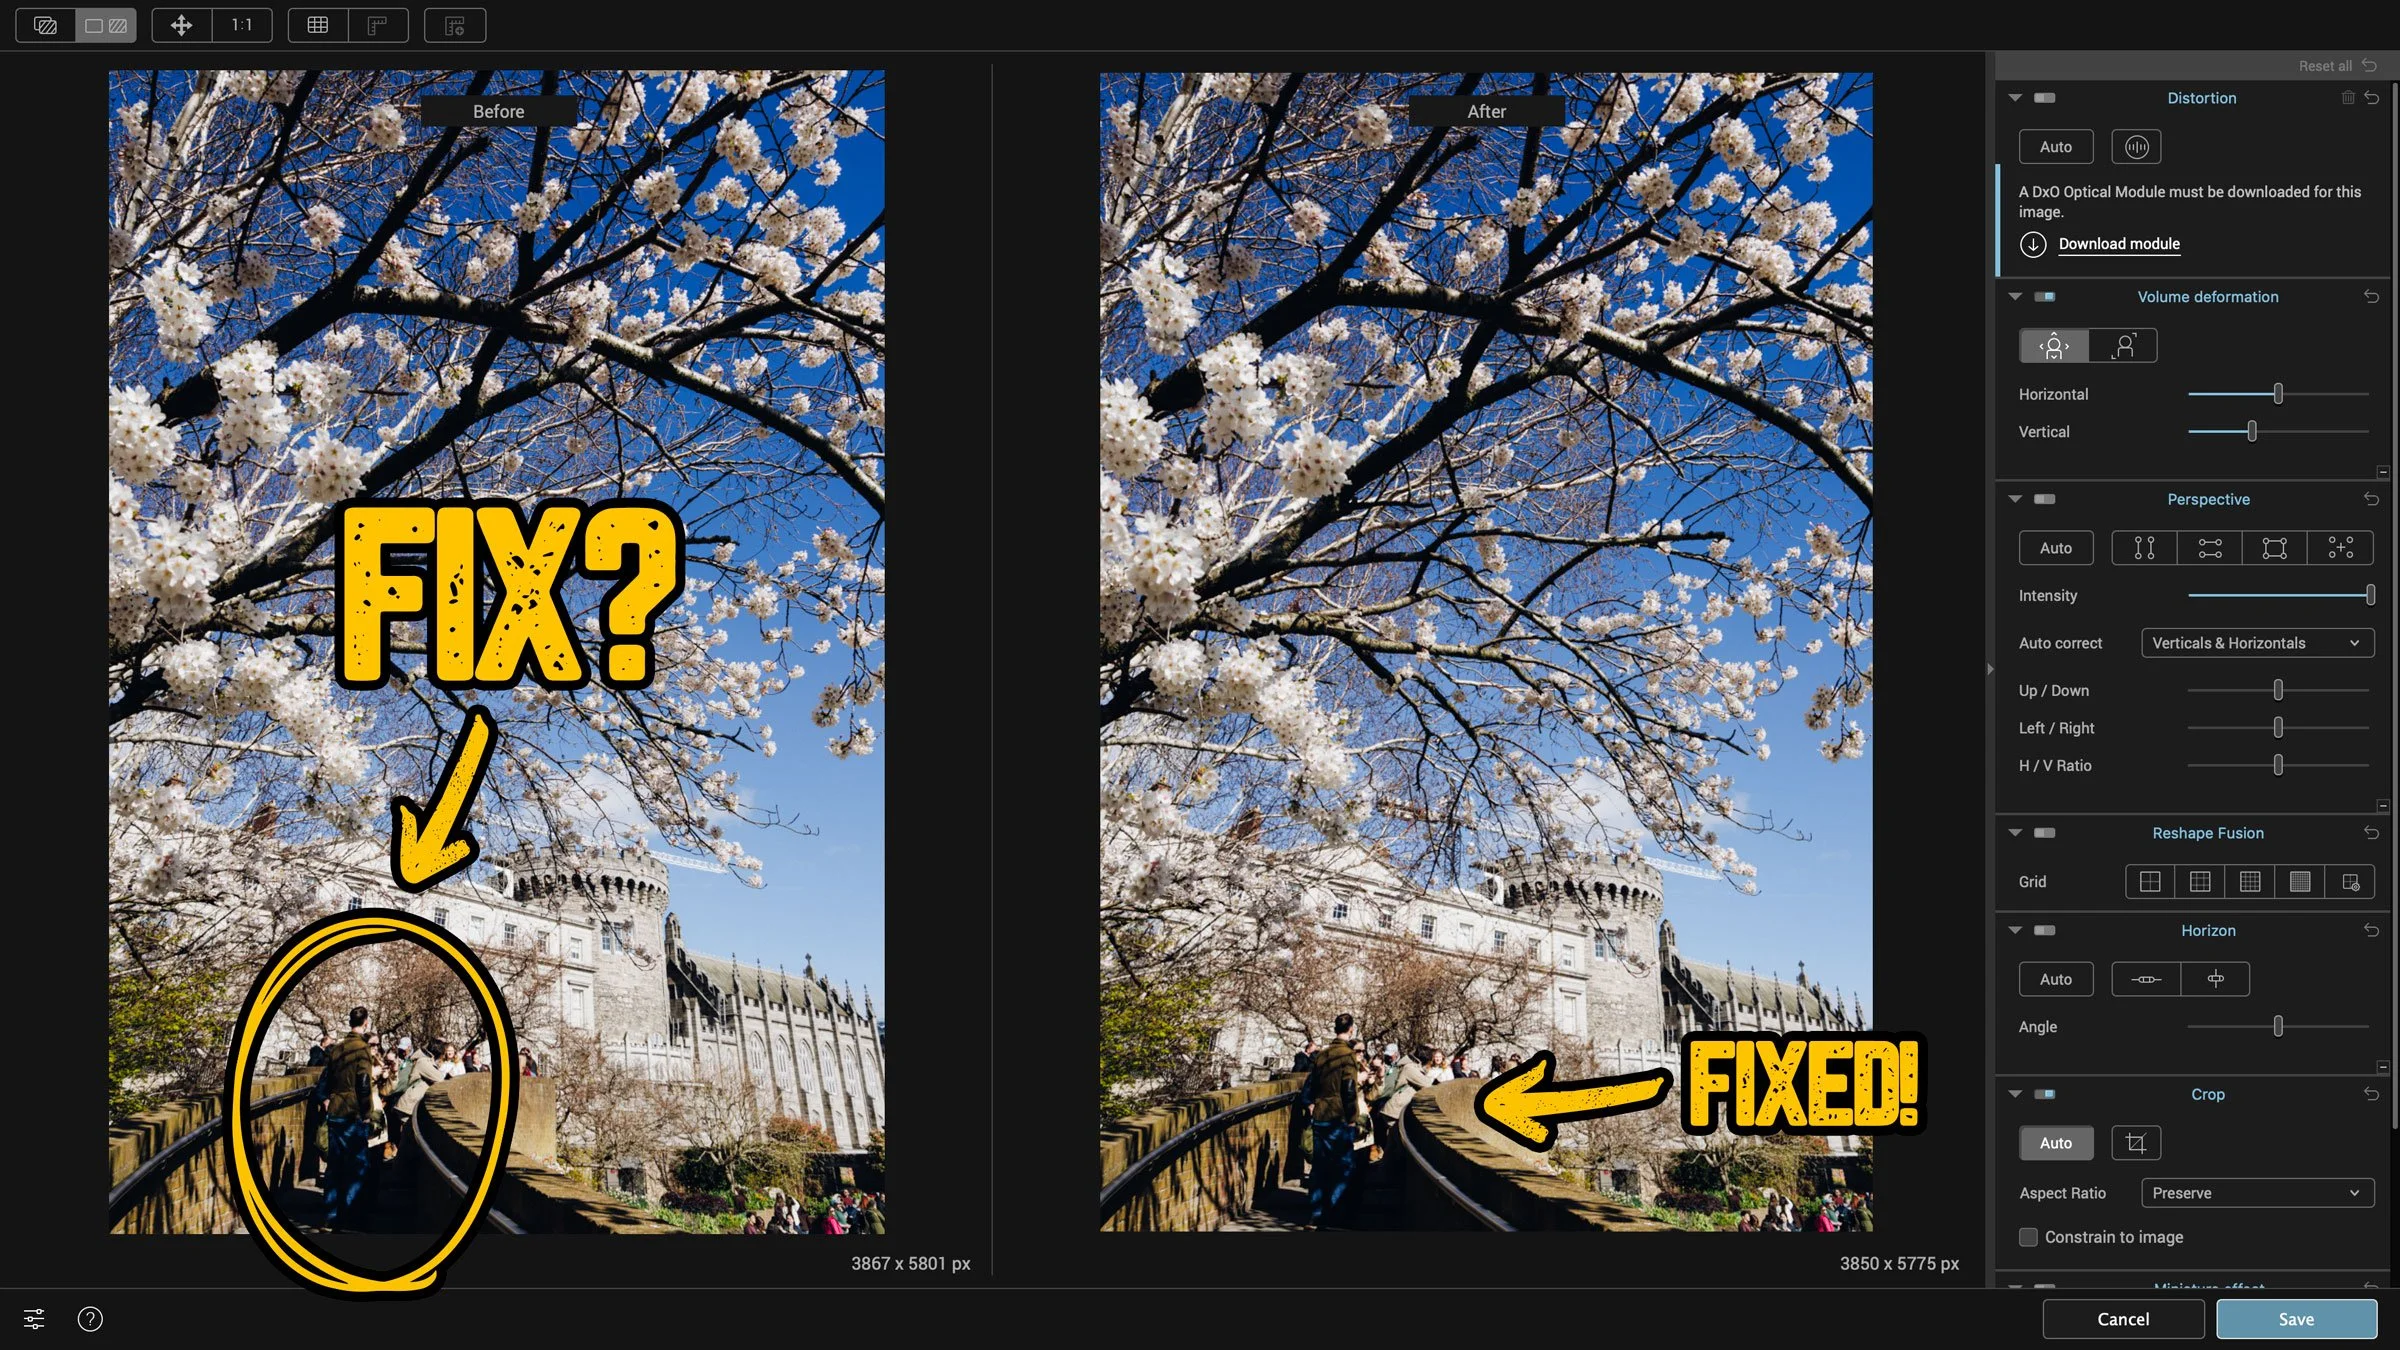
How to fix “Stretchy People” when shooting with a wide angle lens
This is one of those things that you might only ever come across once in the blue moon, but when you do, it’s useful to know how to fix it. If you’re shooting with a wide-angle lens, something like a 24mm or wider, and you have people at the edge of the frame, they can be distorted. This is especially true when shooting in portrait orientation and looking up. Like I said, this is a very specific situation, and it’s only by chance that I knew how to fix this.
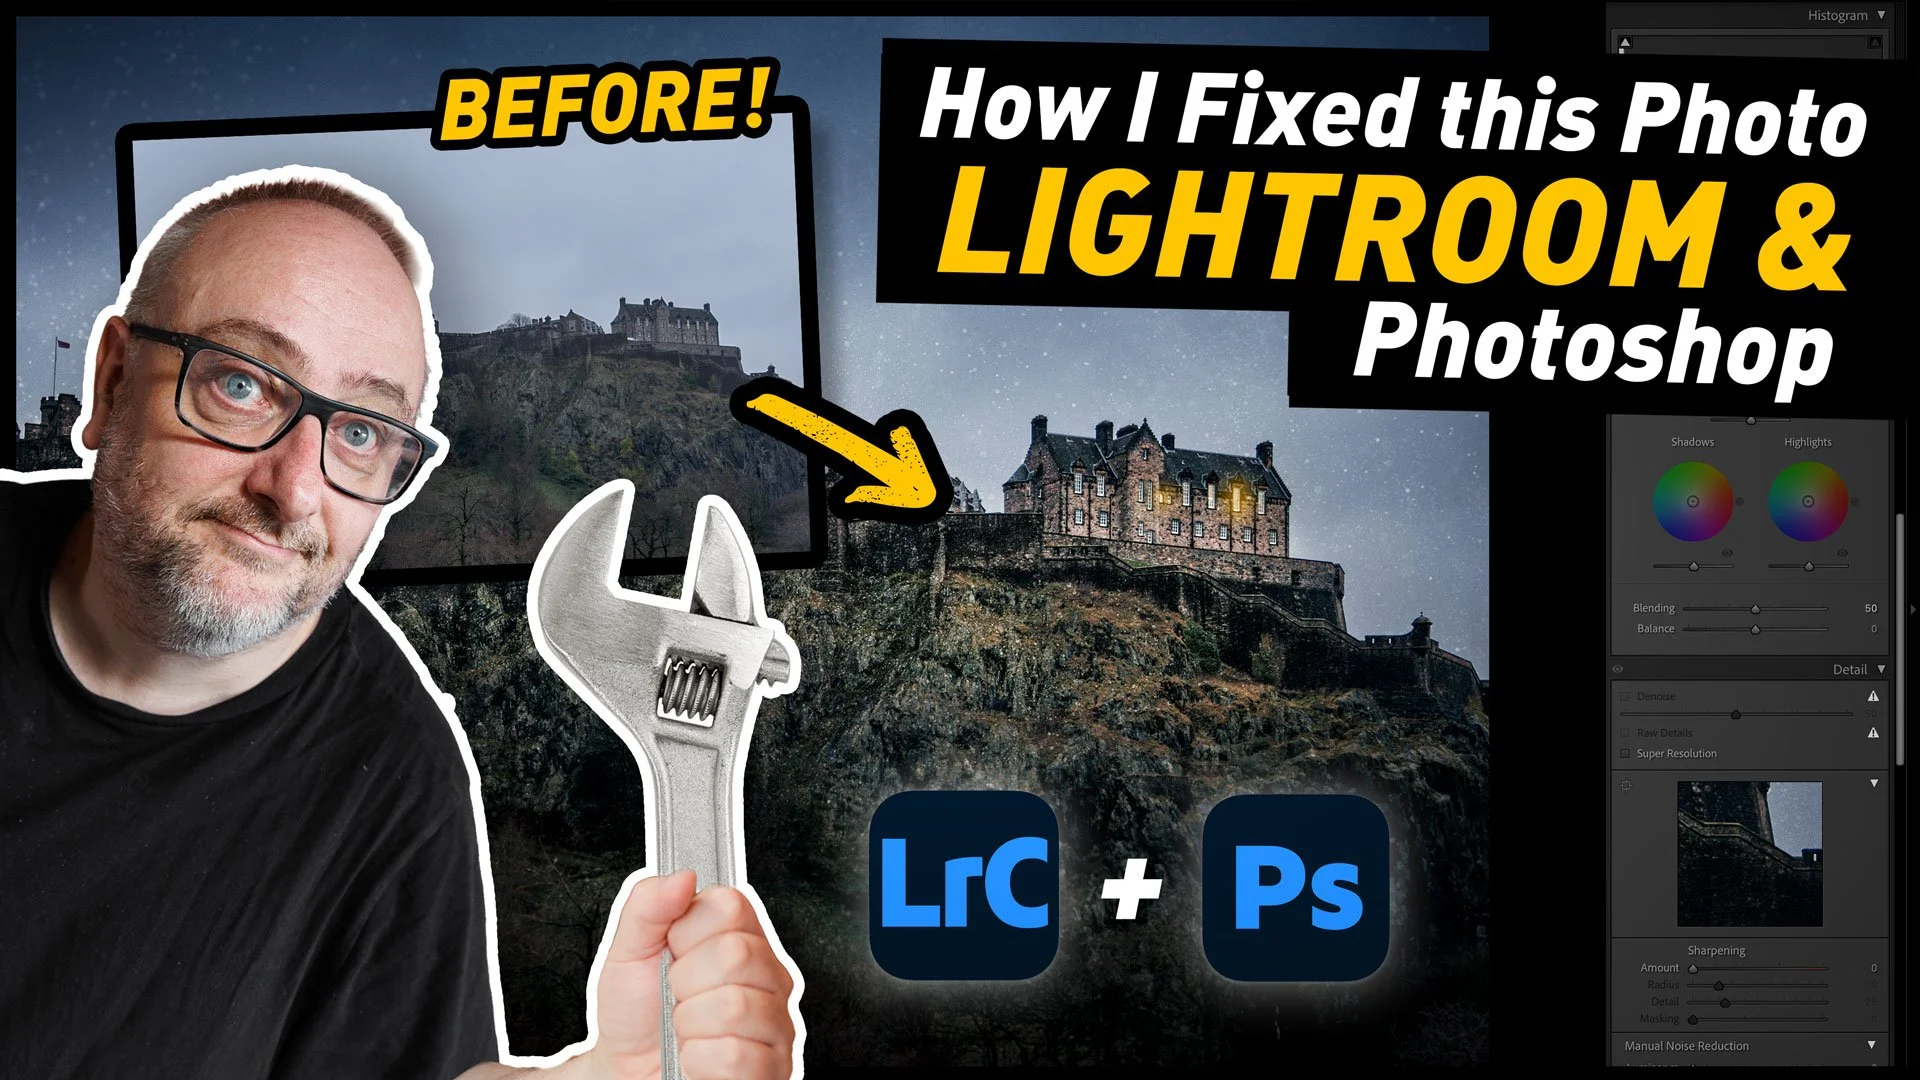
How I fixed this photo with Lightroom and Photoshop | Step by Step Editing Tutorial
I was recently in Edinburgh, Scotland for a week, and while I was there I had been planning to spend quite a bit of time out taking photos around the city. Unfortunately, the weather had other plans. It was pretty much raining and cold the whole time. And when I say cold, I do mean cold. But more than that, it was really dark. Like, twilight dark the entire time. So eventually, I forced myself to get out and shoot, regardless of the result, and said result wasn’t great. However, when I got back to my computer, with a little editing I was able to get a pretty decent image of the castle. As there was such a difference between the result I got and where I started from, It thought It would make a good tutorial video, and so here you go!
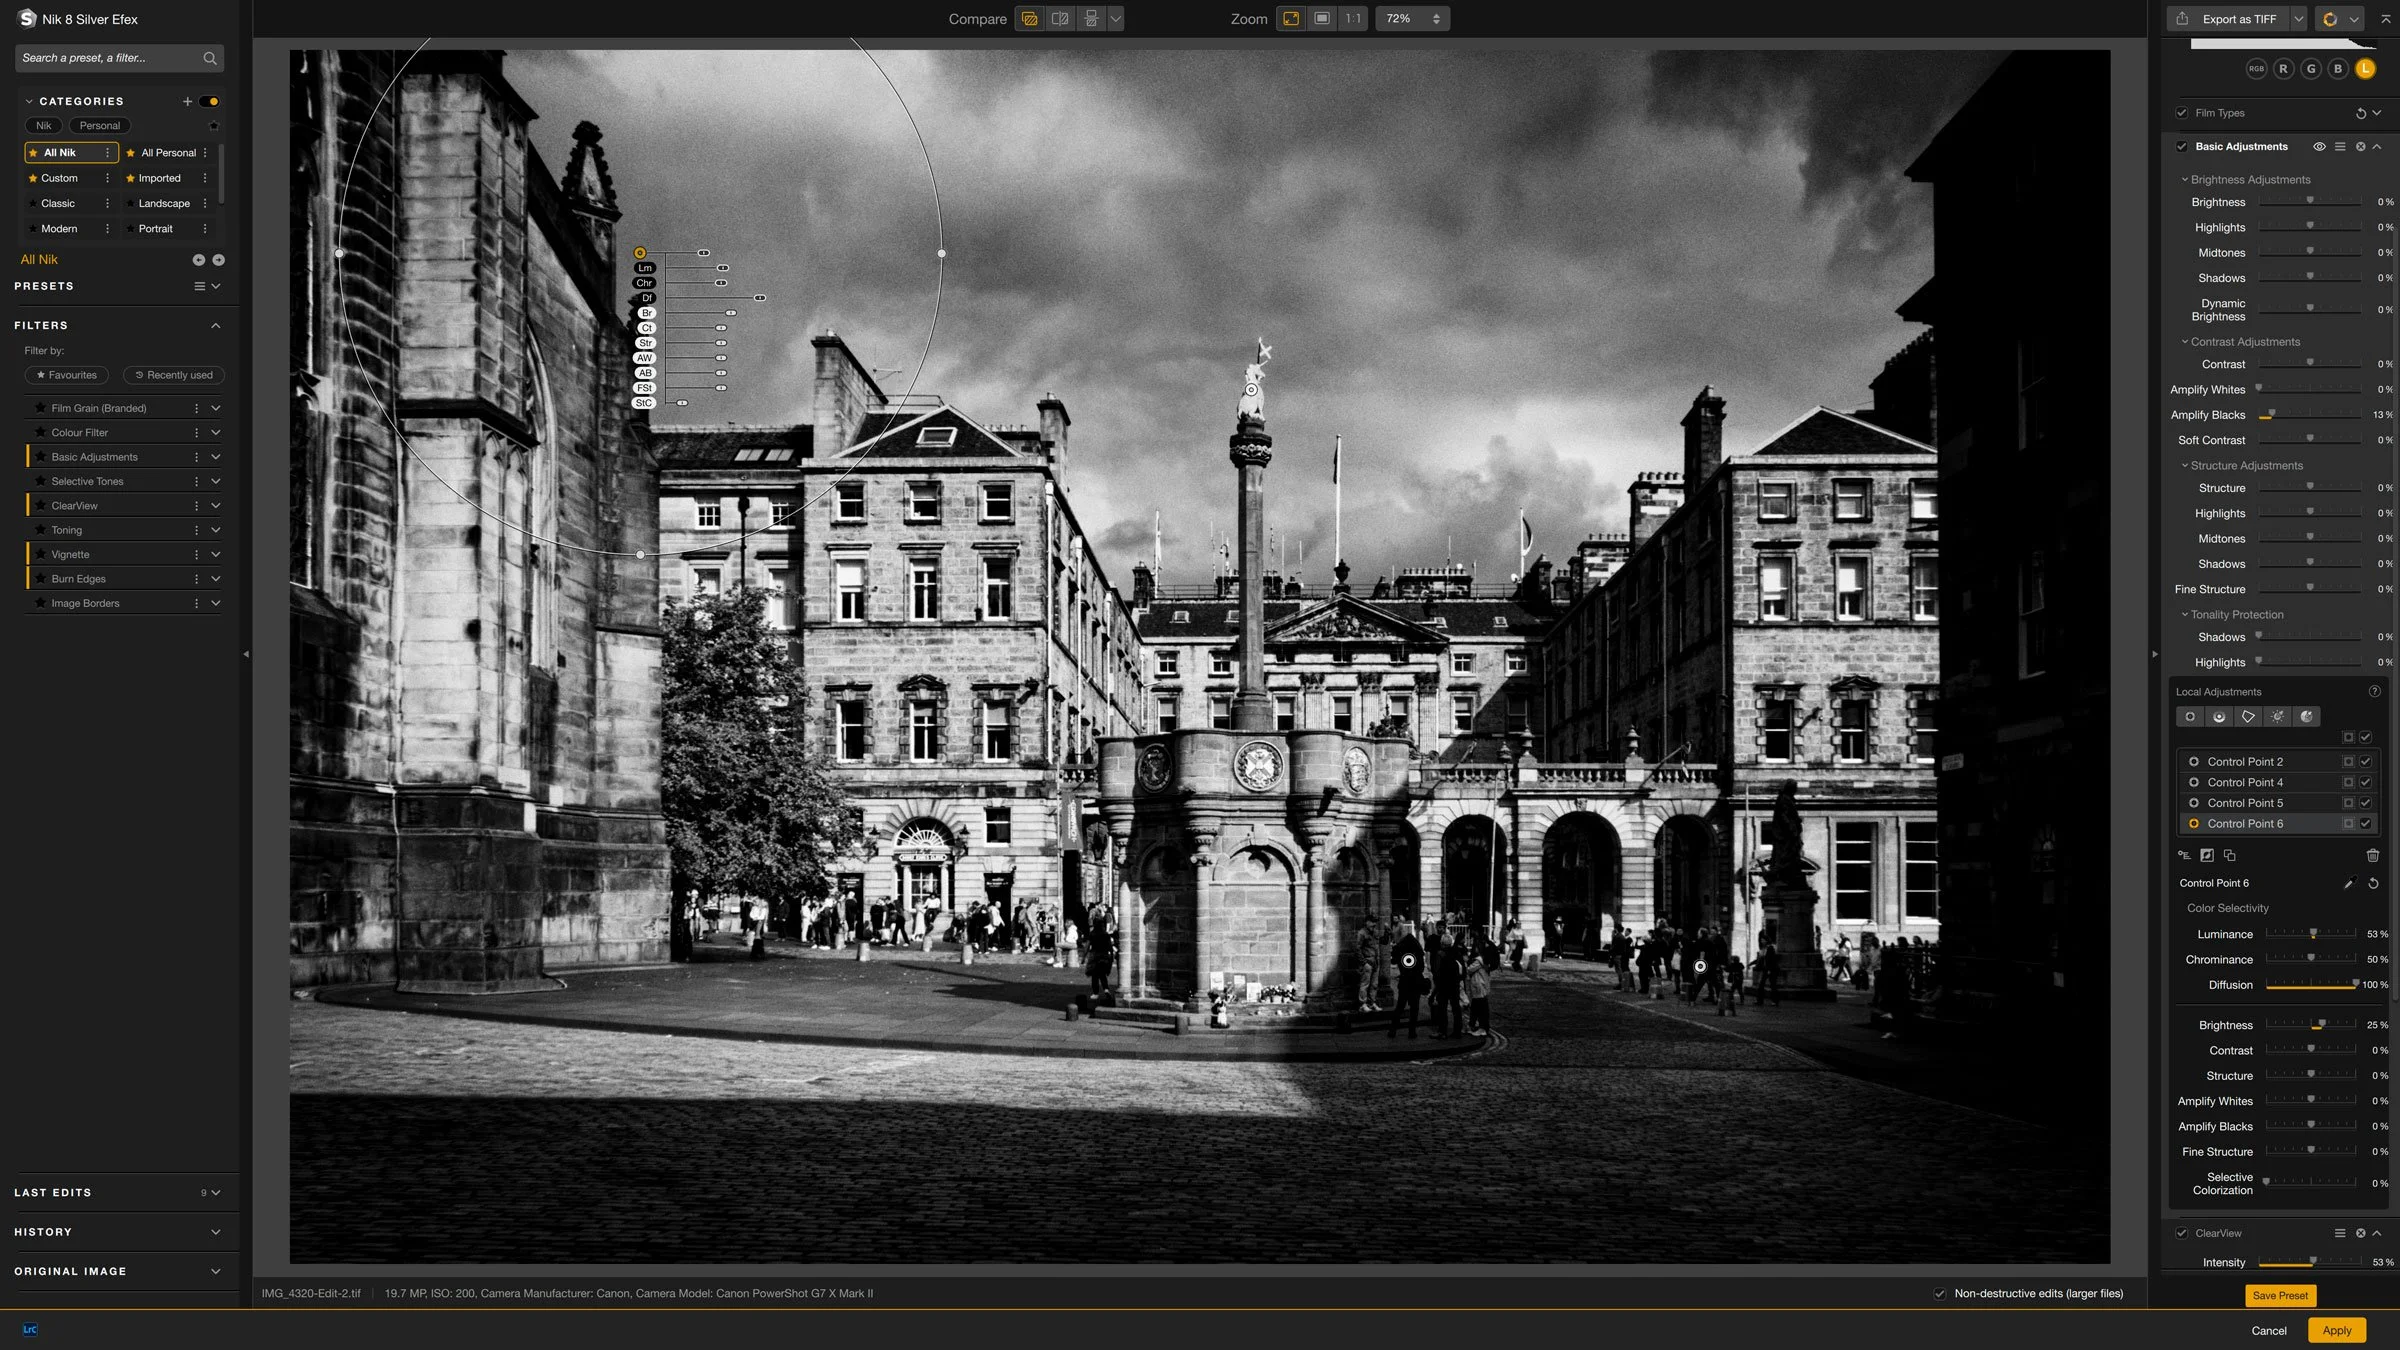
Some Quick Tips for Nik Silver Efex 8
Nik Silver Efex is one of the longest running Lightroom and Photoshop plug-ins out there, and I think it was one of the first plug-ins I ever bought. This was years ago before the suite was owned by DXO and even before they were owned by Google before that. In recent versions, some aspects of the software have changed quite a bit. As I haven’t covered it in quite a while, I thought I would share a few random tips for using the latest version.
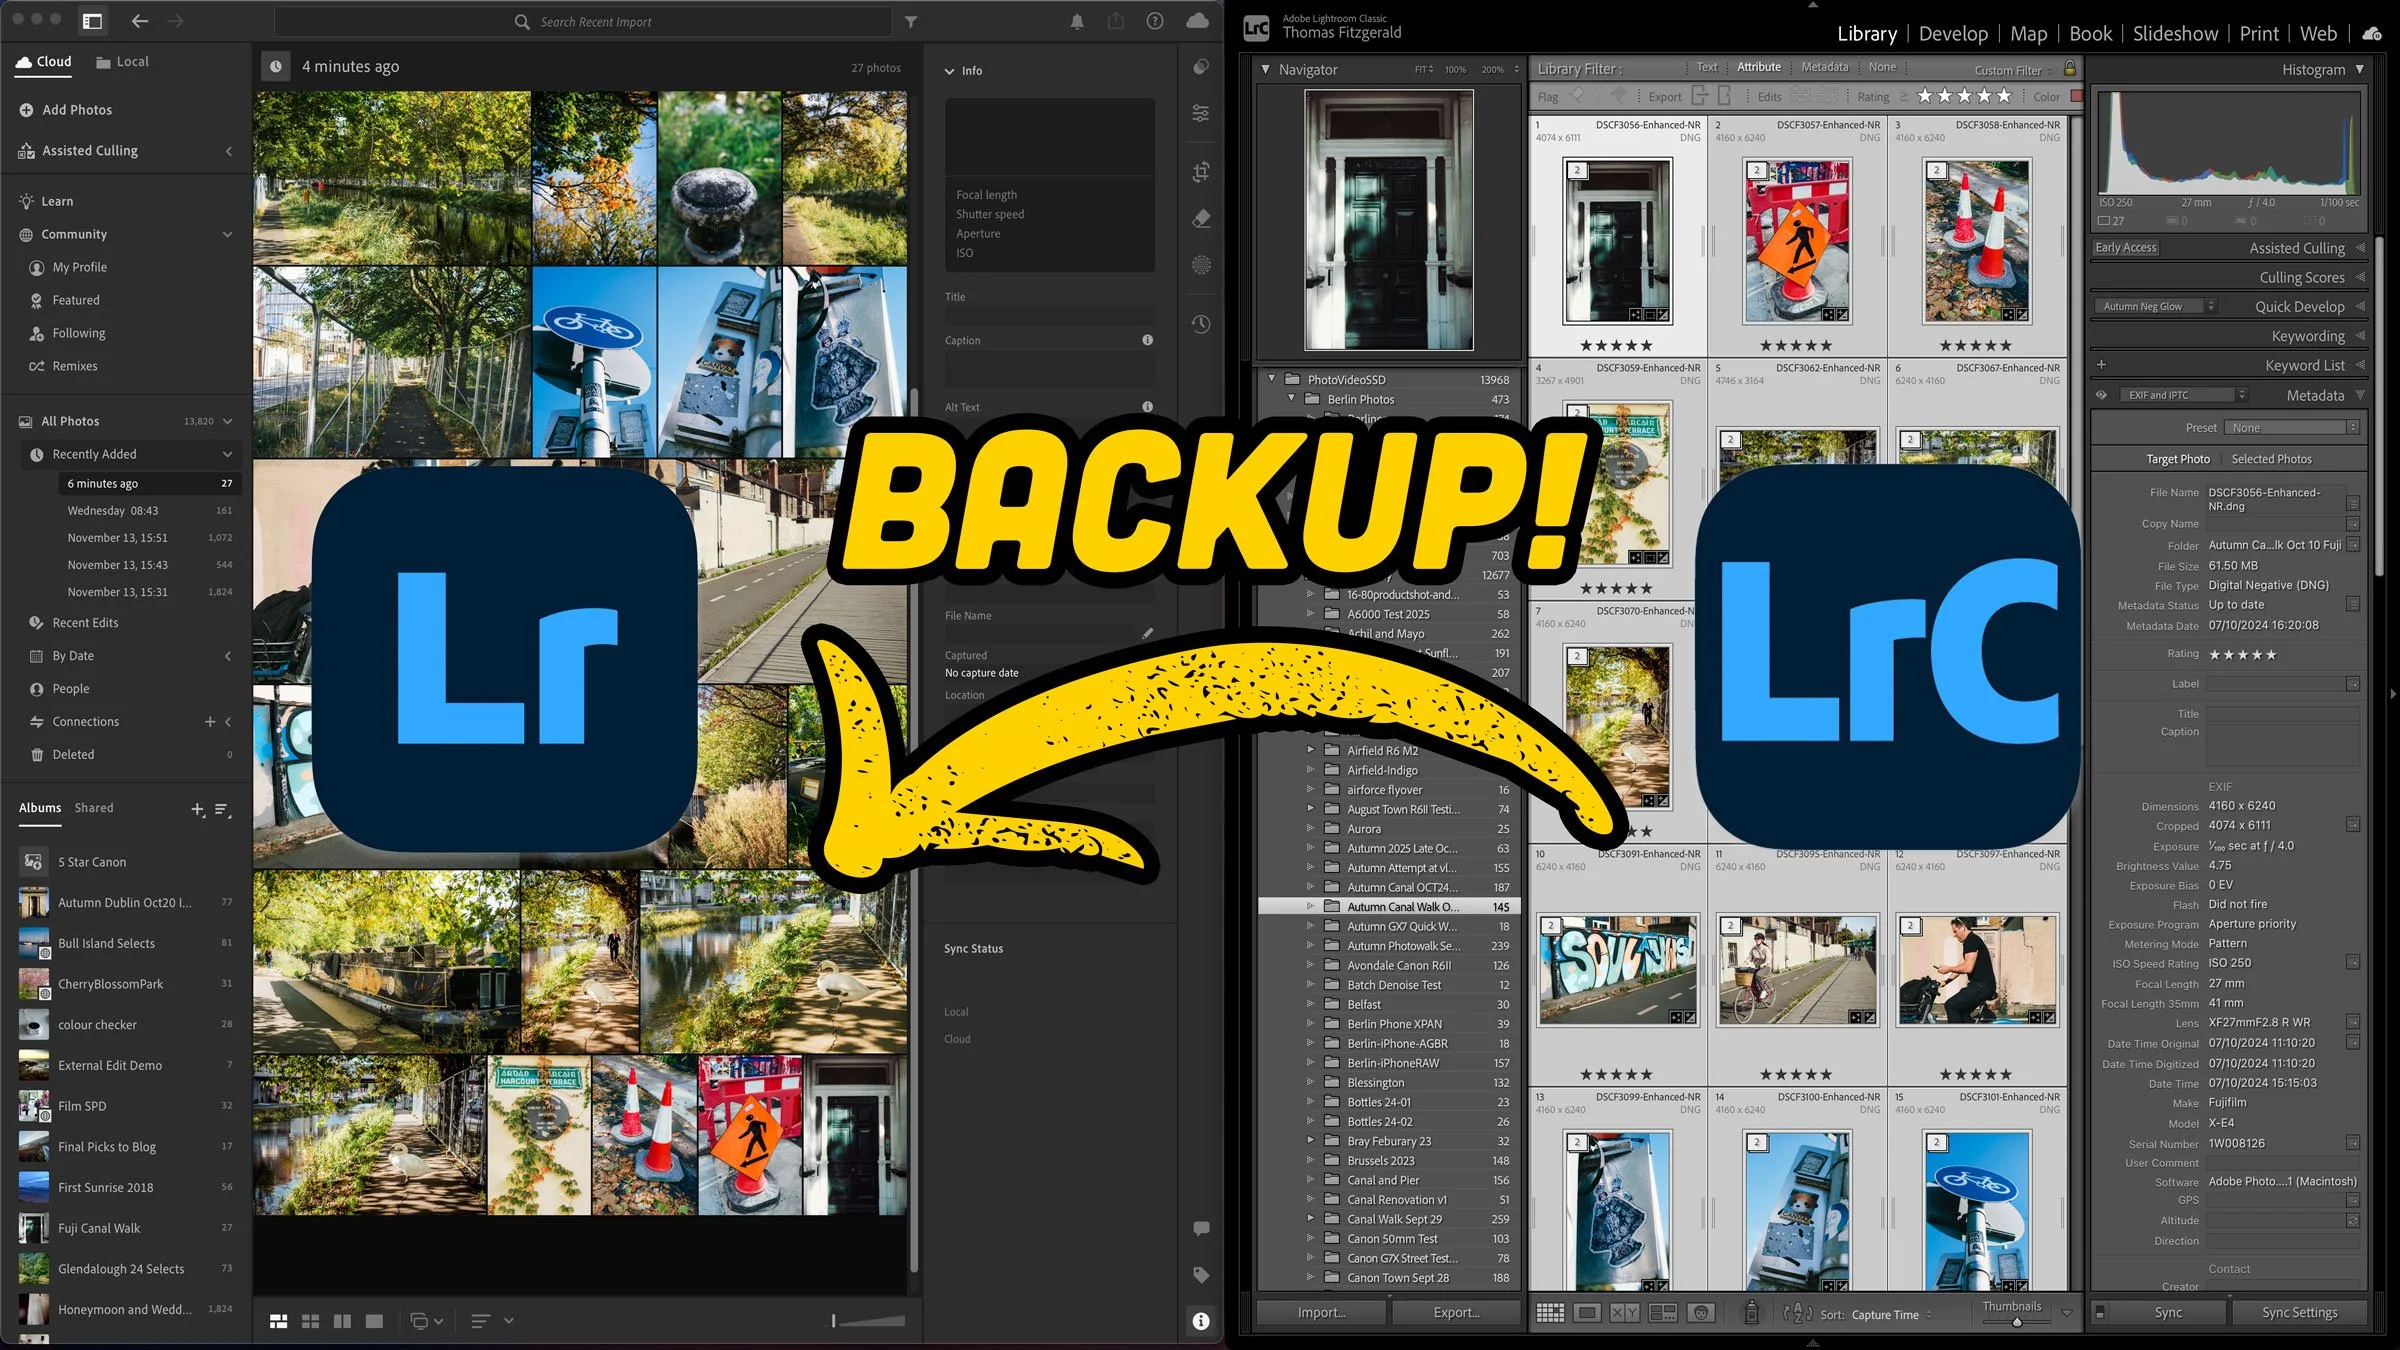
My Slightly Ridiculous Method of Backing up Photo Projects (using Lightroom Desktop and Apple Photos)
Recently, I had one of my backup hard drives fail on me, and it reminded me that my archiving and backup setup for my photography needs some work. While I do have a comprehensive solution for client work, my personal projects are in a somewhat precarious state. Ideally, you should have your important data backed up in at least three places, but I suspect many people don’t do that. However, it occurred to me that I actually have multiple cloud services that I probably don’t fully utilise, so after a little thinking I came up with a way to doubly and triple protect my work going forward. It involves using Apple Photos and Lightroom desktop.

How to force an AI mask update in Lightroom (useful when using plug-ins such as PureRaw or similar software)
On rare occasions, you might encounter the need to update an AI mask in Lightroom, but unfortunately, there doesn’t seem to be a direct way to do so. For instance, if you use DXO Pure Raw and apply an AI mask to an image, since Pure Raw employs its own distortion correction algorithm, the mask may become misaligned when the file is returned to Lightroom. This issue can occur with any software that manipulates the raw file while preserving edits.

Video: Edit your photos using Only Masks in Lightroom
Ever since Adobe added the new masking architecture in Lightroom a few years ago, it’s totally changed the way I work with the software. I find myself using masks way more than I used to and it’s led to me approaching my edits in a whole different way. To try and take that to the limit, I set out to see if I could edit a photo entirely by just using the masks tool, and not touching the standard editing controls.

New Video: Landscape Photo Editing - From start to Finish in Lightroom & Photoshop
I was recently visiting a somewhat famous waterfall not too far from where I live and of course I took some photos while I was there. We went primarily to enjoy the fresh air and scenery, so it wasn’t a specific photo shoot, but even so I got some interesting images. One worked out particularly well, and I thought my process for editing it would make an interesting video, so here it is!

New Video: Editing Cityscape Photos in Capture One
Earlier in the summer I spent some time in New York City and I took various photos while there, although I’ve been a little behind in editing them. As part of the trip, we spent some time in Brooklyn and I got some good shots, but I am only getting around to properly editing them now. I thought this might make a good video, so I recorded a session of editing 4 of these using Capture One.

The Problem with Many Photo Editing Tutorials
Recently, I was trying to record a tutorial on editing landscape photography. In the end, I didn’t publish it because I felt that the edits I had done weren’t dramatic enough for people to watch. In fact, I even had that criticism about some of my editing tutorials before, that the edits I was making weren’t significant enough. This led me to realise the paradox of photo editing tutorials, especially on YouTube or other socially driven platforms. Unless you’re dramatically changing the image or doing extensive edits, people will find it “boring” and not watch or complain. But the reality is, in most cases, restraint will lead to better images.

Video: How to add White Borders to Instagram Photos in Lightroom
Some people prefer posting their photos to instagram using a frame, with white borders surrounding the image, n order to preserve the original aspect ratio. People are quite divided as to whether or not this is a good thing to do or not, but if you want to do it, there are lots of ways to go about it. If you use Lightroom, there’s actually a pretty easy way to get the white border effect inside of Lightroom, without having to use plug-ins or go to Photoshop.

Capture One Quick Tip - Don’t forget about Presets
Most people think of Styles when thinking about saving process recipes in Capture One. Styles let you save a wide range of settings into a file that can easily be recalled, and work great as both a time saver and for creating looks that you can apply to a photo. However, you shouldn’t forget about Capture One’s other recipe saving tool: presets.

How to do the “desaturate lows” cinematic grading technique in Lightroom
In colour grading for film and television, there is an age-old technique that is often used to make your footage look more cinematic or film like. The trick is to desaturate the shadow parts of an image. In fact, old versions of Final Cut (before FCPX) even had a specific plug-in for doing this called “desaturate lows”. In most modern colour grading and video editing tools, you have tools which let you control the saturation directly in relation to the brightness values in a scene, but in Lightroom, and other photo editing tools, this is one of the few tools you don’t have. Or do you?

Capture One for Lightroom Users: Don’t forget about these two tools! (Brightness and Levels)
One of the things that I love about Capture One is the fact that there are often many ways to complete the same task. Sometimes multiple tools can achieve similar results, but they go about it in slightly different ways. If you’re coming from Lightroom, at first, my may stick with the typical Lightroom tools. However, there are two adjustments that are frequently overlooked by Lightroom switchers because they’re not in Lightroom. These tools can be really useful occasionally, and they are the Levels tool and the Brightness slider.

Watch Some of my Live Editing Videos (Previously Patreon exclusive)
I recently decided to close my Patreon channel after several years of running the page. had produced some exclusive videos for Patreon, that because of my failure to grow my channel there, never really got seen by an audience, so I’m going to share some of them here now.

How to Sync Settings in Capture One (How to use the Copy and Apply Adjustments Tool)
In a recent blog post I covered the icons on the top of each of Capture One’s tool panels, and part of that was how you can sync settings from an individual adjustment panel. Based on the responses I got, it occurred to me that the way you sync settings in Capture One is a little confusing, especially for Lightroom switchers, and so I decided to make a video to explain it.