Spyder X Rolling Review Part 2: Testing my Display with the Spyder X
I’ve had the Spyder X attached to my computer for over a week now, and for the most part there isn’t much one needs to do. It does continue to work away in the background though, so I wanted to give it some time to see what it was like to be using it over a longer period.
Room Light Measurement
When you leave the Spyder X device plugged into your computer it will continue to measure the room ambience depending on the period you set in the preferences. I have it set to measure every hour, but you can manually update it when needed.
There is also any option in the preference to automatically compensate for ambient light changes, and this basically adjusts the brightness and contrast of your monitor when it detects a change. This is pretty common on most calibration systems and it should work away in the background without you having to pay much attention to it, and this was pretty much my experience.
There were a few times when I came into the room and the measurement hadn’t been updated yet. You can do a manual measurement from the menubar icon, and occasionally when you do this you can see the display change. Overall, I’m happy with it, and the fact that its pretty hands off, which is what its supposed to be. The real test will be in a couple of weeks when I need to do a recalibration, and I’m curious to see how far it drifts, although this will be more to do with the monitor.
Display Testing
Another feature of the software that I was keen to test out, is the ability to test the accuracy of your display. This uses the calibration hardware to measure various aspects of your monitor and compare it to a baseline. There are a number of tests that you can run, and the process is pretty straight forward.
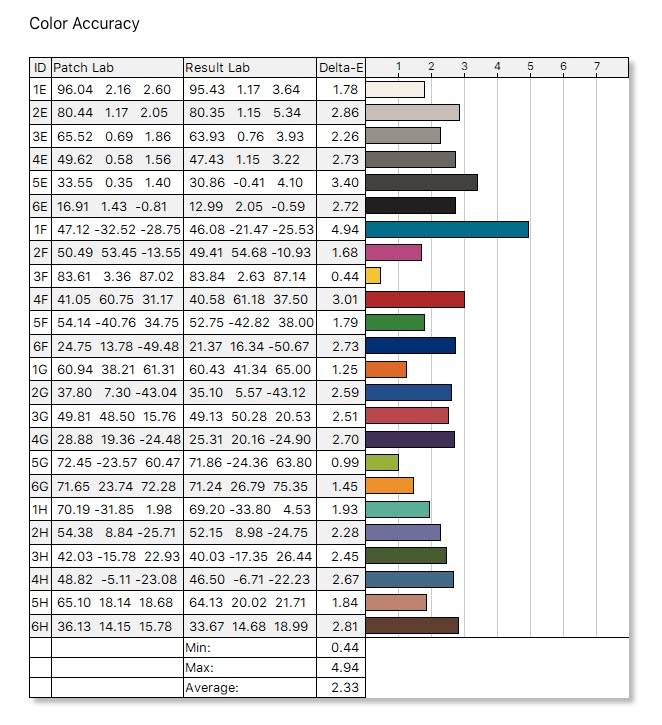
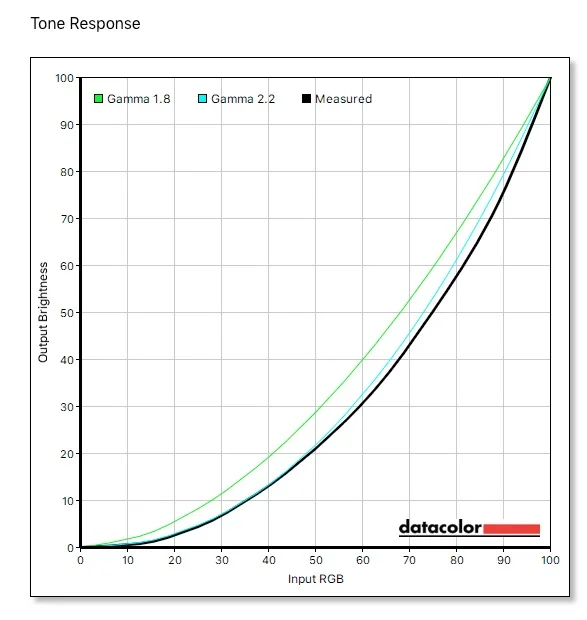
I have a Dell 27” monitor as my main display on my Mac Pro, and so I ran the tests on this. The process is really easy, and the software walks you through all the steps. The results were interesting. The display isn’t a really expensive monitor, so I wasn’t expecting brilliant results. Here are a few of the charts that it gave me. It has 100% RGB but only 79% of Adobe RGB and only 84% of P3. Still, this isn’t terrible for a relatively cheap display.
My scores for Gamut were 5 out of 5. Tone response was 5 out of 5 but colour accuracy is only 4 out of 5. (I had done the colour uniformity test too, but I hadn’t saved the results.)
Does having the results of these tests have any practical benefit to me? Not really, but they are interesting to see. It’s also useful to check again in 6 months or a year to see if the monitor is deteriorating.
Camera Calibration
I still have to try the camera calibration tools that came with the kit. This includes a colour checker, a RAW white balance tool and a lens calibration tool. I’ll be trying these out over the next week or two, so stay tuned for that.
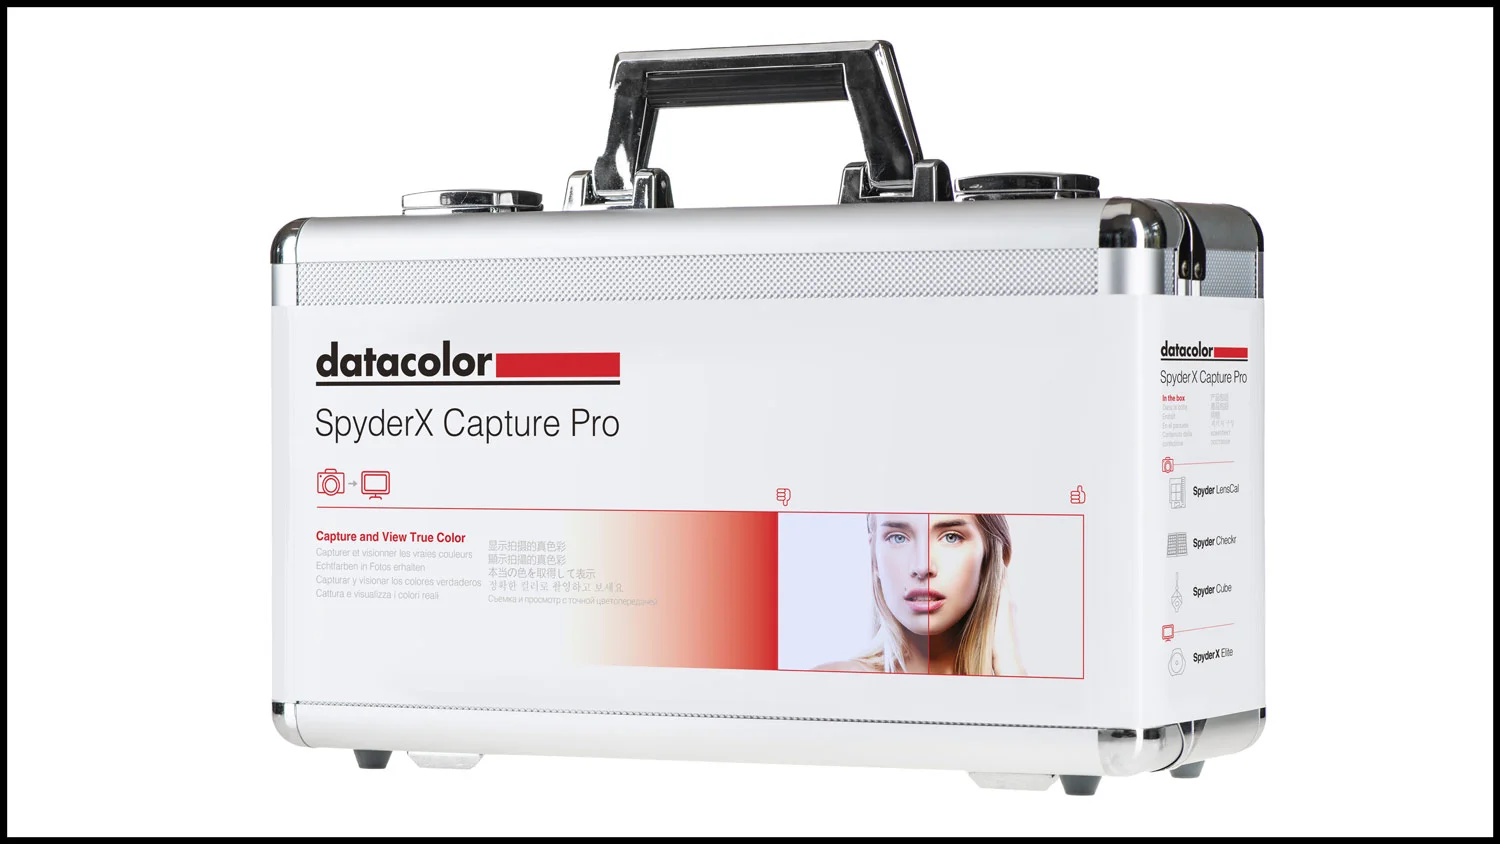
If you’re interested in this, the Spyder X Capture Pro package I'm testing here is available for around $399 and you can get it from BH Photo or Amazon. It’s also available a few different bundles, including just the calibrator on its own.
Help Support the Blog
This blog is pretty much my day job now and I work to bring you my own take on photography, both tutorials and tips, as well as inspiration from my own art. I support this work, and my YouTube channel entirely either via sales of my eBooks and Lightroom presets, or the kind support of my readers. (I also have some affiliate ads). Running all this isn’t cheap, and so If you like what you see and you want to help keep this all going, there are a number of ways you can do so:
- If you’re interested in buying Capture One but haven’t yet bought your own copy yet, then by going through my affiliate link I’ll get a small commission!
- You can buy any of my Capture One Styles through my online store!
- If you’re buying anything on Amazon, you can help by using my affiliate link: Amazon US or Amazon UK.
- You can support me on Patreon. If you like what I do here and find the information useful, then you can help by subscribing to me on Patreon. As well as helping keep this blog going with even more useful news, tips, tutorials and more, members also get special Patreon only feed, which gives you behind the scenes content, as well as monthly downloads (for the top tier), for only €2 or €5 a month Stop by and check it out.
- Buy me a coffee / Tip Jar. If you want to support the blog but don't want to sign up for Patreon, you can buy me a coffee via PayPal with a one off donation to my PayPal tip jar.
You can see more of my photography and keep up to date by following me on social media and checking out my other websites:


