How to get Classic Negative and Bleached Bypass on Unsupported Fuji Cameras (with Capture One)
When Fuji launched the X-Pro3 they added a new film simulation to the camera: Classic Negative. Some had hoped that this might also be added to the X-T3 and X-T30 cameras via a firmware update, but it never happened (at least, not yet). Well, there actually is a way to get Classic negative if you own any of the 26mp generation cameras - specifically the X-T3 and X-T30. Well, sort of. If you shoot RAW and use Capture One, it will actually let you select Classic Negative as one of the options. But, what about users of older cameras, and what about the even newer Eterna Bleached Bypass that comes with the X-T4? Well, read on for more…
Selecting Classic Negative for 26mp Fuji Cameras
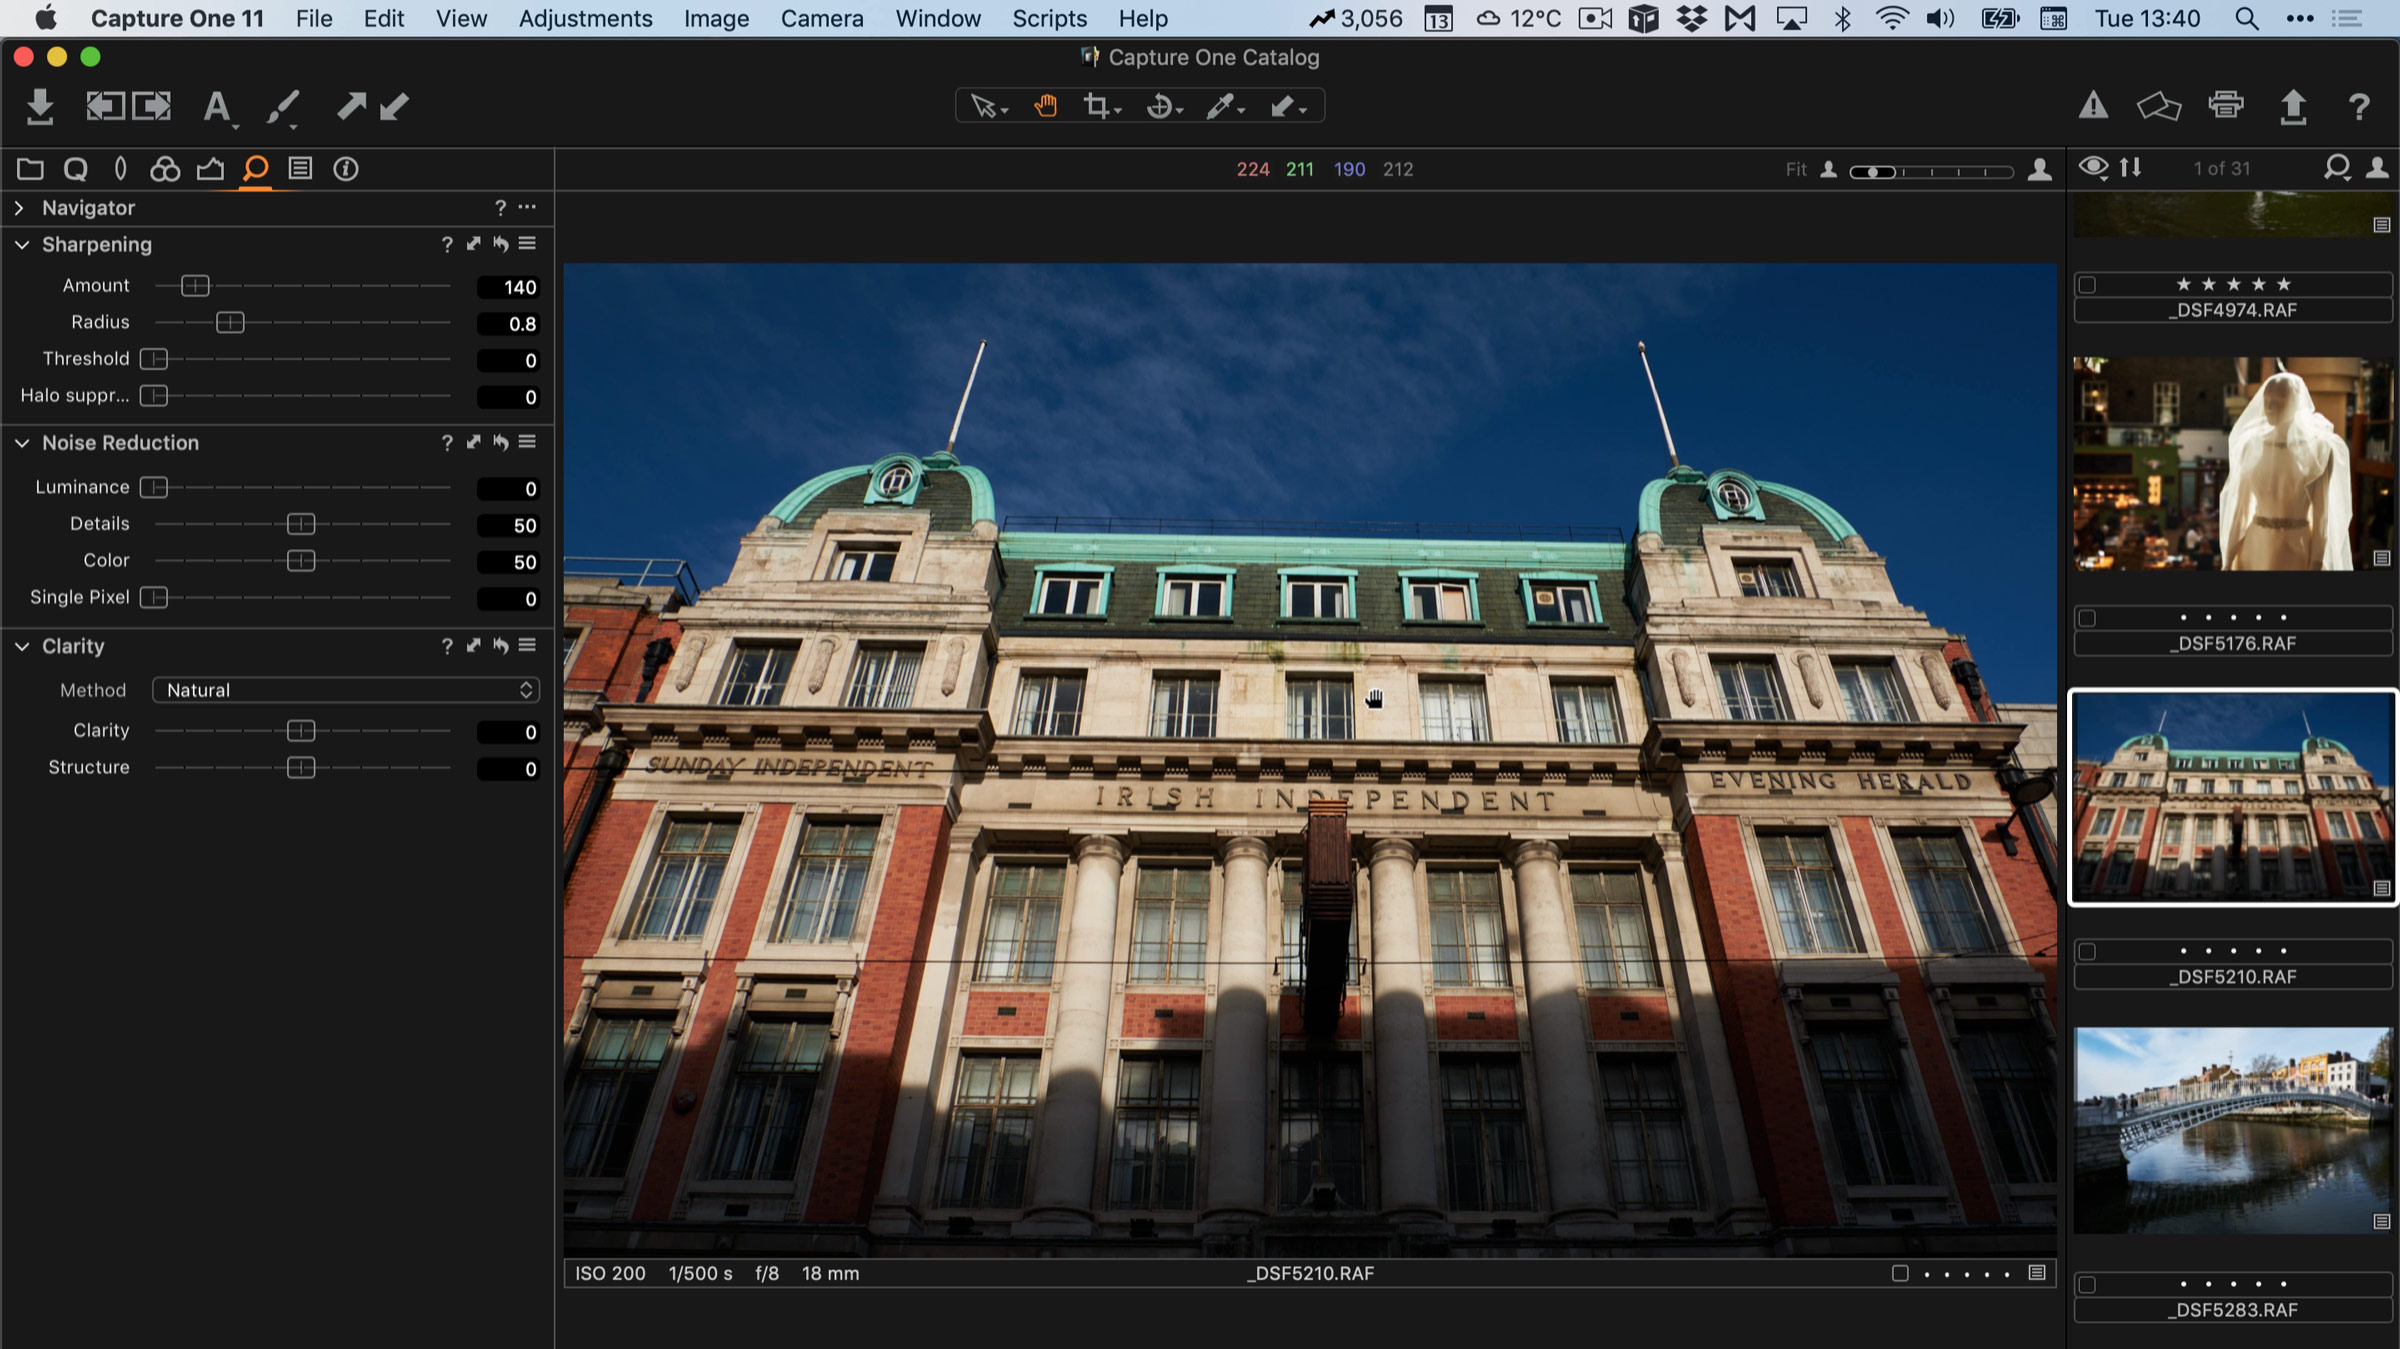
If you have a 26mp Fuji camera, specifically the X-T3 and X-T30, and you use Capture One to process your RAW files, then using classic negative is quite easy. Here’s what to do.
- With your RAW file selected, go to the Colour Tool Tab in Capture One.
- Go to the Base Characteristics Tool
- From the Curve pop-up menu select “Classic Negative”
That’s all there is to it. Now, I don’t have any of the new generation Fuji cameras, so I can’t tell how accurate the Capture One version is, but it seems to match what I’m seeing from people sharing their X-Pro3 shots taken with Classic Negative.
Classic Negative Style for 24mp Fuji Cameras
Unfortunately though, this only works with the X-T3 and X-T30, and not older cameras like the X-T2 and X-Pro 2 and so on. So, using the results I was getting with Classic Negative and X-T3 images, I created a Style that matched Classic Negative as best as I could, but using Classic Chrome as a base, and saved it so it could be used on older cameras.
This is not perfect by any means (there’s a little too much blue in my version). I created it by matching the look by hand, and so it’s not 100% accurate. It should be reasonably in the ball park, but if you need 100% accuracy, this won’t be it, unfortunately. Try it out for yourself. I’ve included the style in the free download at the end of this post. I will continue to work on this and I’ll put out an improved version in the future so stay tuned.
This will work with any 24mp X-Trans camera that is supported with film simulations in Capture One. So it should work with X-Pro 2, X-T2, X-T20 and so on.
But wait, there’s more….
Eterna Bleached Bypass
When Fuji recently released the X-4 they added yet another film simulation mode: “Eterna Bleached Bypass”. Now, that the latest release of Capture One, has added support for the X-T4 I had hoped that they would do the same thing as with the X-Pro 3 where they made Eterna Bleached Bypass useable by anyone with the X-T3 or X-T30 but it turns out that they didn’t. Perhaps enabling Classic Negative was a mistake.
I was doing some tests on sample X-T4 files in Capture One, and I though to myself: “self, you can match that”.
So again, I set about trying to create a style that matched bleached bypass. Originally I was planning to make it for just the X-T3(0) series, and use Eterna as the base, but I wanted to make it compatible with older cameras too, so I based in on ProNeg. The result, as with the Classic Negative, isn’t exact, but it is reasonably close. As with the other style, it needs to have a RAW file from a camera supported by Capture One, and one that Capture One has film simulation modes for, which is basically most of 24mp X-Trans cameras and later.
By the way, I’m not a hue fan of this look myself, but it can be useful I suppose for specific purposes. I just wanted to share it for those who wanted to try it.
You can download the files using the link below. They are packaged in a style pack, so just double click on the file to install them into Capture One. I will try and do a Lightroom version soon, once Lightroom supports the X-T4.
[UPDATE] Sorry, this link was broken when I first posted this - but it should be fixed now.
[UPDATE2] I forgot to mention that this was designed for Capture One 20 - It should work with earlier versions (I think), but it’s not tested.
A big thanks to David and John from my Pateron Supporters for sending me the RAW files to wok with!
By the way, just a quick plug, but if you don’t like the “Classic Negative” look but still want something that looks like film, then check out my T-NEG styles, which were designed to create a film negative type look in Capture One. They’re currently on sale over on my store.
Try or Buy Capture One
If you don’t already have Capture One, you can download a 30 day trial now from the company’s website. If you do go to buy it, Capture One Pro is available in both subscription and perpetual licences available, in versions for all cameras, Fuji specific or Sony specific. The Fuji and Sony versions only open raw files from cameras of the respective manufacturers, but other than that, they are identical to the full version. There is also a cut down “express” version for Sony and Fuji Shooters, but this has limited features compared to the full “Pro” version.
Help Support the Blog
Buy from our affiliates
If you want to help support our blog, you can do so if you buy anything from our affiliate partners:
- Capture One Pro is available in both subscription and perpetual licences available, in versions for all cameras, Fuji specific , Sony specific or Nikon specific. In addition you can get 10% off the price of any Capture One product by using the following code: TFPHOTO
- Capture One Professional Style Kits from Capture One.
- Luminar AI is available from Skylum Software. Get a 10% discount using the following code: TFP10
- Nik Collection from DXO Labs
- DXO Photo Lab
- DXO Pure Raw
- My Amazon Photo Recommendations
- My Favourite Mac Utility Application: Clean My Mac X from MacPaw
- The VPN I use regularly - Nord VPN - Save on 2 year deal (valid at the time of posting)
If you buy through the above links, we get a small commission, which helps run this site.
Check out my Capture One Style Packs
If you’re looking for some Film Effect, or black and White style packs for Capture One, check out my Capture One styles on my Gum Road Store.
Buy me a coffee!
If you’d rather not use Patreon, but still want to say thanks or help, then you can feed my caffeine habit and buy me a coffee via PayPal with a one off donation to my PayPal tip jar.
Join our Facebook Group
If you want to discuss anything you’ve read here on my website, or saw on my youtube channel, or if you want to share images you’ve created using any of my techniques or presets, then I’ve started a new Facebook Group just for that.
Note that this post contains paid affiliate links. We get a small commission for purchases made through these links, which helps run this site.


