A Quick Tip to speed up Object Removal (Cloning and Healing) in Capture One
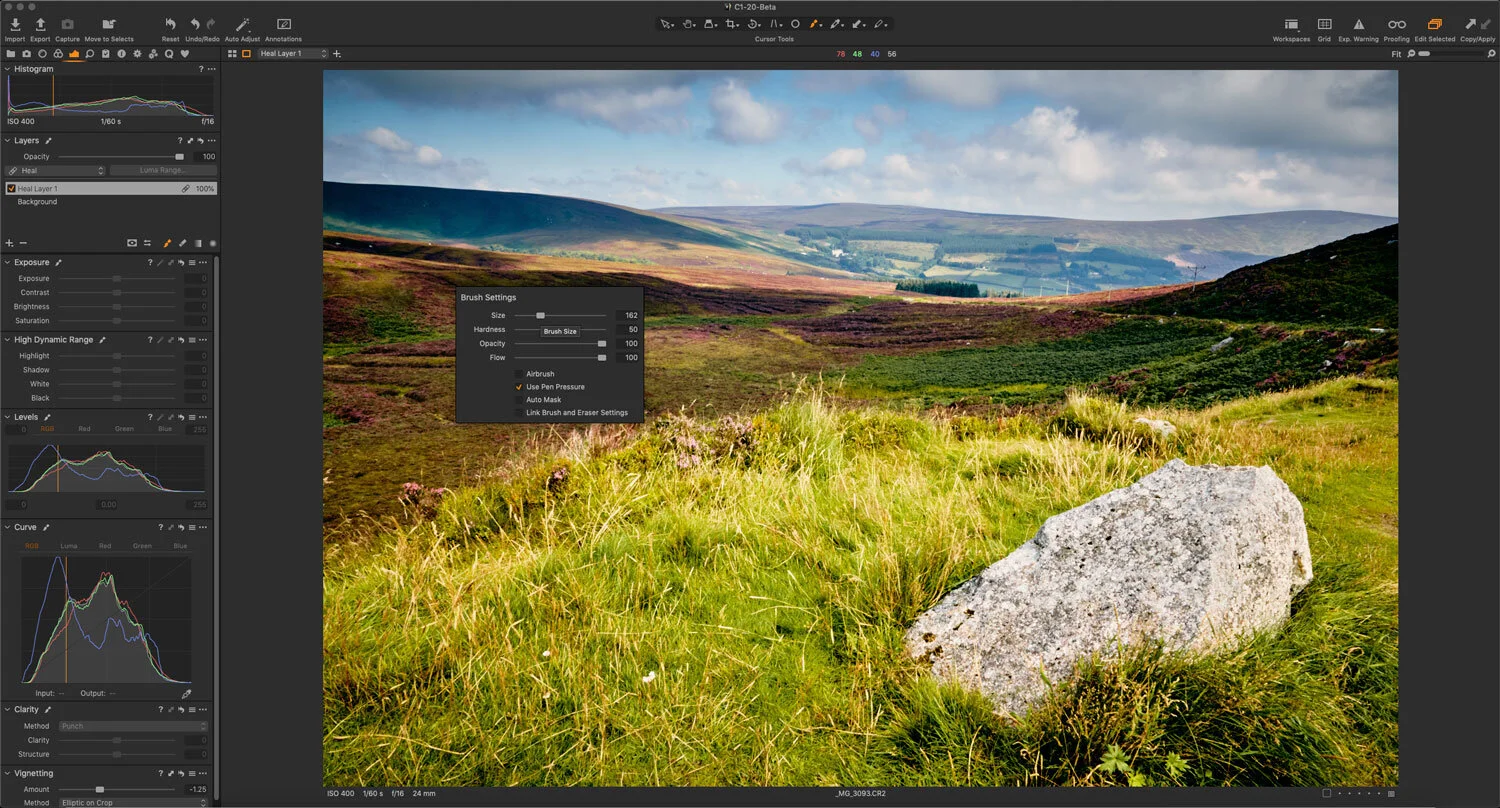
One of the areas that causes people some consternation and confusion when using Capture One is the task of removing objects. In particular, some users have issues with the way clone and heal layers work. I’ve seen a lot of complaints about the way you go about cloning and healing in Capture One, and how cumbersome a workflow it is. However, there’s one really simple tip that will speed up your workflow.
So what is the problem, for those who don’t use this function normally? When you use either a clone or heal layer in Capture One, the layer uses one reference point for the whole layer. This means that if you are cloning out multiple objects, and each one needs to have a different reference point (i.e. the location that you’re cloning from) then you have to start a new layer for each one. Compare this to Lightroom, where each time you start a new cloning or healing brush stroke, they each have their own reference point.
This makes the process of cloning or healing a bit cumbersome in Capture One, as each time you come to a new object, you have to go back over to the layers panel, go to the pop-up menu and then choose new clone layer (or new heal layer). It takes you out of your focus each time, and I can understand why people complain.
But there’s a really simple fix for this: give it a keyboard shortcut.
On my computer, I’ve assigned keyboard shortcuts for “New Clone Layer” and “New Heal Layer”. I made it super simple and choose Option + ` for new heal layer, and Command + ` for new Clone layer. I chose these as they’re unused by Capture One and they’re easy to press without having to contort your hand in any way. Now when healing or cloning, I can create a new layer without ever moving the mouse away from the location I’m working on and without taking my hand off the keyboard. It might sound like a simple thing, but it makes a big difference to your workflow.
To assign a keyboard shortcut to these functions, here’s what to do:
- Go to the Edit menu and choose “Edit Keyboard Shortcuts”
- If you don’t already have a custom set, you may need to create one by clicking on the + button at the top and giving it a name. You can have multiple keyboard shortcut sets.
- In the Edit Keyboard Shortcuts window, open the sub section for the “Layer” menu
- Locate “Add New Clone Layer” and enter a keyboard shortcut that you wish to use in the box
- Repeat this for “Add new Heal Layer”.
- Close the dialog box to save these shortcuts.
Now, when you want to add a clone or heal layer just use the shortcuts.
In my opinion, this makes the workflow much easier, but of course, it could still be better. I can understand why this frustrates people, although part of that is that it’s different from Lightroom, but it’s also still a bit clunky. Normally if I’m doing any complex cloning or stamping, I use photoshop, but either way, it’s something I hope they look at in the future. By the way, I will try and do a full tutorial on cloning and healing layers soon.
At the time of writing this, Capture One is currently on sale with a discount of 25% off the normal price. For Capture One Pro use the Code: PRO25 at the checkout, or for Capture One Sony / Fujifilm use the Code: SPRING25. Offers end on April 30th 2020
Help Support the Blog
Patreon
If you like what you see here and you find this useful, then you can help support this blog and help me keep making great content like this by supporting me on Patreon for as little as $1 a month. There are a number of options available with different rewards, such as behind the scenes content, special Patreon only videos and more. Check out my Patreon Page for more details, and a big thanks to everyone already supporting this blog on Patreon.
Buy me a coffee!
If you’d rather not use Patreon, but still want to say thanks or help, then you can feed my caffeine habit and buy me a coffee via PayPal with a one off donation to my PayPal tip jar.
Lightroom Presets and Capture One Styles
If you use either of these applications, then check out my range of custom made Looks in the form of presets for Lightroom, and Styles for Capture One.
Join our Facebook Group
If you want to discuss anything you’ve read here on my website, or saw on my youtube channel, or if you want to share images you’ve created using any of my techniques or presets, then I’ve started a new Facebook Group just for that.
Note that this post contains paid affiliate links. We get a small commission for purchases made through these links, which helps run this site.


