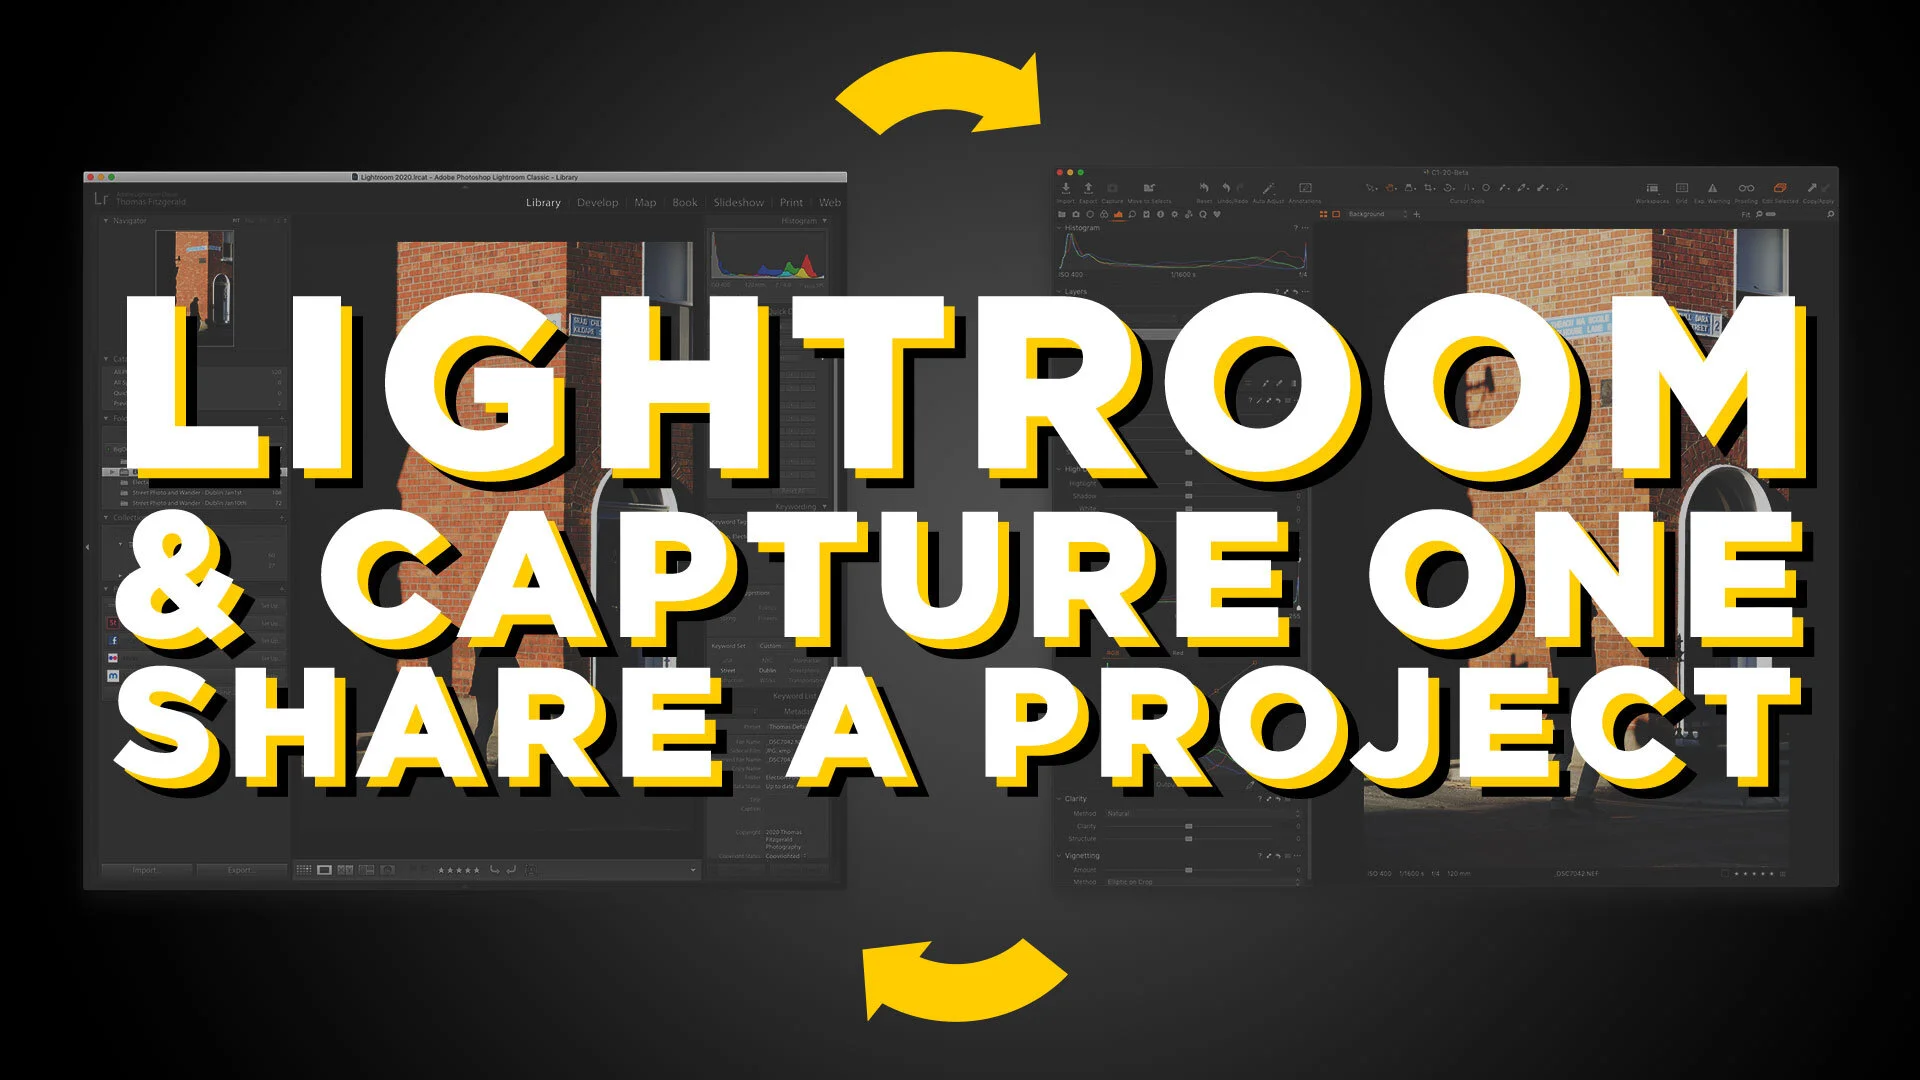
One of my Patreons (is that a word?) wanted to know if there was a workflow to rate and sort your photos in Lightroom and do your editing in Capture One. So I made a video to show you my workflow for doing this.
All in Lightroom
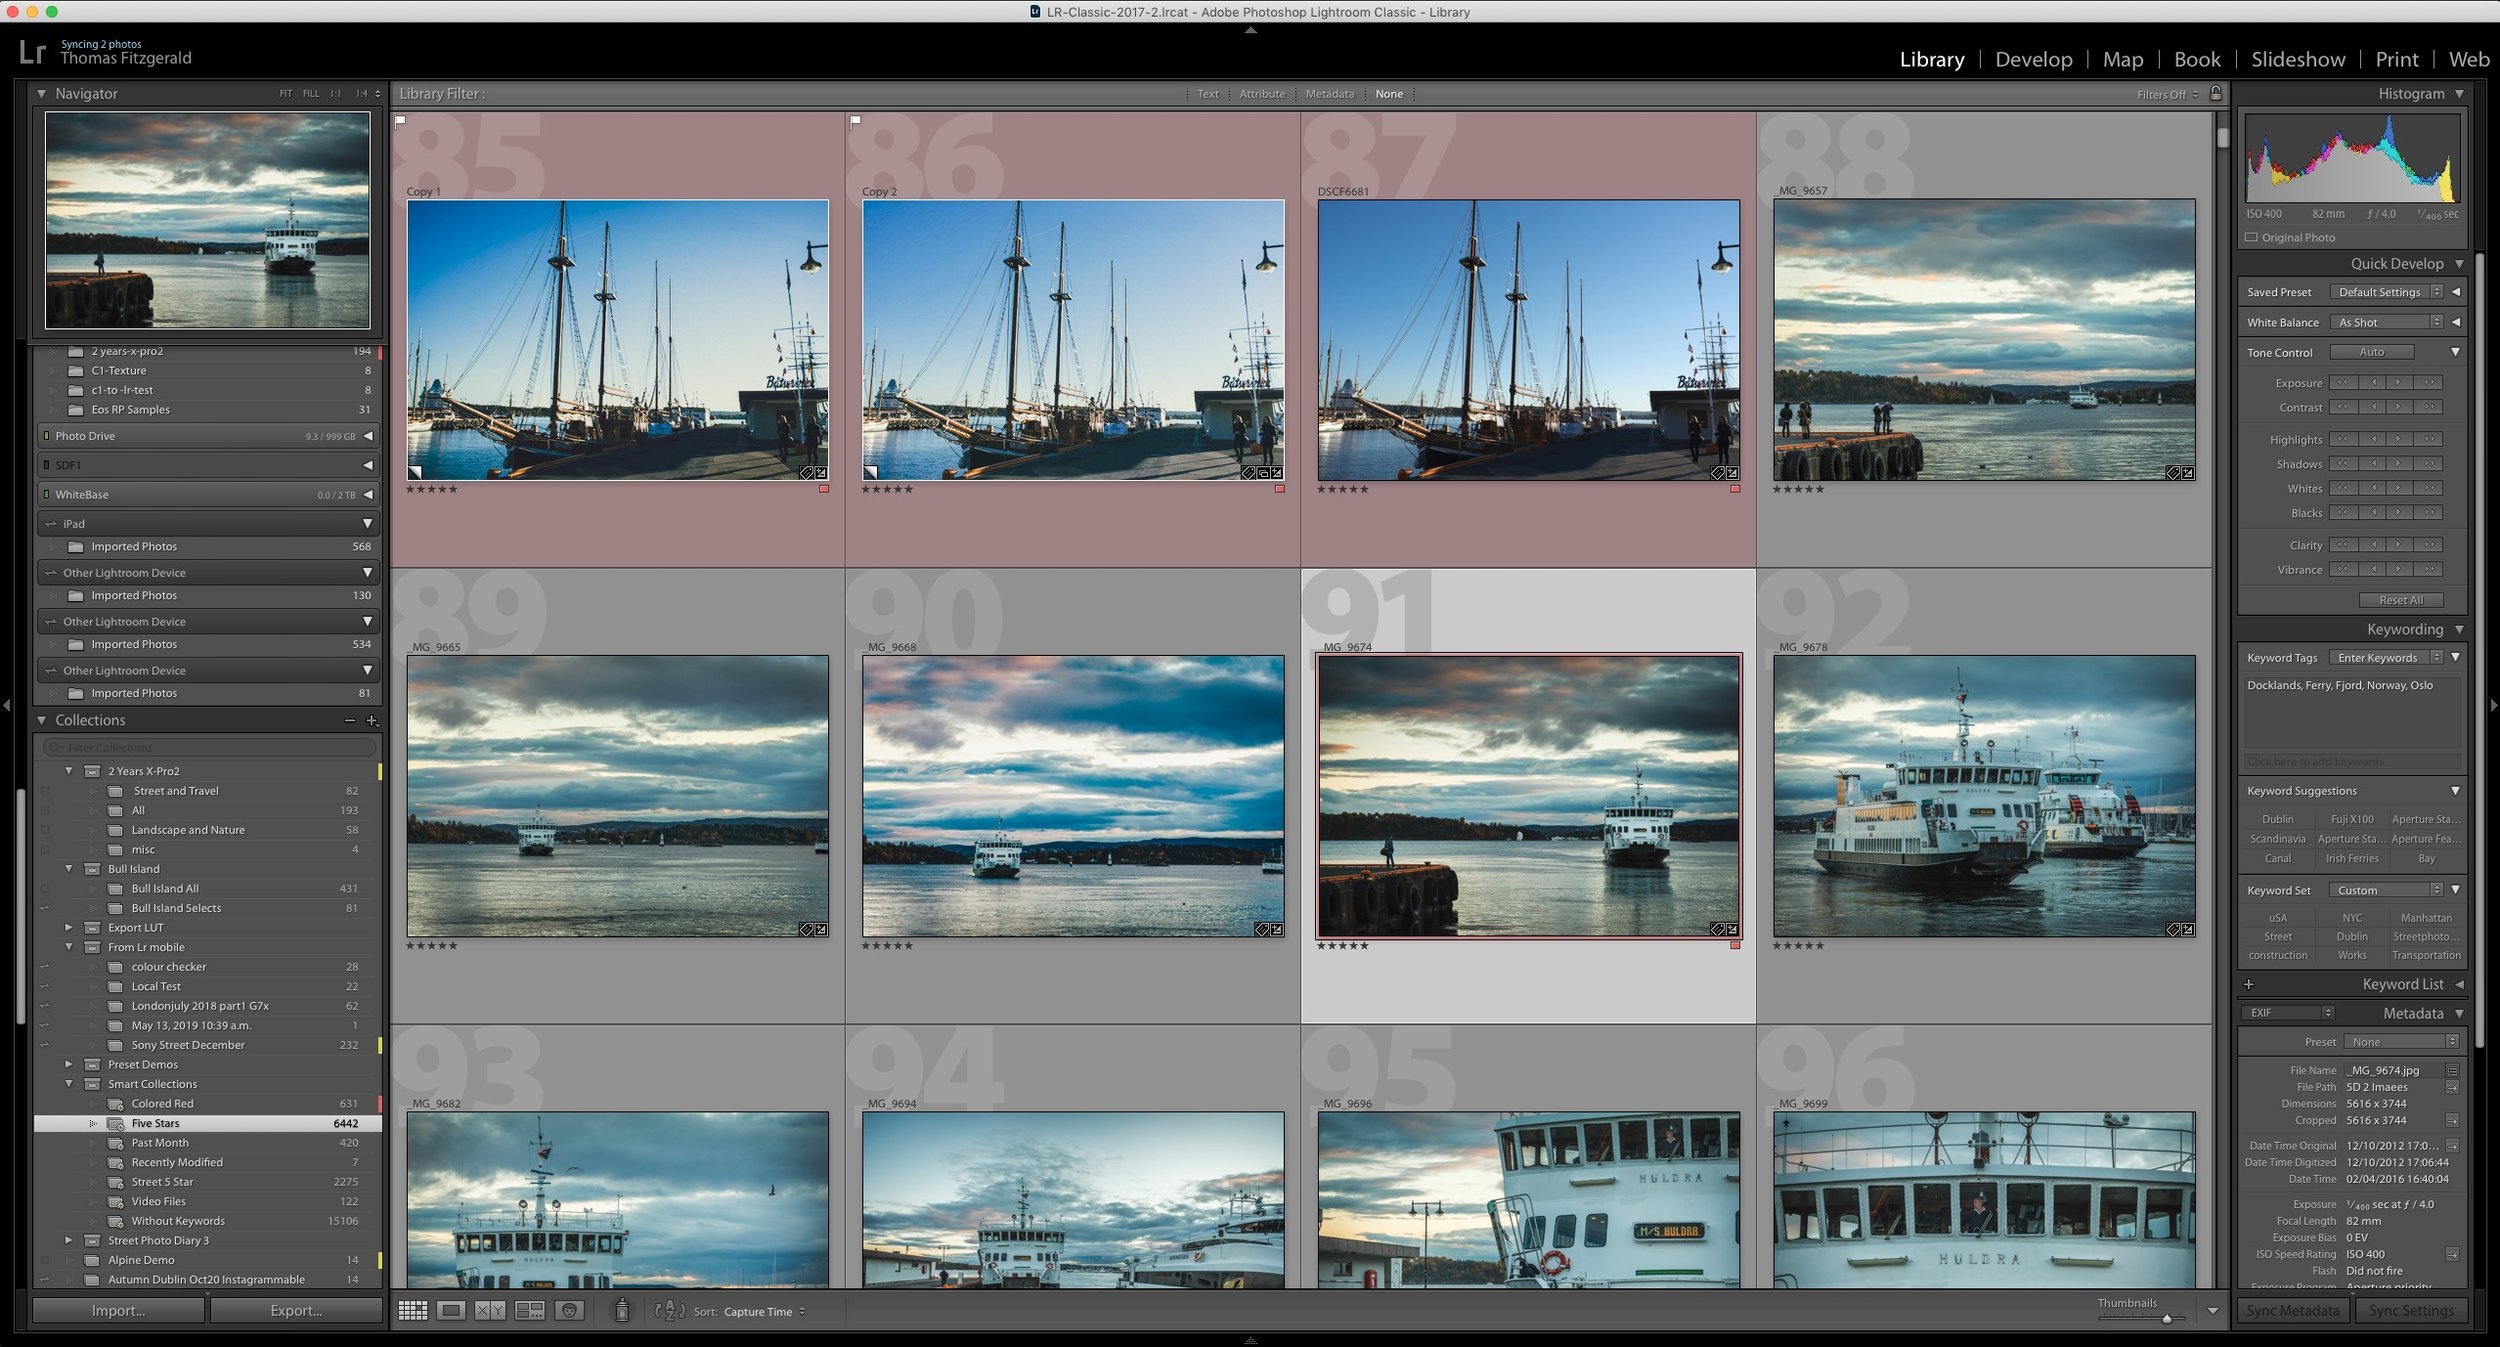
Video: A Look at Wordroom for Lightroom. A plug-in that automatically keywords your images.
One of the things I hate doing, and I’m terrible at, is keywording my photos. So when I read about this new plug-in that uses AI to automatically tag your images I thought it was definitely something worth giving a look.
Possible Solution to Lightroom Memory Leak Bug
A little while ago I wrote a post about my frustration with the amount of memory Lightroom was using, and how I suspected that it was a memory leak bug of some kind. After a lot of trying different things, I seem to have found a potential solution.
Direct Import For Lightroom on iOS Now Available
Yesterday, Adobe released a new set of updates across the Lightroom family, and of particular interest is the new version of Lightroom mobile. This release brings one of the most requested features to the software, and finally allows you to directly import images from a memory card into Lightroom without any workarounds. They also added new controls for exporting your images and improved shared albums.
Is Lightroom a Memory Hog? Or is there just a bad bug in the current version?
Ever since upgrading to Lightroom Classic 9, and even with the previous version, it seems as if Lightroom has been a real memory hog. The pattern suggests a memory leak bug, as it seems to get worse the longer Lightroom is running, even if you’re not actually doing anything. Either way, this memory usage problem is making running Lightroom a real pain for me at the moment.
How do I “Save” in Lightroom or Capture One? How Photo Workflow Applications Work - A Guide for Beginners.
While photo workflow applications like Lightroom or Capture One have been around for a while now, there are still some new users who are confused by how these applications work. One of the most common questions I see from beginners or people not familiar with this way of working is “how do I save in Lightroom?”, as there is no save function in the menu. To answer that and other questions, let’s take a look at how this class of “photo workflow” applications actually work.
Adobe shows off direct import for Lightroom on iPad
One of the most frustrating things about working with Lightroom on an iPad is having to import images to the camera roll first before then importing them to Lightroom. Luckily, thanks to changes in iOS 13 this should soon be at an end. Adobe published a video showing an upcoming change to Lightroom on iPad which will allow direct importing of photos.
How to Sync Full Res Images instead of Smart Previews from Lightroom Classic
When Adobe first introduced the syncing feature in Lightroom, which let you sync to its cloud services, it only synced smart previews, and at the time this wasn’t a big deal, as there was limits to what you could do on the mobile applications. Now, many versions later and Lightroom has become a whole eco system, and the mobile versions are much more powerful. We now also have the desktop version of the mobile applications, so it is odd that Lightroom Classic is still stuck syncing only smart previews. But what if you want full res versions that you can edit on another device but still synced to your classic library? Well, there is a workaround.
VSCO Film alternatives
Since VSCCO Film was discontinued at the start of this year, I’ve been looking for alternatives to recommend to people who want to create a realistic film effect. While I do have some film like presets of my own, they are mostly designed as an artistic interpretation of film. For those looking for accurate and highly regarded film simulations for Lightroom, there are a couple of solutions.
Lightroom Updates! Lightroom Classic Version 9, Lightroom Desktop Version 3 and more announced at Adobe Max
Adobe today announced a new round of updates to its photo workflow software ecosystem. This includes new releases of all of the major versions of Lightroom, and it brings Lightroom Classic to version 9. Lightroom mobile on iOS and Android is now at version 5 and Lightroom Desktop is now at version 3.
Possible Lightroom Classic Preview Bug and How to Fix It
This is a super quick tip for Lightroom classic users. Over the past while, something has been bothering me about Lightroom. When working on images, especially in the develop module, I noticed that the display seemed soft, and if you looked closely you could see some scaling artefacts. This hadn’t always been the way, and I couldn’t figure out if it was a recent version that brought it back, but it had been driving me mad. It turns out the solution was really simple.
Video: How to import into Lightroom directly from a Memory Card on iPAD OS
One of the new features of iPadOS that was announced was the ability to import images directly into apps from attached storage, without having to go through the camera roll. Unfortunately not many apps have been updated to take advantage of this yet, including Lightroom. However, there is a pretty simple work around and in this video I show you what to do.
Two Ways to Automatically Send Images from Lightroom (or Capture One) into Apple Photos
If you’re on a Mac and you want to send your finished images from Lightroom (or Capture One) to Apple Photos, to sync to your devices for example, then you can do it manually by exporting from one application and importing into the other. This can be a bit tedious, but there are also some ways you can automate the process. This involves exporting to a folder in the finder from Lightroom or capture One, and having that automatically import into Photos.
Setting your Fuji Film Simulation Modes Automatically in Lightroom
While Lightroom supports Fuji Film Simulation modes via colour profiles, you still have to set them manually. This means that if you have shot using multiple modes on a single shoot, if you’re working with the RAW files in Lightroom, it can be a pain to replicate the right ones manually. While Capture One will set the right modes automatically based on what you shot with, there’s no way to do this in Lightroom natively. There is however a plug-in that will do this for you.
Experimental Sony A6000 Custom Lightroom Colour Profile to Download
Long time readers will know that I’ve spent quite a bit of time talking about and coming up with solutions to the problem with Adobe’s calibration of Sony raw files. In particular, I’ve covered the A6000 many times, as it is a camera that I own and use regularly. In the past I’ve crated custom corrections by manually adjusting the calibrations by eye. As Datacolor were kind enough to send me their Spyder X Studio package to try and to review, I thought I would see if I could use the Spyderchecker to create a better profile.
A Capture One (Express) to Lightroom Technique For Fuji Shooters (How to Use Capture One Express like X-Transformer - sort of)
I’ve often gotten questions from readers as to whether there is any way to use Capture One Express in a similar fashion to Iridient X-Transformer, in order to produce a file that you can then import into Lightroom for further editing. While there is no direct way to do this in the exact same way it is with Iridient X-Transformer, getting these questions did get the cogs in my brain working! I wondered if there was a way one could use Capture One’s flat profile to achieve something similar. So, after spending some time experimenting, I’ve come up with a possible solution. Read on to find out more…
Lightroom Classic Updated with GPU Acceleration for Image Editing
Adobe today released its August update for the Lightroom family, and it contains a pretty big new feature that people have been requesting for ages. This update finally brings GPU acceleration to image editing.
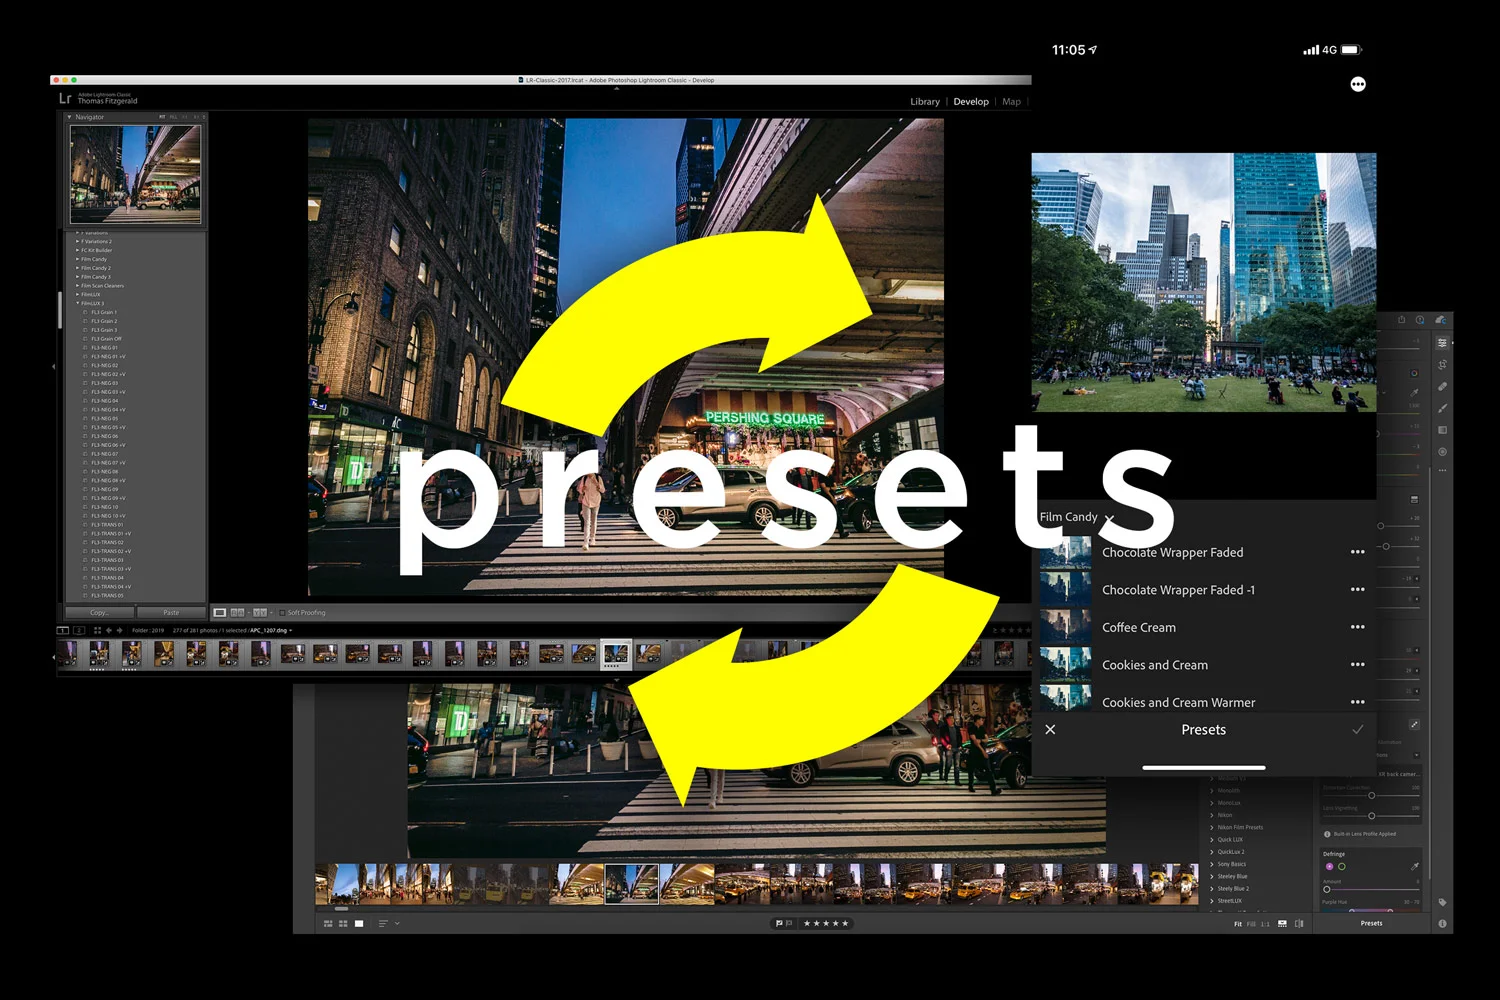
The Quick Way to get your Lightroom Presets from Lightroom Classic to Lightroom Mobile
For the longest time I wasn’t a huge user of Lightroom mobile, but that all changed when I upgraded to the iPhone XR and I started using Lightroom’s camera more and more. Now I use Lightroom mobile a lot more than I used to. Having access to your presets on the software can really help your workflow, but if you primarily use Lightroom Classic on the desktop, they won’t be synced automatically so un this post I’m going to show you a quick way to get your presets across, without too much fuss.


