In this short quick tip for Capture One, I look at how to use the purple fringing control to get rid of chromatic aberration that’s not addressed by the normal aberration correction tool.

Thomas is a professional fine art photographer and writer specialising in photography related instructional books as well as travel writing and street photography.
All in Video
In this short quick tip for Capture One, I look at how to use the purple fringing control to get rid of chromatic aberration that’s not addressed by the normal aberration correction tool.
I’ve mentioned before about how much of a fan I am of Macphun’s Luminar, but that I prefer using as a plug-in rather than with raw files. However, there is one exception to that, and that is when I use it with DNGs created by Iridient X-Transformer. In that case the results are actually really great, so I made a little video to demonstrate.
I have recently been admiring some photographers on Instagram who are shooting on film and using Agfa Vista. I couldn’t get any of this film locally, so instead, I wanted to see how close I could re-create the look digitally using my X-Pro 2 as the source. In this video, I look at how I used Lightroom and VSCO Film to create the “Agfa Vista” film look.
In this video, a follow up to my previous one on shooting street photography on film, I look at how I process the film after scanning in Lightroom.
I recently headed out to shoot some street photography on film, for my Street Photo Diary project, and I decided that it might make an interesting video. So, before I got started, I mounted my trusty GoPro on my cameras hot shoe, set it recording, and headed out onto the streets of Dublin to get some shots.
In this video I take a bracketed exposure that I shot on a Fuji X-Pro 2 and starting with Capture One, I look at the process of creating a HDR using Aurora HDR. I then do some additional editing in Luminar, before bringing the final image back into Capture One.
Recently I was going through some old blog posts, and I came across a Panorama image that I really liked. Unfortunately, I had lost the original high res versions, and all I had left was the low res one that was posted to the website. However, I managed to find the original Raw files that I used to create the image, and so in this video I show you how I re-created the Panorama in Lightroom and Photoshop
I recently had the opportunity to borrow a friend’s Nikon D800. While the D800 is an older camera now at this stage, I was keen to try it out, as I love my D700 and I wanted to see how it performed. I had borrowed it before, but not for as long. The lat time I had it I had shot a very short sequence of video, and I was impressed. This time I wanted to shoot a bit more video and see how good it was, more for curiosity than anything.
A while ago I attempted my first “blog” style video, where I filmed myself shooting street photography and editing the results. I’ve done another similar video and in this one I spent some time shooting with the Sony A6000 using adapted lenses. I used two different lenses on this shoot: an old Nikon 105mm f2/2.8 macro lens, and a Canon 17-40 f/4 L wide angle lens. I started in a local park shooting some flowers and then did a little bit of street photography too.
One of the cool things about Capture One Pro is the software’s pretty advanced colour editing and selection tools. In this short video, I wanted to show you just one small example of using some of those tools. In this example, I use the individual colour selection function to change the background colour of the image, and I also show you how to create a new layer based on your colour selection.
As you have probably figured out by now if you’re a regular reader of this blog, I really love the Cherry Blossom season. There is something so beautiful and magical about the pink petaled flowers and their fleeting lifespan that is special to watch every year. I had been tracking the progress of the blossom from the first buds appearing on the bare branches, to the final few days as the flowers begin to fall.
It was a beautiful spring day in Dublin today, so I went for a walk through the park to shoot the cherry blossoms with my Fuji X-Pro 2. I also wanted to try out something new, (well, technically old), that I got, so I filmed the whole thing. I acquired an old GoPro (first generation) so I decided to do a kind of Vlog style (kind of) video and I so I set about recording my progress with a GoPro mounted on the Camera’s hot shoe.
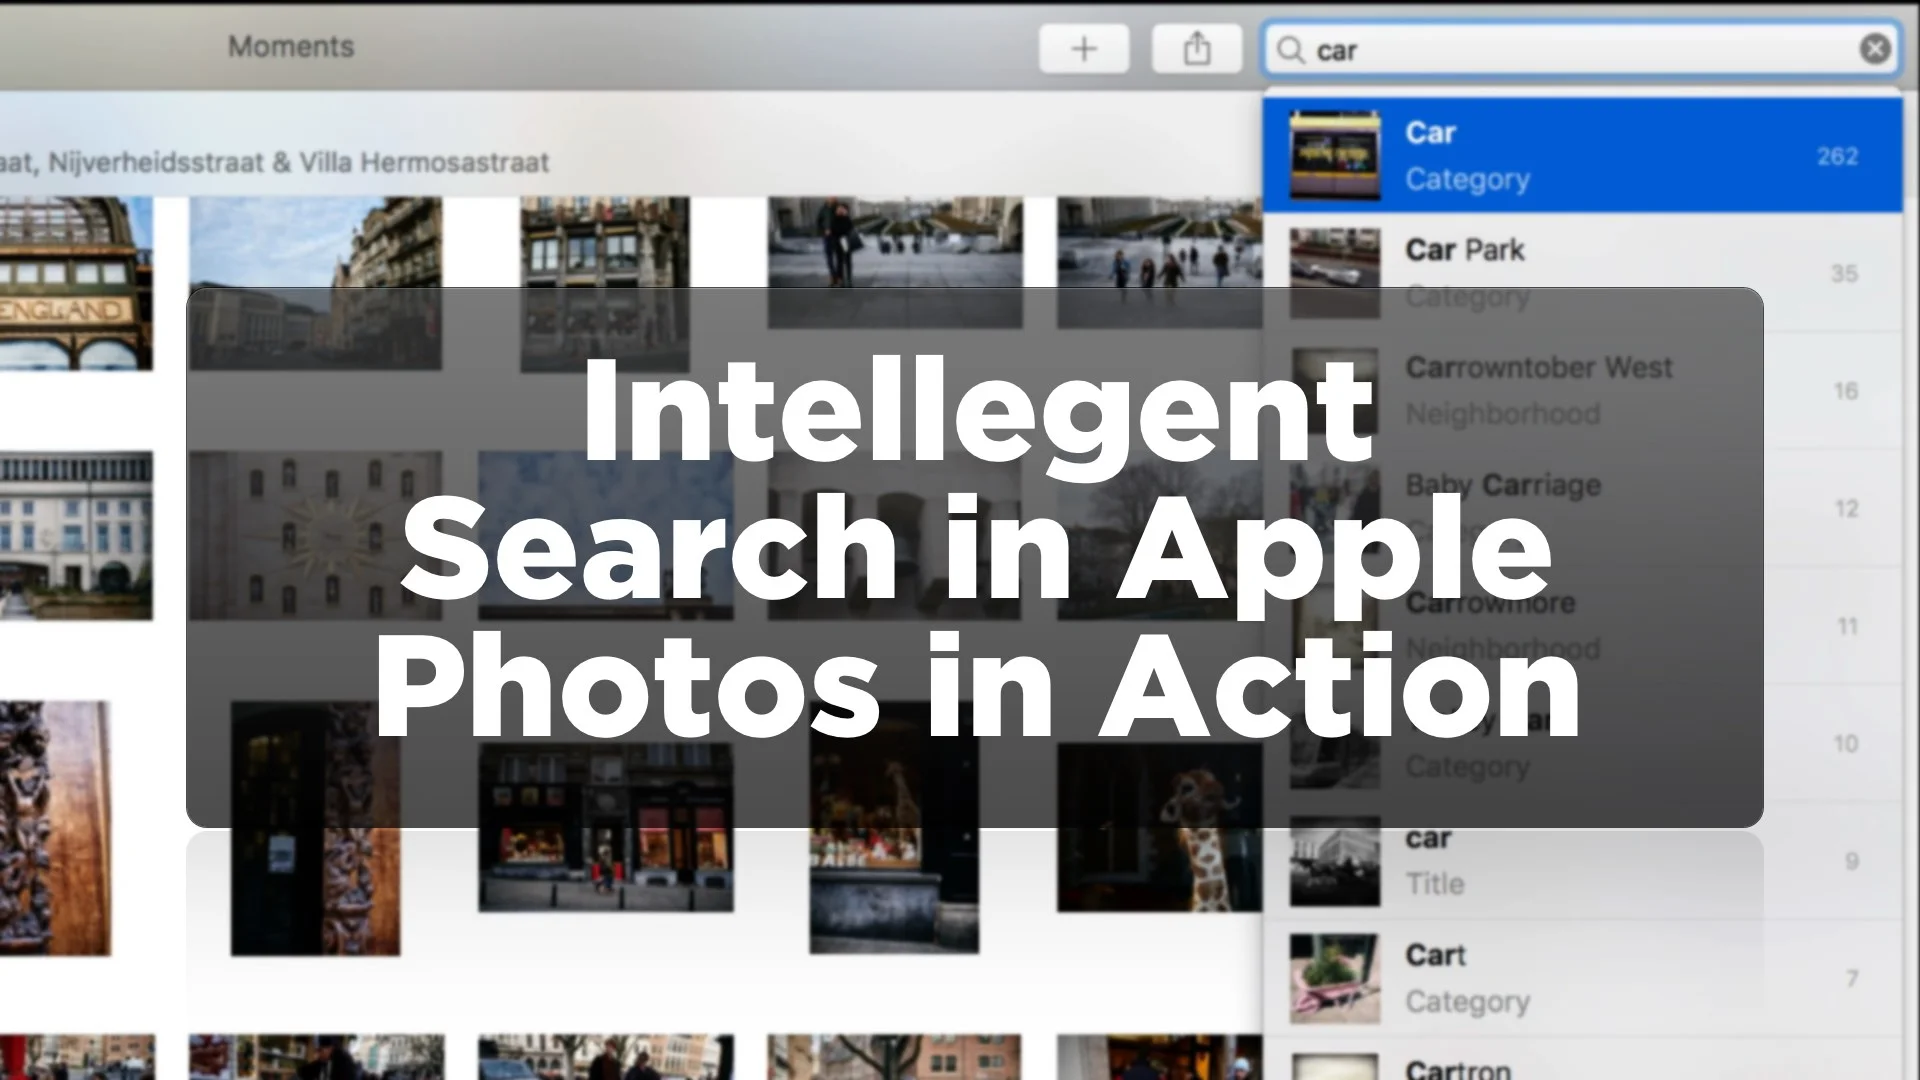
For me, the Intelligent Search features in Apple’s Photos app, or what Apple refers to as “Advanced computer vision”, was one of those things that gets announced and then most people promptly forget about. However, once you actually try it, it’s actually pretty impressive, and while not perfect, it shows where the technology is going.
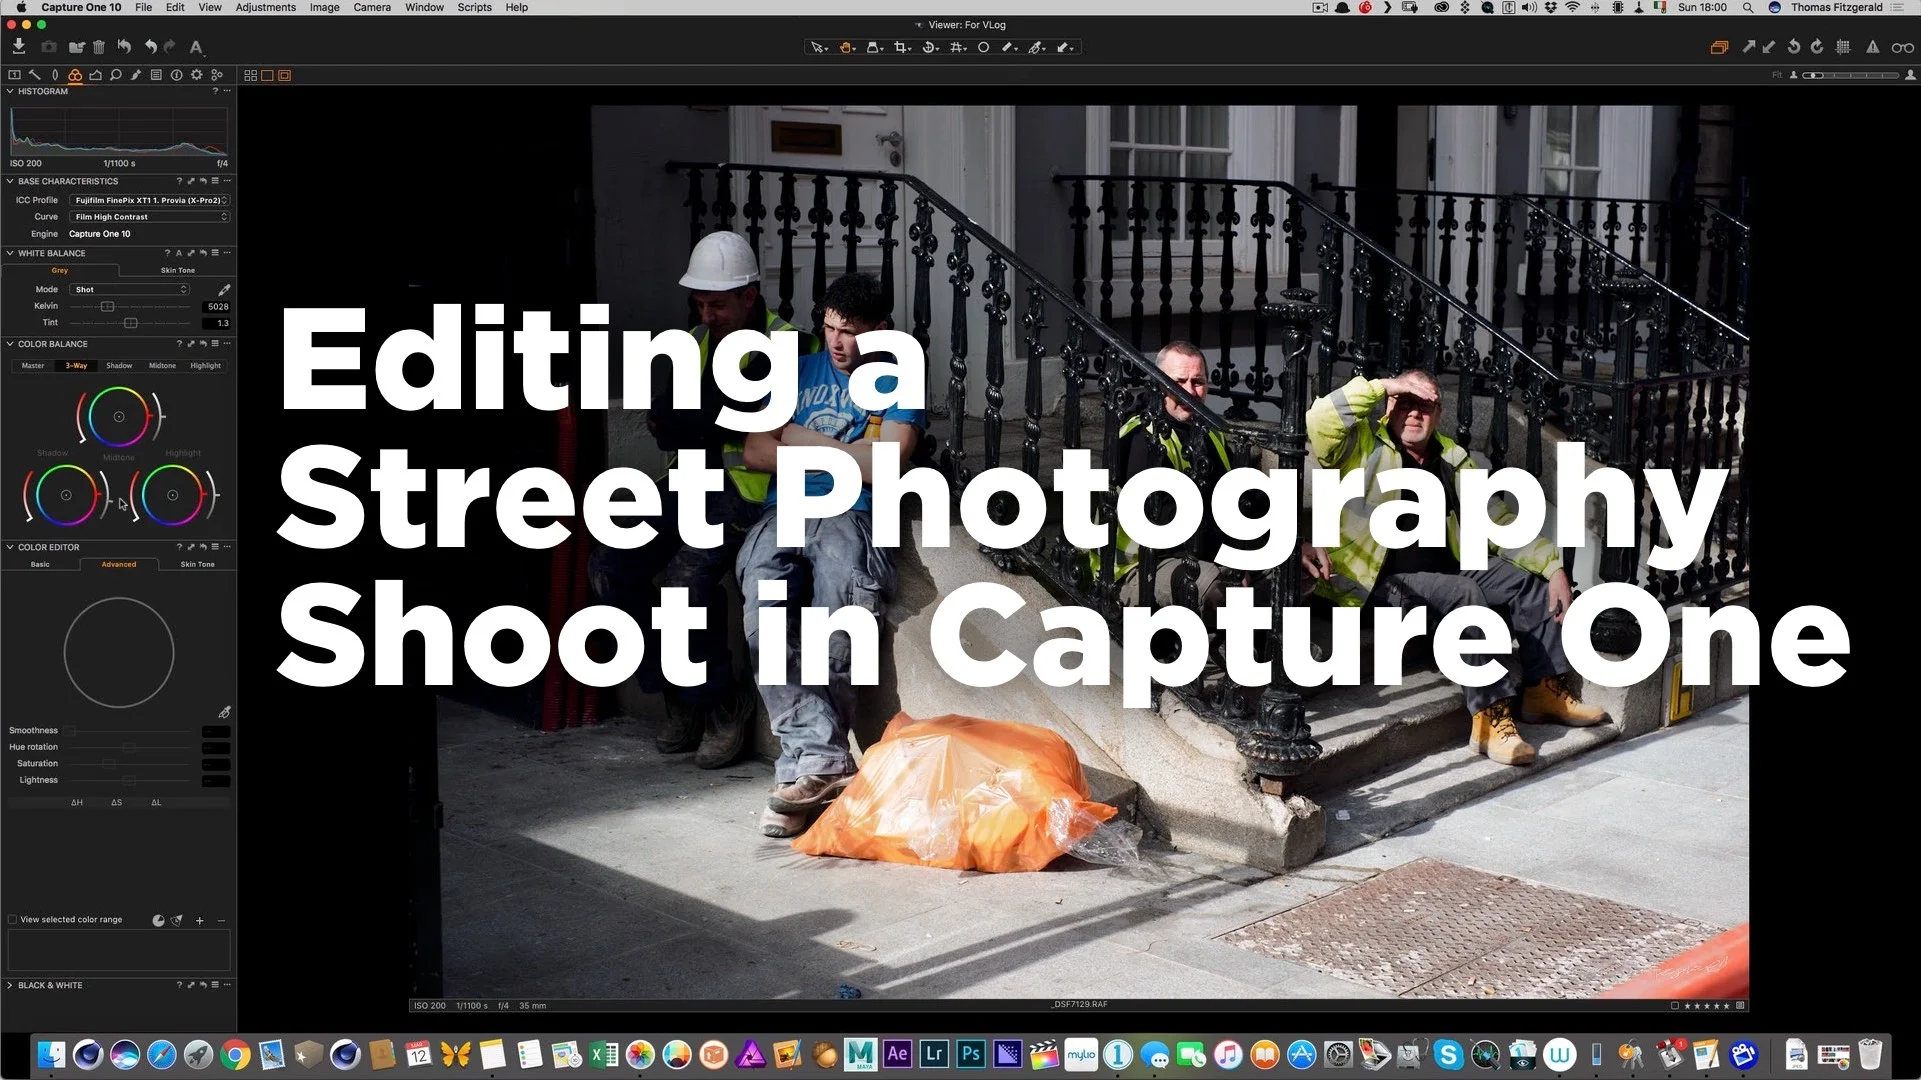
In this video, which is a follow on from my street photography vlog video, I discuss editing the shoot. I take you through the whole process from import, through rating and then processing the images to final output. I try to discuss why I like certain images, and why some things work and others don’t.
I really want to start doing more video and in particular I want to do a series of vlog style videos. I’ve been putting it off out of fear, and general procrastination, but yesterday I finally got around to making my first attempt. I won’t call it a resounding success because a lot of things didn’t exactly go according to plan, but it turned out reasonably well all things considered. I consider this as a learning exercise. A beta version if you will.
I was recently working on some bracketed exposures that I shot while on a walk by the coast north of Dublin. It was a beautiful and moody day, but the light was pretty strong, and I was shooting with my D700, which hasn’t the greatest dynamic range. With that in mind, I shot multiple exposures with the aim of combining them later so as not to loose any detail in the highlights and shadows. I originally tried combining the exposures in Lightroom, but I wasn’t happy with the results, so instead I decided to use Aurora HDR.
I wanted to do a look back at the photos I took for my Streets of Dublin project in 2016. I typically keep a running collection of images that I mark as five stars during the year. Now that we’re at the end of the year, that’s accumulated quite a bit, and going through it to find the “best” shots for this post hasn’t been the easiest of tasks.
With most cameras that are released these days having video, it may seem like a pointless exercise to point out the benefits of having the feature. However, if you read the comments on reviews of new cameras (and you probably shouldn’t for your own mental health) there’s always someone who complains about the video functions, saying that they are a photographer and “real photographers” don’t care about video. Even if you don’t like shooting video, I think that there are times when it’s a real benefit to have video in your camera, and the other day I came across a perfect example.