I have a secret. I little secret that I’ve kept for so long. I’m so ashamed and the guilt is tearing me apart. I just have to come clean… Actually, none of that is really true. It’s not really a secret and I’m neither ashamed nor do I feel guilty. You see, when I’m taking photos, I check the shots on my camera’s screen. There, I said it! I’m one of those people. I’m a chimper. And I couldn’t care less.
The Difference between SilverLux and T-Pan - My two black and white Style Packs for Capture One
With the launch of T-Pan for Capture One this week, I now have two style packs available for the software. The other being SilverLUX. I had a couple of questions from customers and readers over the past few days as to the difference between T-Pan and SilverLUX, and so, here is a quick breakdown of the differences between the two Style Packs.
T-Pan for Capture One: Black and White Style Pack now available
I’m happy to announce that my latest Style Pack for Capture One is now available to buy from my digital download store. T-Pan for Capture One is a set of Black and White styles inspired by black and white film. The look is aiming to re-create the experience of shooting with a professional grade black and white film stock, and creates a rich film like monochrome image.
Two Ways to Automatically Send Images from Lightroom (or Capture One) into Apple Photos
If you’re on a Mac and you want to send your finished images from Lightroom (or Capture One) to Apple Photos, to sync to your devices for example, then you can do it manually by exporting from one application and importing into the other. This can be a bit tedious, but there are also some ways you can automate the process. This involves exporting to a folder in the finder from Lightroom or capture One, and having that automatically import into Photos.
New Video: Enhancing a Photo in Capture One from Start to Finish
In this video tutorial I show you my editing process on an image in Capture One. While the photo is fairly good to start off, I wanted to enhance it further including tweaking the colour and doing some selective editing.
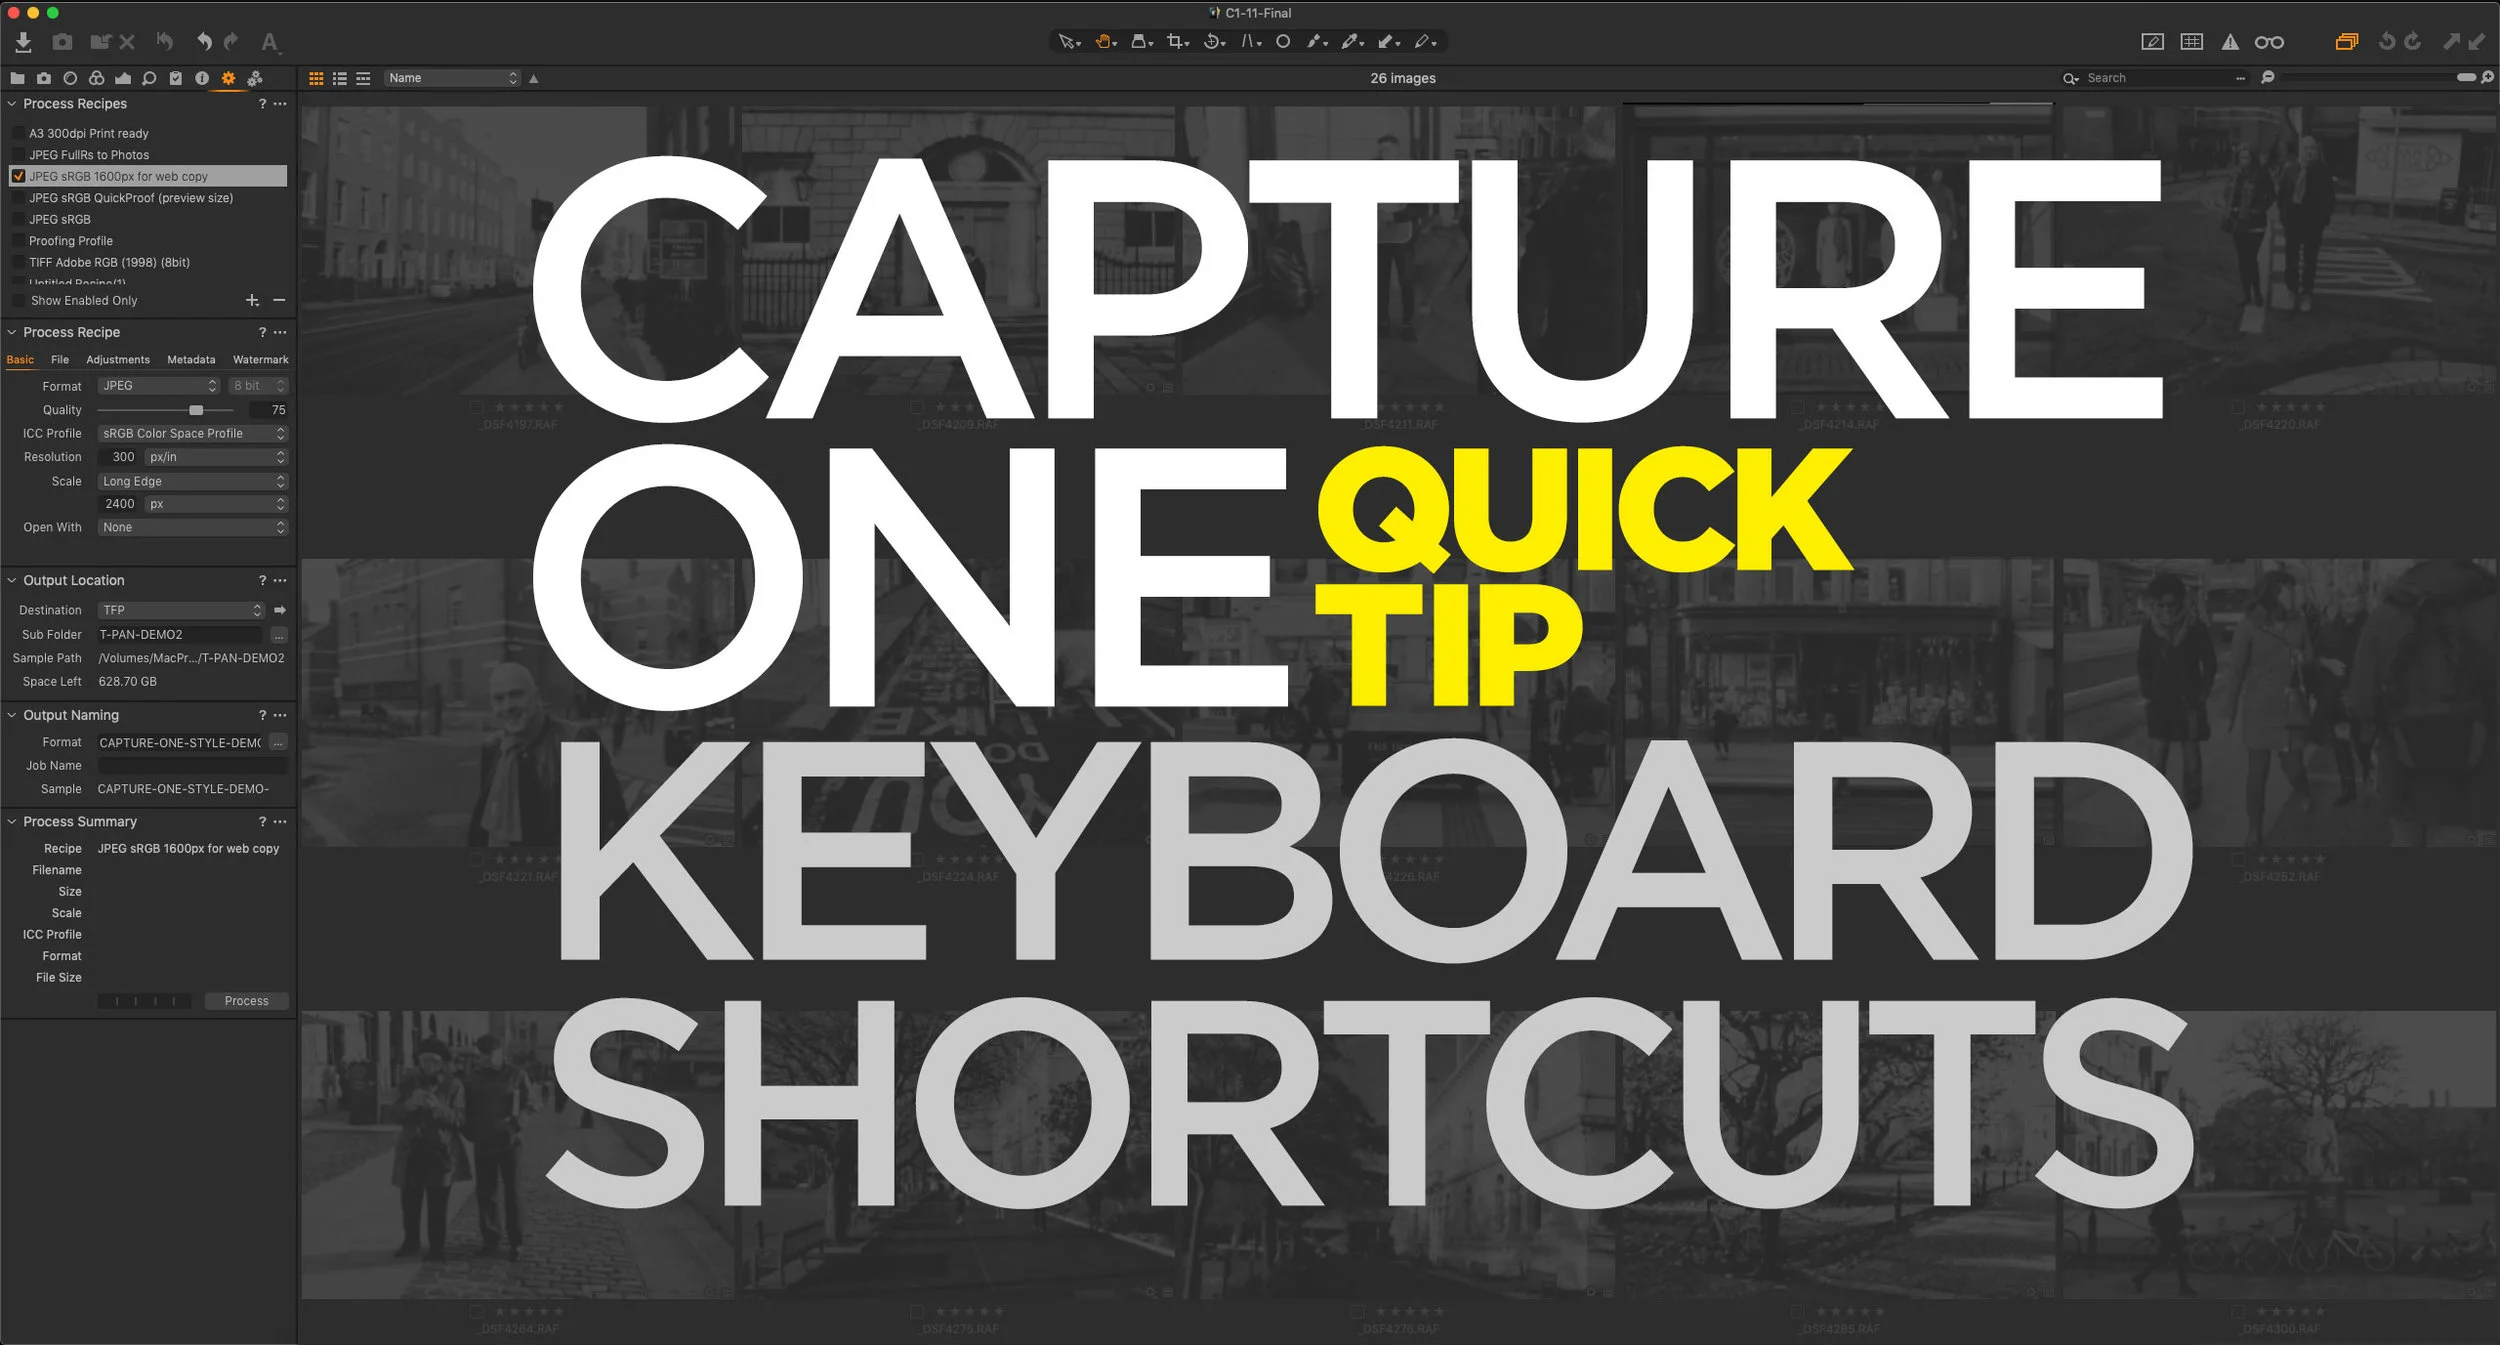
Capture One Quick Tip: Simulate Lightroom’s “Grid” Mode Keyboard Shortcut
This is a really specific and kind of nerdy tip, but I’ve found that this helps me speed up my workflow in Capture One considerably. If you’re used to Lightroom, you may be used to switching between the grid and develop modules using the “G” and “D” keys. I do this all the time, when I’m working on a project, and I want to jump to different Images. I find it easier than scrolling up and down the film strip at the bottom of the develop module. To do this in Capture One, you show and hide the viewer. There is a keyboard shortcut for this already, but it’s hard to remember and physically awkward to press. Luckily it’s easy to change.
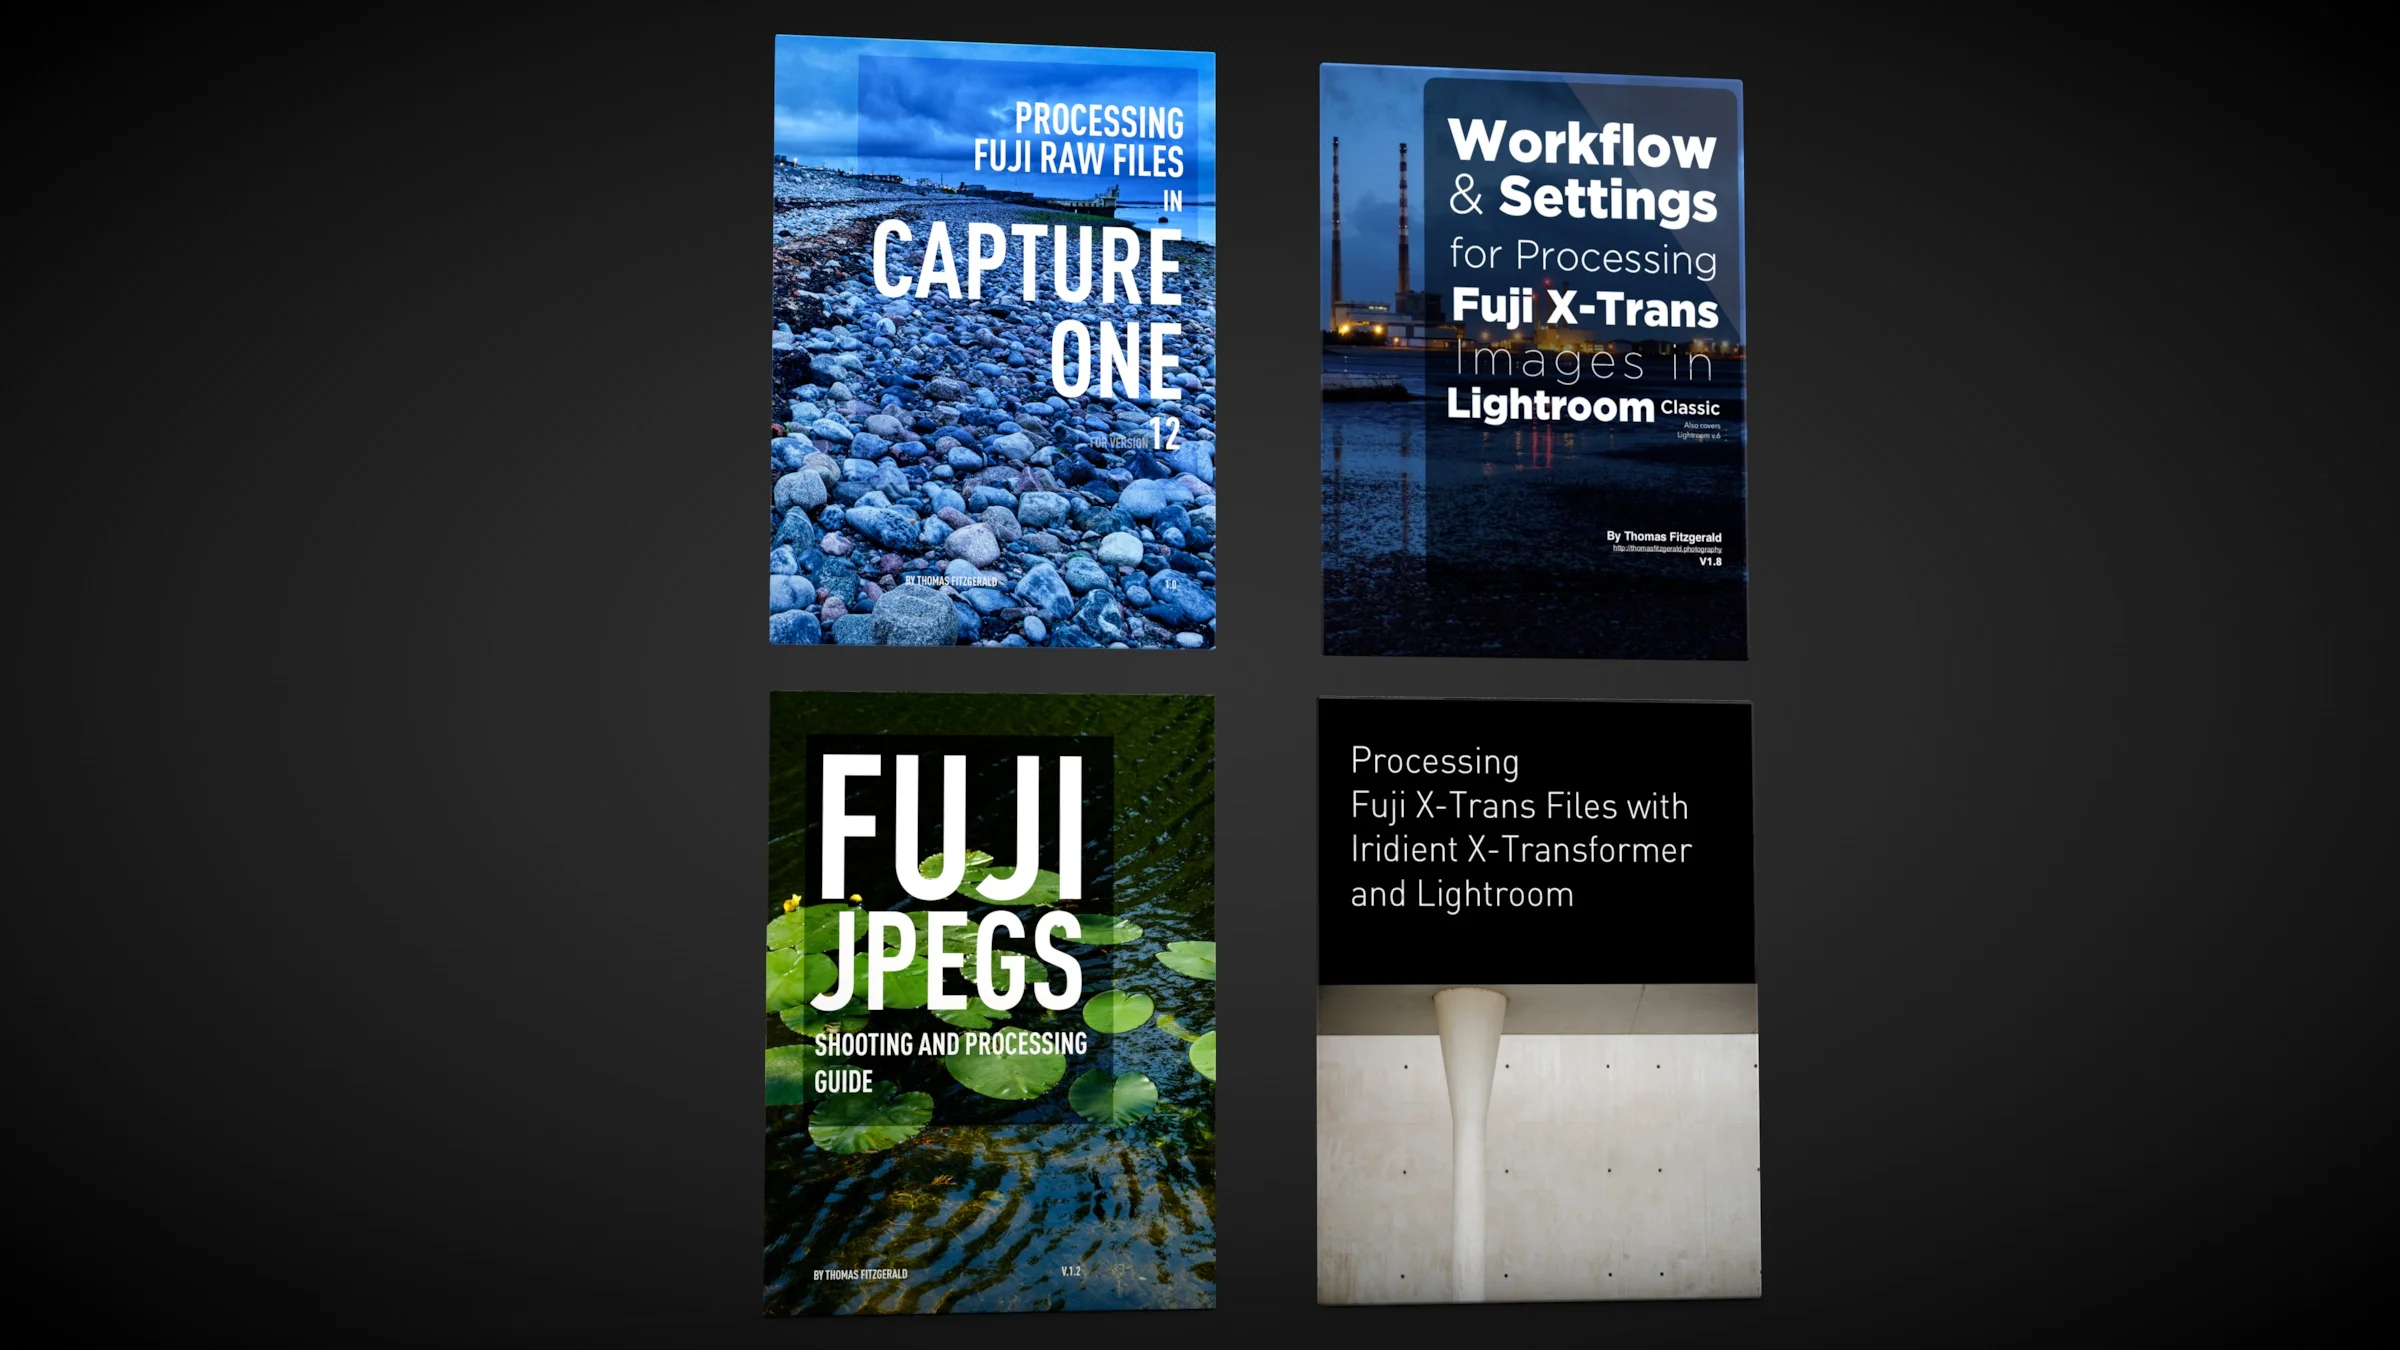
A Guide to All of My Guides! (Fuji & Sony Guides & Future Plans)
Over the past few years, the one topic I’ve covered more than any other here on the blog, and in published form, is the subject of Processing Fuji Raw files. I’ve published several eBooks about Processing Fuji raw files in various software. I’ve also written a guide on how to get the best out of processing Sony A6000 files in Lightroom. Over the past few months I’ve updated all of my current Fuji guides so that they are up to date for 2019. This included free updates to three of the guides, and one new edition. The exception is my old Iridient Developer guide, which I will no longer be supporting (more on that below)
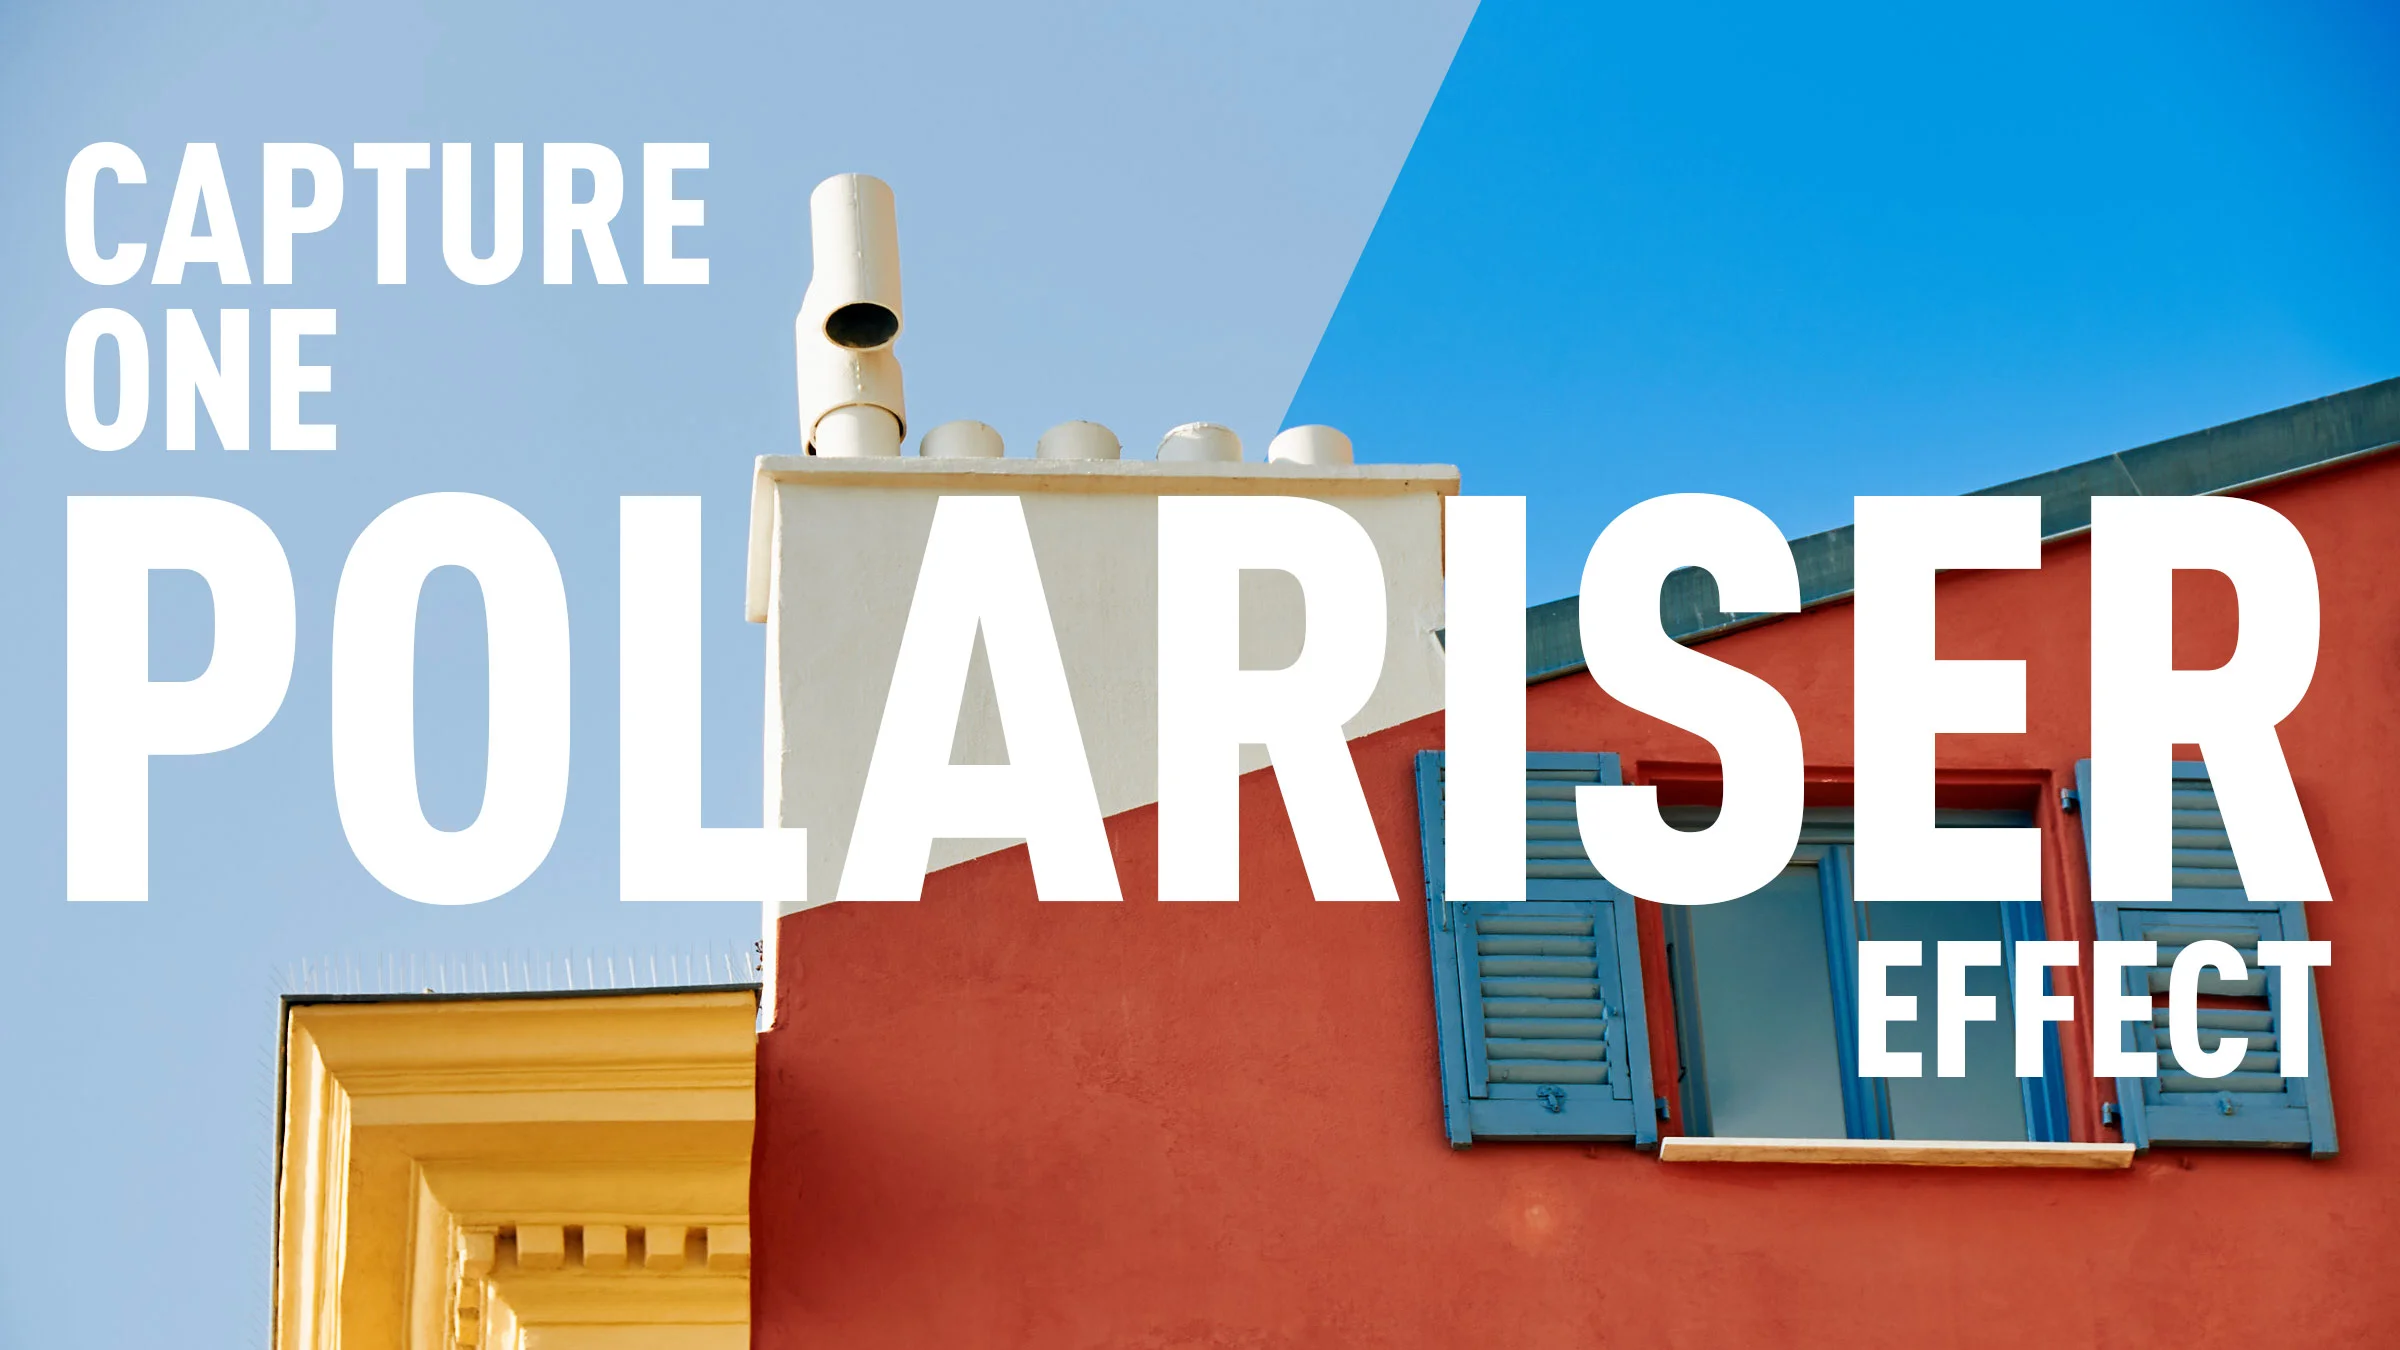
How to create a Polariser effect in Capture One
Using a polariser to enhance the blues in your image was probably one of the first filters that I ever used when learning photography. You can also match this effect in software, although you can’t easily replicate a polariser’s other feature which is to cut down on reflections. In Capture One, the obvious way to replicate a polariser is to use the colour editor tool, however, it’s not as straight forward as it seems. In this short video I show you how to create a polariser effect and save it for reuse.
Coming Soon: T-Pan for Capture One
I’m working on the long process of converting some of my most popular Lightroom presets over to Capture One, and with that in mind, I’ll soon be launching my next set of Style Packs: T-Neg for Capture One. This is based on the Lightroom pack of the same name, and it’s probably one of my two most popular sets. T-Pan is based on black and white film, and was created by using scanned film as a reference.
K&F Concept TM2515T Tripod Review
One of the things that every photographer should have is a good tripod. Over the years I’ve collected many different ones, and I’m always trying different designs and different models. Some can be very expensive, especially if you want a good and light model. One of the problems that I’ve always had is finding one that is light enough to easily carry but sturdy enough to hold a good DSLR rig. So when K&F Concept wanted me to try one of their bigger compact models, I said, sure, why not!
Photo Software News: Capture One Offer, Luminar, On1, Sony and More
There’s been a good bit of photo software news over the past week so rather than doing lots of separate posts, I thought I’d cover it here in one section. The headlines: Skylum shows off AI Portrait enhancer coming in Luminar 4, Phase One announced a new offer for Capture One, Exposure announced some details of Exposure 5, and a useful piece of software for Sony and Olympics shooters who want to use Pixel Shift.
Spyder X Capture Pro Rolling Review Part 4: Calibrating my lenses
One of the interesting things that comes with the Spyder X Studio Package is the Spyder LensCal. This is a special test chart that makes it easy to calibrate your lenses on a DSLR. Because of the way that autofocus works on a DSLR a lens can sometimes be off with its focus point, and when you focus on an object it can be either very slightly infant or behind the point at which you’re focussing. Most camera offer a way to offset the focus, and the Spyder LensCal provides a way to reliably measure and set it, at least in theory.
Setting your Fuji Film Simulation Modes Automatically in Lightroom
While Lightroom supports Fuji Film Simulation modes via colour profiles, you still have to set them manually. This means that if you have shot using multiple modes on a single shoot, if you’re working with the RAW files in Lightroom, it can be a pain to replicate the right ones manually. While Capture One will set the right modes automatically based on what you shot with, there’s no way to do this in Lightroom natively. There is however a plug-in that will do this for you.
Mastin Labs Fujicolour Original for Capture One: A Quick First Look
I’m a little late with this but following on from their first Capture One set, Mastin Labs has released another film emulation style pack. This set, called “Fujicolour Original” covers Fujifilm negative stocks, and is similar to their previous Kodak set, and the company’s Lightroom presets of the same name. They sent me a set to try out, and so here is my quick first impressions review.
Capture One In Depth: Importing
In this new series, I’m going to go through the basics of Capture One in depth, both for new users and anyone who wants to learn more. When the series is complete, I will release a compendium as an eBook Guide. To get started, I’m going to take a look at how to import images into Capture One, and how to navigate the Capture One import dialog.
Street Photo Diary: Film Edition
In the latest edition of “Street Photo Diary” I decided to try shooting street photography on film. I dusted off my somewhat temperamental Yashica FX-D and headed into Dublin City to get some shots.
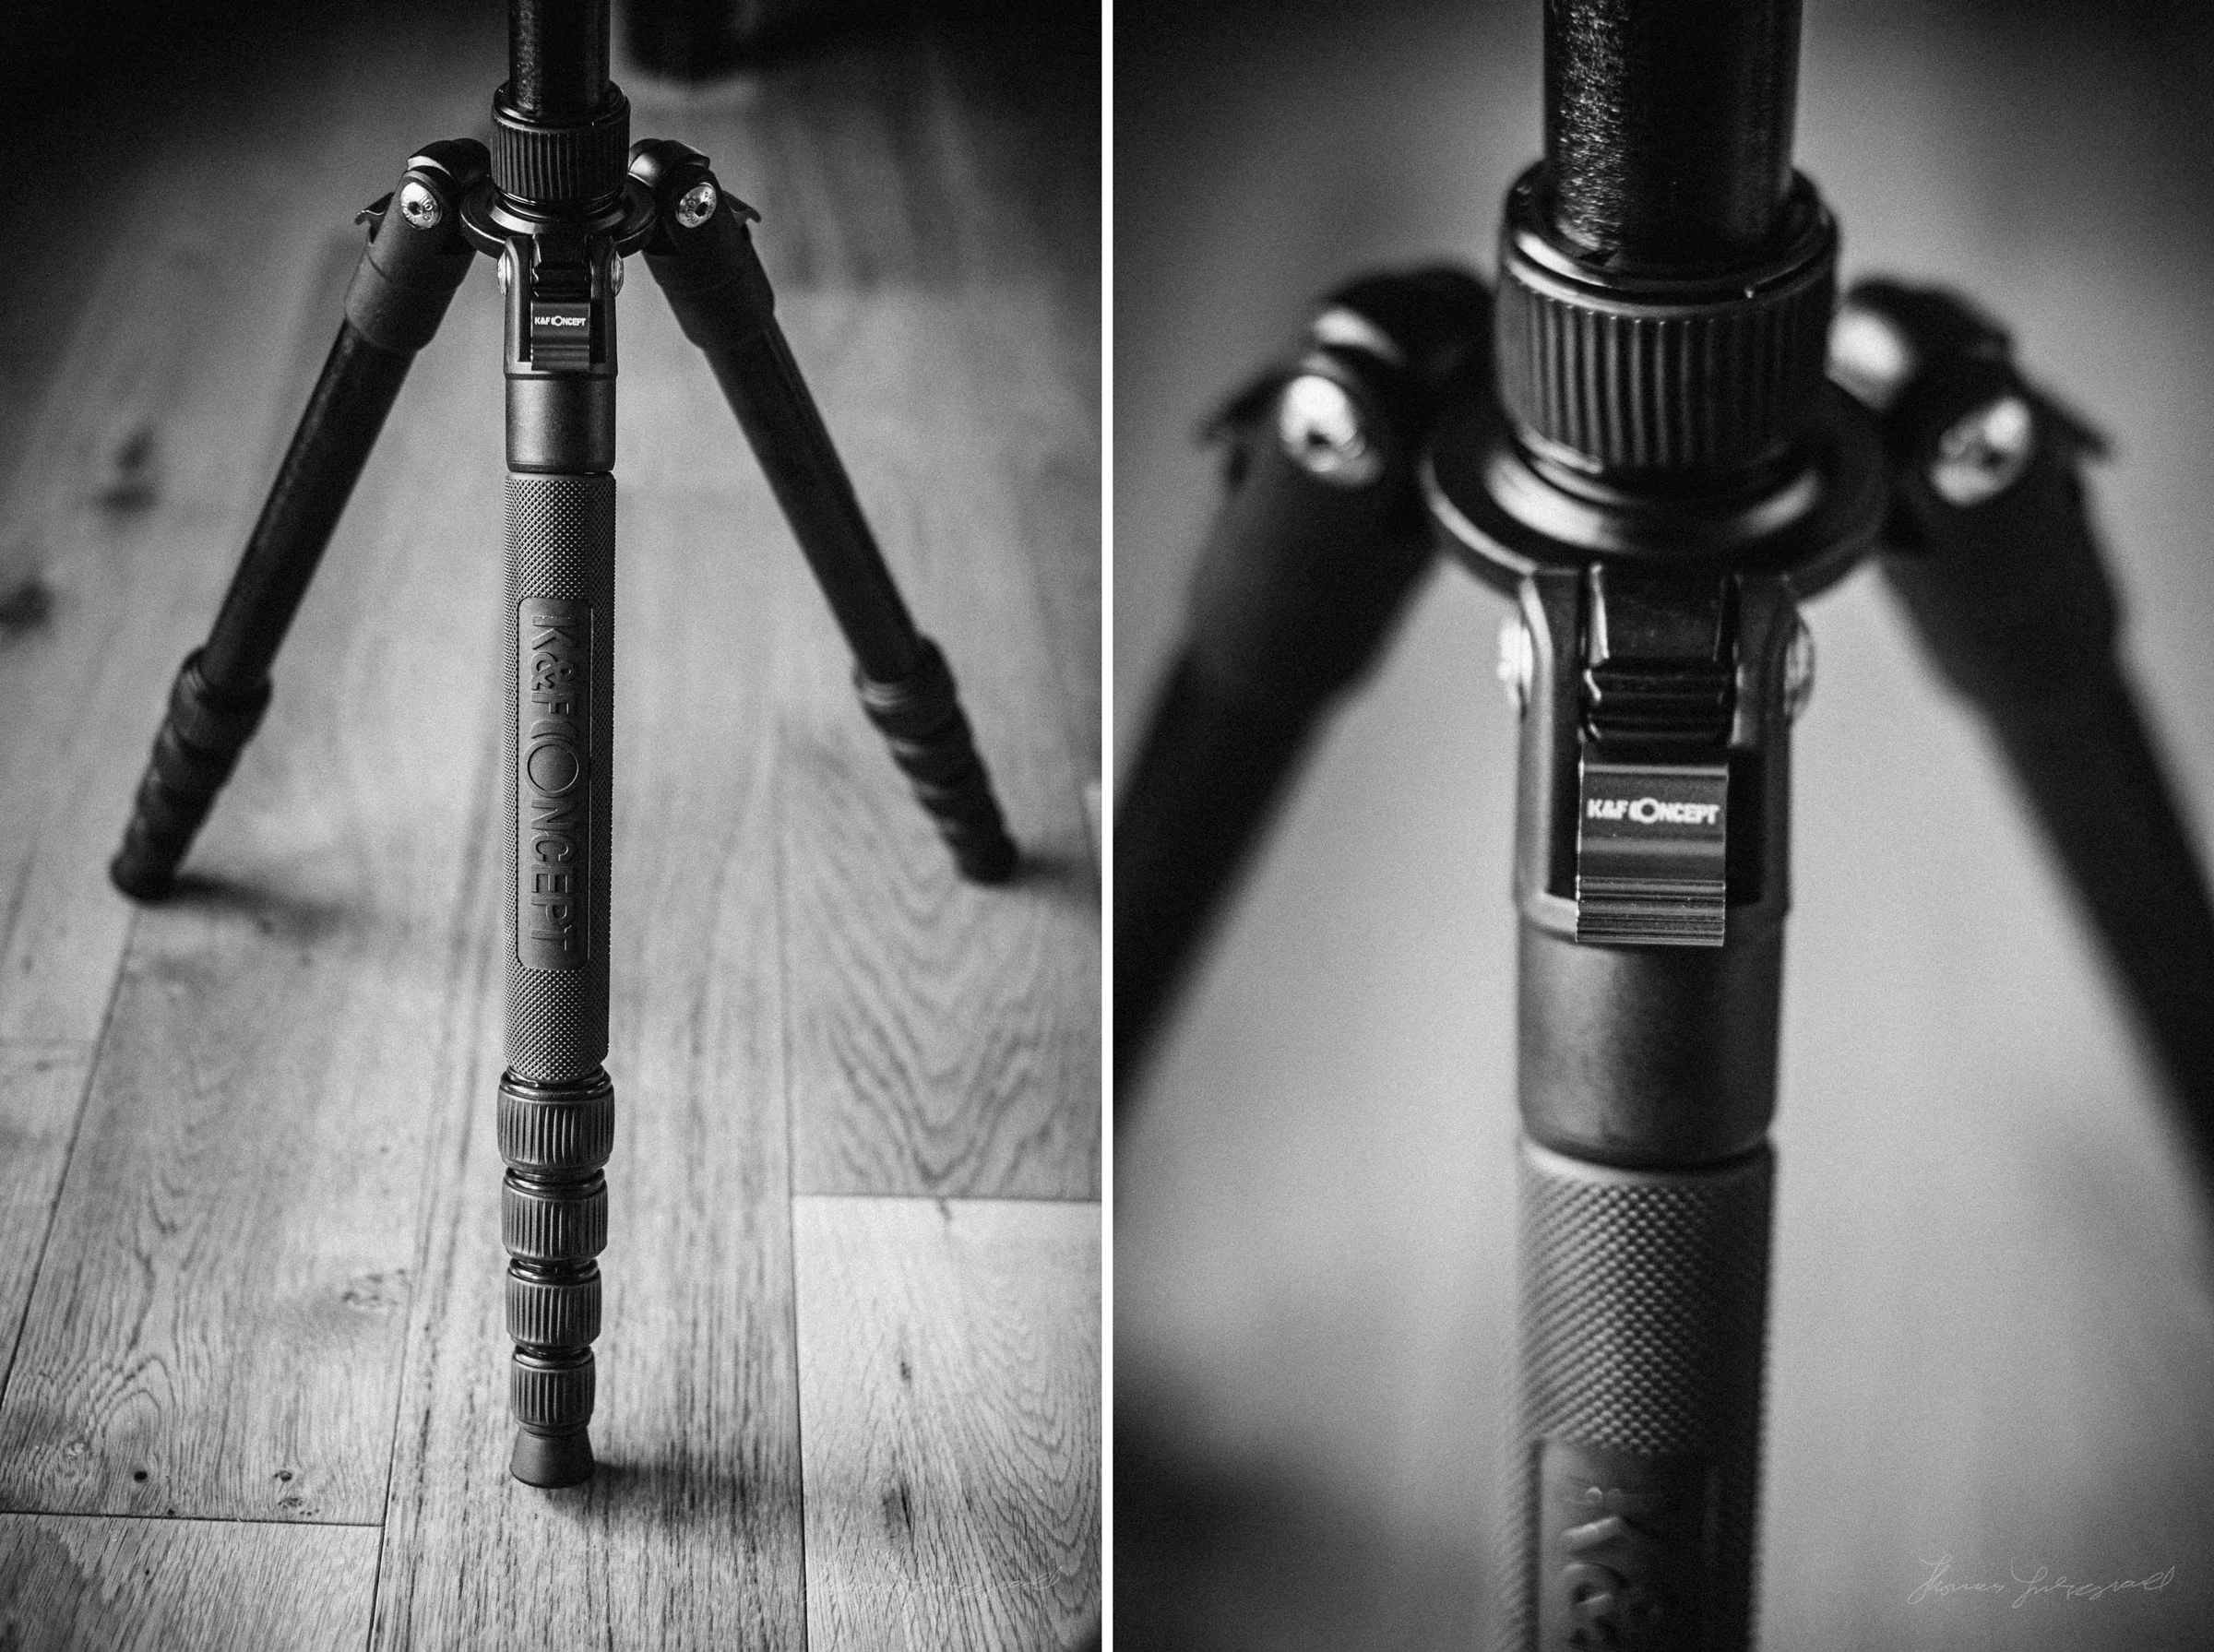
Tripod Unboxing and Product Shots
The kind folks at K&F Concept sent me a Tripod to review, and I thought I would have a bit of fun and play around with some moody product shots while doing an unboxing. I’ll have a review of the tripod in full soon, but for now, here’s a little gear porn.
Experimental Sony A6000 Custom Lightroom Colour Profile to Download
Long time readers will know that I’ve spent quite a bit of time talking about and coming up with solutions to the problem with Adobe’s calibration of Sony raw files. In particular, I’ve covered the A6000 many times, as it is a camera that I own and use regularly. In the past I’ve crated custom corrections by manually adjusting the calibrations by eye. As Datacolor were kind enough to send me their Spyder X Studio package to try and to review, I thought I would see if I could use the Spyderchecker to create a better profile.

