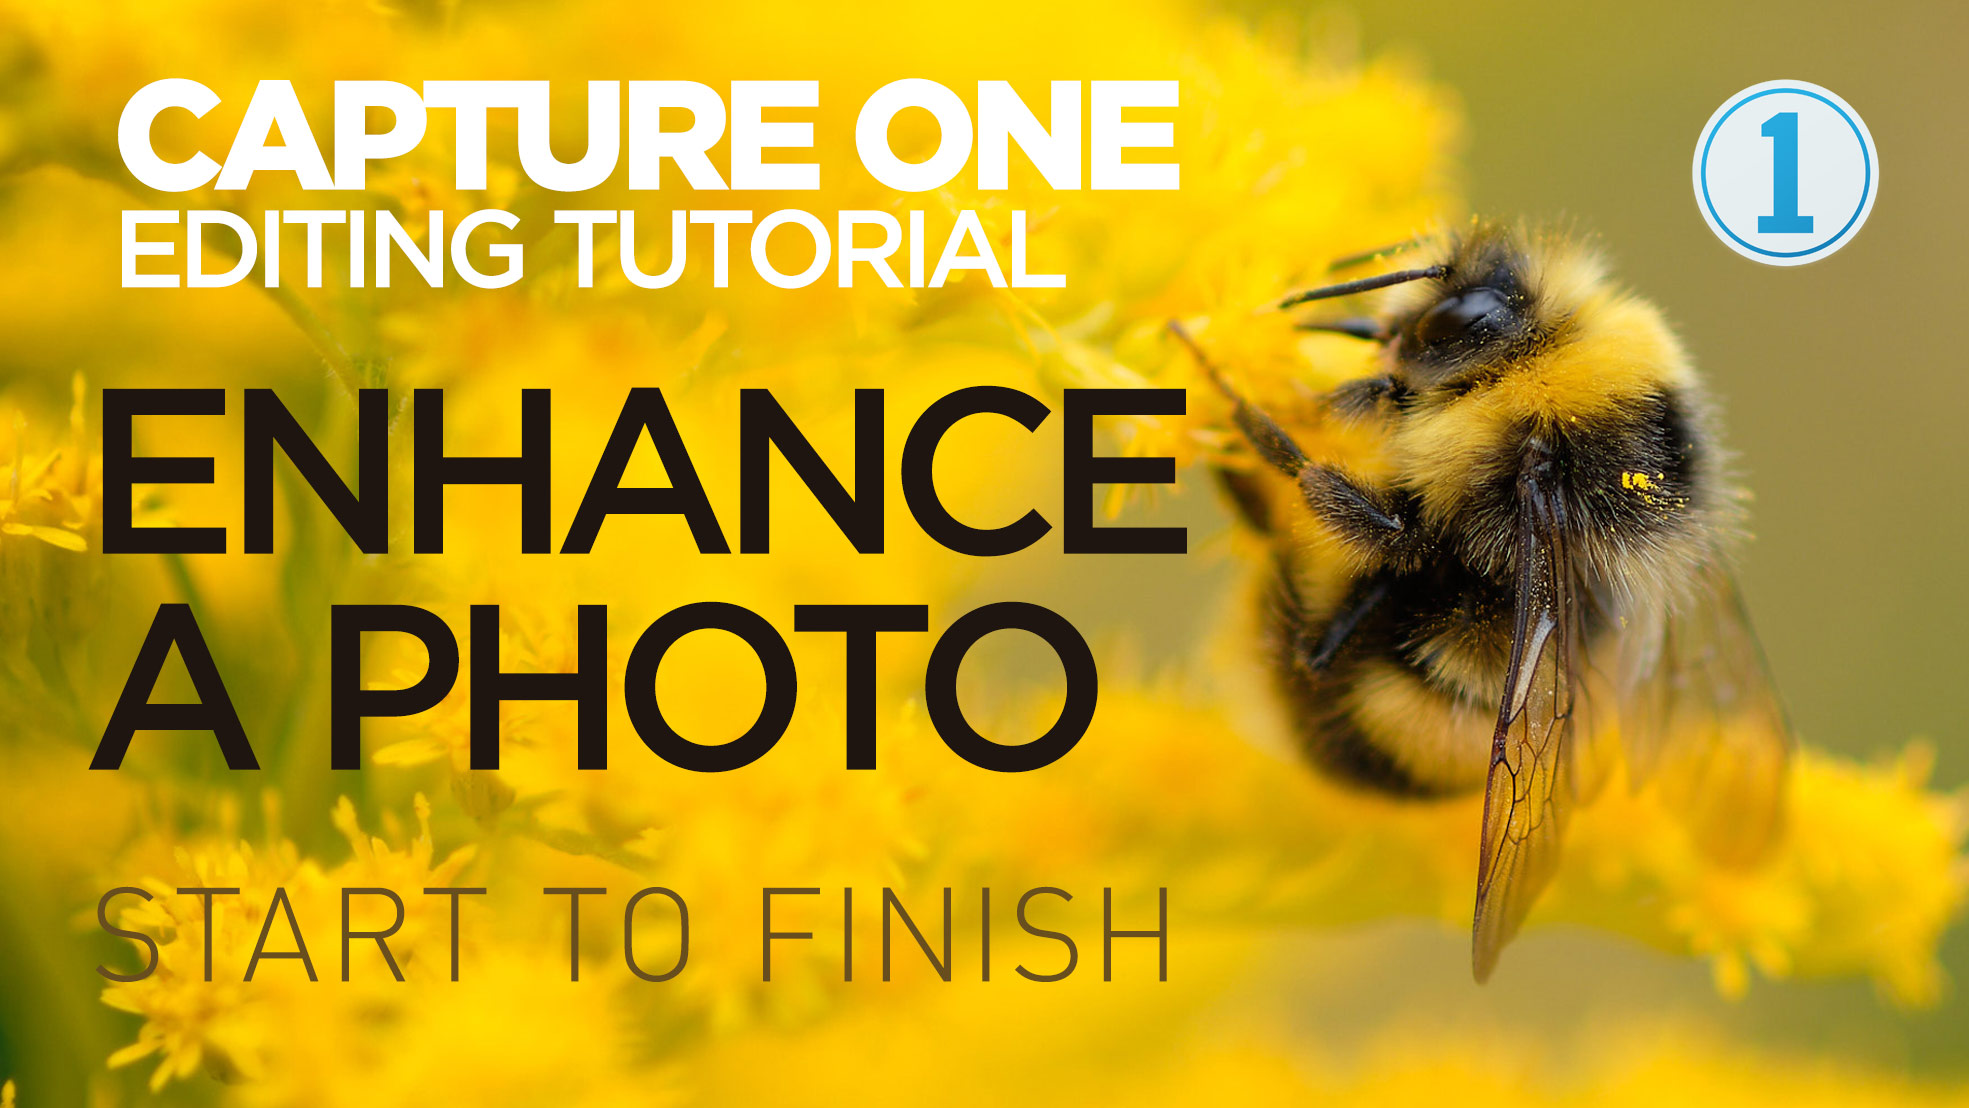
New Video: Enhancing a Photo in Capture One from Start to Finish
In this video tutorial I show you my editing process on an image in Capture One. While the photo is fairly good to start off, I wanted to enhance it further including tweaking the colour and doing some selective editing.
I started off by tweaking the crop of the image and then the colour of the photo using the colour editor. I then went on to add a controlled vignette using the gradient tool and a masked layer. Finally I added some sharpening to the bee to really make it stand out. Incidentally, for those wondering, this was shot using a Fuji X-Pro 2 and a Nikon 100mm macro lens (via adaptor). Here’s the before and after photos:
Click on the photos above to view large and use the arrows to do a comparison
If you’re interested in buying Capture One but haven’t yet bought your own copy yet, and you want to support the blog, then by going through my affiliate link I’ll get a small commission if you decide to get a lisence!
Join our Facebook Group
If you want to discuss anything you’ve read here on my website, or saw on my youtube channel, or if you want to share images you’ve created using any of my techniques or presets, then I’ve started a new Facebook Group just for that.
Help Support the Blog
This blog is pretty much my day job now and I work to bring you my own take on photography, both tutorials and tips, as well as inspiration from my own art. Running all this isn’t cheap, and so If you like what you see and you want to help keep this all going, I support this work, and my YouTube channel entirely either via sales of my eBooks and Lightroom presets, or the kind support of my readers. (I also have some affiliate ads).
You can see more of my photography and keep up to date by following me on social media and checking out my other websites:


