

Photo Editing, Tutorials, Photography News, and More
This blog covers a range of topics from Lightroom, Photoshop, Capture One, Fujifilm, Canon, Nikon, iPhone Photography, and more. If you want to see more of my actual photography work, visit my Portfolio and Photo Journal blog.
Featured Posts


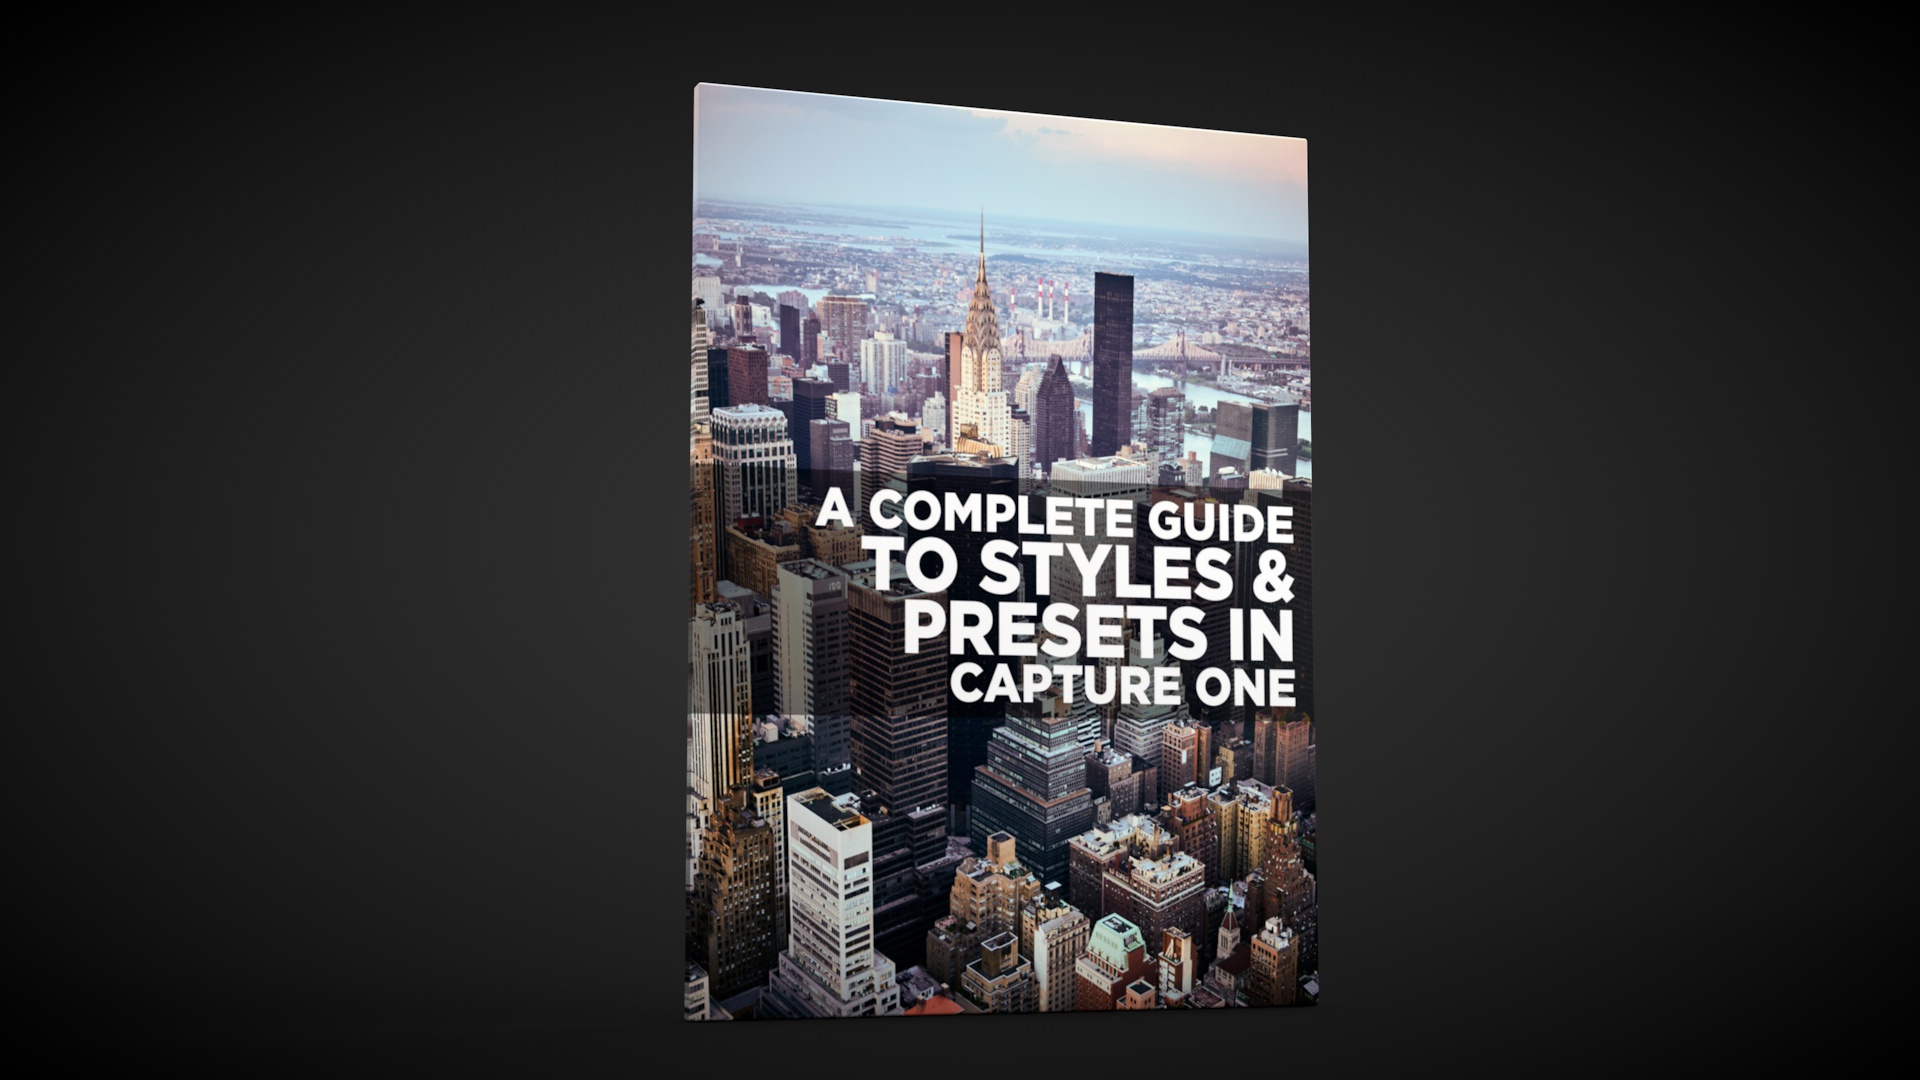
Free Capture One Styles and Presets eBook
Last week I posted a lengthy blog post about styles and presets in Capture One. To make it a bit easier for you to follow, and so that you can have it as a handy reference guide, I’ve turned it into a free eBook, and it’s available now for free on my digital download store.

Capture One 20 Pre-Order: Buy Capture One 12 now and Get a Free Upgrade to Capture One 20
Phase One just sent me a notification to say that the company is now starting their pre-orders for the next version of Capture One. Specifically, if you buy the current version of Capture One you will get a free upgrade to the next version, curiously named “Capture One 20”.

A Complete Guide to Styles and Presets in Capture One
At its simplest, Styles and Presets in Capture One may just seem like a variation of what would be Develop Module presets in Lightroom, but they offer a number of distinct advantages. Getting to know how to create, manage and work with styles and presets can be a significant workflow enhancement in Capture One, and so what follows is an extensive guide to one of the software’s key features.

Video: How to use the Colour Balance tool in Capture One
The colour balance tool is one of my favourite features of Capture One, and one I get asked about regularly. In this video I show you how to use the colour balance tool (also known as the three way colour corrector) to colour correct a photo.

My Capture One Style Packs Updated to Simplify Installation
I’ve released a minor update to two of my Capture One style packs in order to simplify the installation process. Previously they needed to be manually installed which was a bit of a chore, but now they can be installed simply by double clicking on a file.

The Difference between SilverLux and T-Pan - My two black and white Style Packs for Capture One
With the launch of T-Pan for Capture One this week, I now have two style packs available for the software. The other being SilverLUX. I had a couple of questions from customers and readers over the past few days as to the difference between T-Pan and SilverLUX, and so, here is a quick breakdown of the differences between the two Style Packs.

T-Pan for Capture One: Black and White Style Pack now available
I’m happy to announce that my latest Style Pack for Capture One is now available to buy from my digital download store. T-Pan for Capture One is a set of Black and White styles inspired by black and white film. The look is aiming to re-create the experience of shooting with a professional grade black and white film stock, and creates a rich film like monochrome image.

Two Ways to Automatically Send Images from Lightroom (or Capture One) into Apple Photos
If you’re on a Mac and you want to send your finished images from Lightroom (or Capture One) to Apple Photos, to sync to your devices for example, then you can do it manually by exporting from one application and importing into the other. This can be a bit tedious, but there are also some ways you can automate the process. This involves exporting to a folder in the finder from Lightroom or capture One, and having that automatically import into Photos.

New Video: Enhancing a Photo in Capture One from Start to Finish
In this video tutorial I show you my editing process on an image in Capture One. While the photo is fairly good to start off, I wanted to enhance it further including tweaking the colour and doing some selective editing.
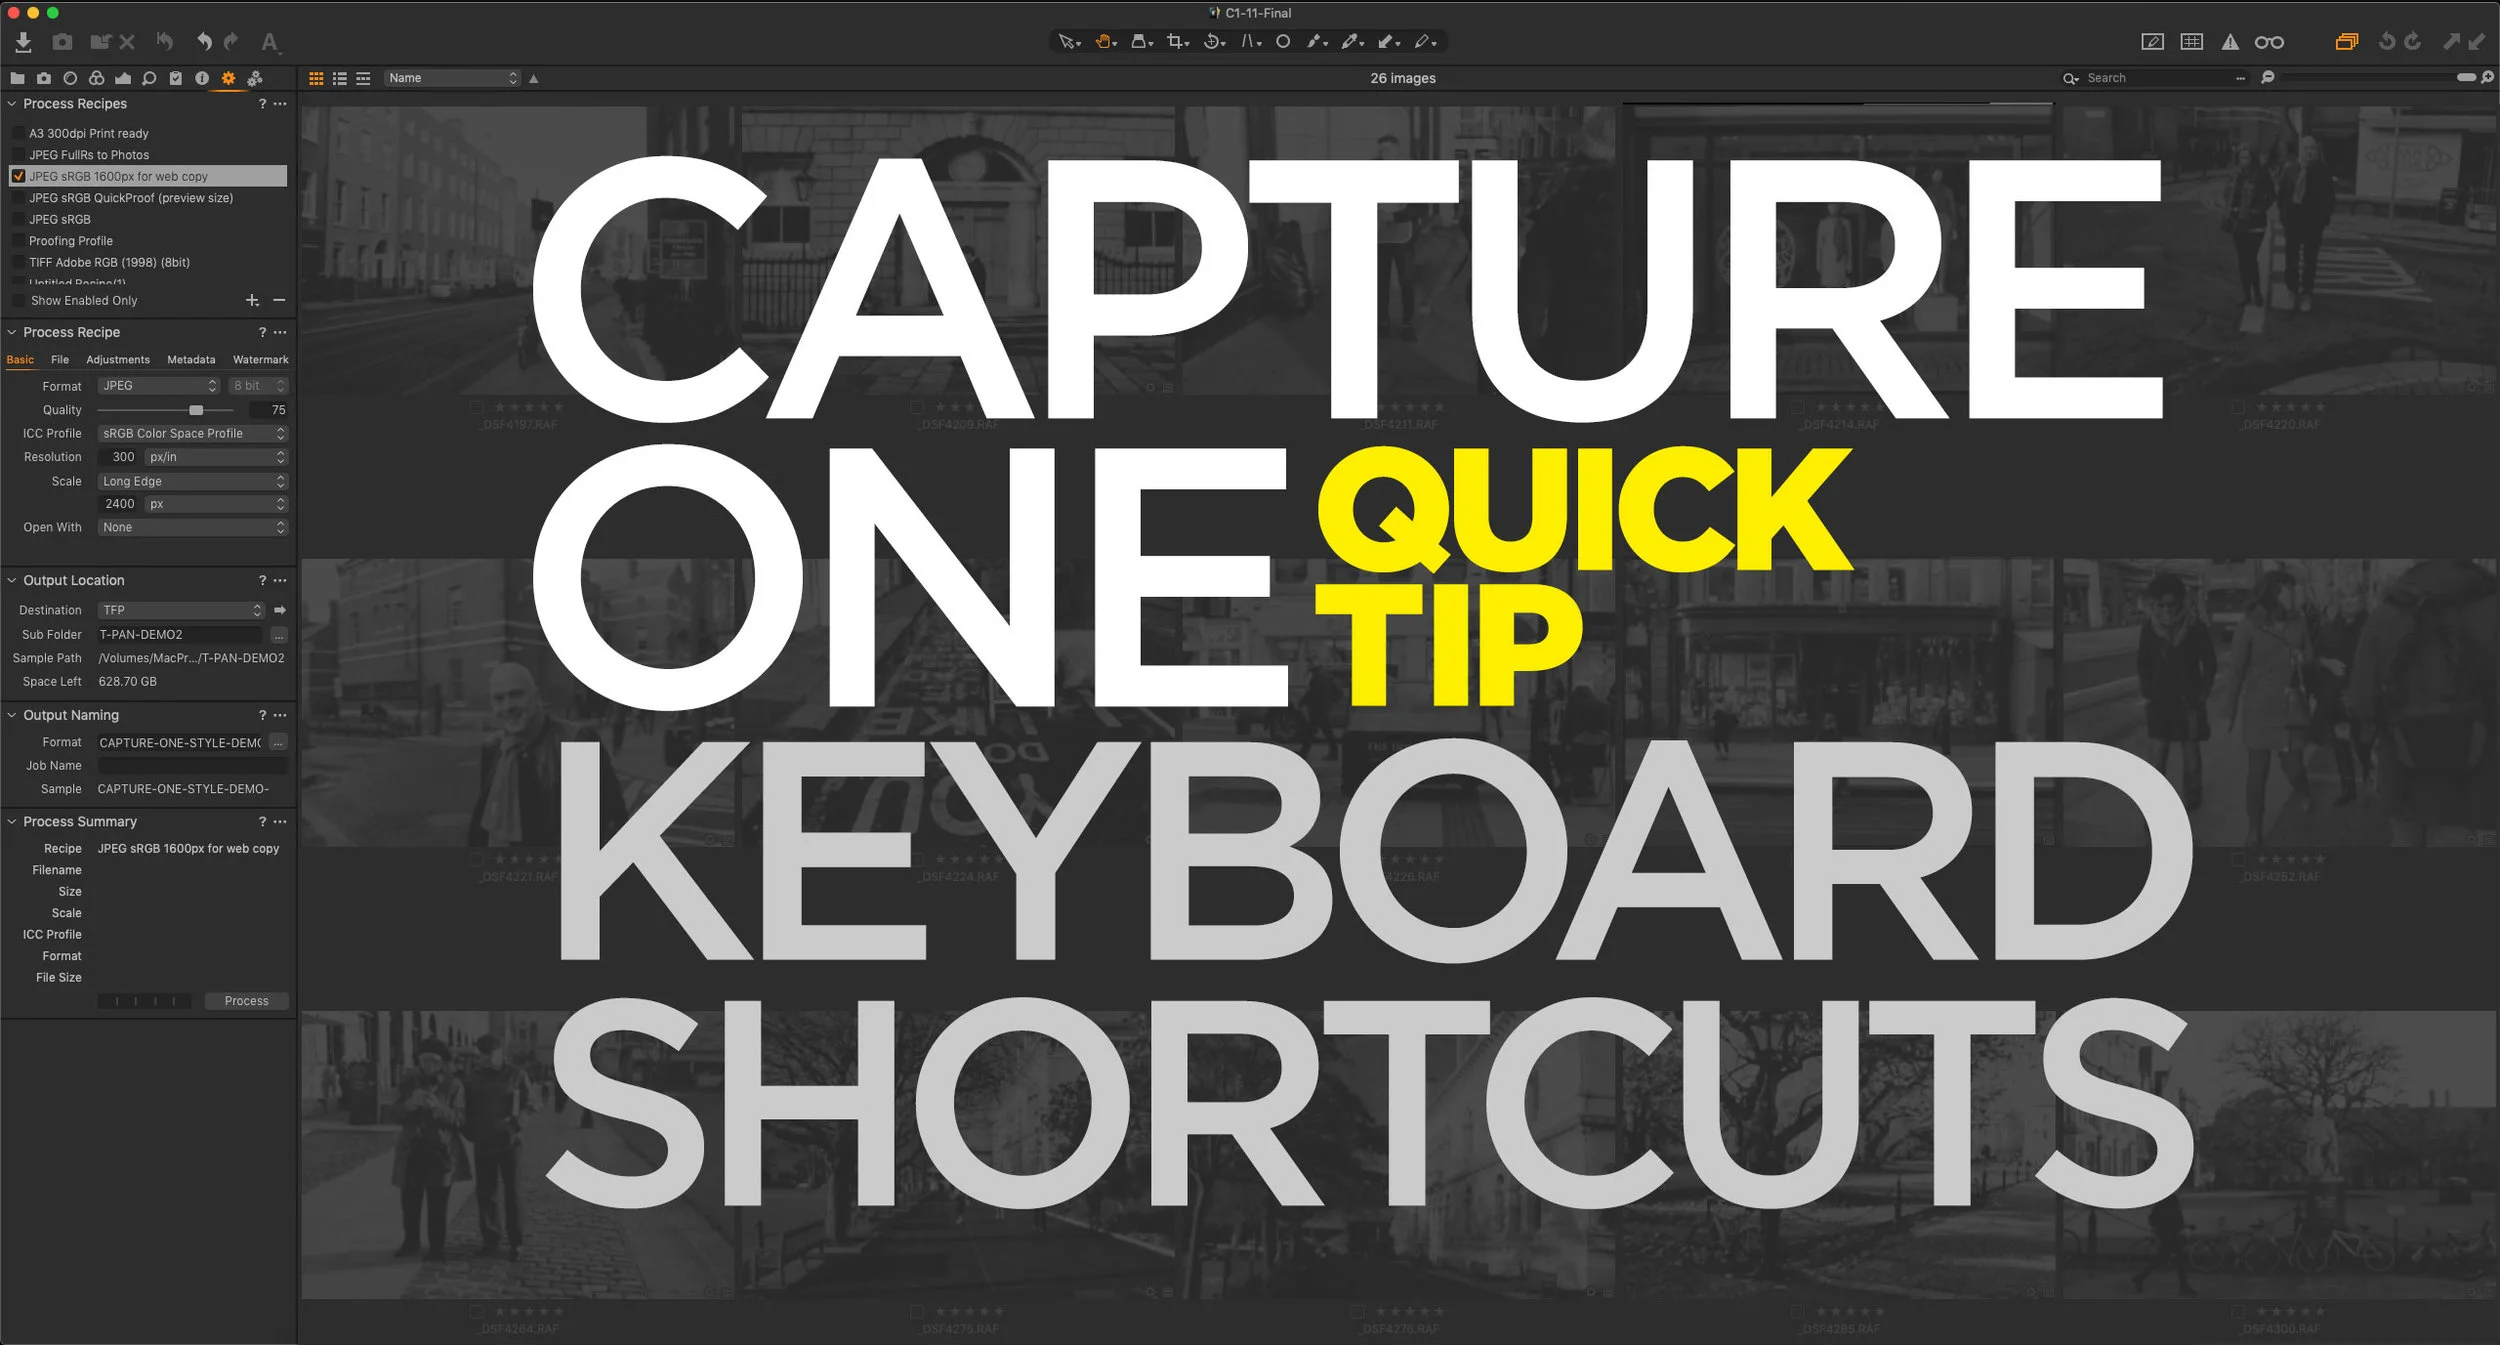
Capture One Quick Tip: Simulate Lightroom’s “Grid” Mode Keyboard Shortcut
This is a really specific and kind of nerdy tip, but I’ve found that this helps me speed up my workflow in Capture One considerably. If you’re used to Lightroom, you may be used to switching between the grid and develop modules using the “G” and “D” keys. I do this all the time, when I’m working on a project, and I want to jump to different Images. I find it easier than scrolling up and down the film strip at the bottom of the develop module. To do this in Capture One, you show and hide the viewer. There is a keyboard shortcut for this already, but it’s hard to remember and physically awkward to press. Luckily it’s easy to change.
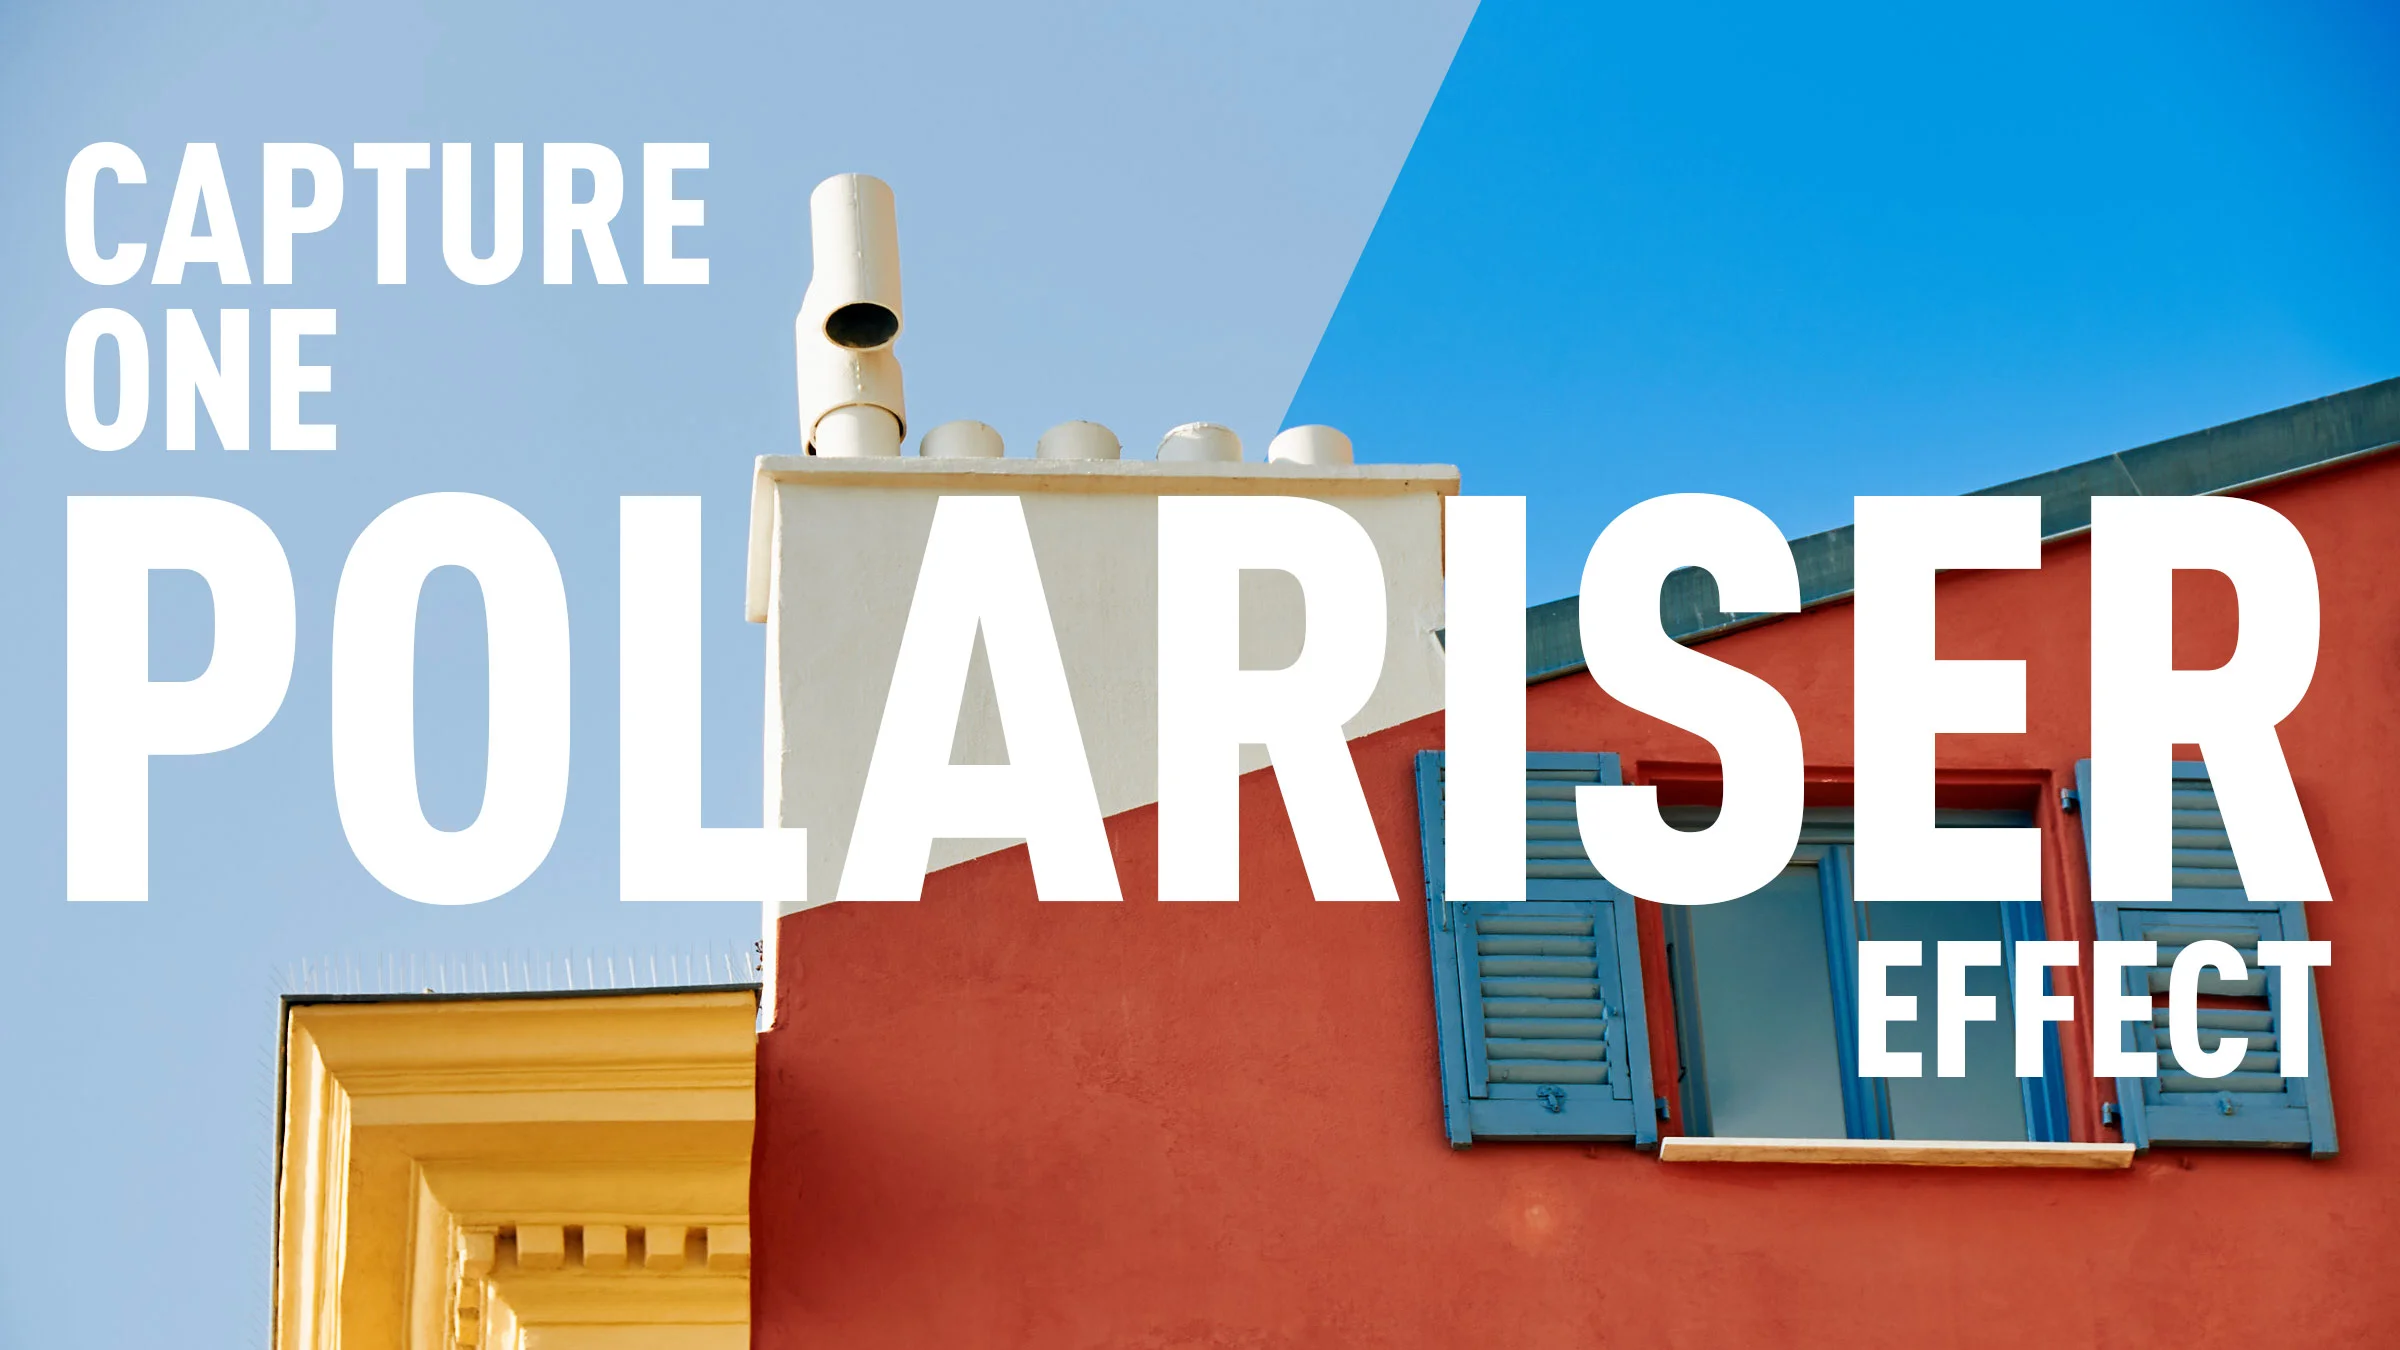
How to create a Polariser effect in Capture One
Using a polariser to enhance the blues in your image was probably one of the first filters that I ever used when learning photography. You can also match this effect in software, although you can’t easily replicate a polariser’s other feature which is to cut down on reflections. In Capture One, the obvious way to replicate a polariser is to use the colour editor tool, however, it’s not as straight forward as it seems. In this short video I show you how to create a polariser effect and save it for reuse.

Coming Soon: T-Pan for Capture One
I’m working on the long process of converting some of my most popular Lightroom presets over to Capture One, and with that in mind, I’ll soon be launching my next set of Style Packs: T-Neg for Capture One. This is based on the Lightroom pack of the same name, and it’s probably one of my two most popular sets. T-Pan is based on black and white film, and was created by using scanned film as a reference.

Mastin Labs Fujicolour Original for Capture One: A Quick First Look
I’m a little late with this but following on from their first Capture One set, Mastin Labs has released another film emulation style pack. This set, called “Fujicolour Original” covers Fujifilm negative stocks, and is similar to their previous Kodak set, and the company’s Lightroom presets of the same name. They sent me a set to try out, and so here is my quick first impressions review.

Capture One In Depth: Importing
In this new series, I’m going to go through the basics of Capture One in depth, both for new users and anyone who wants to learn more. When the series is complete, I will release a compendium as an eBook Guide. To get started, I’m going to take a look at how to import images into Capture One, and how to navigate the Capture One import dialog.

Last Few Days of Capture One Sale - 50% off Fuji and Sony Versions
The special offer Phase One has been running all summer on the Fuji and Sony versions of Capture One, is due to expire in a few days on August 31st. There’s still time to get the Fuji and Sony versions of Capture One Pro for 50% off until then.

A Capture One (Express) to Lightroom Technique For Fuji Shooters (How to Use Capture One Express like X-Transformer - sort of)
I’ve often gotten questions from readers as to whether there is any way to use Capture One Express in a similar fashion to Iridient X-Transformer, in order to produce a file that you can then import into Lightroom for further editing. While there is no direct way to do this in the exact same way it is with Iridient X-Transformer, getting these questions did get the cogs in my brain working! I wondered if there was a way one could use Capture One’s flat profile to achieve something similar. So, after spending some time experimenting, I’ve come up with a possible solution. Read on to find out more…

Phase One launches Capture One Student Programme. Save 65% on Capture One if you’re a Qualifying Student
Today Phase One announced the launch of a new campaign to give students a chance to get Capture One pro for a significant discount. Students will be able to save 65% on annual or monthly subscriptions to Capture One Pro.

Use Layers to Apply Noise Reduction to the Shadows in Capture One
No matter how good your camera is, or how good your technique is, there are times when you will want to reduce the noise in an image. In many cases the noise reduction in your chosen raw processing software will be enough, but using noise reduction is often a trade off between maintaining detail and suppressing noise in an image.