
A Complete Guide to Styles and Presets in Capture One
At its simplest, Styles and Presets in Capture One may just seem like a variation of what would be Develop Module presets in Lightroom, but they offer a number of distinct advantages. Getting to know how to create, manage and work with styles and presets can be a significant workflow enhancement in Capture One, and so what follows is an extensive guide to one of the software’s key features.
Understanding the difference between Styles and Presets
If you have come from Lightroom, when you hear the term “preset” you are most likely thinking of Develop module presets. The popularity of these as a way to quickly create all kinds of looks has solidified the term “preset” to mean this, but in Capture One, the term “preset” has a different meaning.
“Presets” in Capture One allow you to store settings for each individual tool in its own pop-up preset menu. This is useful as it allows you to quickly recall settings for any tool, without having to go to a different part of the interface.
“Styles” on the other hand, are more like what you are probably thinking of when you think of Lightroom’s presets. They can contain multiple settings for lots of different tools in Capture One, and you can use them for a variety of purposes, from quickly changing settings across multiple adjustments, to full blown film simulations and looks. You can create your own styles and there are also lots of professionally produced style packs available to purchase from both phase one and other sources (including me!).
Creating and Working With Presets
As mentioned above, presets are designed to save the settings of individual tools inside of Capture One. Many tools already have factory presets as part of the tool, and also allow you to save your own custom settings as a “user preset”. You can save presets for almost all of the tools in the application.
Saving a preset is pretty straight forward. Here’s what to do:
- Go to the tool for which you wish to save settings.
- Make whatever changes you wish to save as a preset.
- From the preset menu (the one that looks like three lines) choose “Save User Preset…”
- A dialog will pop up listing all of the adjustments that will be saved. Depending on the tool there may be more than one setting and you can turn on or off individual settings. If you don’t want to save something as part of a preset, uncheck the checkbox”
- Once you’ve set the required settings, click on Save. This will bring up an open and save dialog. This is really important - do not change folders. You need to keep presets in the correct folder, and navigating away will mean that your preset won’t show up in Capture One. You can however create a sub-folder inside the default folder.
- Name your preset and click save.

That’s all there is to creating presets. Once you’ve created your preset you can recall it from the same pop-up menu. Presets can also be found in the “Styles and Presets” tool on the Adjustments Tool Tab (the one that looks like a little clipboard). Here you will find them under the User Presets heading. Each tool that has user presets saved will have a sub heading here and you will find your presets under these.

Locating presets on your hard drive
If you need to back up presets or move them to another computer you can find them in a special folder on your computer’s hard drive. This is also the location into which you place preset files, should you manually wish to install them. Some commercial Style Packs also come with presets and many of these need to be manually installed.
On a Mac:
You can find the presets folder here:
~/Library/Application Support/Capture One/Presets60
This is in your USER library folder, not your system library folder. To get there quickly use the “Go To Folder…” command from the Go menu in the finder and copy and paste the path in here, or manually navigate to it.
To get to the user library in the finder, hold down the option key and go to the GO menu and you should see the Library option appear.
On a PC
On Windows you should be able to find the folder in the following location:
C:\Users\username\AppData\Local\CaptureOnePresets60
(Note: C = your drive letter username = your own user name)
Once in the presets folder, each tool will have its own sub folder. So for example, presets for White Balance will be in the “White Balance” folder and so on.
Note: Some of these folders may be differently labelled if your computer is in a different language.
Note 2: the “Presets 60” folder may not exist if you haven’t saved any user presets, so if you’re having trouble locating it, save a preset first.

Preset folders inside the “Preset60” folder
Manually Editing Presets
Presets themselves are XML files stored as plain text files, with the extension .copreset. If you wish, and you have the experience to do so, you can actually manually edit these files using a plain text editor. On the Mac I suggest BBEdit or something similar. By editing these files you can tweak values for the settings that you have saved. For example, here is a preset for Brightness:
<?xml version="1.0"?>
<SL Engine="1200">
    <E K="Brightness" V="20" />
    <E K="Name" V="Brightness +20" />
    <E K="UUID" V="4E182AFB-C1AE-4449-B4DD-726F43854326" />
</SL>
In this case the only thing you can change is the actual value for brightness, which in the file above is “20”. One can change this value and save the file, and it will be reflected in Capture One when this preset is used the next time. You may need to restart Capture One for changes to manually edited presets to take effect.
NOTE: This should only be done by those familiar with editing XML files and have a basic understanding of XML structure. Edit these with caution at your own risk!
Creating and Working with Styles
Unlike presets, Styles can contain settings for multiple tools. Whatever you can adjust in Capture One for the most part you can save it as part of a Style. Creating styles can be a really useful way to speed up your edits. You can save groups of technical settings, such as sharpening and noise reduction for a quick recall. Or you can create creative “looks” for simulating film, or just a creative grade. This can all be done as part of a Style.
Saving Styles
Once you have a group of adjustments that you wish to save as a style, there are a couple of places from which you can save a user style.
The Adjustments Menu
To save a style from the menu do the following
- From the menu choose Adjustments > Styles > Save User Style…
- A dialog will open asking for what adjustments you wish to save. Go through this list carefully, as it can be easy to save something as part of a style that you don’t wish to save.
- Click “Save” and in the open and save dialog, name the file. Be careful not to change the file extension, or move to a different folder, but you can create sub-folders.

Adjustments Tool Tab > Styles and Presets
This is probably the better place to work with Styles, as it has its own tool in the Adjustments tool tab.
To Save a style from the Adjustment Tab here’s what to do:
- Go to the Adjustments Tool Tab (Little clipboard icon)
- Navigate to the Styles and Presets Tab (it should be the first tab in the default layout)
- From the … menu at the top of the Tool, choose “Save User Style…”
- A dialog will open asking for what adjustments you wish to save. Go through this list carefully, as it can be easy to save something as part of a style that you don’t wish to save.
- Click “Save” and in the open and save dialog, name the file. Be careful not to change the file extension, or move to a different folder, but you can create sub-folders.
Updating a style
If you have saved a style and then you wish to change it to have different settings, there’s no way to “update the style” like you can in Lightroom. Instead, you just have to save over the style file, which achieves the same result.
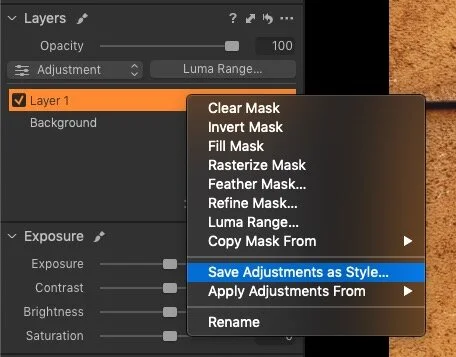
Saving styles from a Layer
If you are working with layers in Capture One, when you use the above method to save a style, it will save the settings from the base layer. To save the settings from any other layer you need to right click on the layer, then choose: “Save Adjustments as Style…” and follow the procedure as normal.
Applying Styles
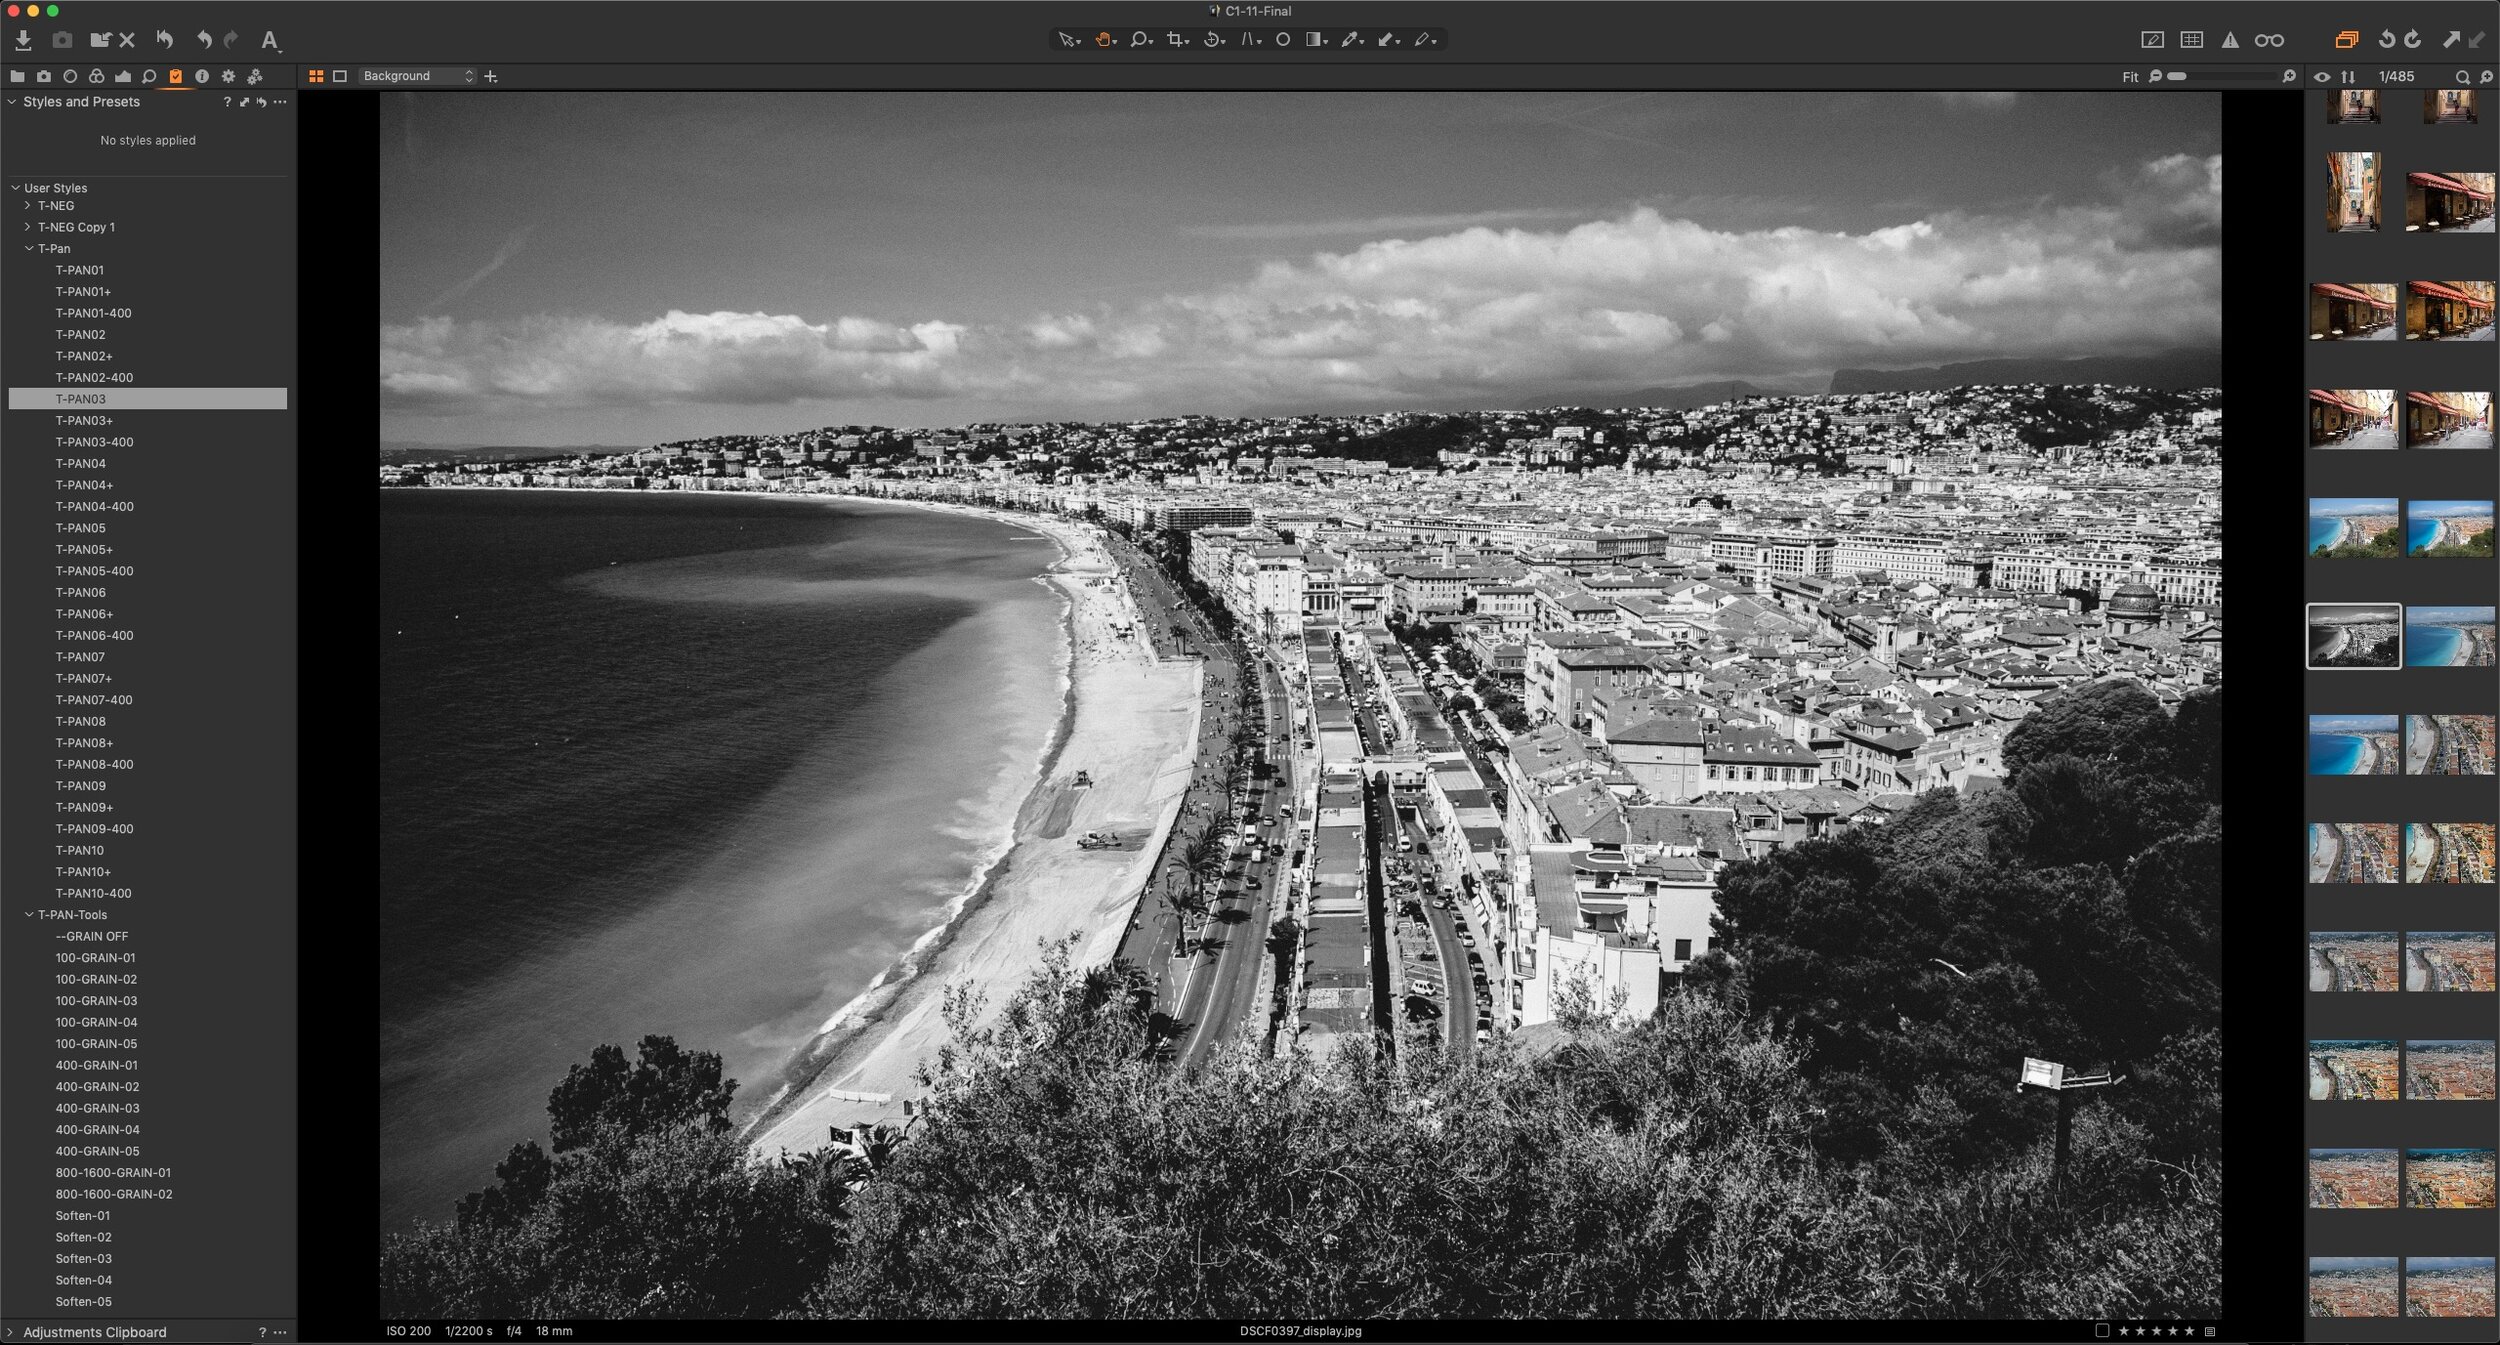
Applying a style is as simple as selecting a style you previously saved. The easiest way to select saved styles is from the Styles and Presets tool in the Adjustments tool tab.
- Navigate to the Adjustments tool tab, and go to the Styles and Presets tool.
- Navigate to “User Styles”. Here you will find a list of your saved styles, and any third party styles you may have installed.
- As you hover over each style, the image in the main viewer will preview the style you’re currently hovering over. Clicking on the style will apply it, and a check box beside it will indicate that it is applied.
- If you click on the style again will un-apply the style, in effect it is turning the style back off.
Applying Multiple Styles with “Stack Styles”
You can actually apply multiple styles to an image in Capture One. To do so you first need to make sure an option called “Stack Styles” is enabled (it is on by default). To turn on Stack Styles go to the Styles and Presets tool in the Adjustments tool tab, and from the … menu choose: Stack Styles.
When it is enabled a check box will appear beside it in the menu. You can also find this in the Adjustments > Styles menu in the main menu. If you select this menu option again it will turn stack styles off.
When Stack Styles is enabled, you can apply multiple styles. Only the the adjustments contained in the second style you apply will overwrite those in the first style. For example, say the first style you applied had adjustments for Exposure, Contrast and Clarity. The second style you applied had Clarity and Tone curve for example. In this case you would end up with Contrast and Exposure from style 1 and Clarity and Tone Curve from style 2. If you had stack styles turned off, you would only get the results from the second style you applied, and everything from the first style would be reset.
This is especially useful if you create styles to be used as tools. For example, say you have created a set of film simulations, and you’ve saved some grain settings as styles, as well as some styles that use the colour tools. In this case you could select one of each, and so long as “Stack Styles” is on you can tick them on and off as required.
Applying styles to a layer
If you want you can also apply styles to a layer. This has the advantage of allowing you to blend styles using the layers opacity tool. However, some adjustments currently don’t work on layers and so some styles won’t work properly when applied to a layer either. To apply a style to a layer, here’s what to do:
- Create a new “Filled” layer, if you haven’t already done so. A layer must have some form of applied mask, whether it’s a filled mask, or a gradient, or brushed mask, it doesn’t matter. If you want to apply the settings in a layer to the whole image, make sure it has a filled mask.
- Right click on the layer and choose: “Apply Adjustments From > User Styles and elect the style you wish to apply. This will apply the settings in that style just to the current layer.
Location of Styles on your Hard Drive
If you want to back up your styles, move them o another computer, or just manually install styles, they are in a similar location to Presets. Here’s where to find them:
On a Mac
The location of the folder is:
~/Library/Application Support/Capture One/Styles
As with presets, this is in your USER library folder, not your system library folder. To get there quickly use the “Go To Folder…” command from the Go menu in the finder and copy and paste the path in here, or manually navigate to it.
To get to the user library in the finder, hold down the option key and go to the GO menu and you should see the Library option appear.
On a PC The location of the folder on Windows is:
C:\Users\username\AppData\Local\CaptureOne\Styles50
(Note: C = your drive letter username = your own user name)
Creating Style Packs
If you want to distribute your styles, whether its to make them easier to re-install yourself, or to give them to colleagues, readers or whatever, you can bundle your styles up into a “Style Pack”. This can then be installed with a double click. YOu can only save Styles in a style pack. This doesn't work for presets.
To create a style pack, you’ll first have to create a collection of styles. I suggest putting these in a sub folder. Then do the following:
- Locate the styles in the finder or windows explorer (see above).
- Select the styles or folders of styles you wish to create a style pack of and optionally copy them to a safe place on your hard drive before performing the next step.
- Create a zip archive of the folders of styles that you wish to turn into a style pack. Don’t do this in the default styles folder, or if you do immediately move the created zip file to another location. If you’re unsure how to create a zip file, google the instructions for your operating system.
- Rename the zip file so that the extension is .costylepack rather than .zip
- This is all you need to do. This will turn the styles into a style pack, and you can now install these simply by double clicking on them.

Manually Editing Styles
As with presets, styles can be manually edited. Just like presets they are XML files stored as a plain text file, with the file extension .costyle. Just like presets you can edit the in a plain text editor. Here is an example:
<?xml version="1.0"?>
<SL Engine="1000">
    <E K="ColorBalance" V="1;1;1" />
    <E K="ColorBalanceHighlight" V="1;1;1" />
    <E K="ColorBalanceMidtone" V="1;1;1" />
    <E K="ColorBalanceShadow" V="1.01922655105591;1.01921629905701;1.01921629905701" />
    <E K="FilmGrainAmount" V="4.31884765625" />
    <E K="FilmGrainDensity" V="0" />
    <E K="FilmGrainGranularity" V="50" />
    <E K="FilmGrainType" V="0" />
    <E K="ICCProfile" V="FujiXT1-4. Classic Chrome (X-Pro2).icm" />
    <E K="Name" V="--Import-XP2-Classic-Chrome" />
    <E K="NoiseDetailsAmount" V="30" />
    <E K="NrAmount" V="0" />
    <E K="UsmAmount" V="150" />
    <E K="UsmRadius" V="0.800000011920929" />
    <E K="UsmThreshold" V="0" />
    <E K="UUID" V="27CC0600-388A-4219-A125-471588CDD1EC" />
</SL>
As with presets you should be very careful when editing these, as a malformed file may cause issues. But if you are comfortable and experienced editing XML files then this is a useful way to make tweaks to a style after you’ve created it. If you manually edit a style file, you will need to re-launch capture one for the settings to take effect.
NOTE: This should only be done by those familiar with editing XML files and have a basic understanding of XML structure. Edit these with caution at your own risk!
Applying Styles and Presets on Import
Both styles and presets can be applied to images on import. This is useful if you have a look or a set of adjustments that you want to apply to every image in a shoot. You can apply any combination of styles and presets on import.
- Open the import dialog either by inserting a card into a card reader to trigger an import session, or click on the import images button on the toolbar. Alternatively choose “Import Images…” from the file menu
- On the import window, in the Adjustments section, click on the Styles pop-up menu.
- Using this menu navigate to the Style or Preset that you want to apply.
- If you want to apply multiple presets or styles be sure that the Stack Stylesoption at the top of this pop-up menu is checked. (See above)
- As you add styles to the stack that will be applied, they will show up in this menu at the top. To remove a style from the stack that will be applied on import, go to the Style or Preset that you wish to remove from the list of applied styles and from the sub menu choose “Remove”.
- Once you’ve finished setting up the styles to be applied, continue to import as normal.

Conclusion
Thats pretty much all there is to know about working with Styles and Presets. They are a very useful feature, and if you make them part of your workflow they should help you achieve results in less time.
Help Support the Blog
Check out my Capture One Style Packs
If you’re looking for some Film Effect, or black and White style packs for Capture One, check out my Capture One styles on my Gum Road Store.
Buy me a coffee!
If you’d rather not use Patreon, but still want to say thanks or help, then you can feed my caffeine habit and buy me a coffee via PayPal with a one off donation to my PayPal tip jar.
Join our Facebook Group
If you want to discuss anything you’ve read here on my website, or saw on my youtube channel, or if you want to share images you’ve created using any of my techniques or presets, then I’ve started a new Facebook Group just for that.
Note that this post contains paid affiliate links. We get a small commission for purchases made through these links, which helps run this site.