Speed Up Lightroom - The Three Most Likely Culprits for Poor Performance
Lightroom Classic used to have a terrible reputation for performance. Certainly older versions of the software had some serious speed issues, but over the past few years, Adobe has worked to improve the responsiveness of the application. It’s now it’s a far cry from the way it used to be. However, If you have a modern computer, and you’re still experiencing a slowdown with Lightroom, there are a handful of common issues that could be causing it.
In this article we’ll take a look at the three most probable causes for a slow Lightroom. While these may not be the issues at the root of your problem, in my experience, these are the things that most often cause issues.
Not Enough Space Allocated to Camera Raw Cache.
If you’re finding that images take a while to load, especially when moving back and forth between photos in the develop module, then a likely culprit is the Camera Raw Cache. This might sound like it has nothing to do with Lightroom, but it actually controls how much image data is cached for the develop module.
Here’s what Adobe says about the Camera Raw Cache:
Every time you view or edit raw images in the Develop module, Lightroom generates up-to-date, high-quality previews. It uses the original image data as its foundation, and then updates the preview for any processing or adjustments that have been applied. The process is a little faster if the original image data is in the Camera Raw cache. Lightroom checks the cache for the original image data and can skip early stage processing if the image data is cached.
If you have a low cache size set, it can fill up quickly, and when moving back and forward, it will have to reload the full data each time. How much this affects performance depends on your computer. If you are loading from a super fast SSD then it might not affect it that much, but if you’re loading photos stored on a slower external drive, it can make a difference.
You’ll notice this particularly if working on the same set of images and you are moving back and forward over images you have already previously loaded. If you’re scrolling through images in the develop module for the first time, it will still have to load them fully, but going back over them again will be much quicker.
To change the Camera Raw cache setting go to the preferences, and go to the performance tab. The default is 1 GB. Somewhere around 20-30 is probably sufficient, but I currently have mine set to 50gb.
Turn off The Second Monitor Window in Lightroom
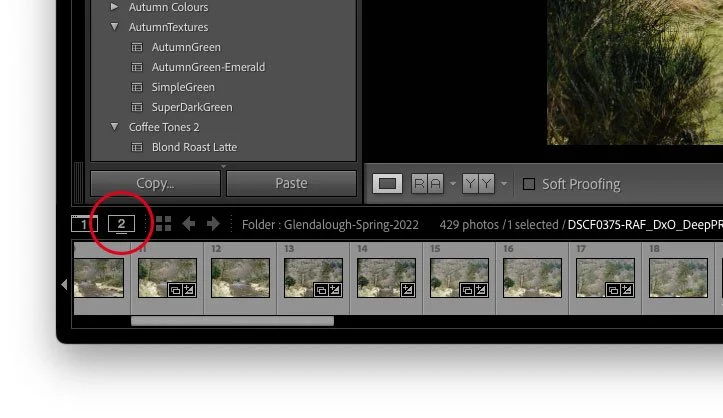
This isn’t as much of an issue as it once was, but I’ve personally found that it can still make a difference, even on my fast M1 MacBook Pro. For whatever reason, having the second display option turned on in Lightroom can slow down the performance.
If you are experiencing performance issues, and you are using Lightroom with the second display option turned on (set to either grid or loupe view) try turning this off temporarily and see if it makes a difference.
Note that if you are in the develop module, after you turn off the second display window, you may need to go out of the develop module and back in again to see a difference. Alternatively restart Lightroom.
Too Many Presets
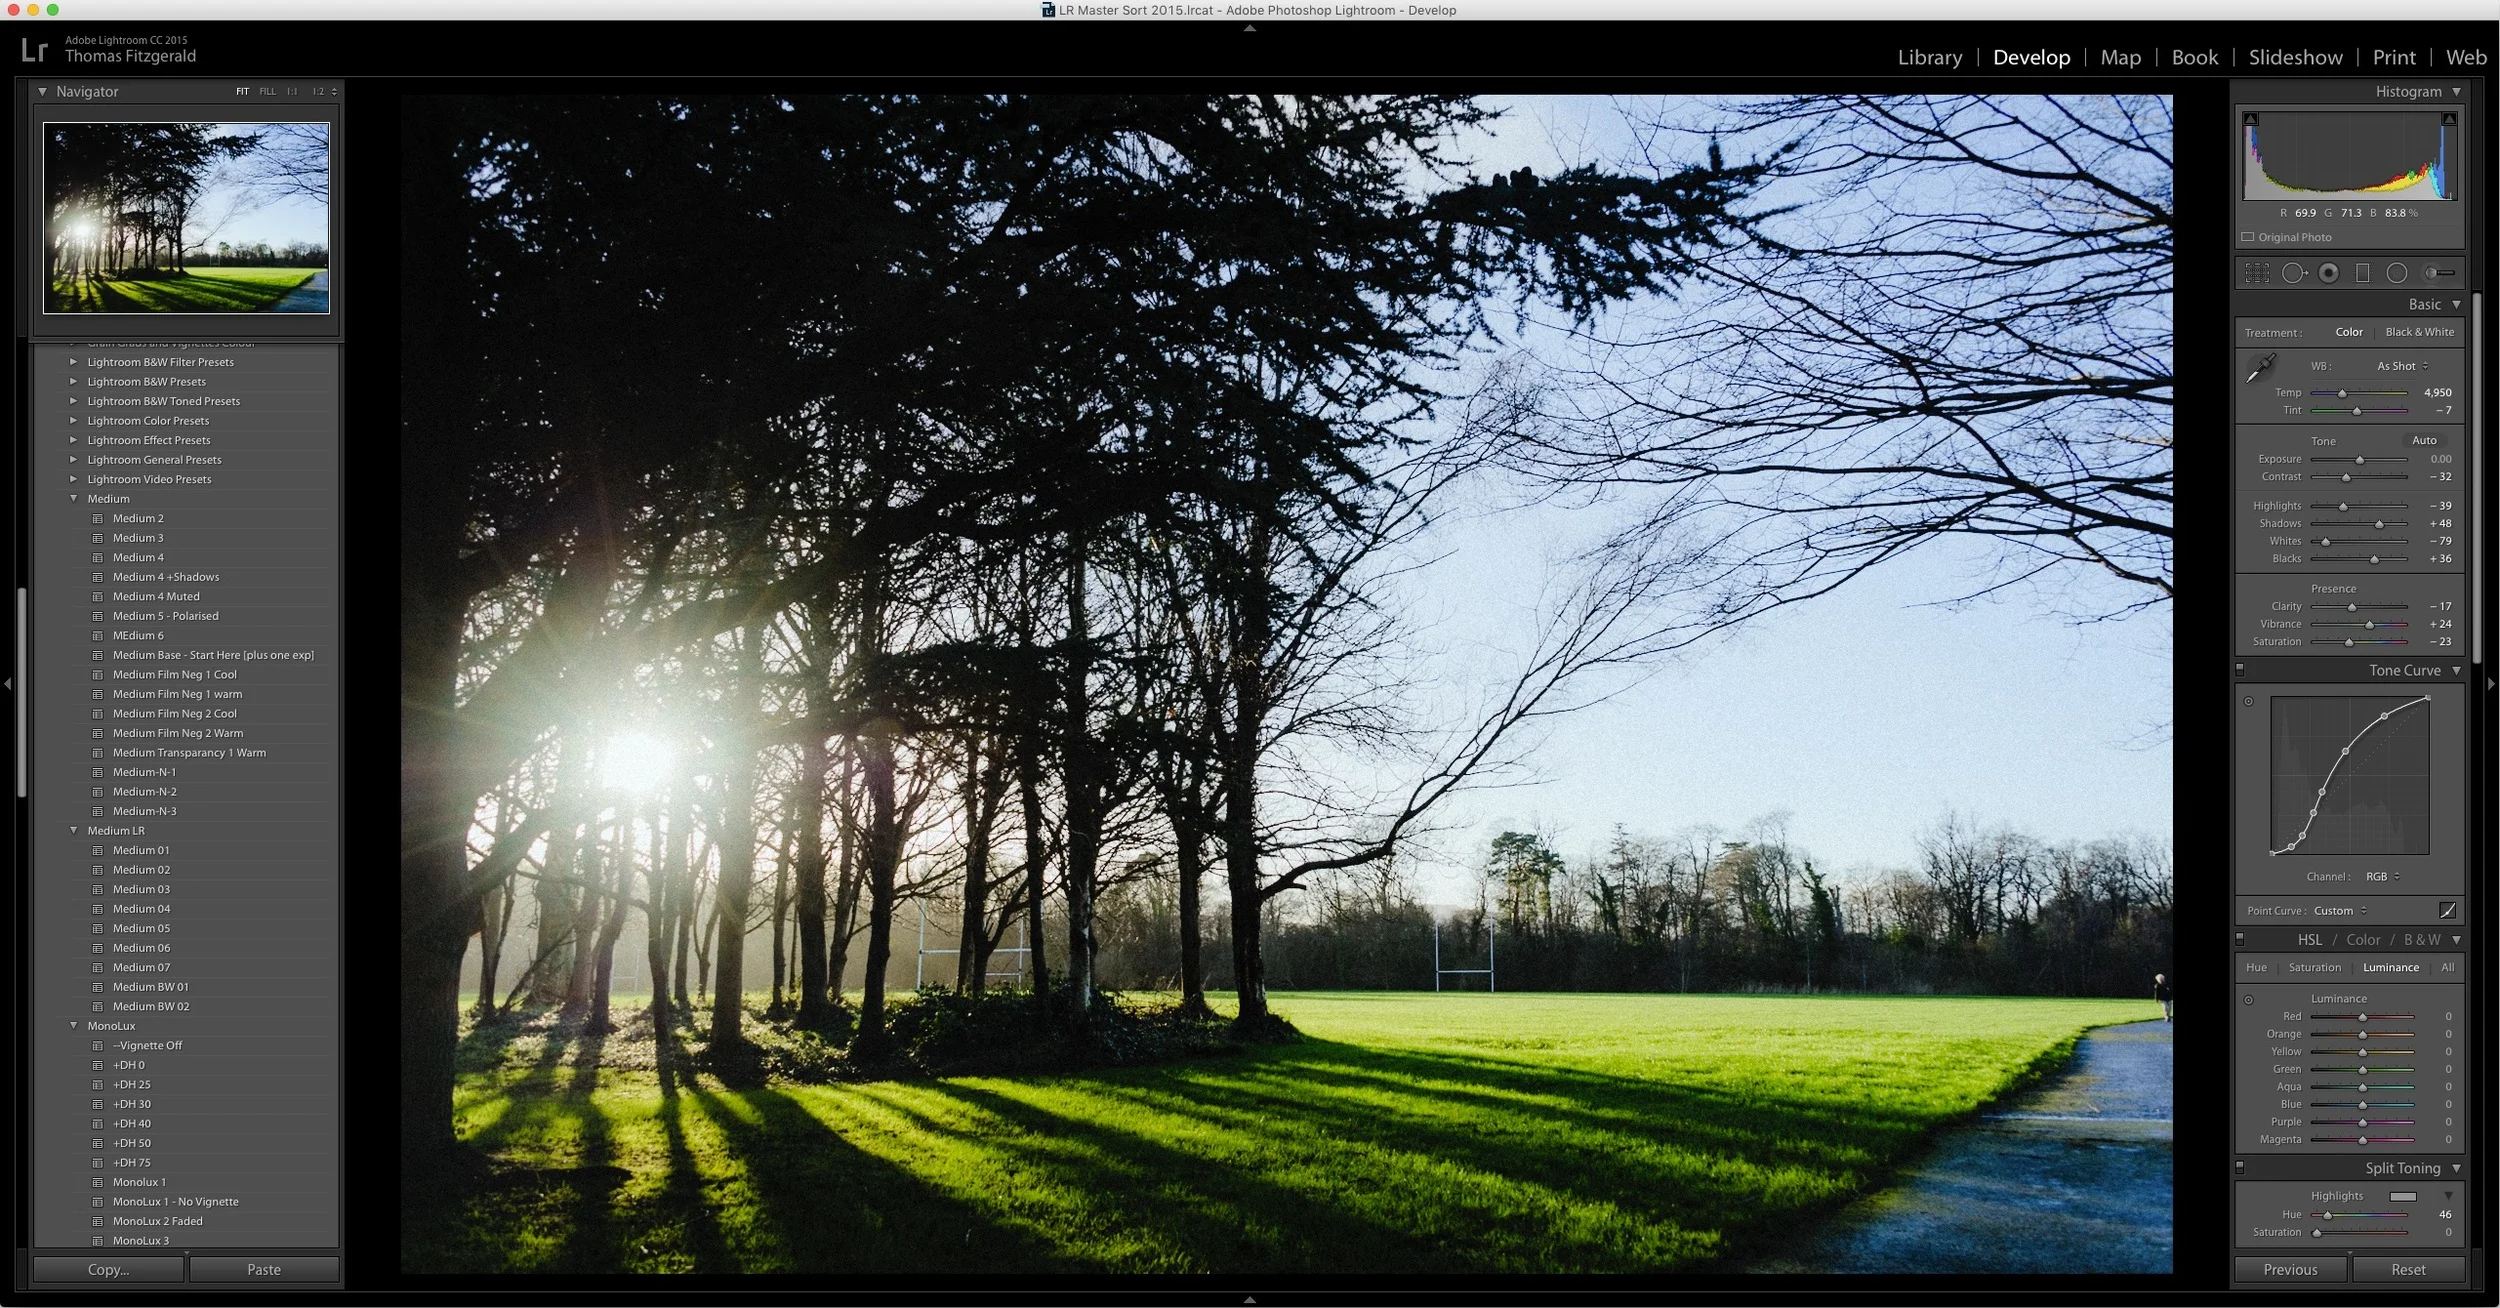
This used to be a bigger issue with Lightroom, but in a previous version they improved the “too many presets” issue, but in my experience it can still be an issue. If you have too many presets installed it can slow down the Develop module. The Adobe support documents on this put the number at 2000 presets, but I’m not sure if this is from an older version.
In my experience, this can be an issue if you’re using older presets imported into Lightroom, especially ones that might have multiple versions for each camera. These aren’t as common any more, but if you still have legacy ones such as the VSCO presets (which aren’t available any more) and you’re experiencing a slow down, then this might be the cause of your problems.
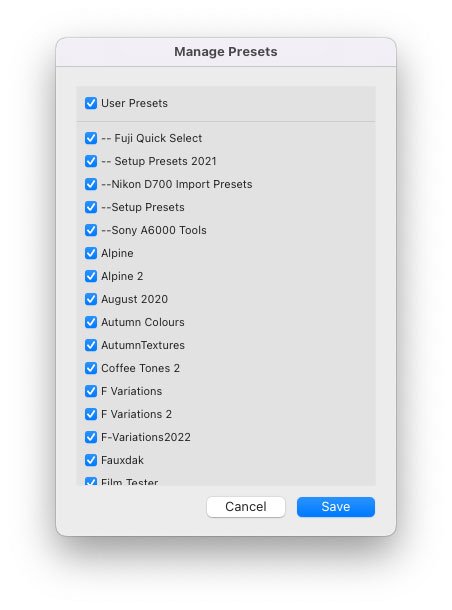
Try trimming down your presets by temporarily removing them. You can physically move them on your system drive, or use the option in Lightroom to manage presets (which is probably easier).
To get to this, in the develop module, click on the + button at the top of the presets panel, and select “Manage Presets”. This will bring up a window with a check list of installed presets. Here you can turn off the ones you don’t use as much.
To manage the presets on your system disk you need to go to the following folder (depending on whether you use Mac or Windows)
Mac: ~/Library/Application Support/Adobe/CameraRaw/Settings PC: C:\ProgramData\AdobeCameraRaw\Settings
Note: To go to a specific folder on a Mac, from the Finder menu choose Go > Go To Folder and copy and paste the folder information above. Be sure to include the ~ character
Bonus Tip
If you’re working on a Laptop or even a desktop, and your computer has a very fast internal drive, but you store your images on an external drive - consider working off the internal drive for your current project. Once you’re finished you can move it to an external drive.
Some modern systems, especially some of the newer Macs from Apple have incredibly fast internal SSDs. The Mac Studio for example, has an internal SSD that clocks an average speed of over 6Gb/sec! Unless you have a fast raid or very expensive thunderbolt SSD it’s likely you won’t have this speed on an external drive.
For most photos it won’t make that much of a difference, but if you are working with a high megapixel camera which has large files then it may make a difference to load times in the Develop Module. I’ve also noticed that this can make a difference when working with fuji files that you have converted to DNG using the enhance method, or with a tool like DXO Pure Raw.
What I will do is work off the internal SSD on my laptop with the images stored in the Pictures folder. Once I’m finished processing, I will move it (using the folder panel inside Lightroom) to my external SSD. This way I have the fastest possible performance while working in the develop module, but once I’ve finished the primary processing, I can then move them to the slightly slower external SSD.
Help Support the Blog
Buy from our affiliates
If you want to help support our blog, you can do so if you buy anything from our affiliate partners:
- Nik Collection from DXO Labs
- DXO Photo Lab
- DXO Pure Raw
- My Amazon Photo Recommendations
- My Favourite Mac Utility Application: Clean My Mac X from MacPaw
- If you don’t already have Lightroom, Photoshop or Adobe Creative Cloud, you can sign up here.
If you buy through the above links, we get a small commission, which helps run this site.
Check out my Capture One Style Packs, Lightroom Presets and eBooks
If you’re looking for some Film Effect, or black and White style packs for Capture One, Presets for Lightroom or Photography related eBooks, check out my Gum Road Store.
Buy me a coffee!
If you want to say thanks or help, then you can feed my caffeine habit and buy me a coffee via PayPal with a one off donation to my PayPal tip jar. (Please note that PayPal doesn’t make it easy to respond to these so just know you are thanked in advance)
Join our Facebook Group
If you want to discuss anything you’ve read here on my website, or saw on my youtube channel, or if you want to share images you’ve created using any of my techniques or presets, then I’ve started a new Facebook Group just for that.
Note that this post contains paid affiliate links. We get a small commission for purchases made through these links, which helps run this site.


