My Workflow and Settings for Processing Fuji X-Trans Files in Capture One: Part 1
A while ago I had a post about how much I was enjoying the combination of Capture One and Fuji X-Trans files. I wrote about how I really like the way Capture One renders Fuji Raw files, in both terms of details, and colour. I didn't go into much detail though about some of the settings that I use and how I manage my workflow when working with Capture One. I've been wanting to write up a sort of guide to my common settings, and also some workflow tips for each of the various applications that I use, and so, here is the first one.
I'm publishing this short guide in two ways. The first will be free, here on the blog, posted in two parts. Secondly, I'm making a nicely laid out PDF version of the entire guide, which can be printed or viewed on screen. This can be purchased for just €4 If you like what I'm doing here, and you find the information useful, and want to show support, then you can do so by getting the PDF version. If you don't want to, that's fine too, I'm still giving you all the information here.
Introduction
When working with Capture One to process Fuji Raw files, I’ll generally work with a whole shoot, or batch of images at a time. When I’ve talked about other applications in the past, such as Iridient Developer, I’ve discussed setting it up to work as a plug-in for Lightroom, but with Capture One, this doesn’t work very well, and I also find that because it’s more of a complete programme, you can pretty much finish your images in Capture One before sending them back to Lightroom.
While I’ve written some of this guide as a way to work with both Capture One and Lightroom, you of course, don’t have to be using Lightroom at all. The main tips here will all work even if you’re only using Capture One to process and manage your images, or you may also be using another piece of software as your library, such as Apple’s Photos or Mylio.
This short guide attempts to cover the main settings that I use to get good results from Fuji X-Trans files. This is not a full tutorial or even a comprehensive introduction to Capture One, because it’s such a complex application, and to do that would be a whole book worth of information. However, if you’ve at least played around with the software before, and have gone through the basics, then you should be able to follow most of what’s written in this guide.
Note: This guide assumes that you have a degree of familiarity with Capture One. You should already know the basics and be able to navigate the interface, and import images.
Changing the Default Settings
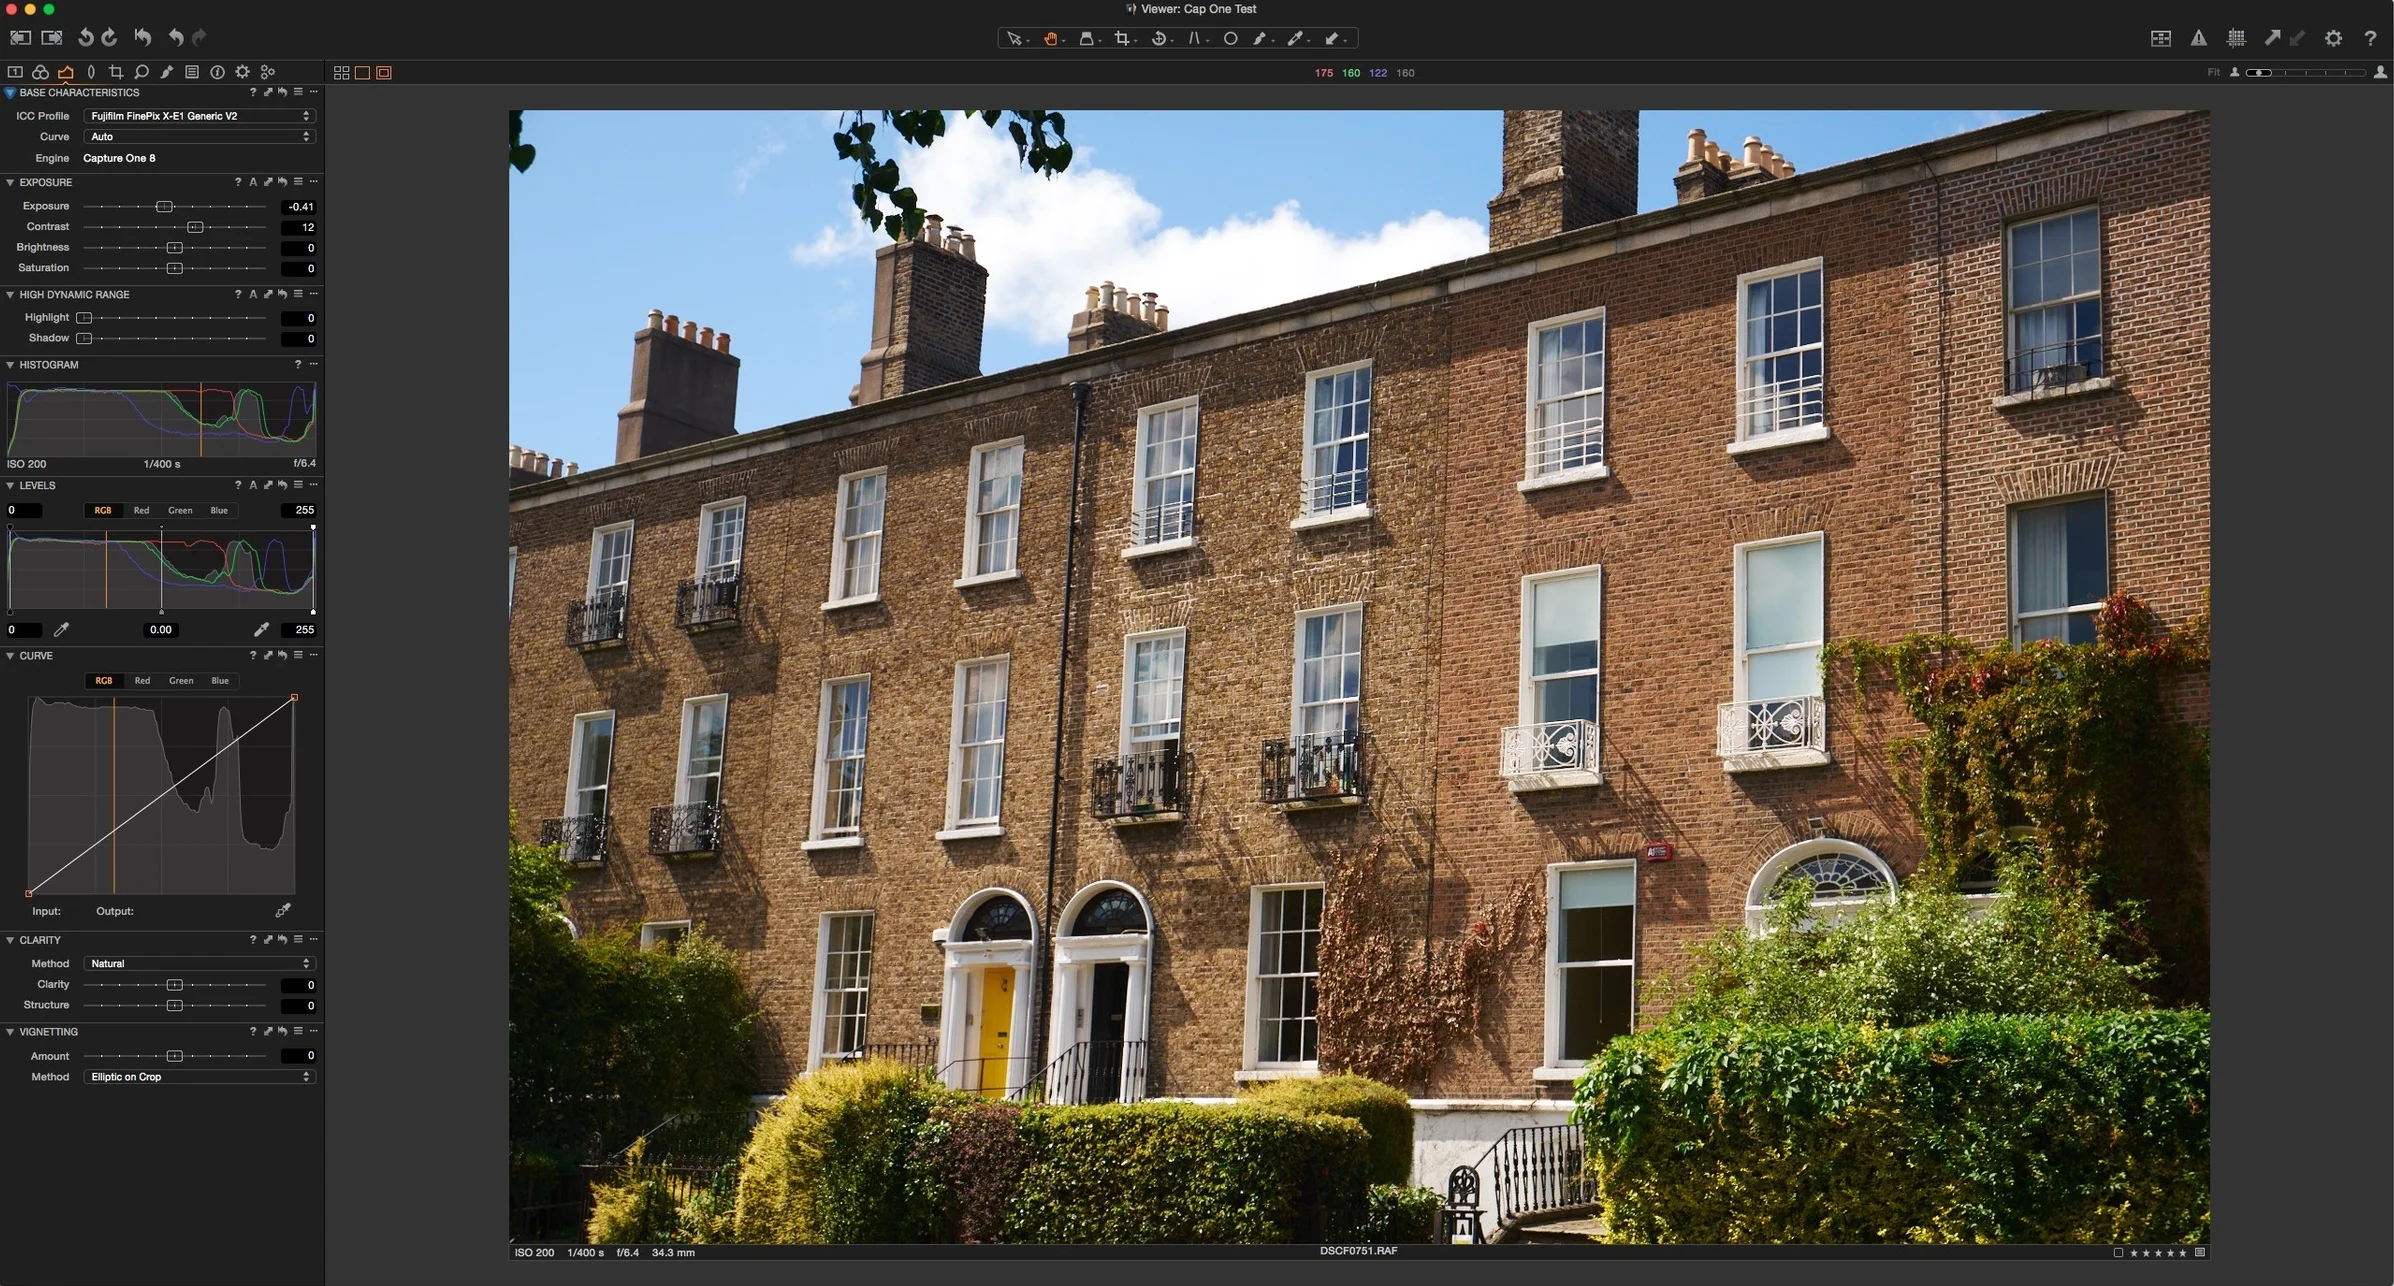
If you’ve tried to use Capture One to process Fuji Raw files before, and you didn’t think that the result was anything special, then it’s possible that it was because you were using the default settings. I don’t like the way the default settings have been setup for any file in Capture One. In particular, I don’t think the default sharpening and Noise Reduction settings are optimal. Firstly, the Luminance Noise reduction is set to 50 by default, which for the most part, is unnecessarily high. I also think that the sharpening settings are too high for most Fuji files, as the lack of anti-aliasing filter makes this less of a necessity. I also prefer a higher radius and a lower threshold.
After much trial and error, I’ve come up with settings that I use as my defaults. I will use these as a baseline, and then vary the parameters based on the individual image that I’m working on, but these are what I’ve decided to use as a default starting point. Try these settings for yourself, and if you don’t like the results, that’s fine, but these are what I use.
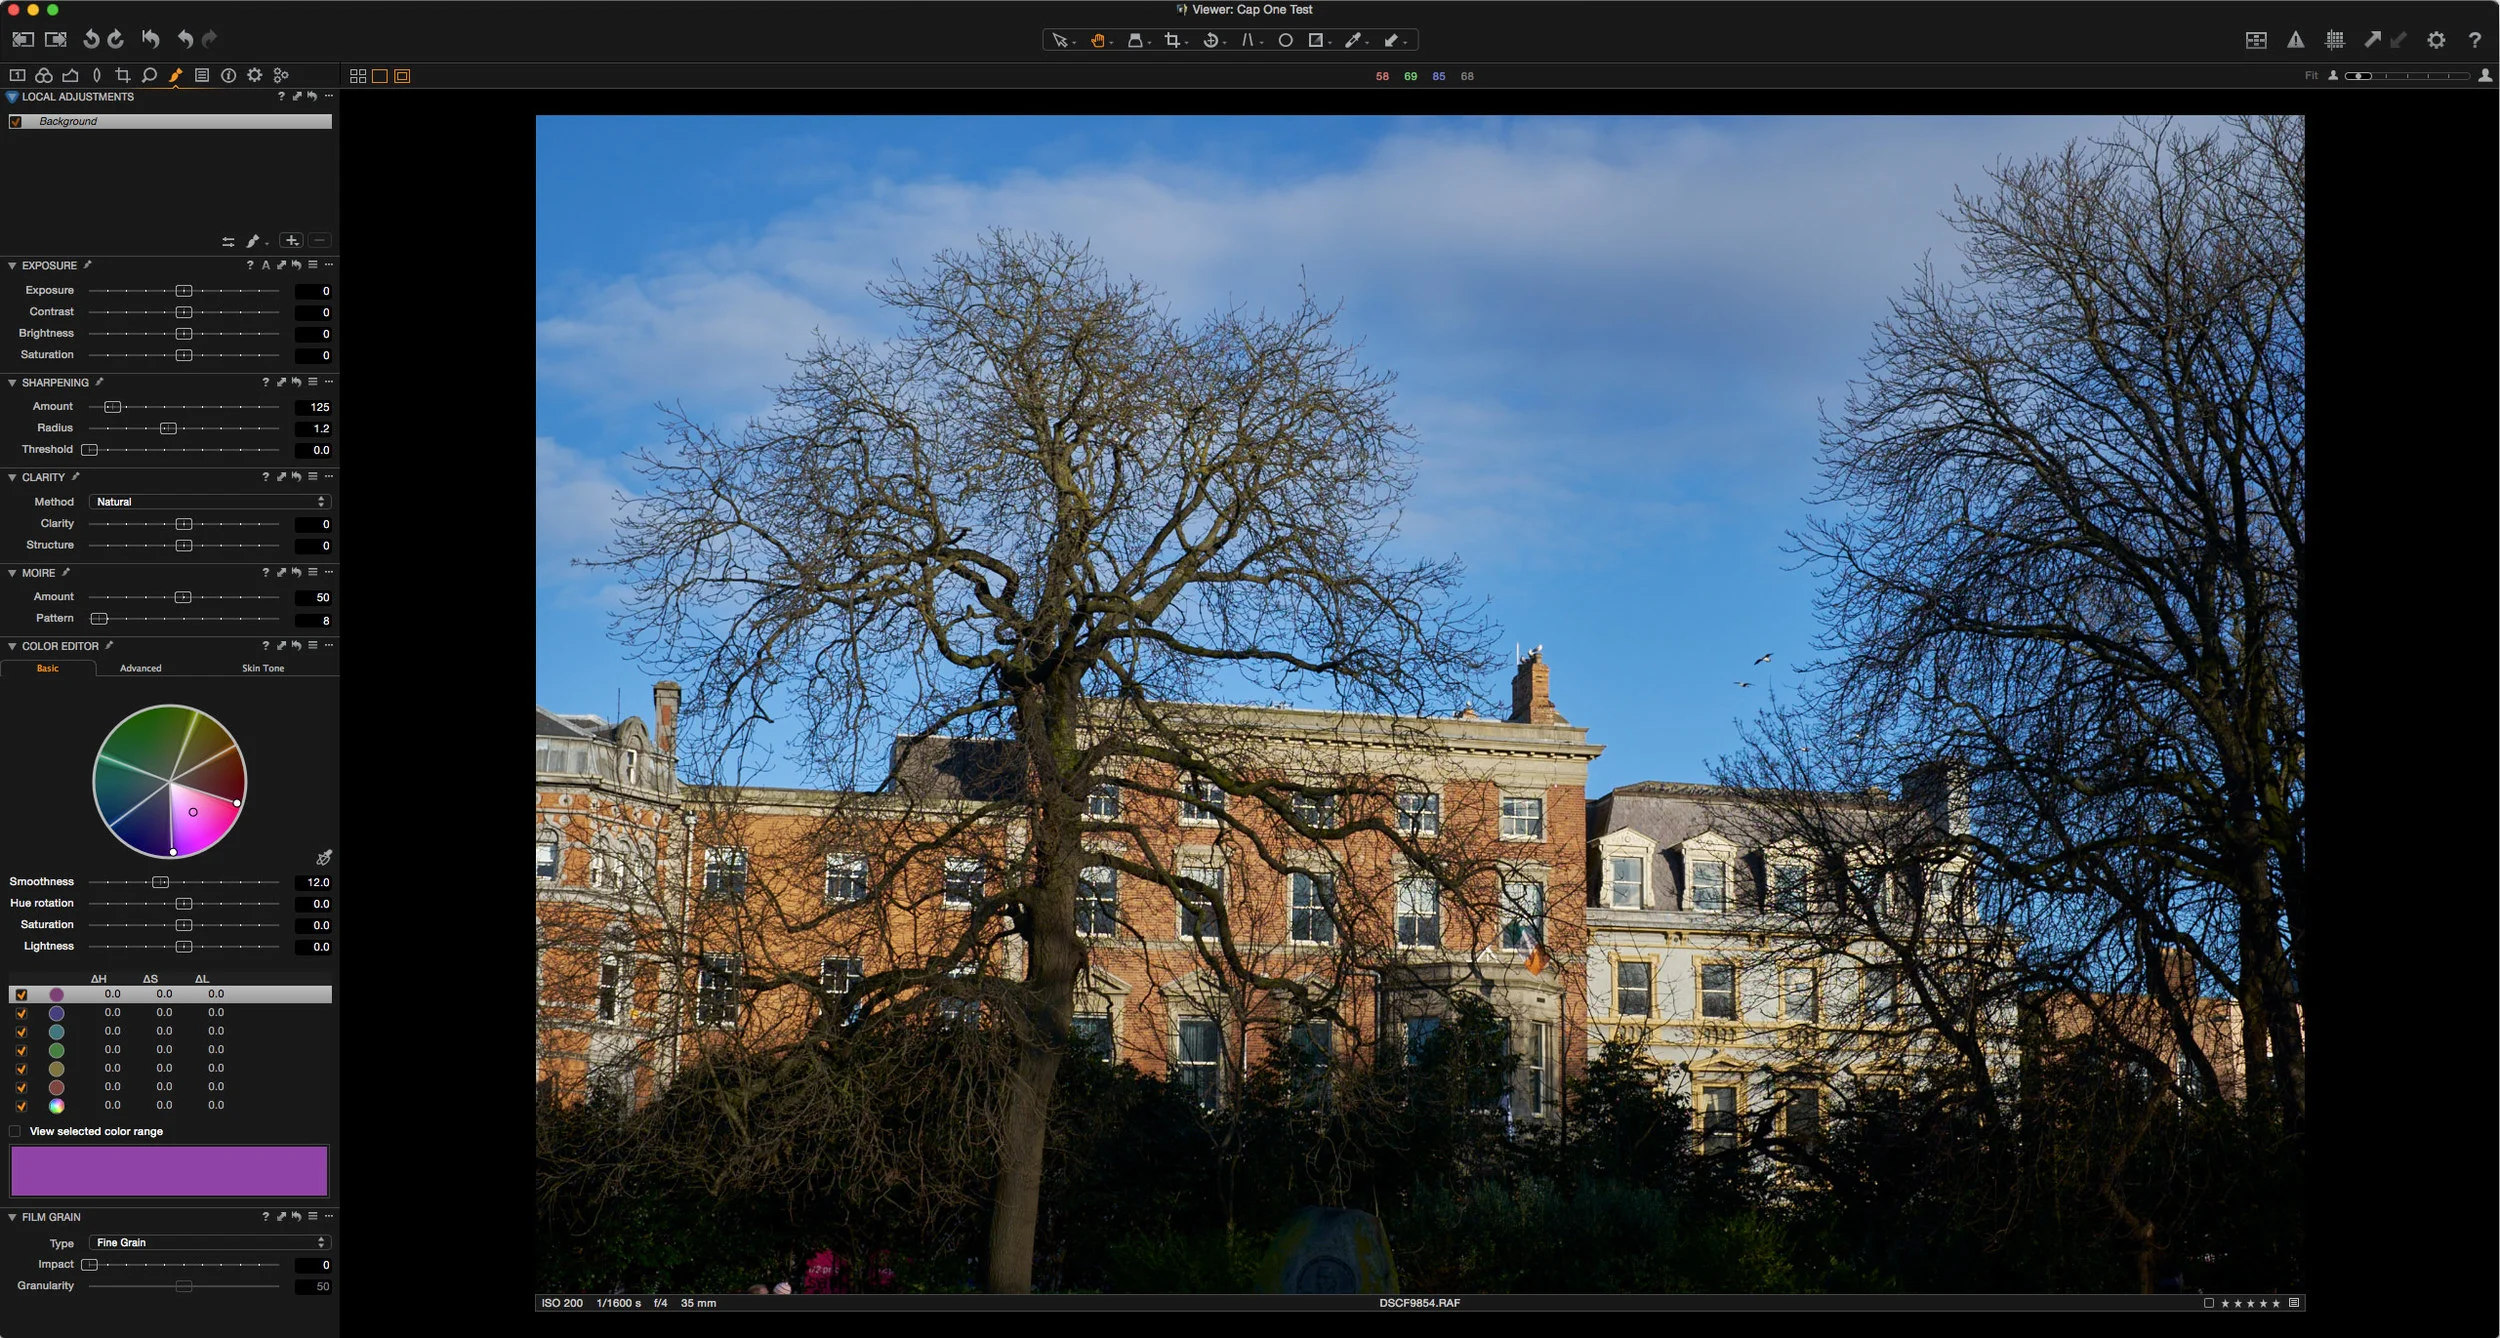
To change the sharpening settings, you need to go to the sharpening tab, which is under the icon that looks like a little magnifying glass in the set of adjustments on the Capture One interface.
Here are the settings that I use as my default settings:
To save these as a User Style (not to be confused with Presets, as in Capture One’s Terminology, Presets are for individual settings, and Styles are for whole groups) for use on import in Capture One, from the menu choose:
Adjustments Menu > Styles > Save User Style
You can also save individual settings as defaults for a particular camera, however I find that this often doesn’t get applied on import (I’m sure I’m just doing something wrong here) To apply the style you simply select the one you just created in the import window.
Variations
As I stated earlier in this guide, the above settings are just the default, sort of “catch all” set of parameters that I use. Depending on the individual image, you may need to change the settings. Here are some tips on what I’ve found works depending on a particular photograph.
- If you’re shooting with one of the Fuji kit lenses, you may need to increase the sharpening depending on the image. For the prime lenses, I rarely need to go over 100. You may also want to consider adding additional detail using the Structure slider in the main exposure tab (more on that in later in this guide)
- Lowering the radius can help if you’ve a lot of very fine detail and you want to try and increase it, however, I fond that a setting of 1 gives the most natural looking images. If you’re getting some weird patterns, or smearing in fine detail, try increasing the radius to 1.2
- For higher ISO images you can increase the Luminance noise reduction. The algorithm in Capture One is surprisingly good, so you shouldn’t have to use too much Luminance noise reduction. I personally don’t mind a small amount of grain in my images as I find it makes them more film-like.
- If you’re having moire issues, the moire slider works surprisingly well, however I do find that I have to increase it quite high before it works on bad moire. Remember, this is more for Moire than Aliasing. For those unsure of the difference, Moire is the colour patterns you get around fine details, where as aliasing is the stair-stepping you see around diagonal edges. When you adjust the moire slider it can take a few moments to kick in, so be patient when working with the settings. You’ll also need to be at 1:1 to see the results properly.
My Workflow and Some Tips
I don’t claim to be a workflow expert. In fact, my workflow is probably a bit messy for many users, but I find that it works for my style of shooting. Even if you prefer to work a different way, this section might give you some ideas. Usually when working with Fuji files (or any file for that matter) in Capture One I’ll do one of two things. I’ll either import the files straight into Capture One or I’ll import them into Lightroom First, rate them in Lightroom, and then import them from my hard drive into Capture One.
When importing images straight into Capture One, the process is fairly straightforward. Upon inserting a card, the import window will pop up and you can set your various settings. I will usually choose to store the images in a folder on a dedicated hard drive (rather than in the catalog) and I’ll select the User Style that I showcased earlier for applying my sharpening settings on import.
If I’m importing into Lightroom first, I’ll ingest my images into Lightroom as normal. Then I’ll usually go through them in Lightroom and flag the ones I like with 5 stars. I also have the option in Lightroom to automatically write metadata out to sidecar files turned on, as this way my ratings are kept up to date.* If you have this option turned off, you can manually save the metadata by selecting all your images and then pressing
Command + s (Ctrl + s on a PC).
Once I’ve finished in Lightroom I’ll switch over to Capture One and import the files, but this time rather than coming off the memory card, I’ll select the folder into which I imported the files in Lightroom from the “Import From” pop up menu in the Capture One import window. I’ll also set the destination to “Current Location” so that it doesn’t move or duplicate the files. Capture One should see the star ratings that you set in Lightroom.
Why I sometimes Import into Lightroom First?
If you’re wondering why I sometimes import into Lightroom first, it’s because sometimes, I just want to quickly share an image, and I have Lightroom’s publish service set up with all my social media and sharing options. Sometimes I might want to use some Lightroom presets, such as VSCO or my own. Sometimes, I just want to use Lightroom, and I may then decide to see if there’s any difference, or if it’s worth processing images in Capture One. These are all personal approaches, and of course yours may differ completely.
Handling Raw + JPEG pairs in Capture One
If you Shoot Raw + JPEG pairs, Capture One brings both files in together but treats them as separate images. There’s no option to really group the Raw + JPEG pairs together. However, there’s a couple of ways to make your life easier when working with both.
- The first method is to hide the JPEG files automatically. There is an option to always hide JPEG files so that you never have to see them unless you want to. The option is in the View menu. Choose:
View > Global Filters > Always Hide JPEG Files
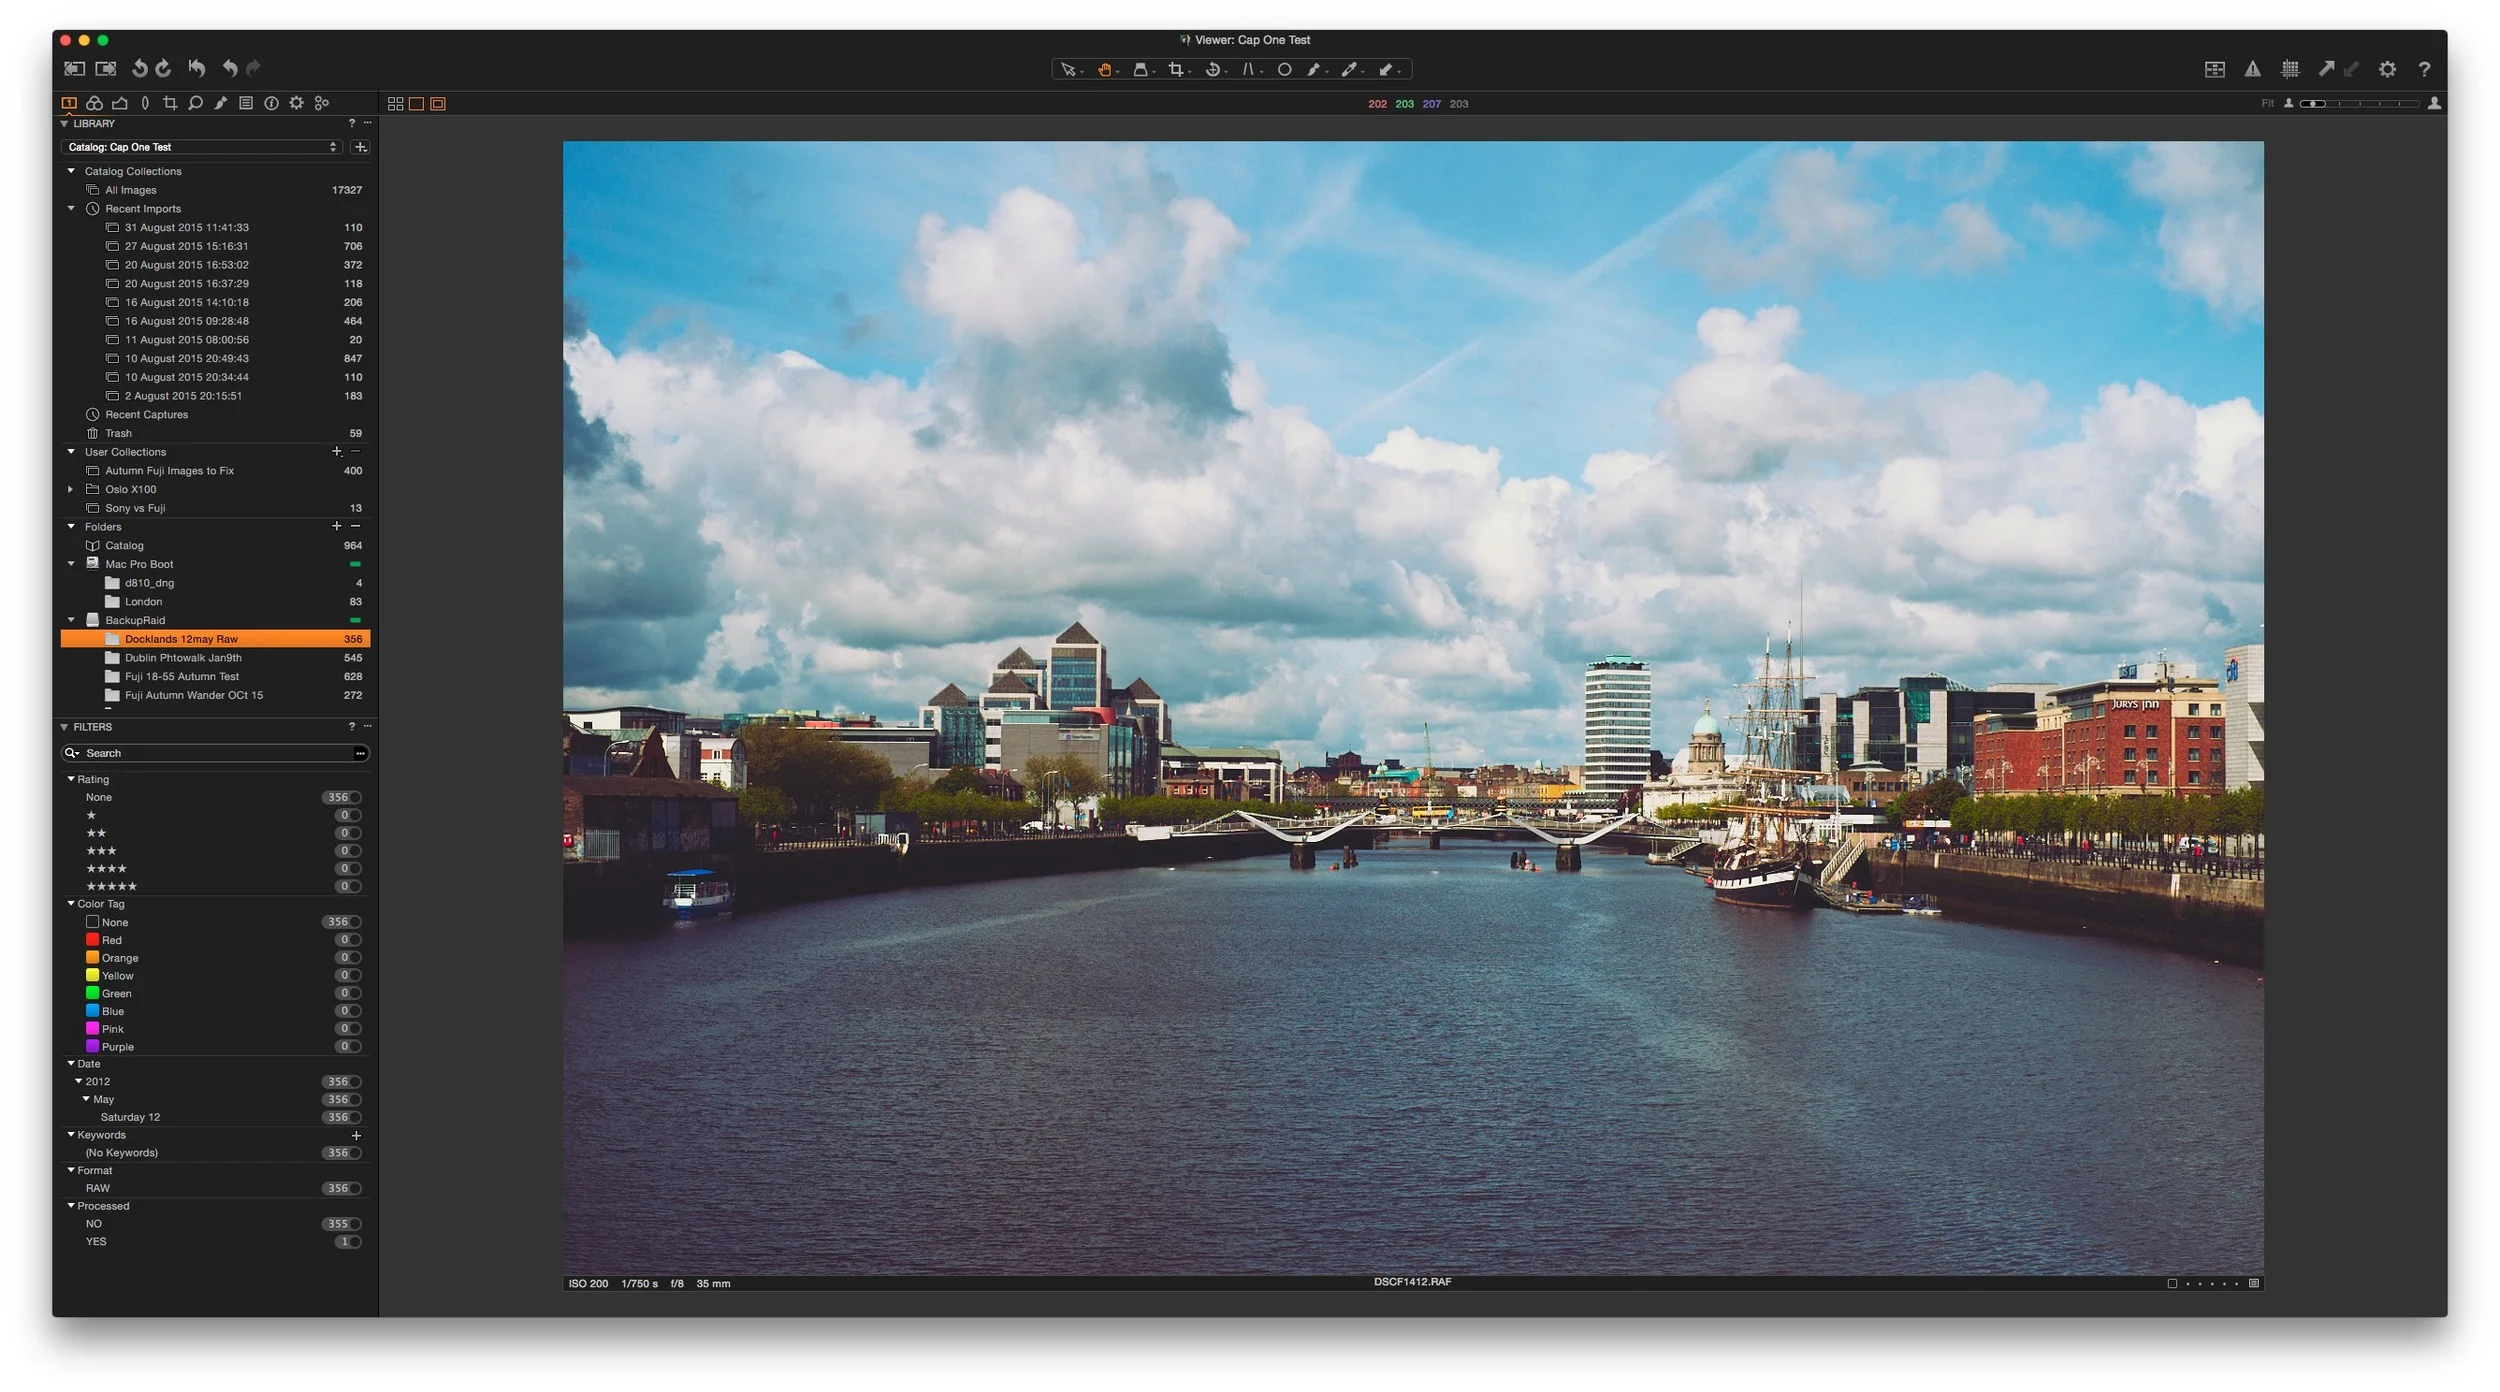
- The second method is to use the filter options in the Library tab. This is the first tab in the set of controls. Below the catalog collections and folders you should see The Filters section. Here you can filter by star rating, colour label, keywords and so on. To use this to hide JPEG files (or Raw files) find the heading that says “Format” and click on the little circle in the pill shape that’s around the number of files of each type (see the screenshot below)
This will then only show those type of files. You can command click options in this panel to select multiple filters. This is useful if you’ve processed some images in Photoshop for example, and you want to hide the JPEG files, but show both Raw and Tiff. In this case you would command click on the circle for both RAW files and Tiff files.
Coming in Part 2
In part 2 of this guide I'll look at some more common settings and how they'll relate to processing Fuji files. I also detail some of my workflow steps for exporting images back to Lightroom.
Get the Full Guide as a Printable PDF
As mentioned at the start of this post, I'm making this guide available for free online, and as a Printable PDF that you can download. If you find this information useful, and you want it in a nice, contained and printable format, then the PDF has both parts of this guide, in a single nicely laid out document.
All of the work I do here, and the information on this blog is done entirely free of charge and takes up quite a bit of work. I want to spend more and more time on this blog, and offer more and more of this kind of information, tips and so on, so If you like what I'm doing here and want to show support, then you can do so by buying a PDF copy of this guide. If you don't or can't right now, that's no problem. You can still get all the information here! I don't want anyone to be left out. Your continued readership is important too!
I'm working on more guides for processing Fuji files in various other Applications, including a comprehensive one on Lightroom, which should be available soon, so stay tuned.


