Processing Sony A6000 Raw Files in Lightroom - A New Guide Coming Soon
My next eBook guide is almost ready to go. I’ve been working on this for what seems like forever, and it’s now in the final stages of production. I wanted to do something similar to my previous Fuji X-Series guides, but for the Sony A6000. I’ve written a lot about the A6000 over the past few years and its a great little camera.
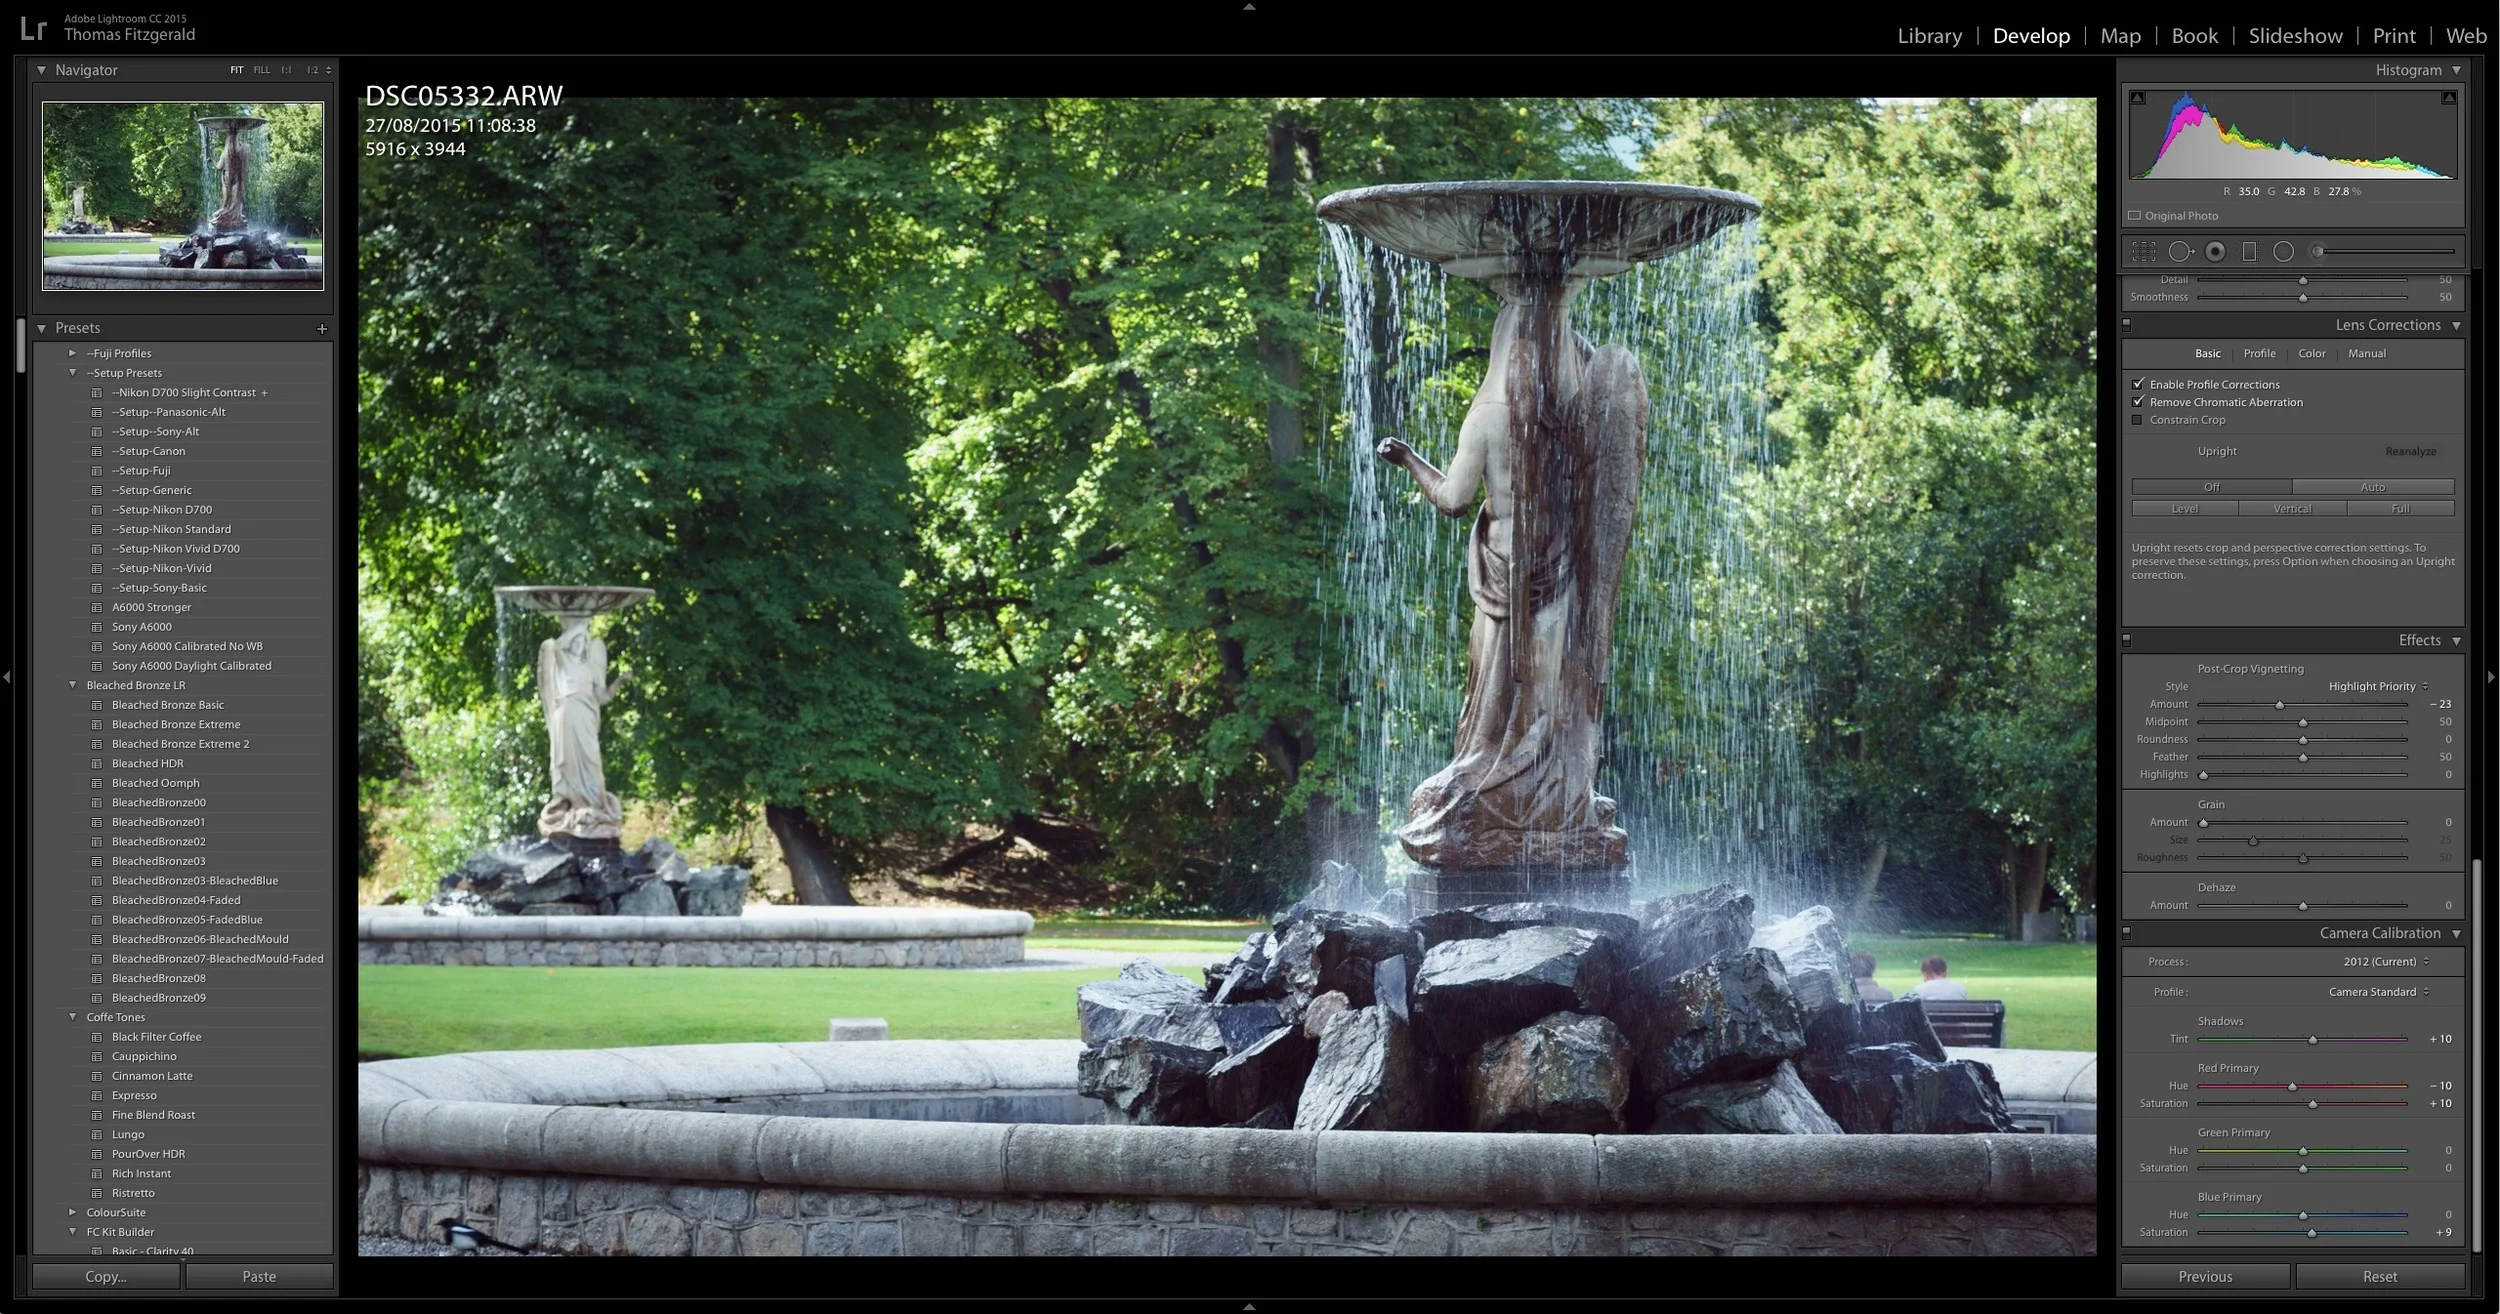
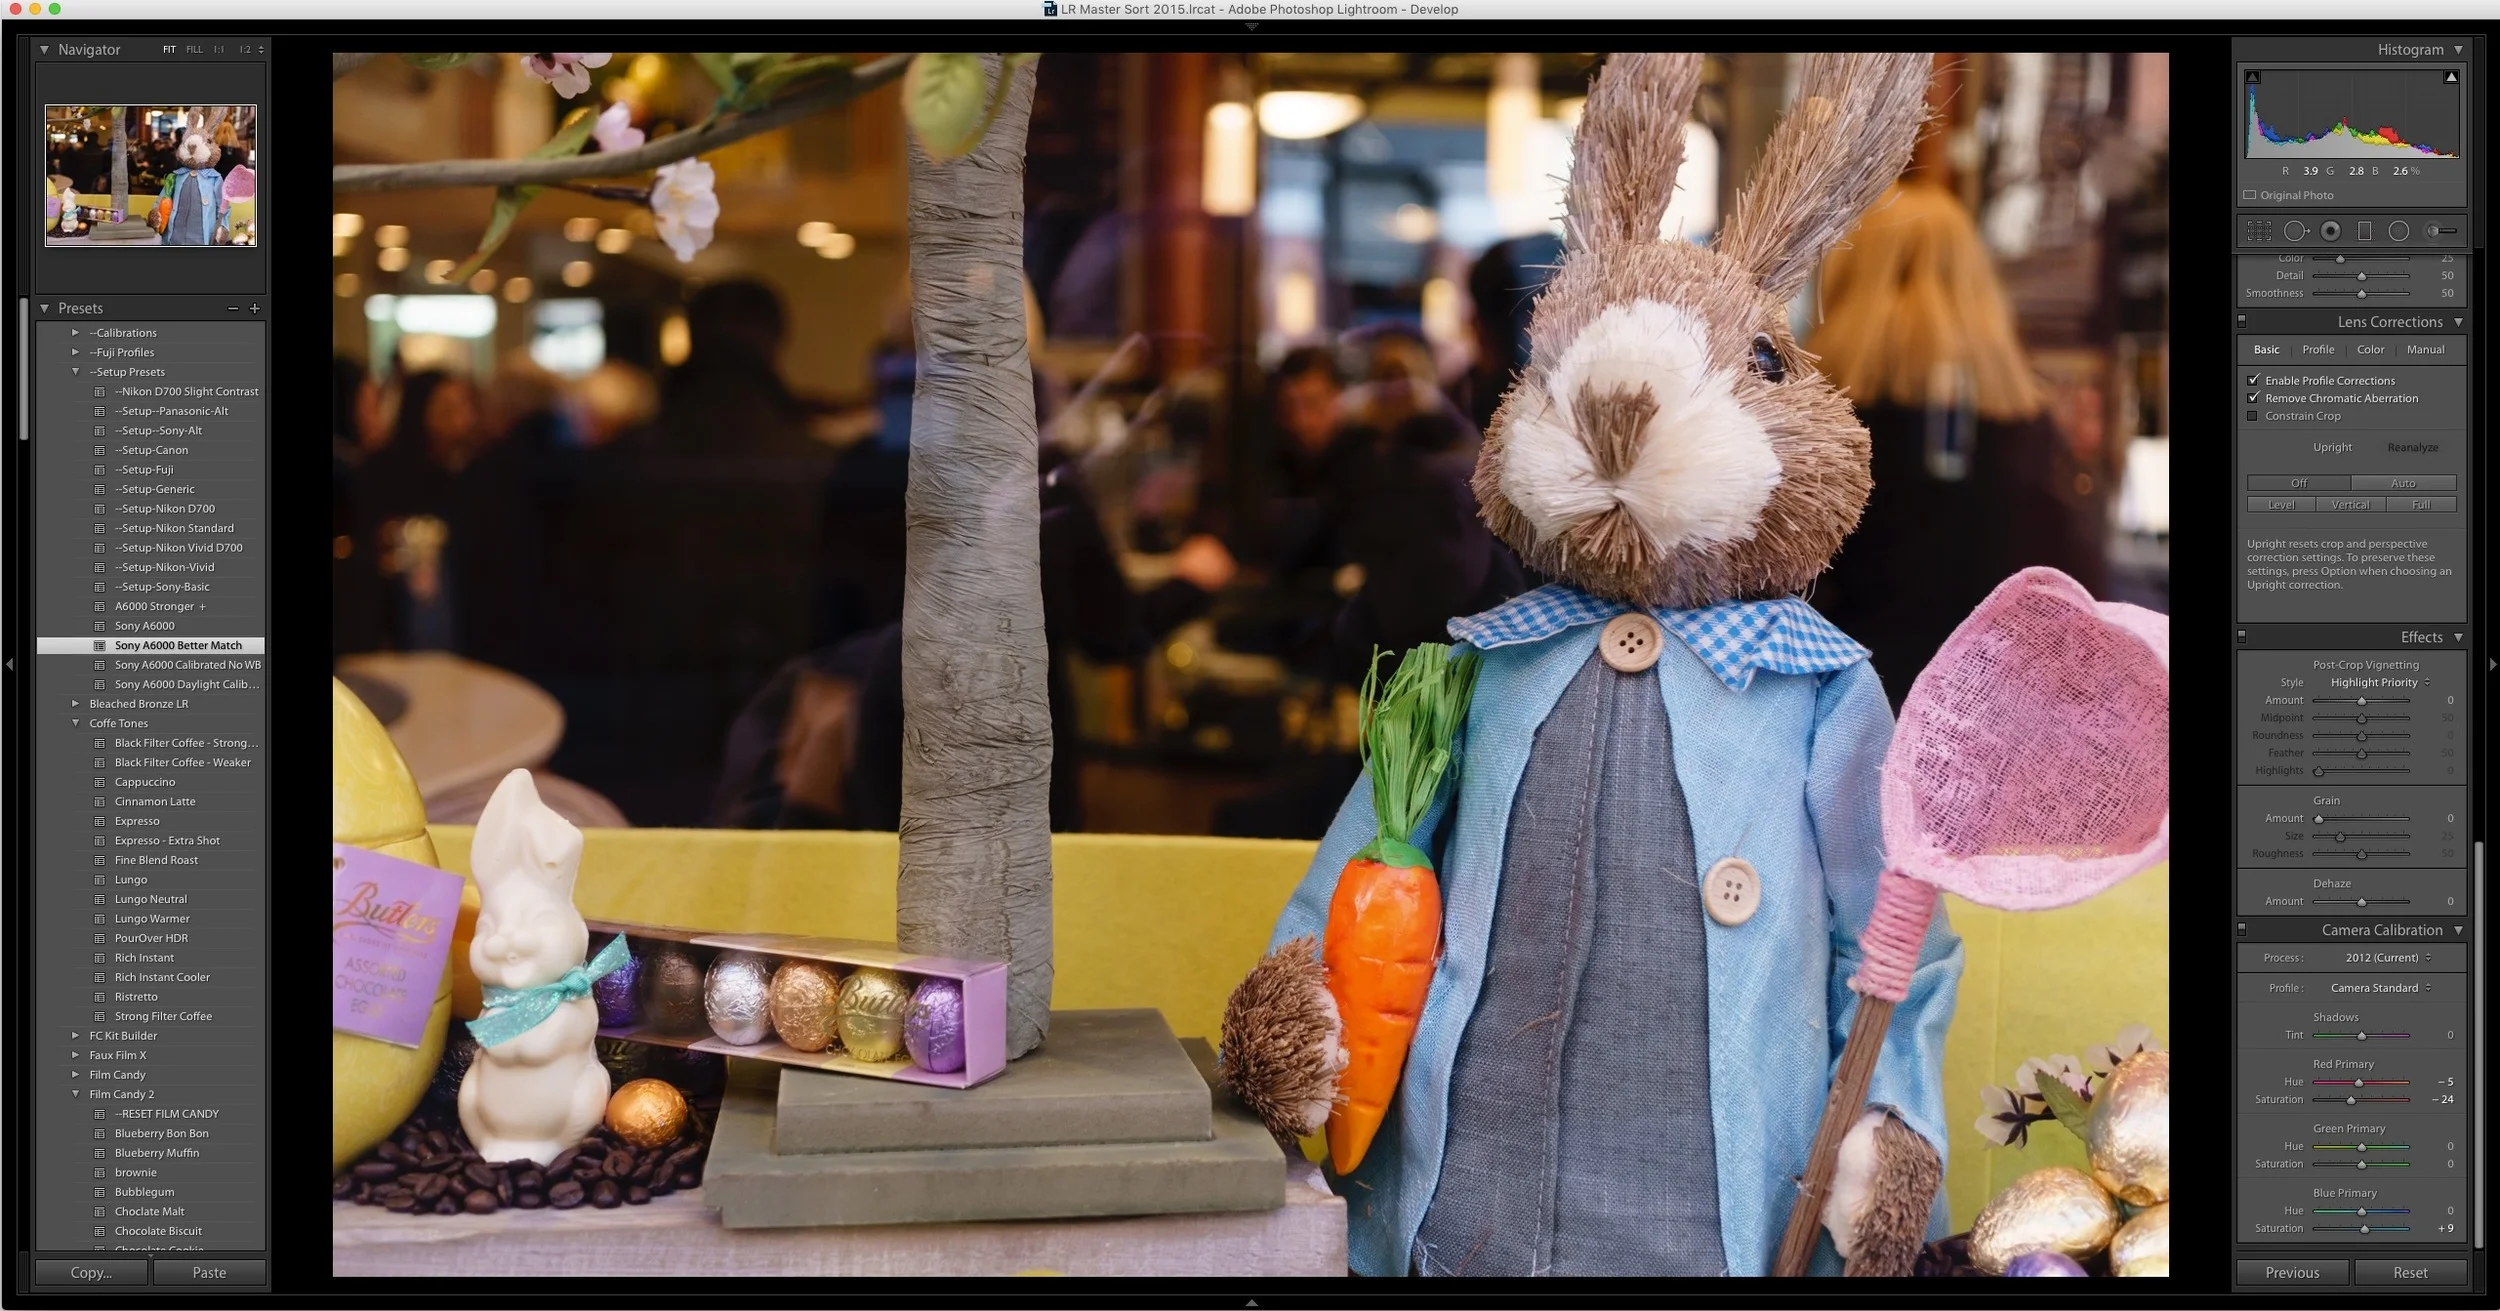
While working with Sony RAW files in Lightroom may seem like a fairly straightforward process, there are lots of things that you can do to optimise your workflow to get the best out of the camera and the images that you have taken with it. There are some aspects to the way Lightroom handles Sony RAW files by default that can benefit from tweaking. I’ve covered some aspects of this before on the blog, but I wanted to put it into a concise guide. When I started putting it together I expected that it would be fairly short, but I kept adding to it (hence the length of time it’s taken me to get this out) and I’m really pleased with how it came out.
The 59 page guide will cover lots of topics and is broken into 4 chapters:
The first chapter looks at Raw + Jpeg and why I believe that is the best format to shoot with. I also outline a workflow for working with both in Lightroom. I also briefly discuss Sony’s compressed RAW format, and why concerns about it are a bit overblown, and that it won’t affect you much in real world situations.
The second chapter looks at common settings that you can make to better improve your shots out of the camera. It looks at tweaking the colour calibration, setting the right colour profile and various other settings that you can tweak to create a “base level” preset that you can apply to your images, and to use on import. I discuss the settings that I’ve found to work best with the camera, based on my experience with it.
Sample Table of Contents & A Sample Page from the Guide (Not final)
The third chapter focuses on common problems that you might encounter and ways to fix them. It deals with setting white balance, and how that can have a big impact on your shots. It talks about how a cameras distinct “colour” look is partly the result of white balance settings. It also looks at fixing colour fringing, how to correct shadow noise and how to fix banding and blotching among other topics.
Chapter four looks at some of the ways that you can creatively adjust your images in Lightroom. In particular it covers creating black and white images, matching the adjustments available for the A6000’s picture controls, and expanding the dynamic rage, similar to the camera’s DRO settings. It also talks you through creating HDR images.
The guide will also come with some presets to help with your workflow, including my own import presets that I use, as well as calibrated colour profiles, noise reduction and sharpening settings and so on.
I hope to have it finished and ready to publish towards the end of this week. I still have to proof read it a few more times (which really isn’t fun). I’ll also be publishing some excerpts over the next little while too, so you can get a better idea of the content.
Incidentally, I created the cover in Affinity Designer (the first screenshot above). I’ve talked about Affinity Photo a good bit on this blog before. Affinity Designer is to Illustrator, what Affinity Photo is to Photoshop. It actually came out before Affinity Photo, and it’s a really nice vector editor. What’s more, it’s really fast. It really shows up what years of legacy code can do to an application. Anyway, just a side point!


